
We noticed you are blocking ads. DO THE TON only works with community supporters. Most are active members of the site with small businesses. Please consider disabling your ad blocking tool and checking out the businesses that help keep our site up and free.
You are using an out of date browser. It may not display this or other websites correctly.
You should upgrade or use an alternative browser.
You should upgrade or use an alternative browser.
CB200 'project 354
- Thread starter vbroom
- Start date
vbroom
Active Member
milestone today. We are practically done with the wiring!...well...almost.
we worked through the whole weekend to get it done
what we started with....
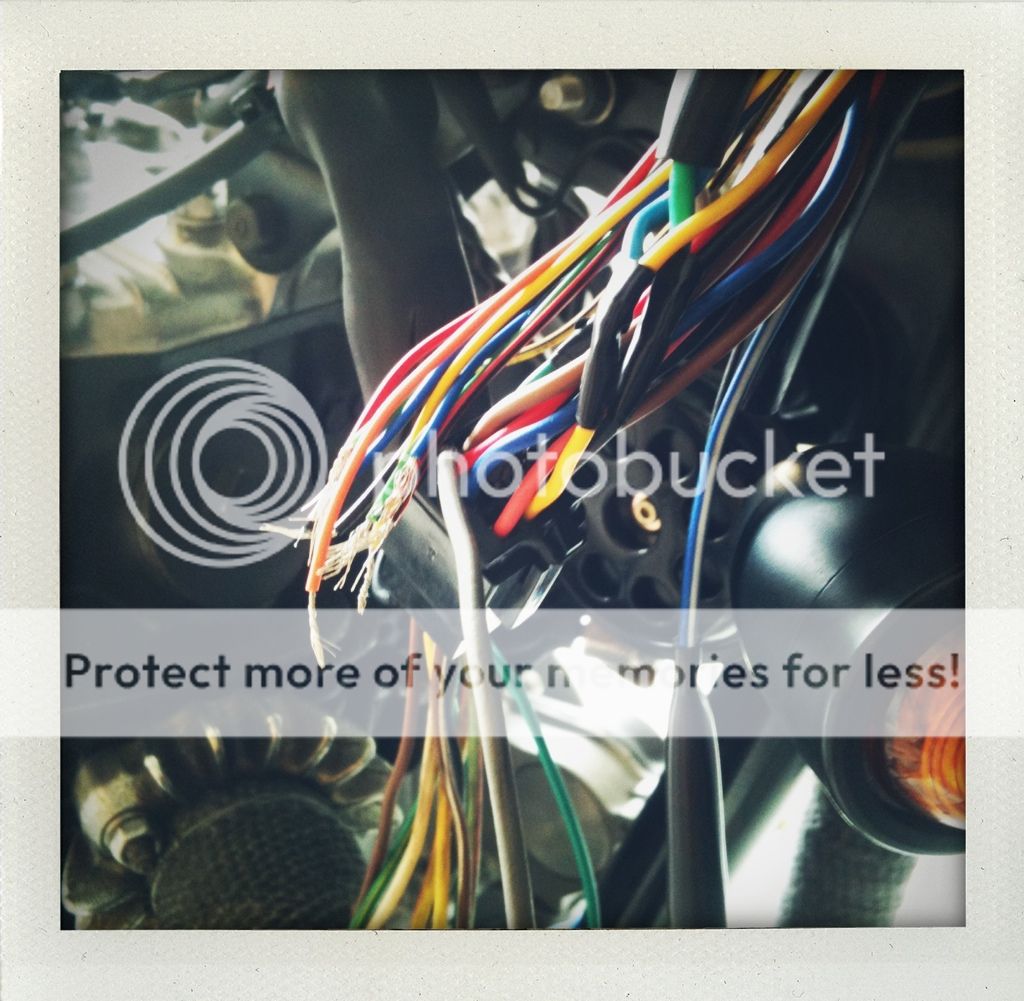
rear loom looks ugly but is done. will be hidden with tape etc.
also did the quick turn throttle mod.
still have to sort out brake switches...and also fix the ignition now.
We put it all back together to test ride but realised we had wrongly change ignition wiring while rebuilding the loom.
so we called it a day and we'll revisit it next week.
we worked through the whole weekend to get it done
what we started with....
rear loom looks ugly but is done. will be hidden with tape etc.
also did the quick turn throttle mod.
still have to sort out brake switches...and also fix the ignition now.
We put it all back together to test ride but realised we had wrongly change ignition wiring while rebuilding the loom.
so we called it a day and we'll revisit it next week.
vbroom
Active Member
Getho said:Nice work! What controls are they? I'm looking for some to replace my busted CB250 ones...
thanks mate
the left hand switchblock is an ebay job...had a few weird functions though. The switch which normally flashes highbeam was a killswitch?! strange....also try dime city. I think they have some switchblocks as well..
deepwaterimports
Over 1,000 Posts
Any more updates guys???
Bert Jan
Holy Modification Batman
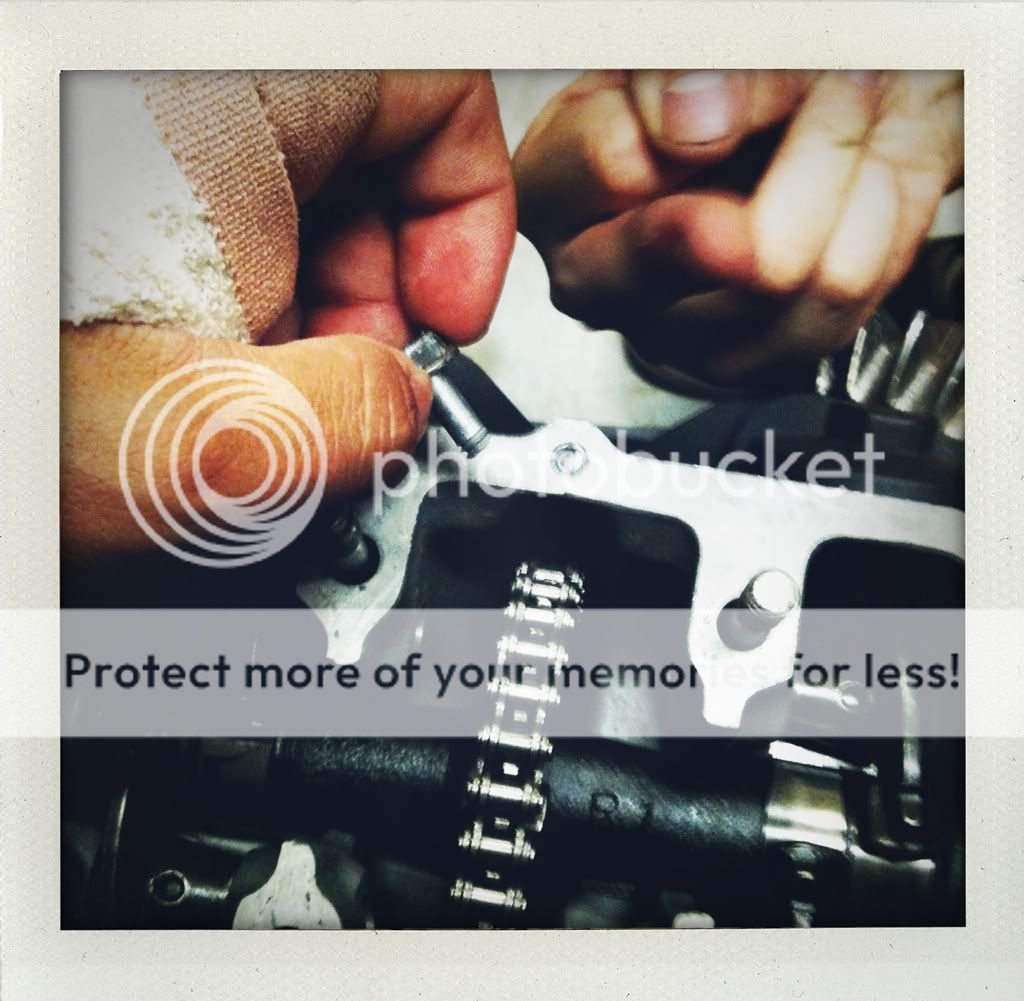
vbroom said:tonight we fitted the electronic ignition.
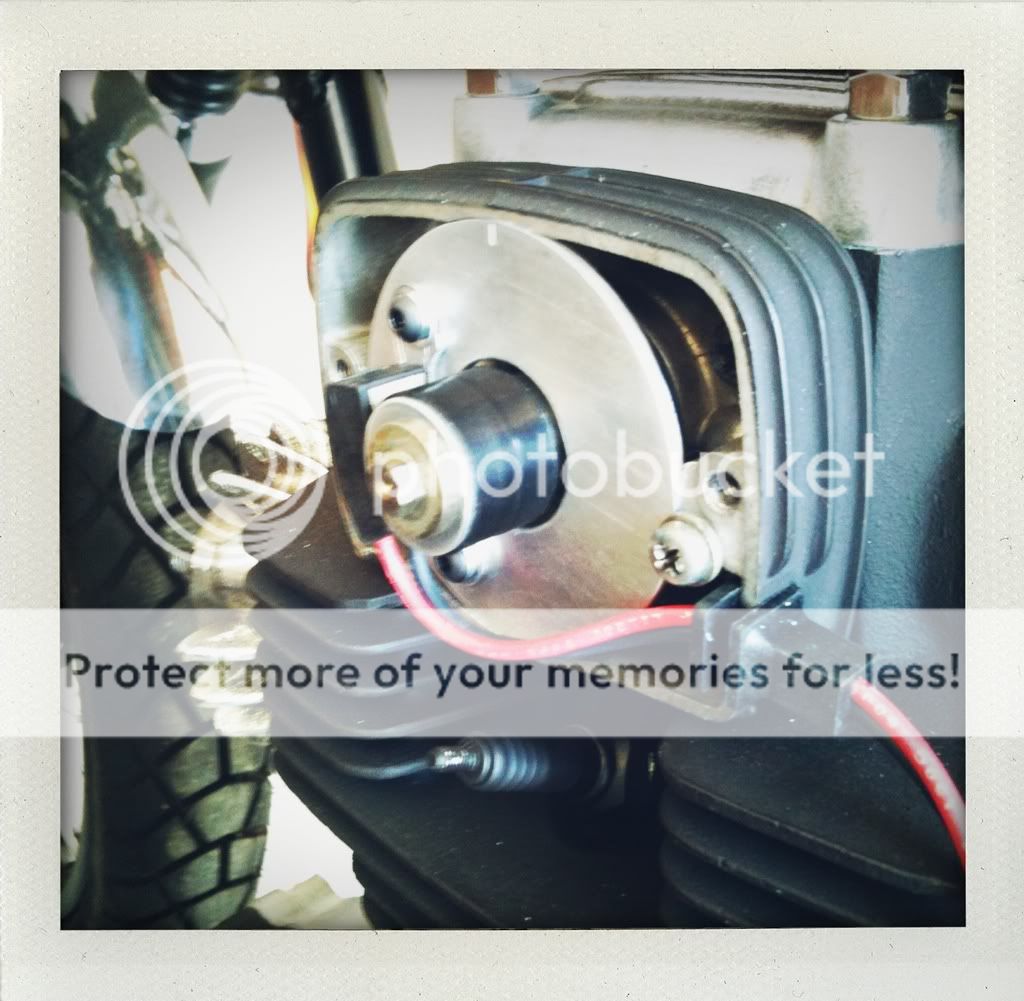
took the engine out and torqued up all the head bolts. snapped one in the process but an ezy out saved the day
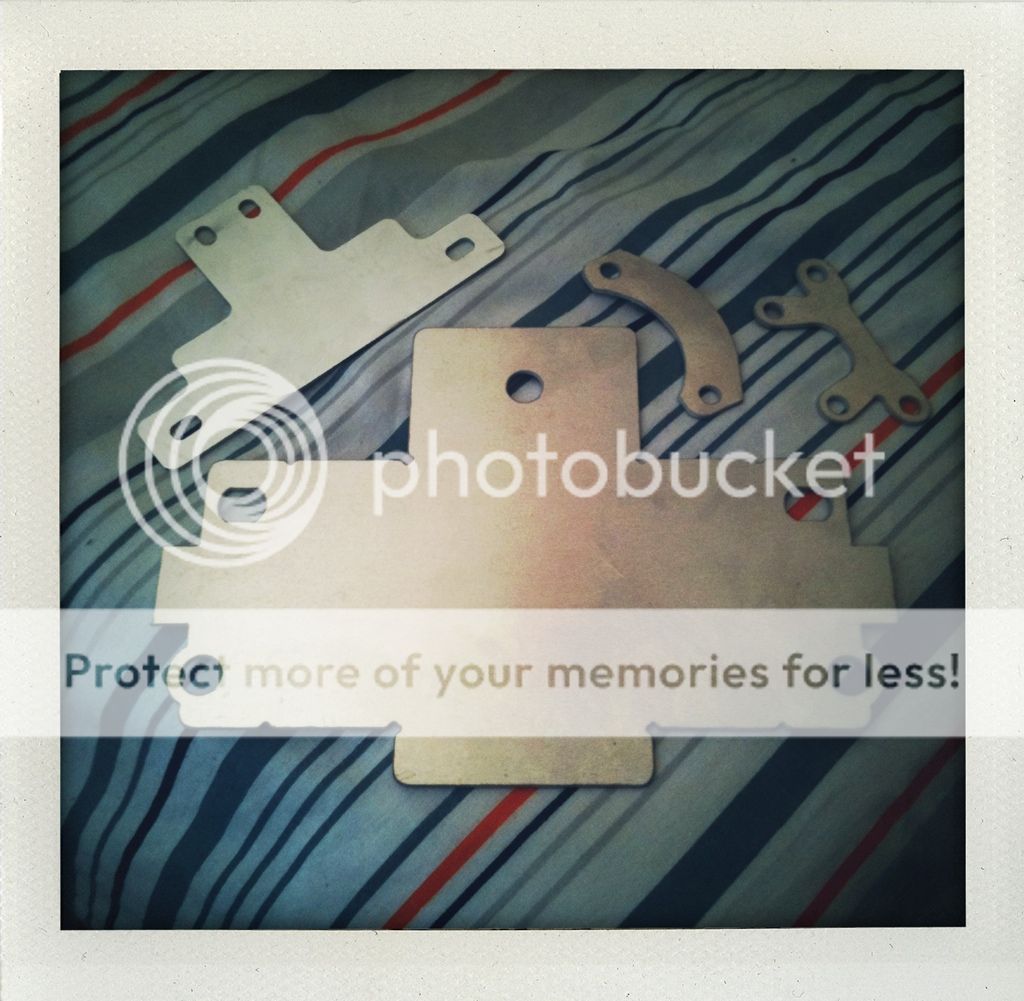
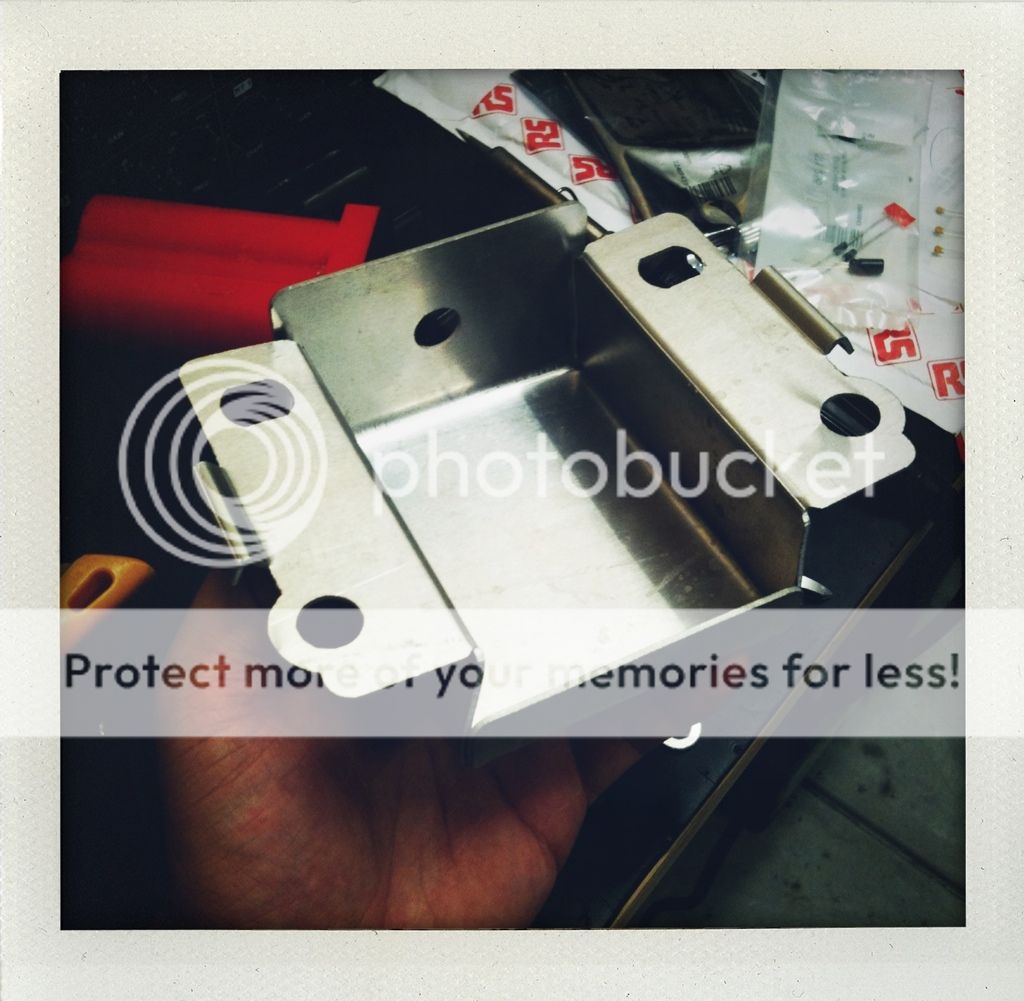
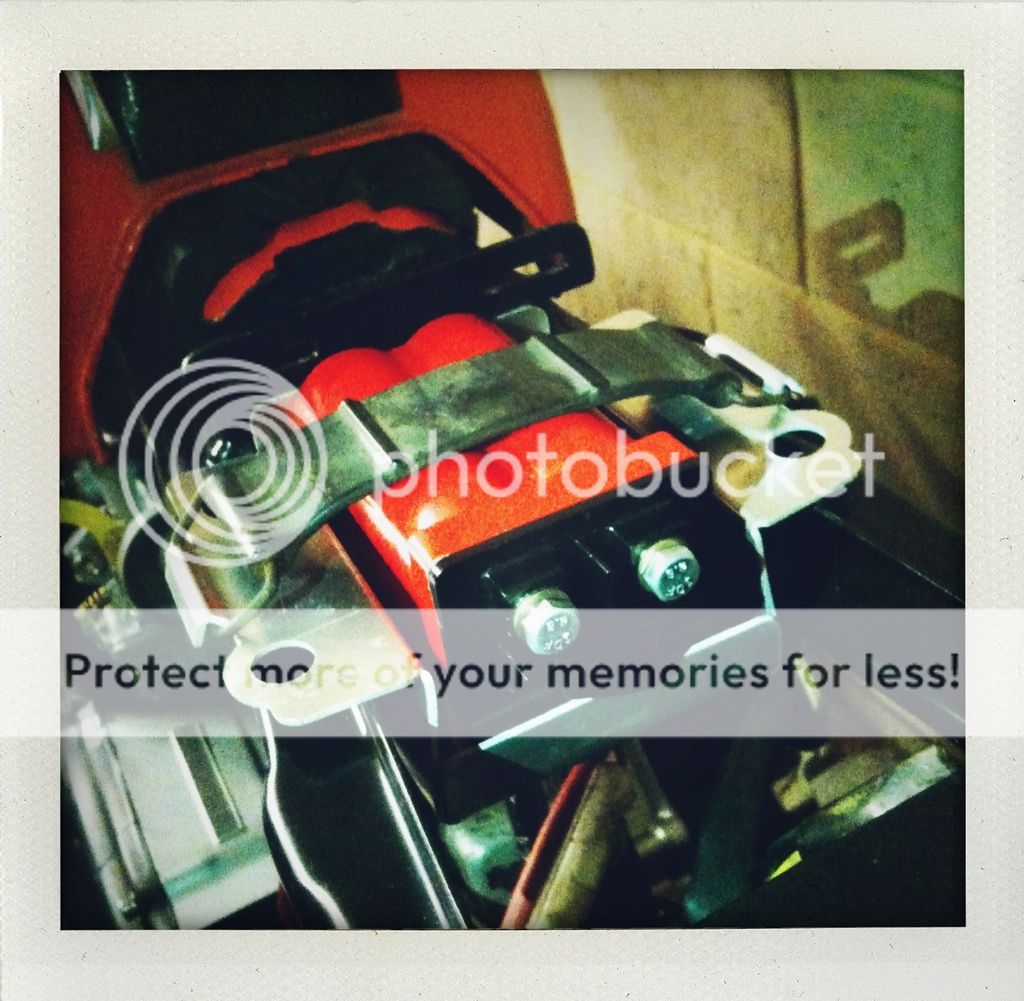
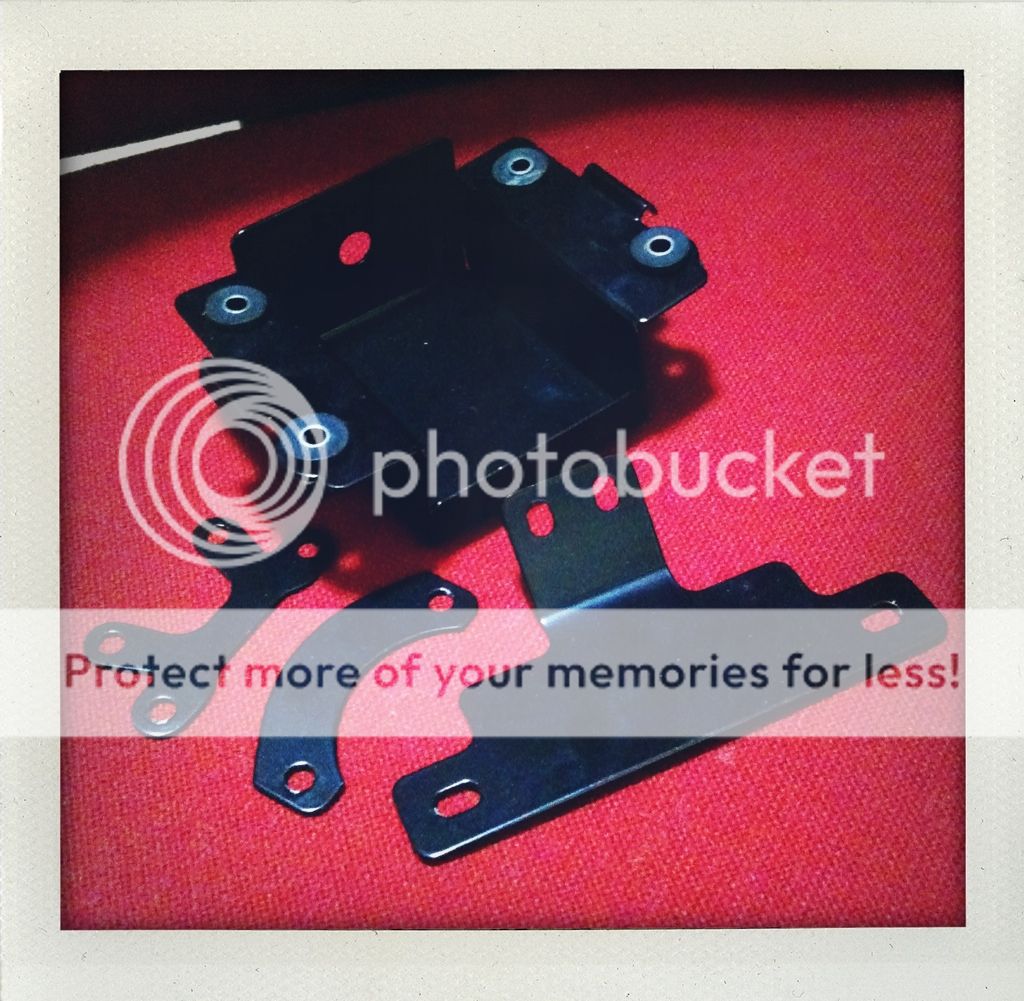
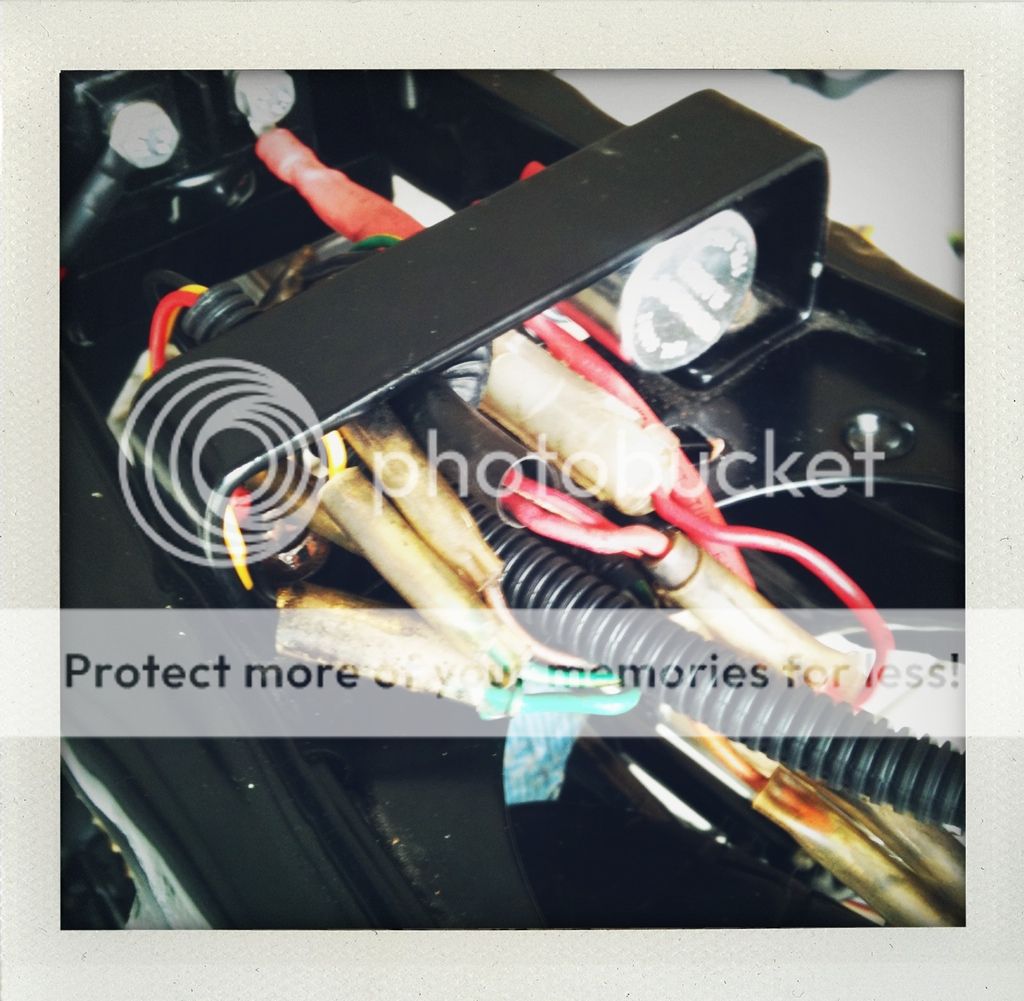
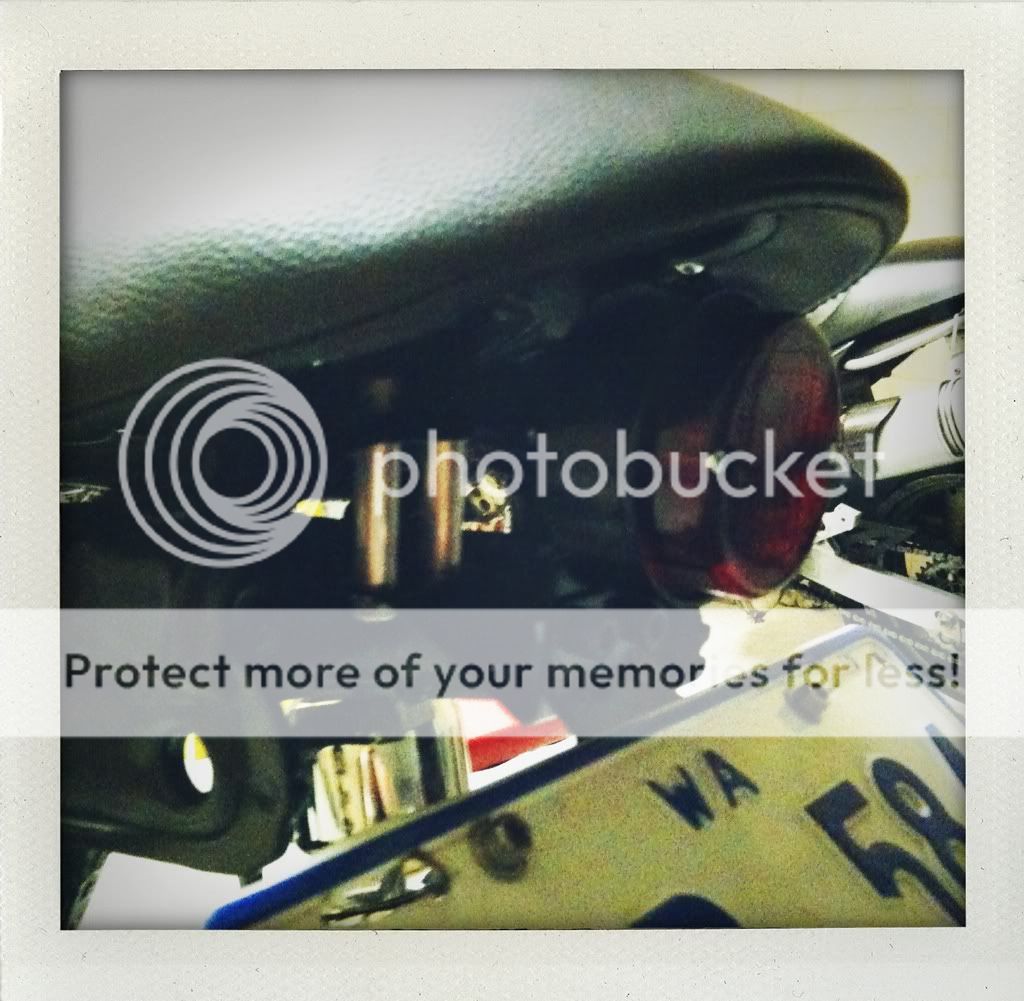
made up a bracket for the rear light and got it mounted. pics are a bit dark but i'll get more in the daylight next time. we're well pleased with how the rear end looks now
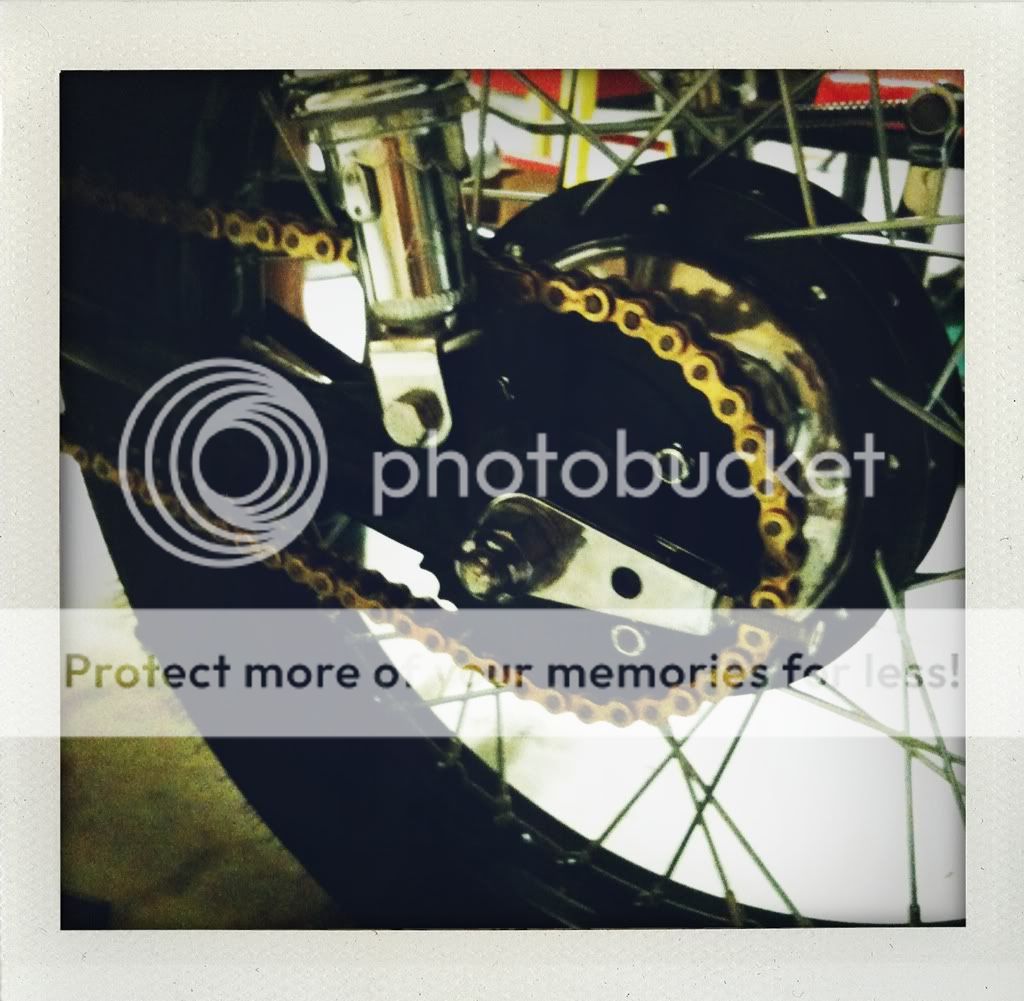
fitted chain and sprockets.
finally really starting to take shape
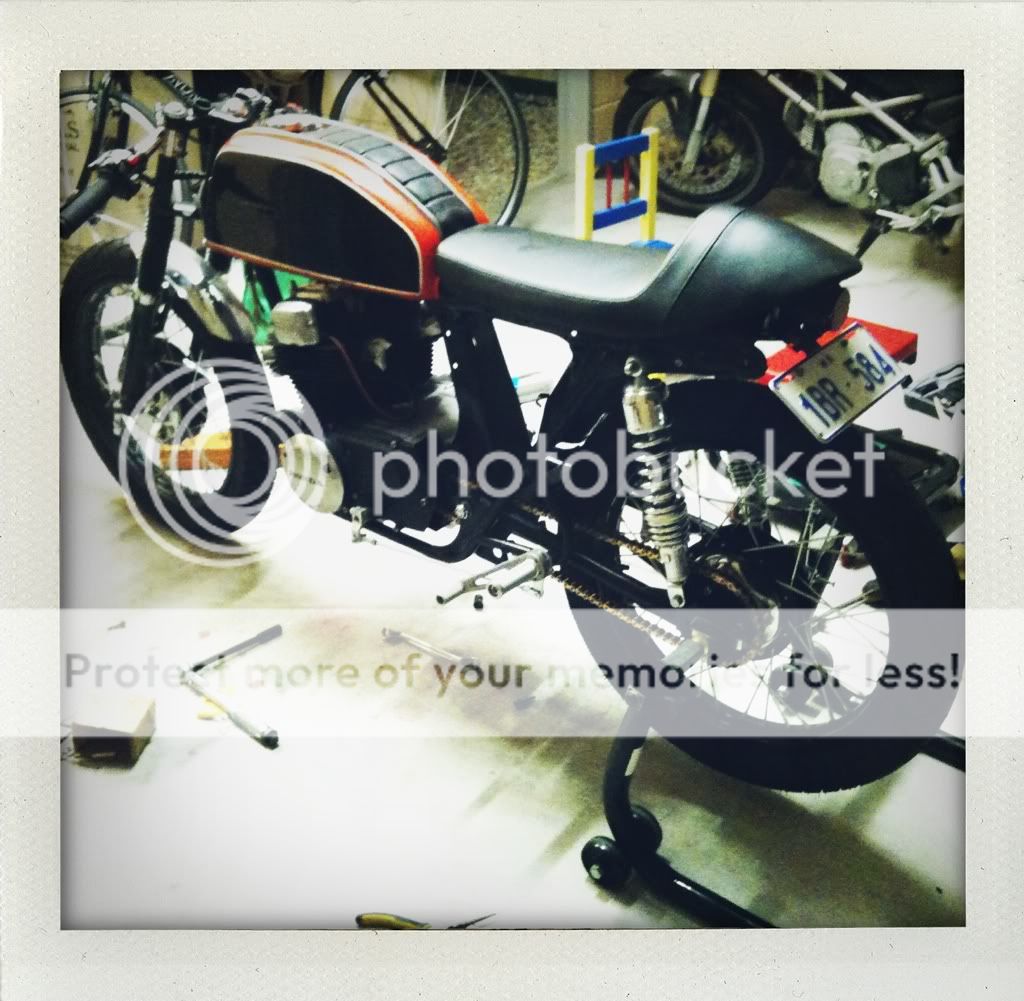
now there are some niggling issues we have to address like kickstart lever/ rearset clearance and rear brake setup.
hopefully next update we'll have indicators on, headlight and tacho mounted and it will look as it will whens its complete.
Hi,
Sorry for the old reply. I would love to know how the electronic ignition is doing and where you got it from.
Cheers mate!
vbroom
Active Member
oops havent updated this thread for a while.
iginition was called petronix...i think we got it off les barker from vintage advantage. A quick go on the google machine should pull his details up for you.
so we got the bell end cut off the stacks.
ID of the stacks was a tad to small of the carb mouth so we cut slits in the end and widened it enough to slip over.
then some rubber and a clamp and we're good to go.
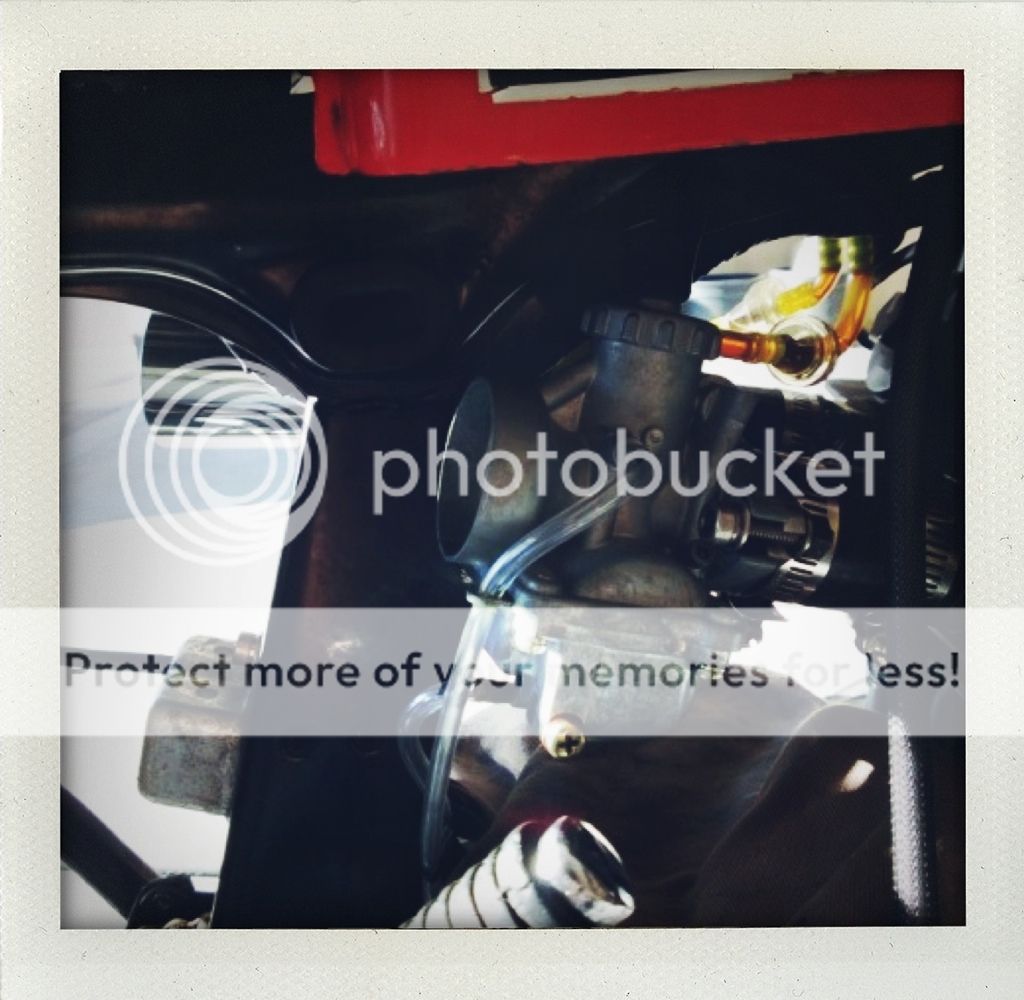
without stack
with stack. we'll probably change the clamp to something smaller when we get the chance.
engine and fuelling wise, we are all sorted now.
so next sort out some electrical issues with the coils.
hook up the front brake switch.
and then the road tests start!
iginition was called petronix...i think we got it off les barker from vintage advantage. A quick go on the google machine should pull his details up for you.
so we got the bell end cut off the stacks.
ID of the stacks was a tad to small of the carb mouth so we cut slits in the end and widened it enough to slip over.
then some rubber and a clamp and we're good to go.
without stack
with stack. we'll probably change the clamp to something smaller when we get the chance.
engine and fuelling wise, we are all sorted now.
so next sort out some electrical issues with the coils.
hook up the front brake switch.
and then the road tests start!
vbroom
Active Member
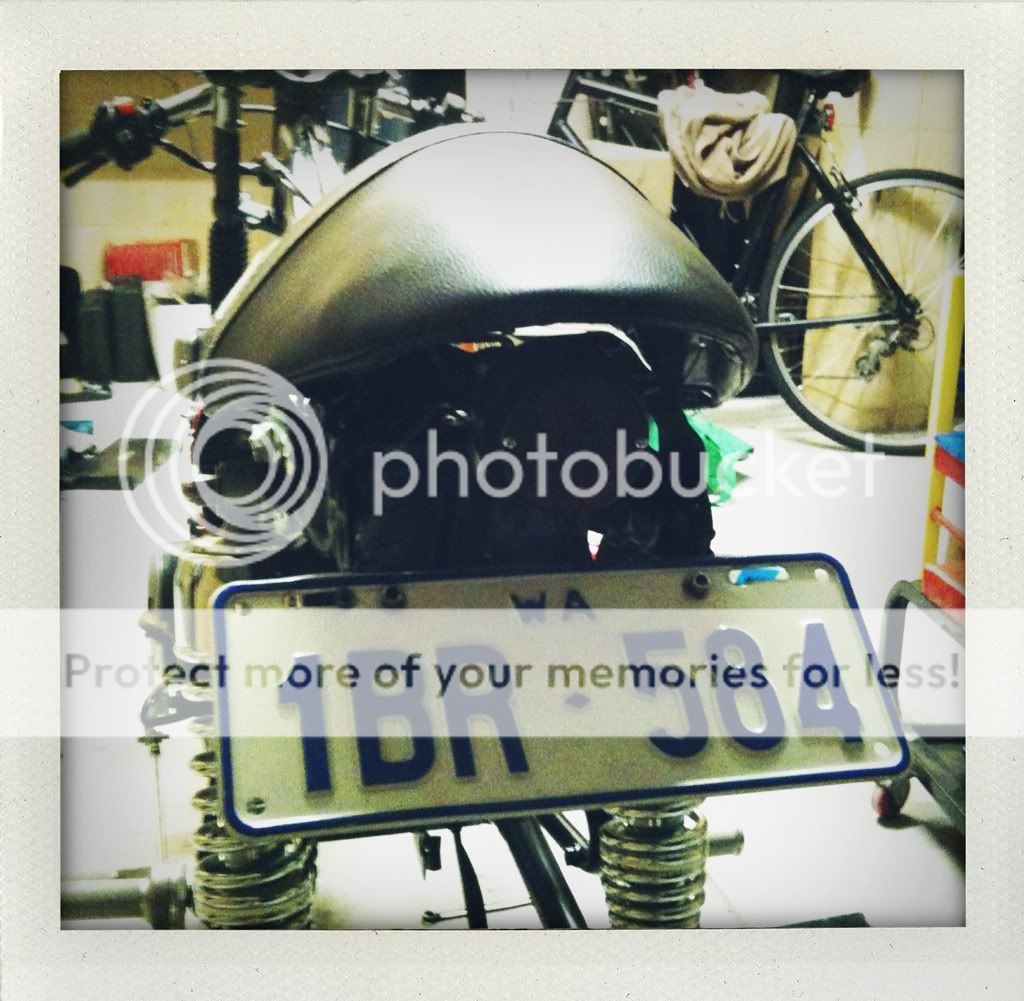
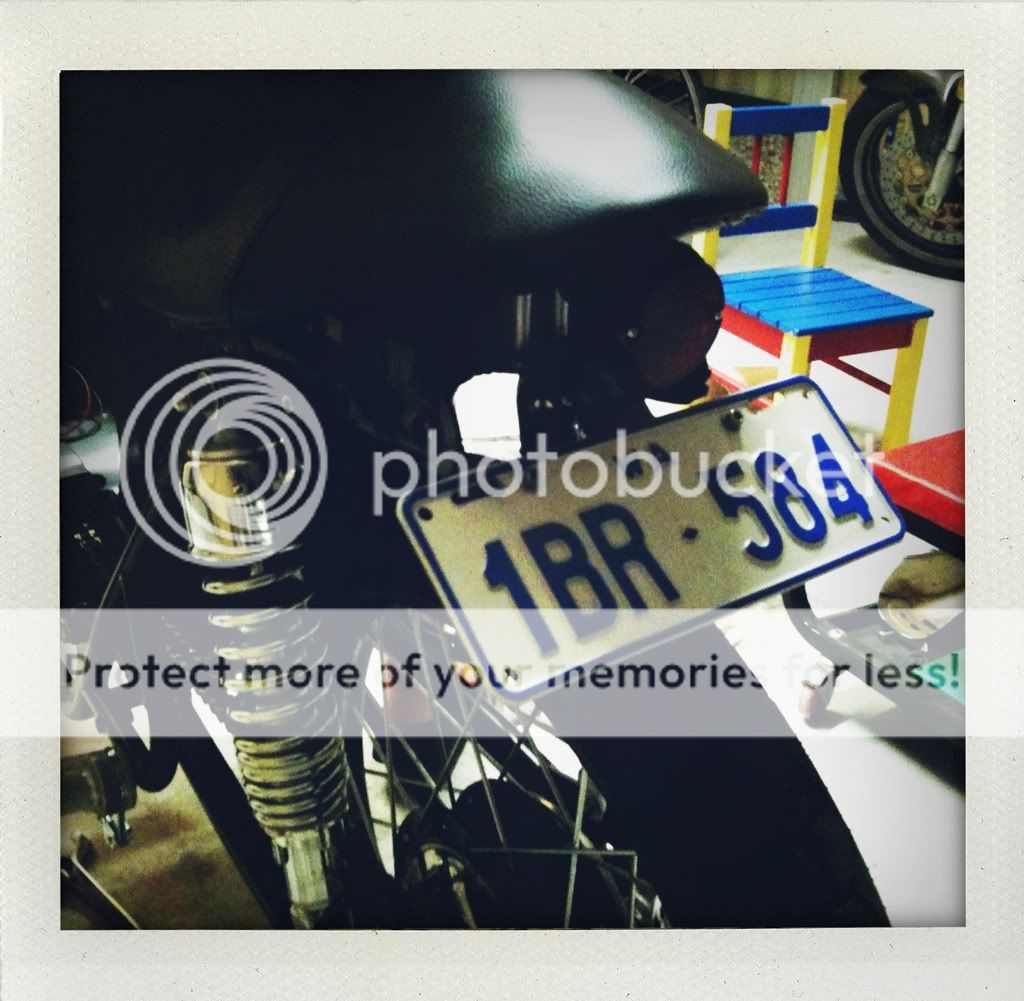
teazer said:You will probably want to raise that license plate before the rear tire eats it.
BTW, what are the manifolds and carbs from?
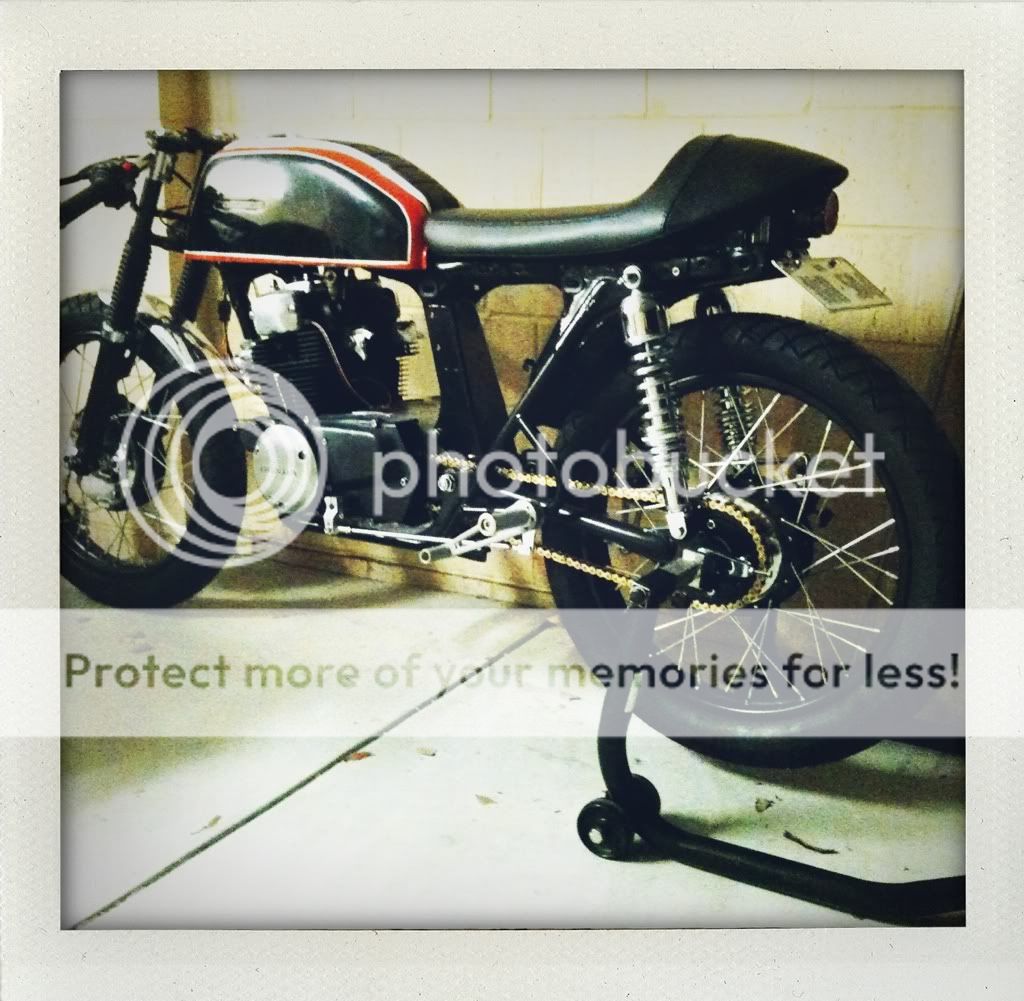
manifolds were modified stock ones..with radiator hose and hose clamps.
can't remember where carbs were from....we had to wait a few months to get our hands on them!
bit of an update of whats happened since the last post....
we got a letter from our friends at the DoT regarding the rego/licensing of our bike this week.
Our bike is registered under 'invitation motorcycle' which basically means it is over 25 yrs old.
This gives us some sort of concession with the licence fee. To keep this, apparently we need to be a financial member of a approved historic motorcycle club.
None of this we knew....so our options are to join a club (none of which we can do in the few days we have left to provide proof of membership).
So....the other option is let the time limit lapse and they rego/licensing of our bike changes to class 4...same as a normal bike...and along with that means we have to take our bike over the pits.
well FUCK. Since then, we have let the rego lapse and are going to deal with going over pits again when we are ready.
Now, for updates from today.
got a resistor wired up to stop the coils overheating.
got the front brake switch wired up.
also wired the kill switch in properly...we accidentally wired the kill to the brake light. which explains why our battery was constantly flat.
only pics this time are of some white paint lettering.
electrics are ALL done now.
things on the to do list.
- rebuild fuel petcock....theres a blockage somewhere.
- retune
- remake engine cover gaskets. some very slow oil leaks appearing.
- restore compliance plate for when we take it over pits
- rebuild front brake/drum/grease brake cam....really spongy front brake.
- restore and final paint to tank.
edit: just realised its been a few days over three years since we picked up this bike! its been long build...but definately worth it.
vbroom
Active Member
eyhonda said:Looks awesome! How did you prep the chrome rims for powdercoat? Did you sandblast the chrome? Did it all come off or was it enough for the powdercoat to adhere?
oops havent replied for ages. sorry..the powdercoaters sandblasted everything first to rough it up.
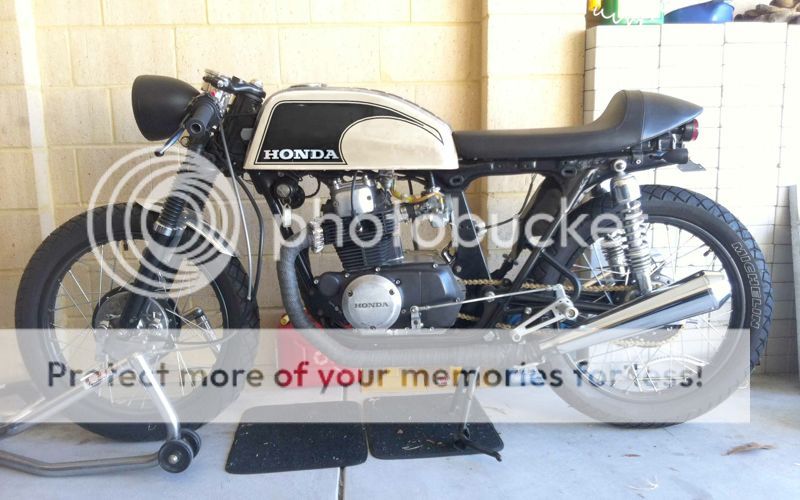
So anyway, the projects still goin....2014 will be the year we finish this bike.
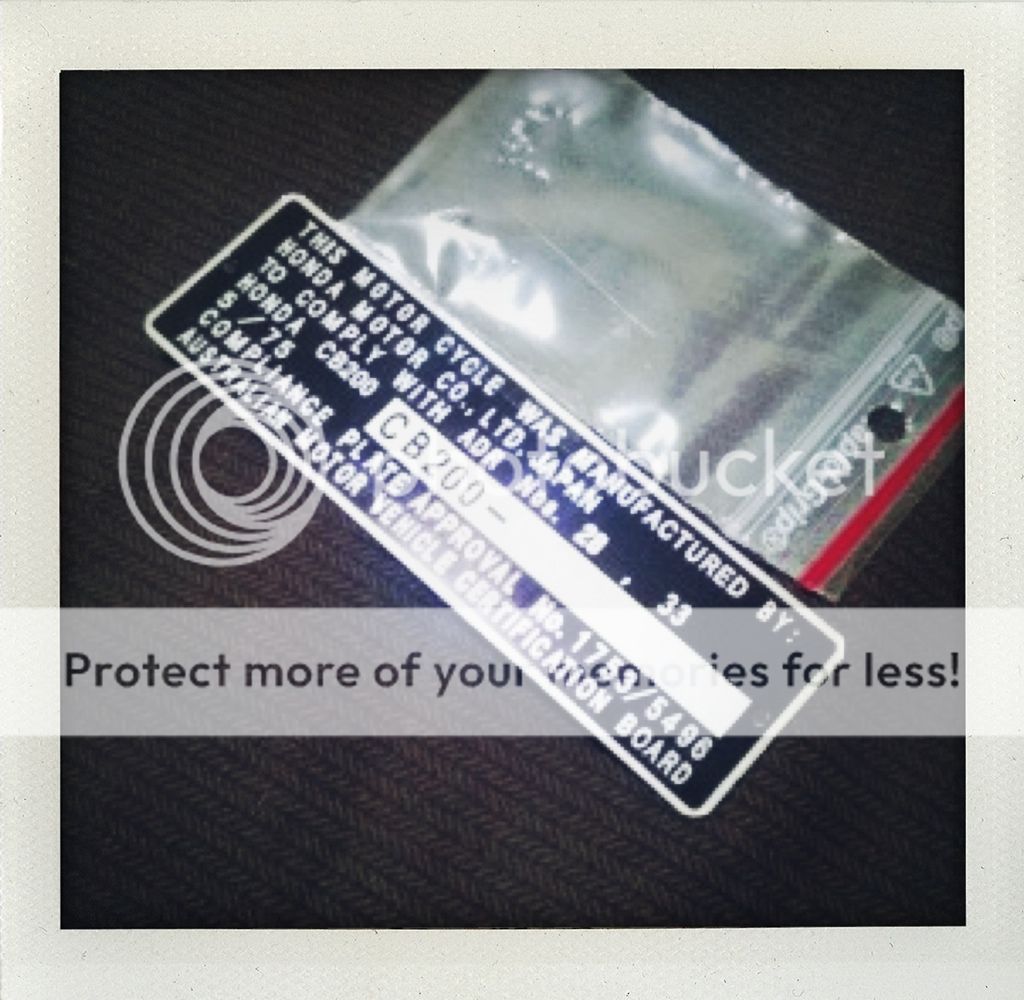
After months and months waiting, we got our compliance plate remade.
A company in switzerland by the name of khneisser make compliance plates for all makes/models and years.
They remade ours after I sent them a photo and told them what I need written on it.
We got the compliance plate (with adhesive on the back and including rivets!) shipped to my door for $32US. Very happy with it.
If anyone needs one made, definately give them a bell.
Vehicle Identification Plates,VIN Number Plates,Motorcycle Choppers Suppliers Switzerland
They also have a whole heap of other plates stocked...but mostly american compliance. He said he was starting to do AUS stuff but flick him an email and he'll sort you out.
[/FONT]
So things we've knocked off the list
- rebuilt tank petcock
- remake engine cover gaskets. some very slow oil leaks appearing.
- restore compliance plate for when we take it over pits
And things left to do.
- strip and clean right carb. blockage somewhere.
- rebuild front brake/drum/grease brake cam....really spongy front brake.
- restore and final paint to tank.
- rego
vbroom
Active Member
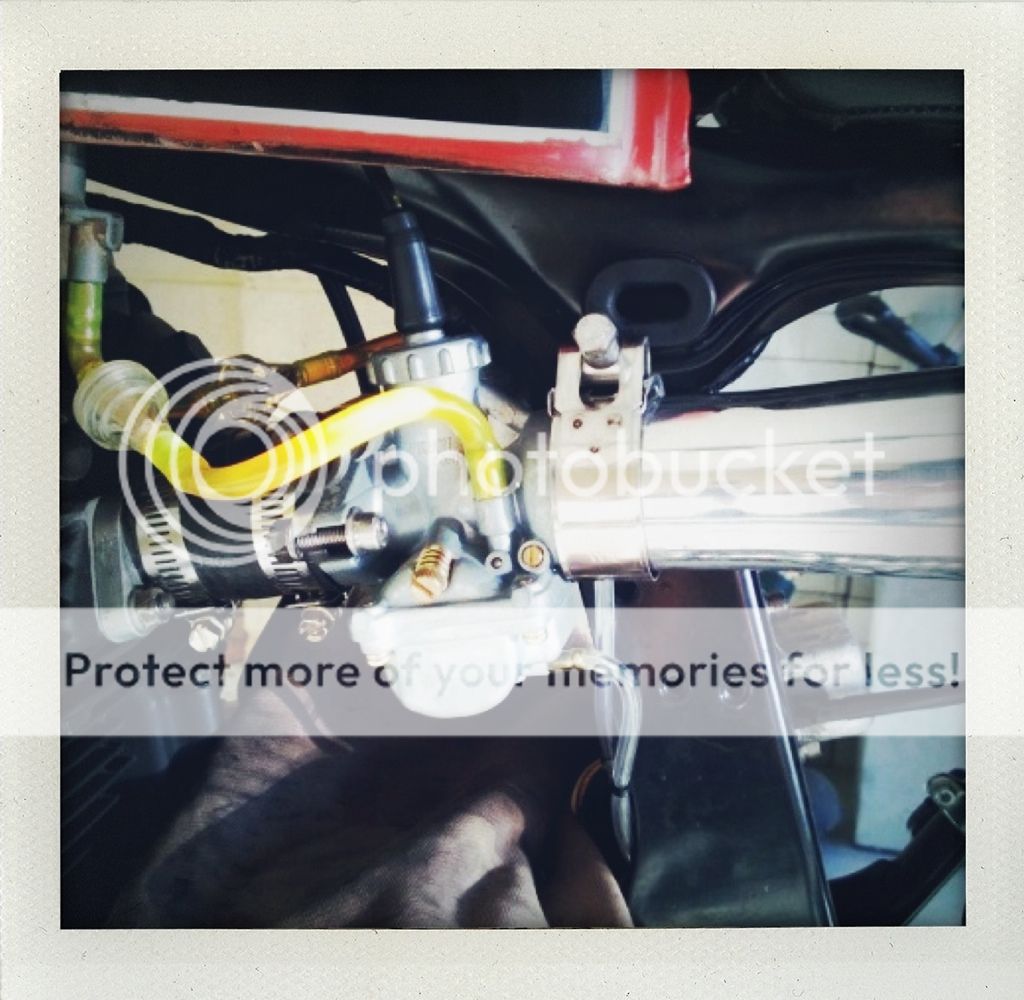
Today we took apart both carbs and cleaned out a few small blockages. Mainly fuel gunk from stale fuel as the bikes been sitting for a while.
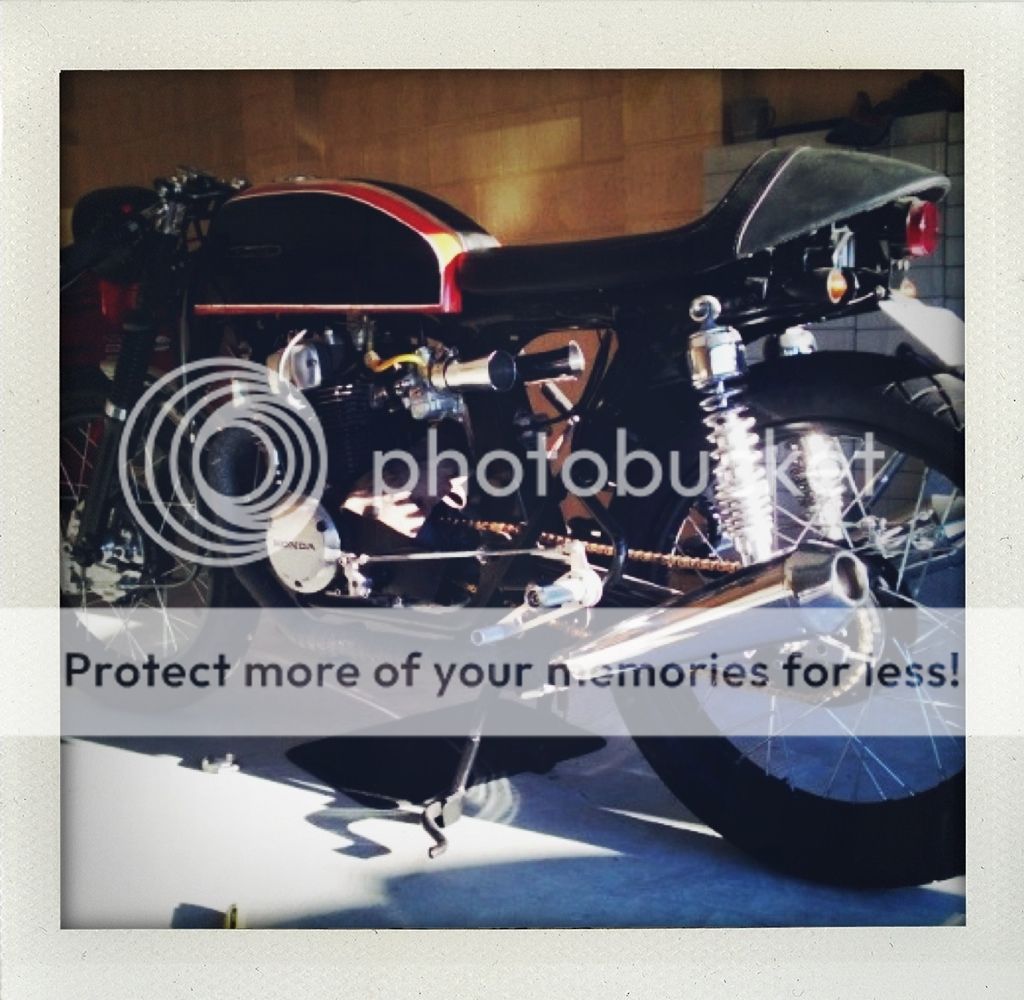
We also took the front hub off and regreased the drum lobes....much better lever feel now.
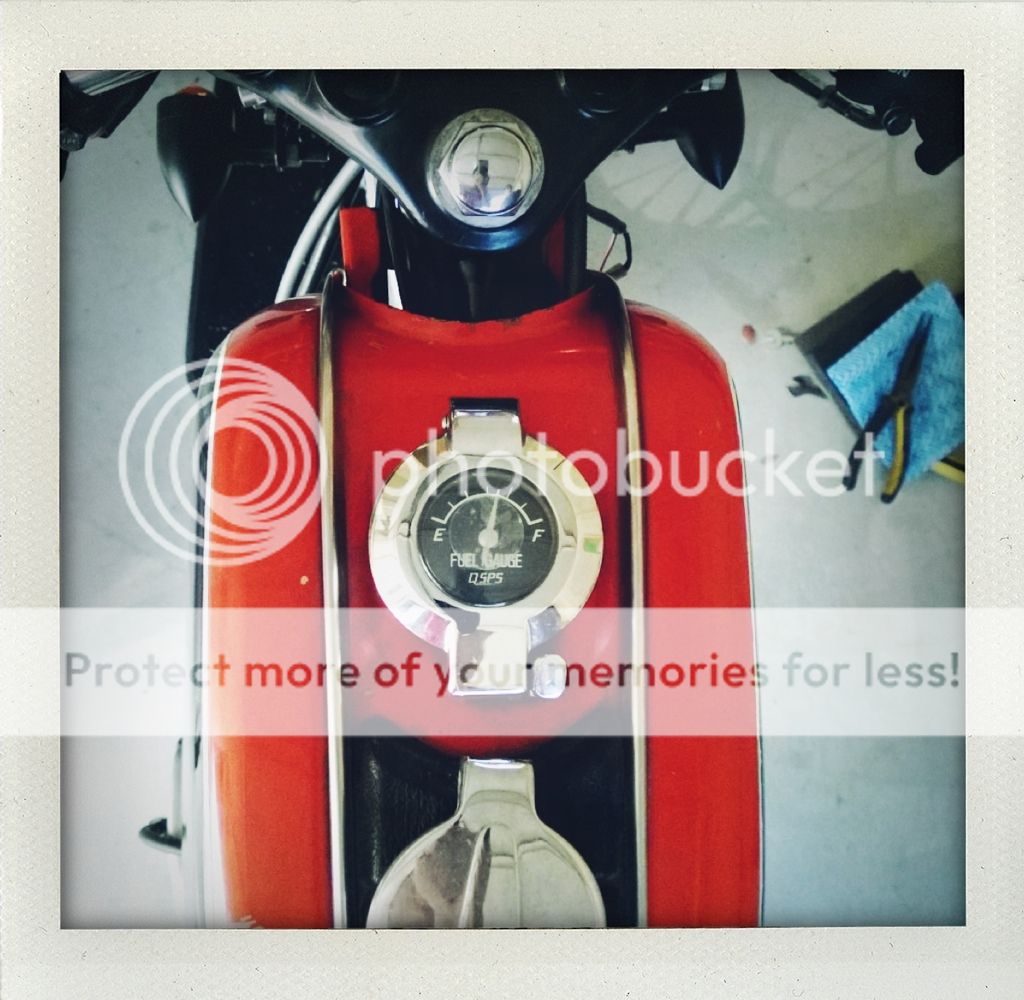
Also installed new tank lid with fuel gauge. Gives the tank a fresh new look.
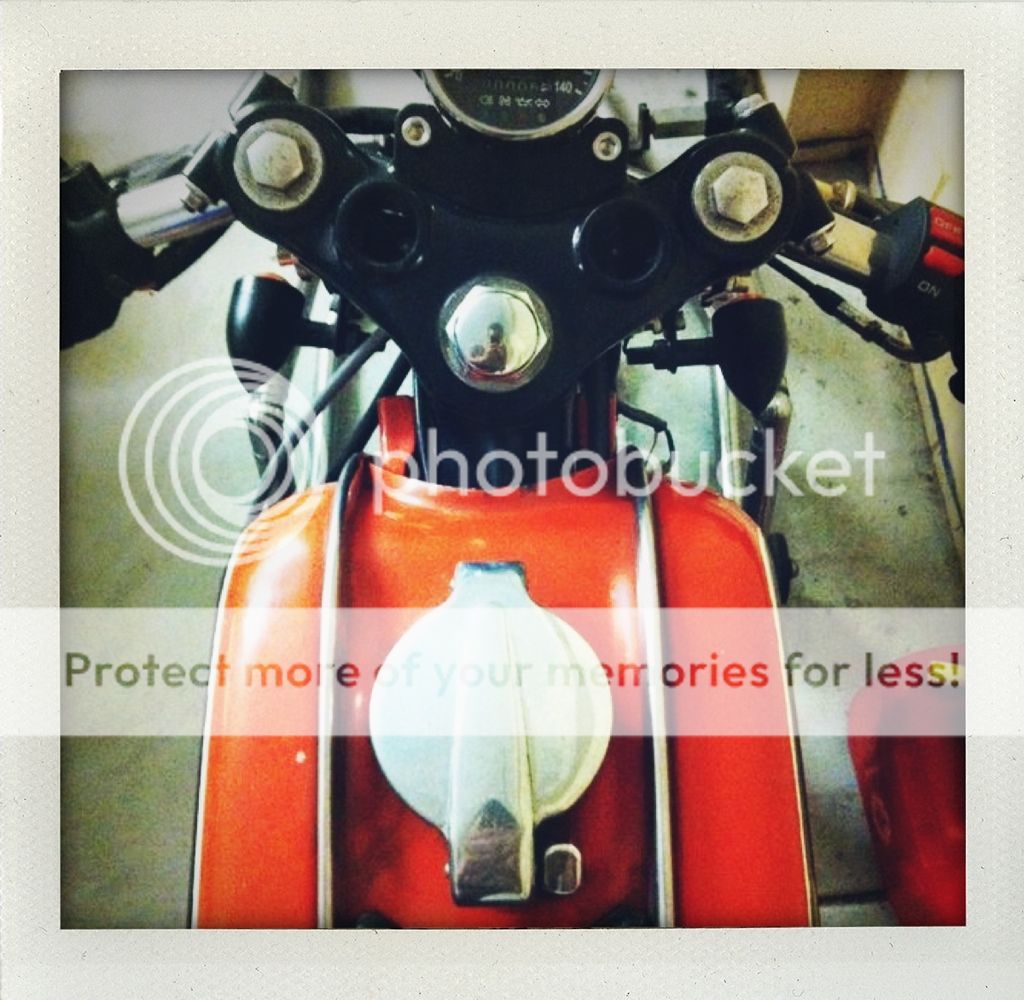
And we've started mocking up paint schemes. This one's the favourite atm but we're still deciding...
We also took the front hub off and regreased the drum lobes....much better lever feel now.
Also installed new tank lid with fuel gauge. Gives the tank a fresh new look.
And we've started mocking up paint schemes. This one's the favourite atm but we're still deciding...
caveman592
Been Around the Block
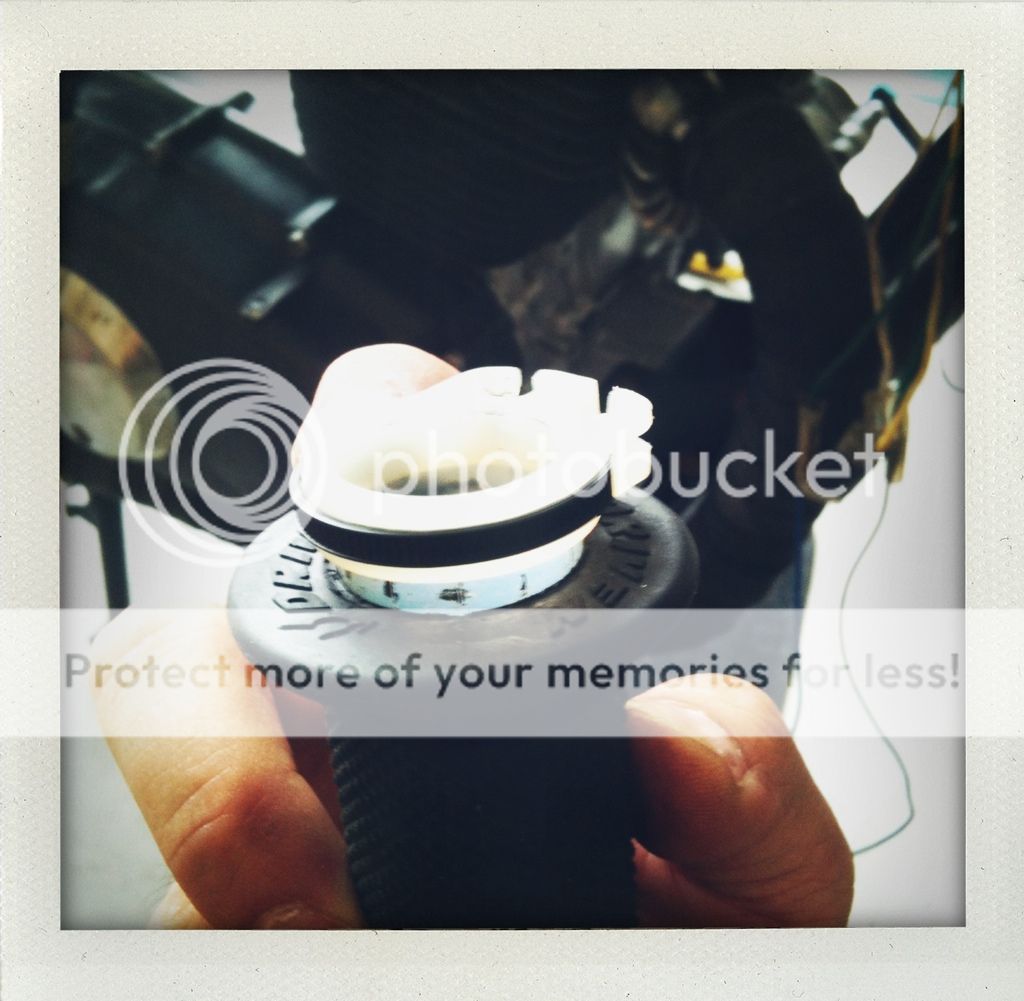
How well does that gas cap work?


