
We noticed you are blocking ads. DO THE TON only works with community supporters. Most are active members of the site with small businesses. Please consider disabling your ad blocking tool and checking out the businesses that help keep our site up and free.
You are using an out of date browser. It may not display this or other websites correctly.
You should upgrade or use an alternative browser.
You should upgrade or use an alternative browser.
CB360 Cafe Project.......
- Thread starter pandknz
- Start date
pandknz
Been Around the Block
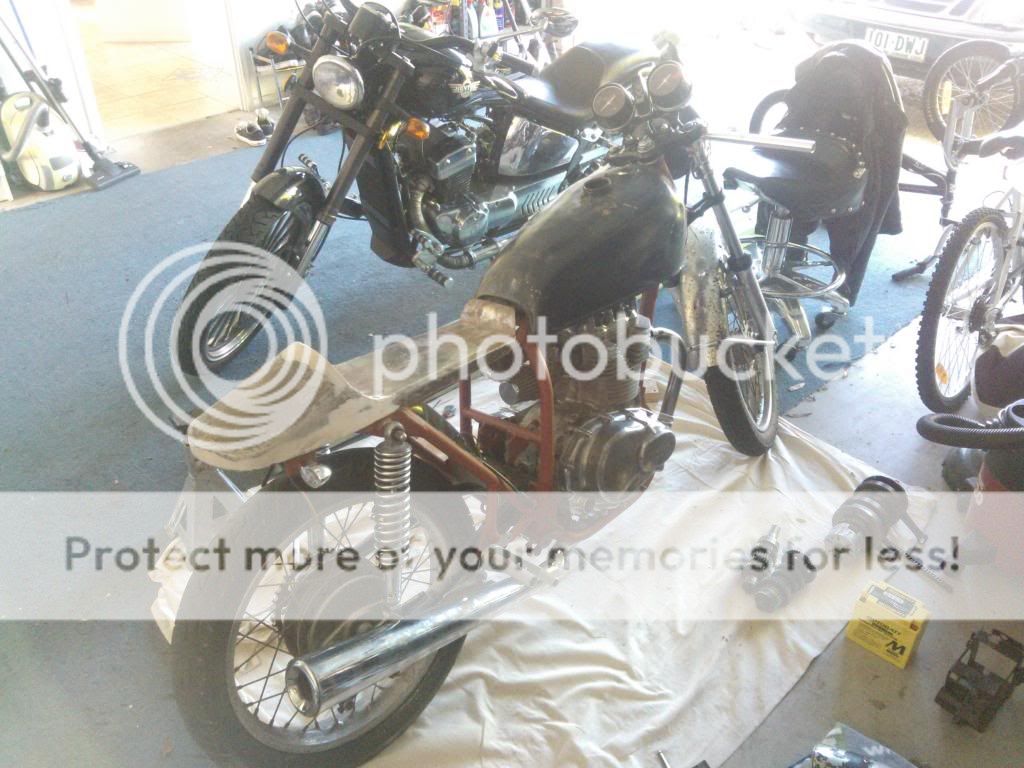
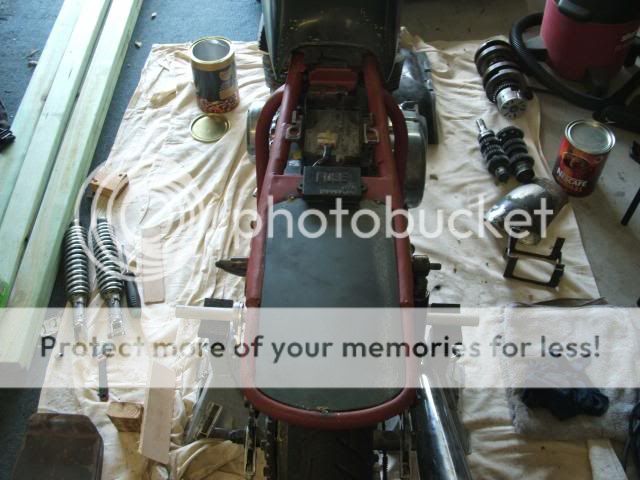
Hi, can anyone tell me the difference between the CB360 rear shocks with two springs per shock and a one piece spring, I have just got a pair of one peice springs from another member, real nice, came from a CB650??? anyway they look the business but whats the difference????
pandknz
Been Around the Block
Hi PJ, thanks, I have seem many CB360's with these shock but with the age of them it may have been the thing to do to fit these shocks later, below are the two types I'm talking about


I will be using the single spring ones, but just wanted to know the difference
Cheers
I will be using the single spring ones, but just wanted to know the difference
Cheers
legendary_rider
Jump in with both feet.
I think they're just different years. I've got a crate of stock shocks from cb 350's and 360's and there seem to be a lot of differences. Those first ones look almost like the progressives I just bought though.
pandknz
Been Around the Block
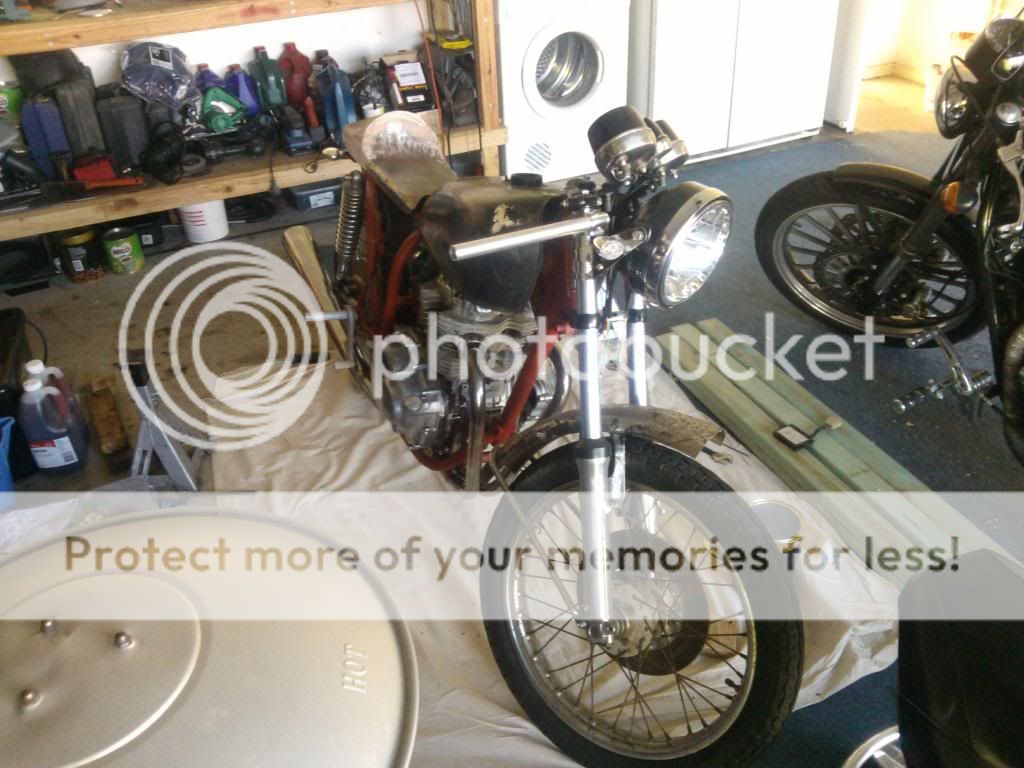
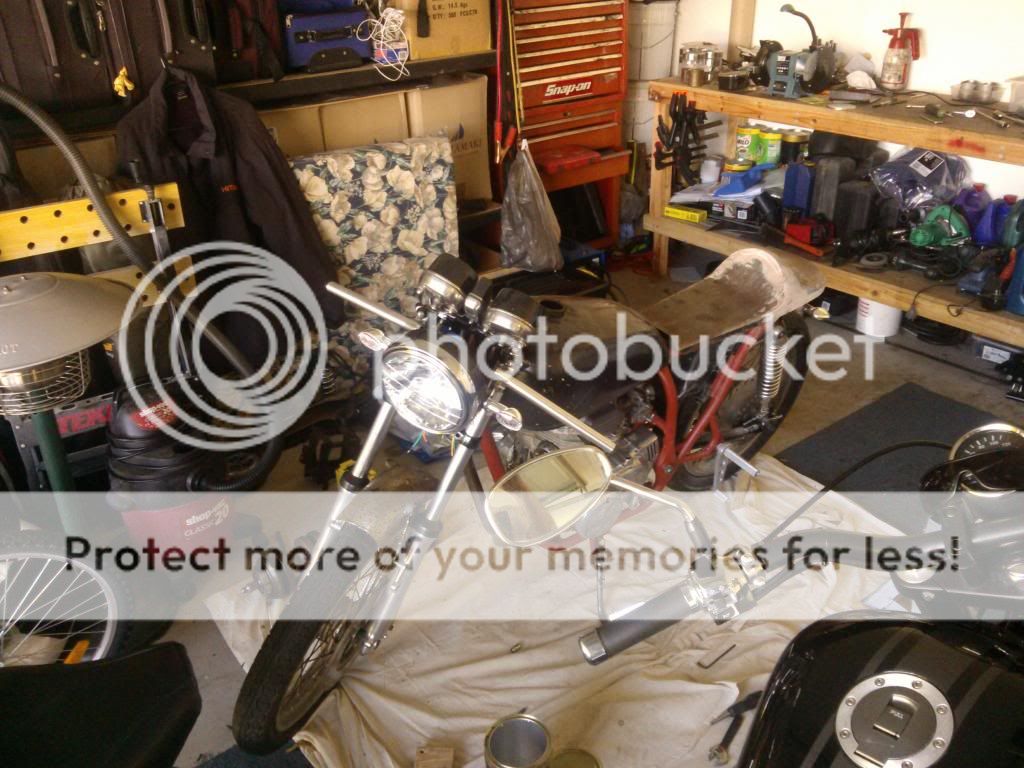
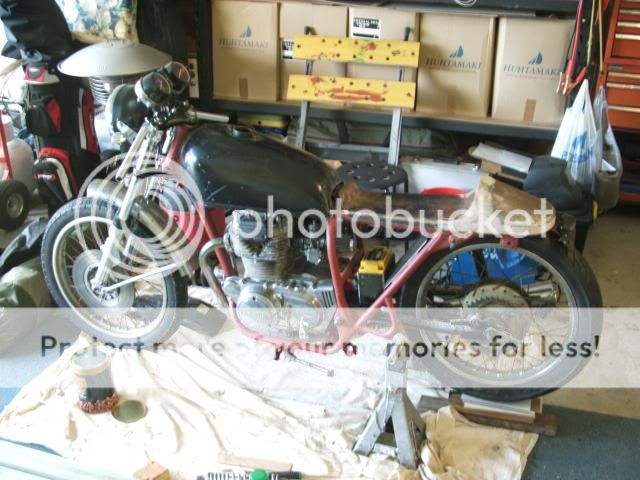
Been a bit slack latley so I thought I would show where I am up to with my seat....made from sheet steel using a mig and rolled by hand.
Its a bit heavier than a fiberglass one but I wanted to make it myself and I don't have a tig and my mig is gassless so can't weld aluminium.


with the tank (no rubbers)


Its a bit heavier than a fiberglass one but I wanted to make it myself and I don't have a tig and my mig is gassless so can't weld aluminium.
with the tank (no rubbers)
legendary_rider
Jump in with both feet.
Oh yeah. Aren't those top shocks the chrome progressives? I've got those in black.
That's a good looking seat.
That's a good looking seat.
pandknz
Been Around the Block
Have not decided on a battery as yet, Ballistic could be a go, if I use the 8 cell that should power my fully rebuilt as of last night starter motor!
thanks for the comments on the seat guys, its my first go at it and I'm pretty happy, will post a picture when I have painted it ;D
thanks for the comments on the seat guys, its my first go at it and I'm pretty happy, will post a picture when I have painted it ;D
3DogNate
"You Meet the Nicest People on a Honda"
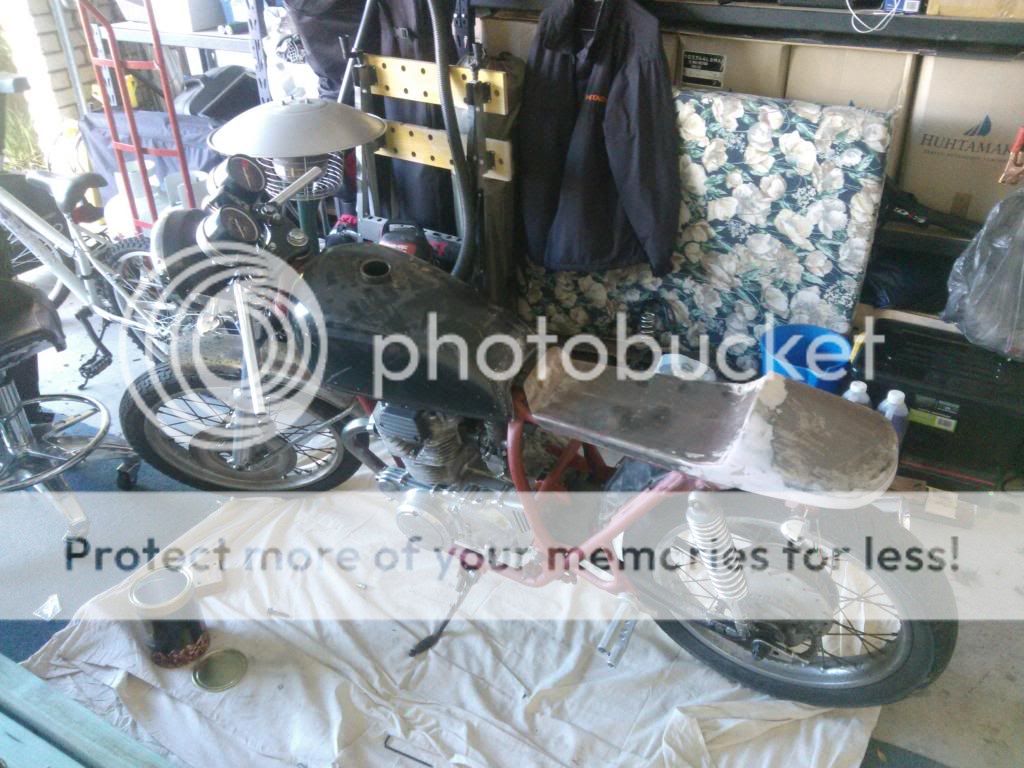
That dent up in the top right corner of your tank is probably going to need to be pulled and beat back down...
you'll need to weld studs and pull them with a slide hammer... or drill and use a traditional slide hammer and then weld the holes back. I'd try my darnedest to not drill.
I'd probably take that tank to a small body shop and ask them to pull the dent since I don't have the proper tooling... I can't imagine that it'd cost too much if all they are doing is pulling.
3DogNate
"You Meet the Nicest People on a Honda"
pandknz said:I have my frame all ready to send off to powder but before I do, are there any places that I should add a brace or a gusset or any mods that are known would be great
thanks
My entire loop section has a tray welded in. Otherwise I didn't add any additional bracing on mine. Getting the frame coated is the beginning of being able to work on the damn thing without get coated in ancient greasy schtuff.
pandknz
Been Around the Block
Hi All
sorry no pictures but plenty of progress, got the forks polished and resealed, new gel Battery arrived, I will make a box for it this week then take some pictures,
one thing I would like some help on is Velocity stacks
I have been offered a good deal and can get 1" 2" or 3"
I have 28 VM's, 2-1 Exhaust and will be running .50 pistons, new performance valve springs and guides, std valves (maybe) cam is still in the think tank, as is port and polishing the head, but I will manifold match as a min.
what does each size do to the motor (performance/rev range) and what aditional engine mods do I need that suits each type.
cheers
pandknz
Been Around the Block
Hi All, been a while since I've had a chance to get any work done on the bike
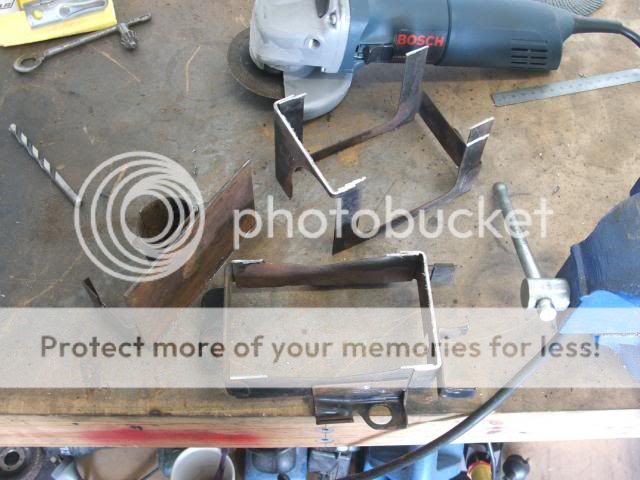
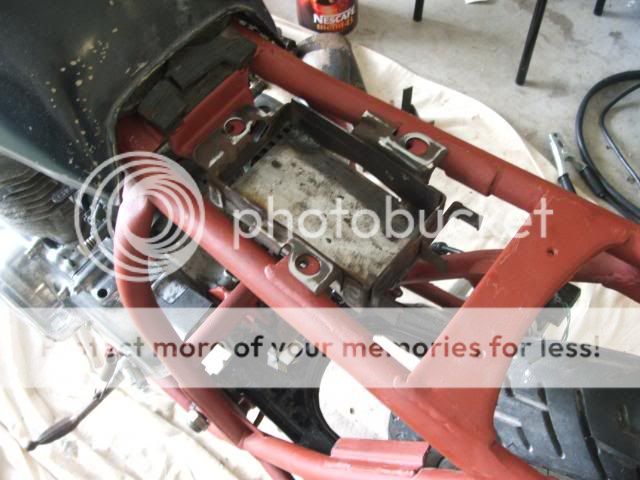
Here is the old battery box cut up to use a an electrical box in orioginal position
and in place
I have also added a inner gaurd and seat pan that will act as splash gaurds fro the rear wheel, it has @ 1/4 " clearance with no spring and shock fully compressed
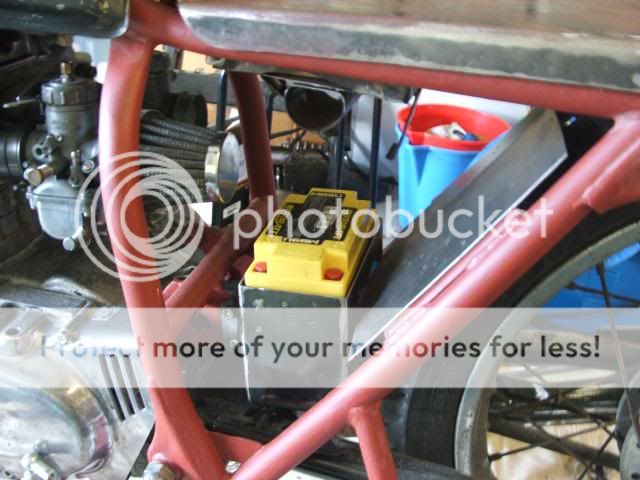
also made a battery box for the gel battery, decided to keep the starter so using a good size battery. mounmted using the tool box mount, nice and low for the weight, although the get battery is big, its light. not sure if I need to support the rear or not.......
Hope to get the seat mounted this week and then I can start on the gear linkage and brake linkage, decided not to use the cable and adapt the original pivot.....
Here is the old battery box cut up to use a an electrical box in orioginal position
and in place
I have also added a inner gaurd and seat pan that will act as splash gaurds fro the rear wheel, it has @ 1/4 " clearance with no spring and shock fully compressed
also made a battery box for the gel battery, decided to keep the starter so using a good size battery. mounmted using the tool box mount, nice and low for the weight, although the get battery is big, its light. not sure if I need to support the rear or not.......
Hope to get the seat mounted this week and then I can start on the gear linkage and brake linkage, decided not to use the cable and adapt the original pivot.....


