neevo
Over 1,000 Posts
crazypj said:You've got a welder..................... ;D
That's part of the problem I think you'll find

crazypj said:You've got a welder..................... ;D
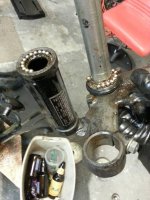
crazypj said:Getting the old bearings out is real simple, 1/2" bar about 18" long and tap away from the opposite end of steering head tube
Removing taper roller bearings when they fail is far more difficult though
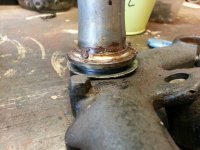
neevo said:I put the bearing in the oven and triple in the freezer. Slipped right on with no issues.