
We noticed you are blocking ads. DO THE TON only works with community supporters. Most are active members of the site with small businesses. Please consider disabling your ad blocking tool and checking out the businesses that help keep our site up and free.
You are using an out of date browser. It may not display this or other websites correctly.
You should upgrade or use an alternative browser.
You should upgrade or use an alternative browser.
CB450 K7 "Espresso Love"
- Thread starter CCRider
- Start date
goodfornothing
Spicey!
CC,
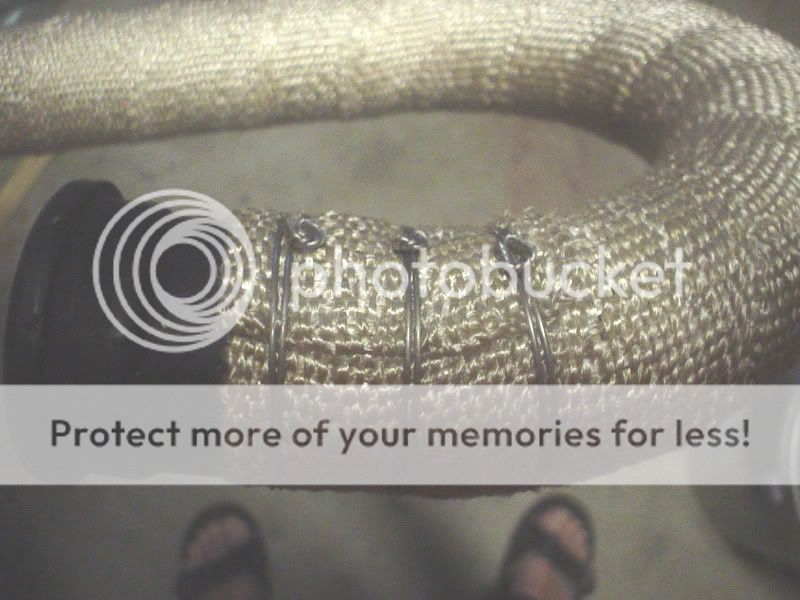
I don't really understand how you started the wrap. In the picture, are the safety wires going through the exhaust wrap?
Also when you make it toward the front of the exhaust, you said you tucked the loose end under, so you mean under the previous wrap? Would that make it loose?
I don't really understand how you started the wrap. In the picture, are the safety wires going through the exhaust wrap?
Also when you make it toward the front of the exhaust, you said you tucked the loose end under, so you mean under the previous wrap? Would that make it loose?
CCRider
Coast to Coast
Yes.goodfornothing said:CC,
I don't really understand how you started the wrap. In the picture, are the safety wires going through the exhaust wrap?
Not under the previous wrap, just folded under itself like the hem at the bottom of a pair of pants.goodfornothing said:Also when you make it toward the front of the exhaust, you said you tucked the loose end under, so you mean under the previous wrap? Would that make it loose?
A photo from the other side might help.
CC
goodfornothing
Spicey!
Oh sweet thanks, CC! That cleared it up.
CCRider
Coast to Coast
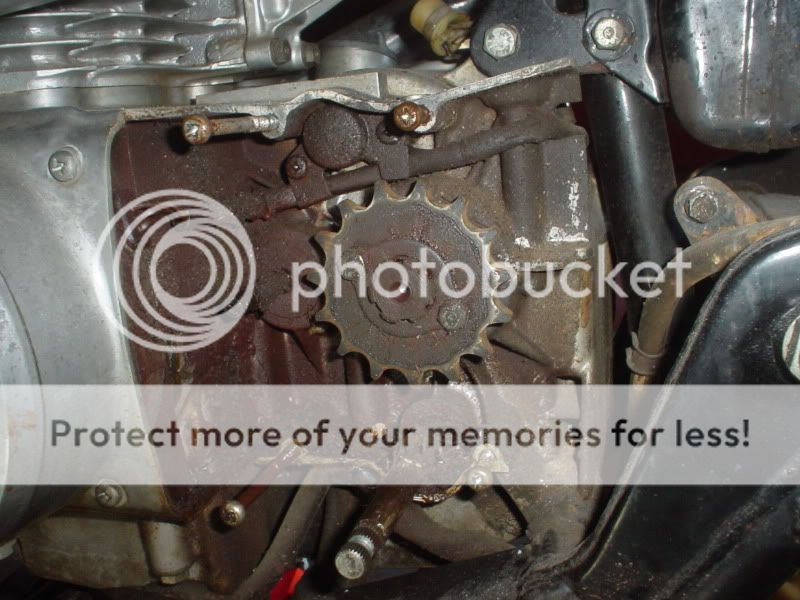
Well my engine had a typical amount of 35 year old grime and crud...
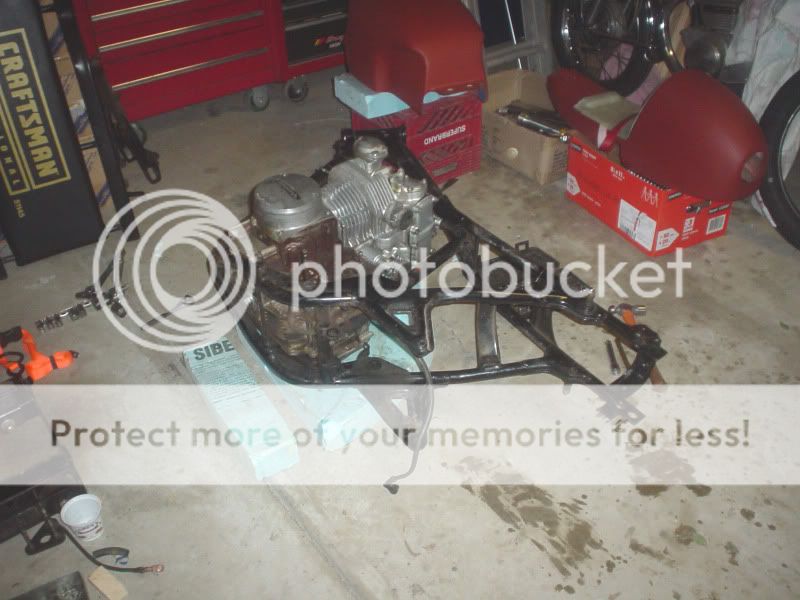
So I laid the frame down and dropped the engine out for cleaning/painting.
Started things off with a WD-40 bath over a washing machine drip pan to remove the worst of the grime.
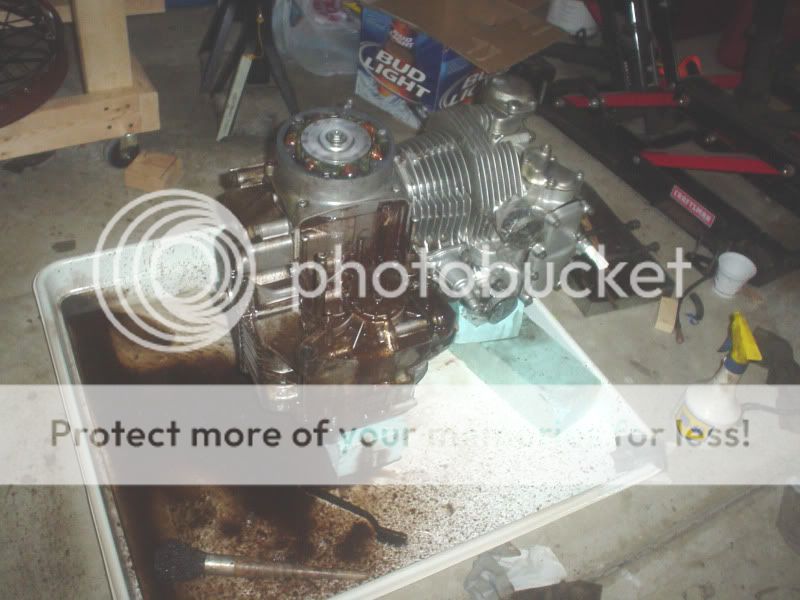
Then took her outside for a Purple-Power wash. Nice and clean.
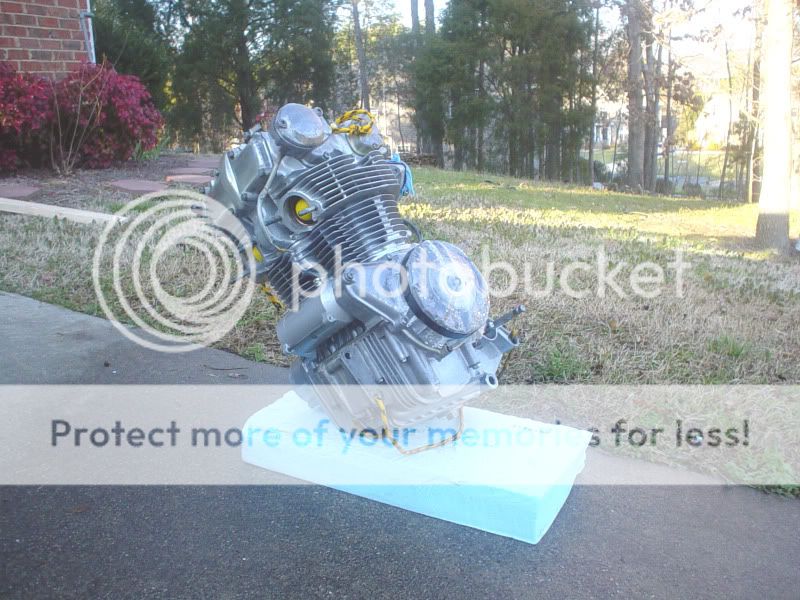
BTW, "nerf" golf balls make great plugs to keep crap out of the engine while cleaning.
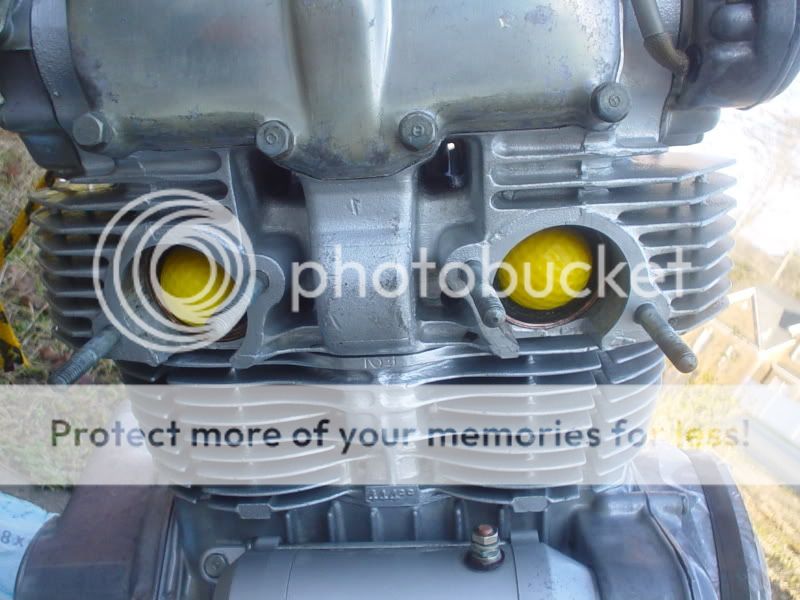
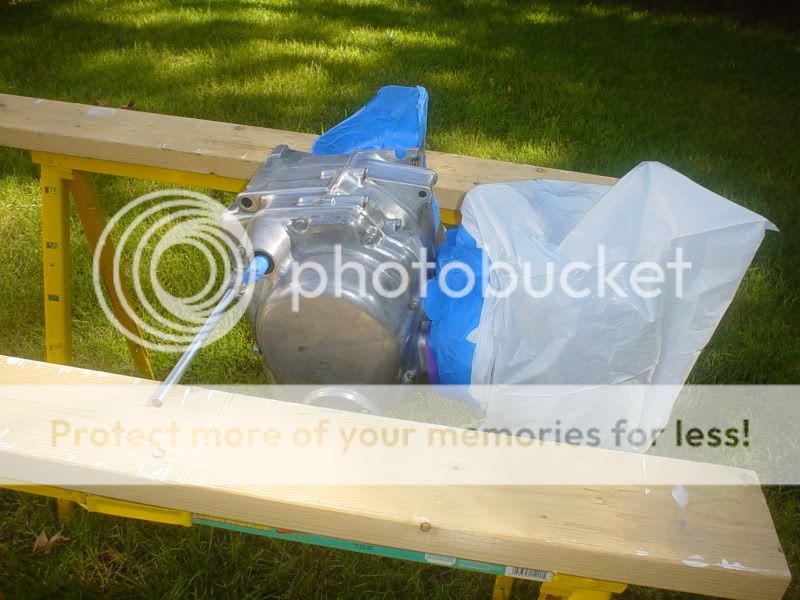
The lower case was prepped for painting and the cylinders and previously polished sprocket cover were masked off. The side covers will be polished later, so I didn't bother masking them off. A threaded rod through one of the mounting holes supported the engine on saw horses, so that I could swing the engine back and forth 180+ degrees (propping the head up each end of the swing) to help with painting. I painted with Duplicolor engine paint.
Here's the engine hanging upside down in the garage after painting and prior to side cover removal for polishing.
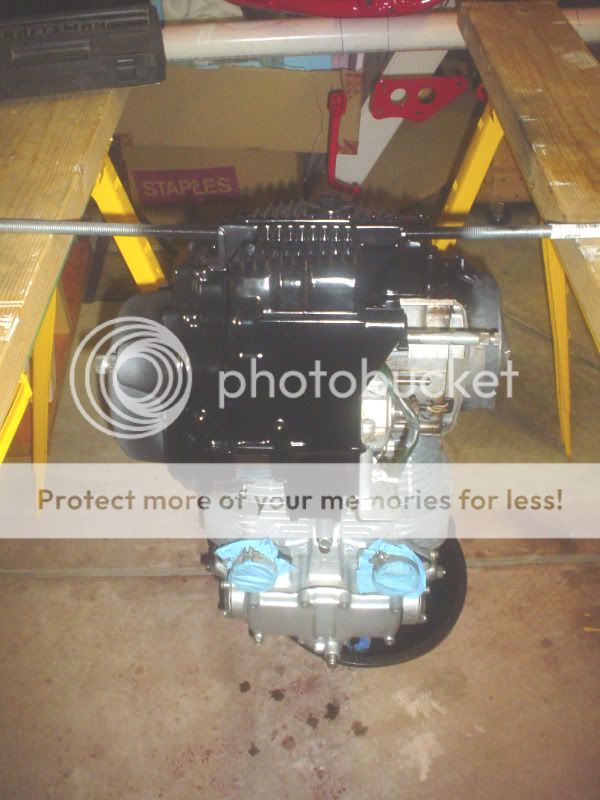
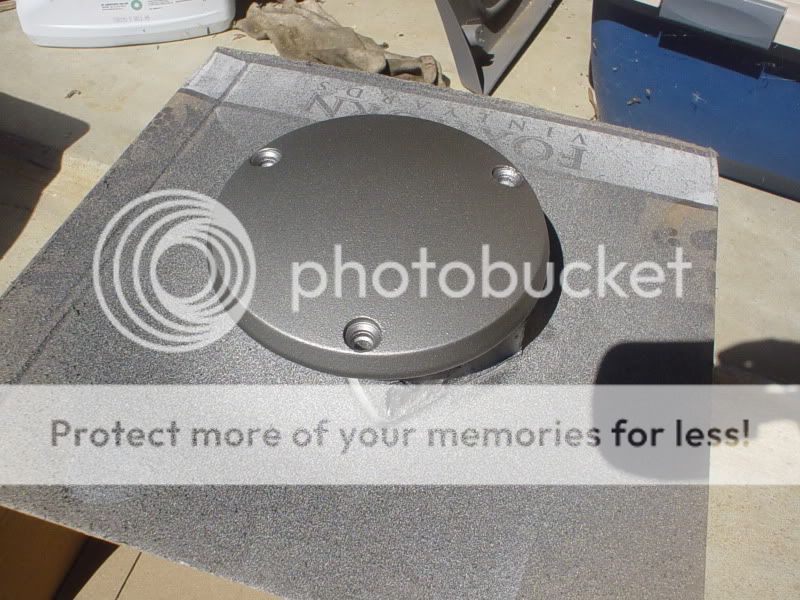
As part of my "no logos" theme, I bead blasted the alternator cover and "bondo'ed" over the Honda and Made In Japan castings with JB Weld and sanded smooth.
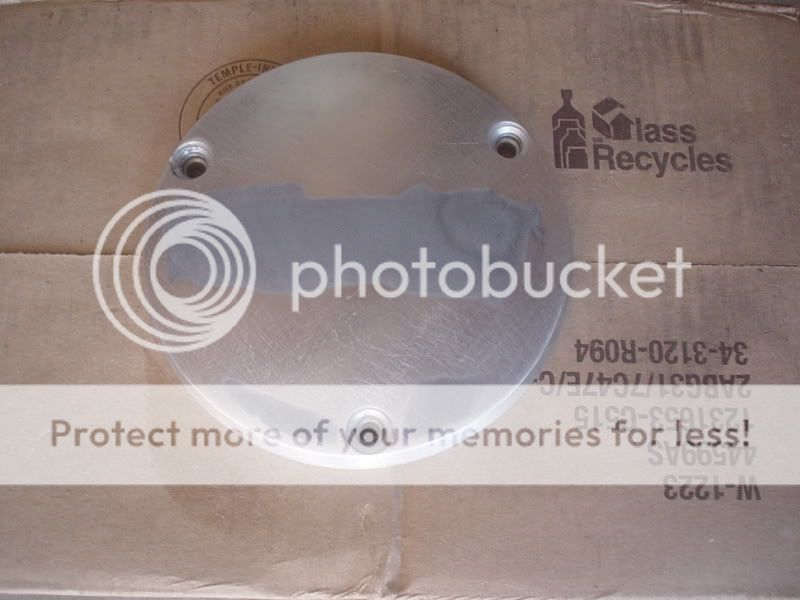
That was shot with silver appliance epoxy, which didn't turn out real well, so it later got sanded down and painted over with the same base silver color and clear coat of the rest of the bodywork.
Thanks for looking, CC
So I laid the frame down and dropped the engine out for cleaning/painting.
Started things off with a WD-40 bath over a washing machine drip pan to remove the worst of the grime.
Then took her outside for a Purple-Power wash. Nice and clean.
BTW, "nerf" golf balls make great plugs to keep crap out of the engine while cleaning.
The lower case was prepped for painting and the cylinders and previously polished sprocket cover were masked off. The side covers will be polished later, so I didn't bother masking them off. A threaded rod through one of the mounting holes supported the engine on saw horses, so that I could swing the engine back and forth 180+ degrees (propping the head up each end of the swing) to help with painting. I painted with Duplicolor engine paint.
Here's the engine hanging upside down in the garage after painting and prior to side cover removal for polishing.
As part of my "no logos" theme, I bead blasted the alternator cover and "bondo'ed" over the Honda and Made In Japan castings with JB Weld and sanded smooth.
That was shot with silver appliance epoxy, which didn't turn out real well, so it later got sanded down and painted over with the same base silver color and clear coat of the rest of the bodywork.
Thanks for looking, CC
goodfornothing
Spicey!
That's an interesting way of removing the Honda logo! I'm going to have to do something like that to my alternator cover one of these days because it's pretty beat up.
CCRider
Coast to Coast
Here's what I went through to get my tapered steering bearings to work, for those of you who might be considering the upgrade. Unfortunately, I ordered Pyramid bearings before I read Zonda's post about his disappointment with their fit. As he posted, the upper bearing is too thick and extends above the steering tube and the lower bearing is too thin and requires a spacer (not supplied) or the steering tube will hit the lower triple clamp before the bearing seats.
I couldn't find an off the shelf spacer to use, so I decided to machine the stock lower ball bearing race into a spacer. I took a 1" diameter drum sander attachment and wrapped it with plastic tape until the stock race fit tightly on it. I chucked that in a drill motor and spun it against my bench grinder wheel until it was turned down to the inside diameter of the dust seal. To cut down the height of the race I chucked the attachment in the drill press and removed the top of the race with a cut off wheel. As I recall the final height of the finished spacer was about 0.166".
Here's the race being cut down to size on the drill press:

The spacer was installed on the steering stem on top of the stock washer and the dust seal fit around the spacer.
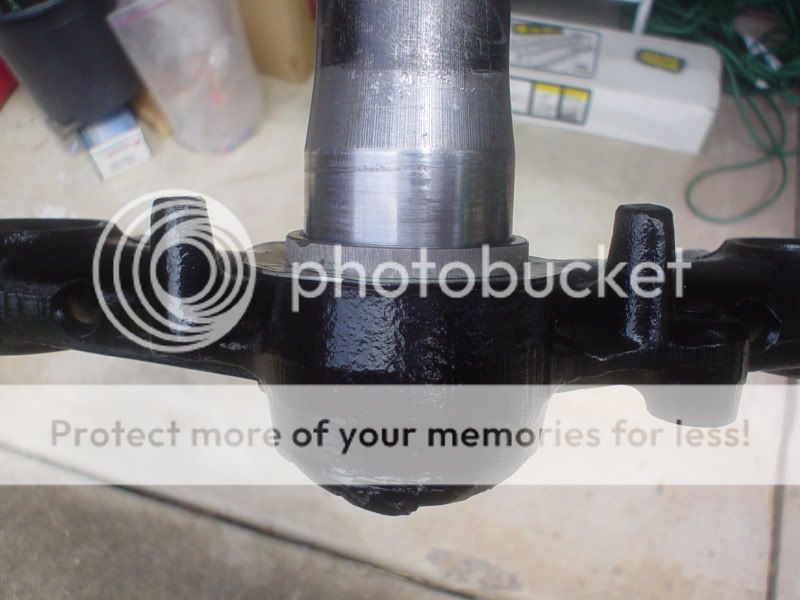
The tapered bearing was then pressed on top of the spacer, sandwiching the dust seal between the washer and bearing.
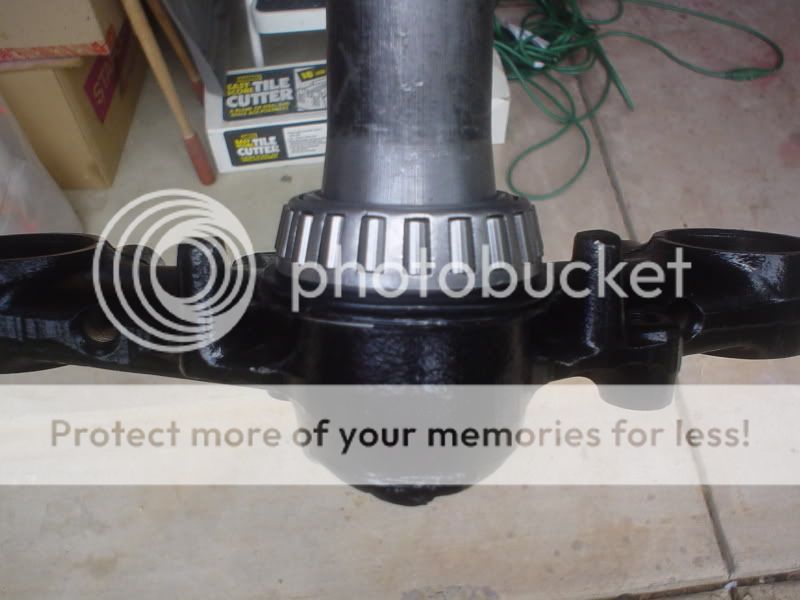
Now the bearing fits properly into the lower steering tube and the dust seal remains in place to do it's job. The top bearing works without modification even though it extends above the steering tube.
Maybe some of the other tapered bearing kits come with spacers or are more properly sized, but if you go with the less expensive Pyramid bearings, this what you'll be up against.
CC
I couldn't find an off the shelf spacer to use, so I decided to machine the stock lower ball bearing race into a spacer. I took a 1" diameter drum sander attachment and wrapped it with plastic tape until the stock race fit tightly on it. I chucked that in a drill motor and spun it against my bench grinder wheel until it was turned down to the inside diameter of the dust seal. To cut down the height of the race I chucked the attachment in the drill press and removed the top of the race with a cut off wheel. As I recall the final height of the finished spacer was about 0.166".
Here's the race being cut down to size on the drill press:
The spacer was installed on the steering stem on top of the stock washer and the dust seal fit around the spacer.
The tapered bearing was then pressed on top of the spacer, sandwiching the dust seal between the washer and bearing.
Now the bearing fits properly into the lower steering tube and the dust seal remains in place to do it's job. The top bearing works without modification even though it extends above the steering tube.
Maybe some of the other tapered bearing kits come with spacers or are more properly sized, but if you go with the less expensive Pyramid bearings, this what you'll be up against.
CC
Flugtechnik
My bike is not transportation, it is a respite
That sounds like way too much trouble. I thought I saw somewhere that someone had used the tapered bearings from All Balls ($44). Did anyone have good luck with them? I was thinking about doing this since I had the bike apart.
Flugtechnik said:That sounds like way too much trouble. I thought I saw somewhere that someone had used the tapered bearings from All Balls ($44). Did anyone have good luck with them? I was thinking about doing this since I had the bike apart.
All balls kit fits perfect, no issues at all.
CCRider
Coast to Coast
philos1 said:All balls kit fits perfect, no issues at all.
That's what I get for being a cheap ass and trying to save a couple of bucks.
CC
CCRider
Coast to Coast
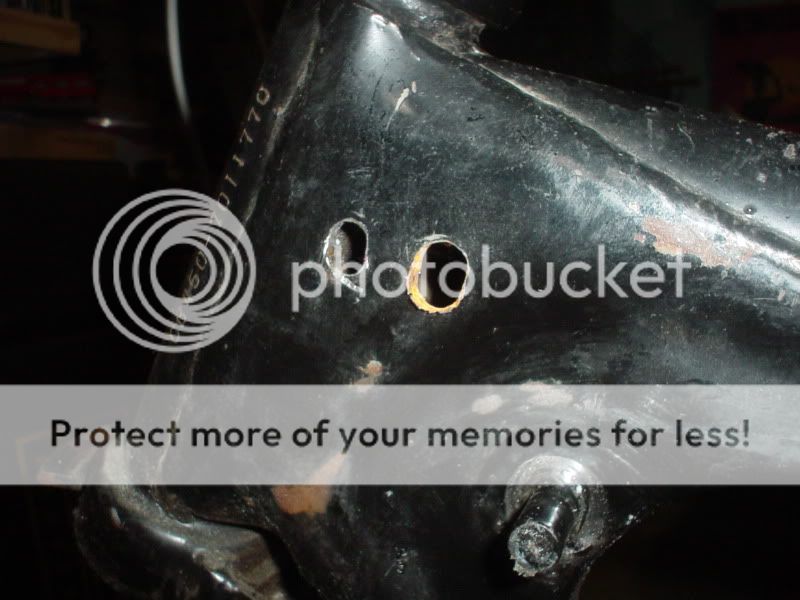
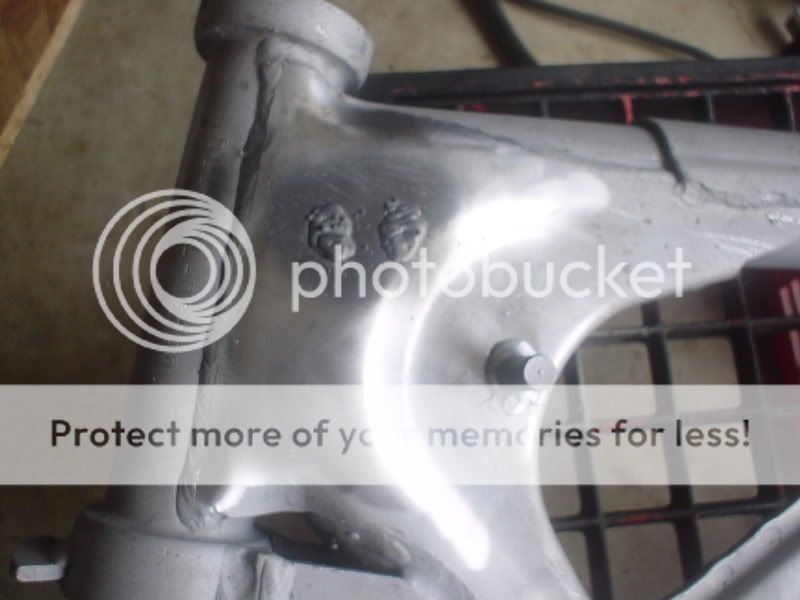
Other than grinding off a few tabs, I didn't do too much to the frame. The PO left some nasty holes in the frame from where he tried to mount the "chopper" tank. I just welded them over and ground down smooth:

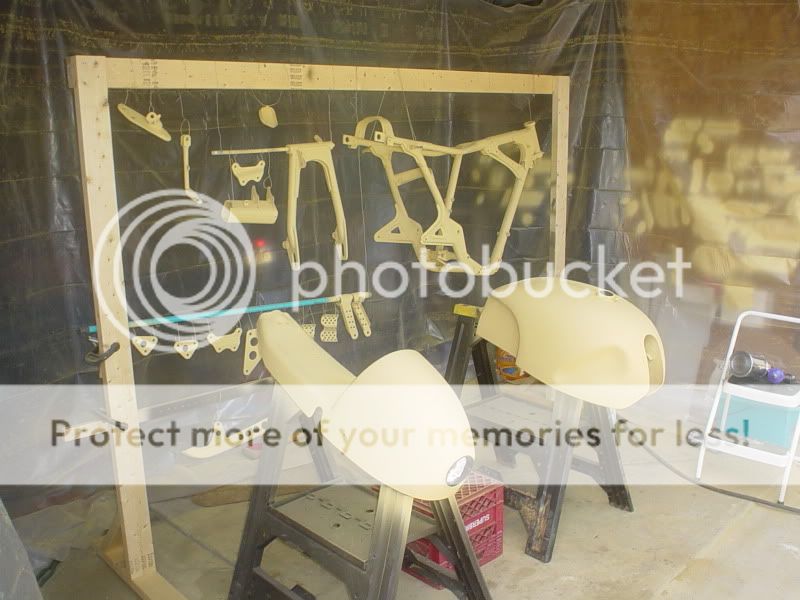
I made a makeshift paint booth by opening up my garage door and hanging plastic on three sides. All the steel parts got a coat of self-etching primer:
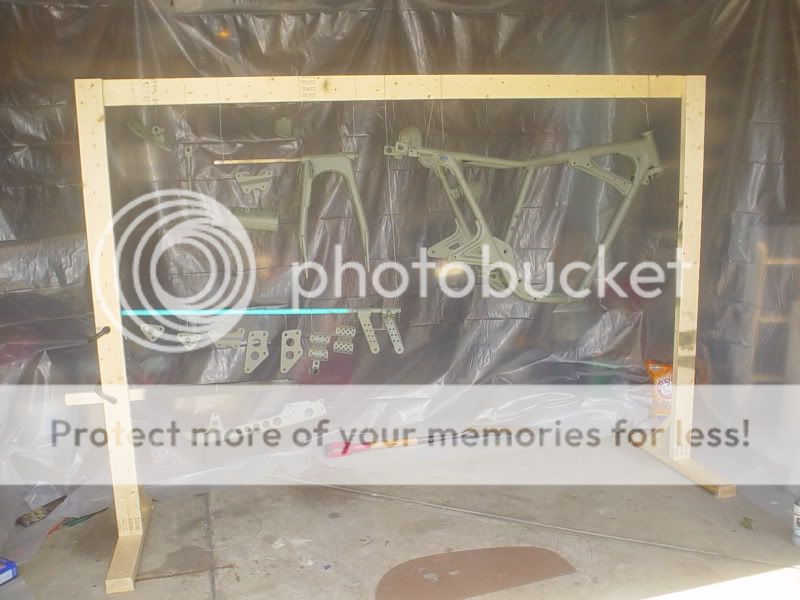
Then everything got a coat of filler primer. I liked the filler primer on the tank and seat, but it sucked on the frame. It dries really quickly and in areas where I couldn't get the gun up close, it lumped up and didn't lie down smoothly. Also, it needs to be sanded before the finish coat and sanding a frame sucks.
The frame and attachments got four coats of single stage red paint. Unfortunately, after getting my heart set on a red frame, I found out that red is the most expensive paint color.
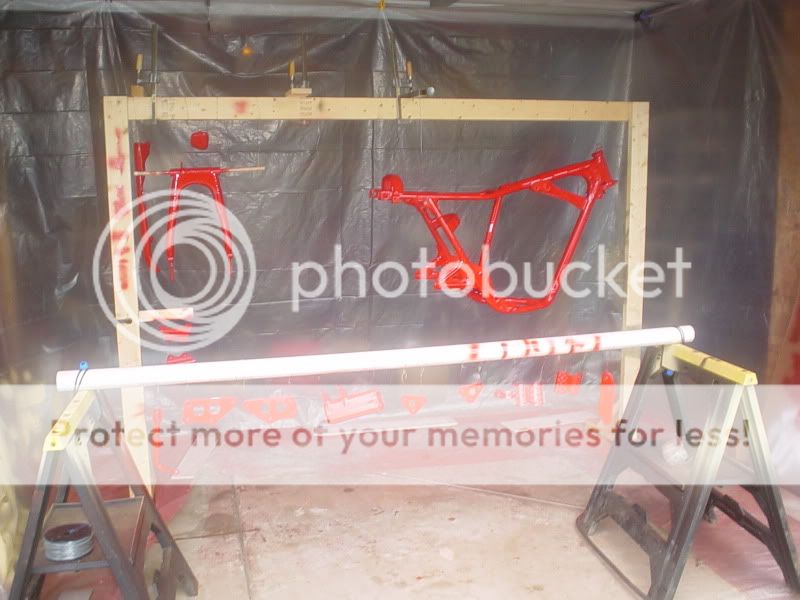
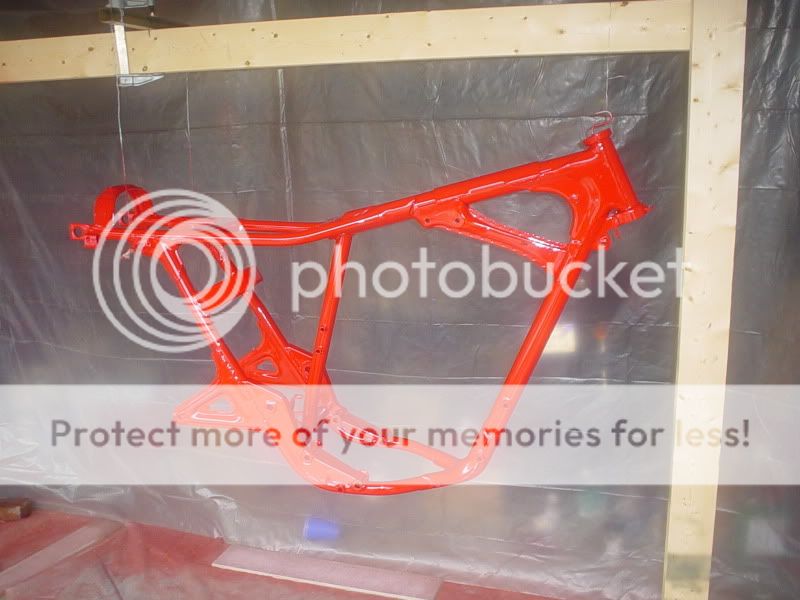
This was my first experience with real automotive paint and I couldn't have been happier with the results.
Next time - the tank and seat finally get painted!
CC
I made a makeshift paint booth by opening up my garage door and hanging plastic on three sides. All the steel parts got a coat of self-etching primer:
Then everything got a coat of filler primer. I liked the filler primer on the tank and seat, but it sucked on the frame. It dries really quickly and in areas where I couldn't get the gun up close, it lumped up and didn't lie down smoothly. Also, it needs to be sanded before the finish coat and sanding a frame sucks.
The frame and attachments got four coats of single stage red paint. Unfortunately, after getting my heart set on a red frame, I found out that red is the most expensive paint color.
This was my first experience with real automotive paint and I couldn't have been happier with the results.
Next time - the tank and seat finally get painted!
CC
Flugtechnik
My bike is not transportation, it is a respite
Did you blast your frame? How'd you get it so clean?
CCRider
Coast to Coast
Flugtechnik said:Did you blast your frame? How'd you get it so clean?
Yes. Read all about it here: http://dotheton.com/index.php?topic=6975.0
Flugtechnik
My bike is not transportation, it is a respite
CCRider said:Yes. Read all about it here: http://dotheton.com/index.php?topic=6975.0
Oh yes, I remember that.
CCRider said:Yes. Read all about it here: http://dotheton.com/index.php?topic=6975.0
oh sure just add another project to the list
Awesome build so far, and i second(or third or fourth...) that i wish i could weld.
chris73cb175
Been Around the Block
ccrider- this build thread is awesome. i'm hoping to get a garage to set up a powder coat cage. i have been looking into taking it in but don't know if i want to spend the cash. we'll see what happens. but keep up the thread it helps us new guys a lot. great work
Swagger
Putting boot to ass since 1967!
Hey CC....before you get much farther (wish I noticed this before).....
your brake linkage is drastically and dangerously out of phase. As it crosses the swing arm and both linkage arms are clocked 180* out, as your suspension compresses the rear brake will engage....just with the pedal sitting on it's stops. That would be terrible say.....in a corner. You need to do one of tow things. First would be to spin your brake arm roughly 180* on the rear drum and shorten the link arm to suit. That'll allow the swingarm and brake link to run as a parallelogram, thusly allowing it to not kill you.
The other thing that would take care of it is to convert to cable. More fabrication but would take care of ALL your binding issues.
You may have already taken care of this, if so disregard. I'd just hate to see something terrible happen after all that nice work.
I do *LOVE* the bright red frame.....
CCRider
Coast to Coast
Swagger,
Well man you really know how to ruin a guys weekend! Really, thanks very much for the catch of my error. I was hoping you were wrong, but I went out to the garage and assembled the brake parts (I hadn't done so since getting the rolling frame put together) compressed the shocks and the brakes grabbed.
I thought it might be an easy fix to rotate the brake arm 180* like you suggested, but it grabbed just as badly in that configuration.
I feel like such a dumb ass that I didn't take the movement of the swing arm into consideration. I thought I had come up with such a simple and elegant design. What a major setback when I was so close to finishing. Oh well, back to the drawing board.
Got any suggestions for a brake cable that could be used? Or any other ideas?
Thanks, CC
Well man you really know how to ruin a guys weekend!
Really, thanks very much for the catch of my error. I was hoping you were wrong, but I went out to the garage and assembled the brake parts (I hadn't done so since getting the rolling frame put together) compressed the shocks and the brakes grabbed.I thought it might be an easy fix to rotate the brake arm 180* like you suggested, but it grabbed just as badly in that configuration.
I feel like such a dumb ass that I didn't take the movement of the swing arm into consideration. I thought I had come up with such a simple and elegant design. What a major setback when I was so close to finishing. Oh well, back to the drawing board.
Got any suggestions for a brake cable that could be used? Or any other ideas?
Thanks, CC


