excessive650
Active Member
The early Honda xl250 uses a cable for the rear brake, maybe something to look at.
borzwazie said:Dude, check out my brake linkage here:
http://dotheton.com/index.php?topic=7401.60
It uses the stock brake arm and rod, is a "pull" so no long, flexy bends, and is cheap. Plus, you have a welder (I don't) so you can mount a brake arm properly.
Swagger said:You rotated the drum arm and it still grabbed when in movement? Well, what I would do then is measure the two arm lengths from center of the pivot to the center of the linkage barrel/pivot point. I think you'll find that they are really different in length and need to be closer to equal if at all possible. You also may just have the freeplay dialed in too tight (at the drum).....they need a bit of room to account for expansion and contraction with heat as well as linkage irregularities.
Can you snap another pic with the drum arm as it is now?
")
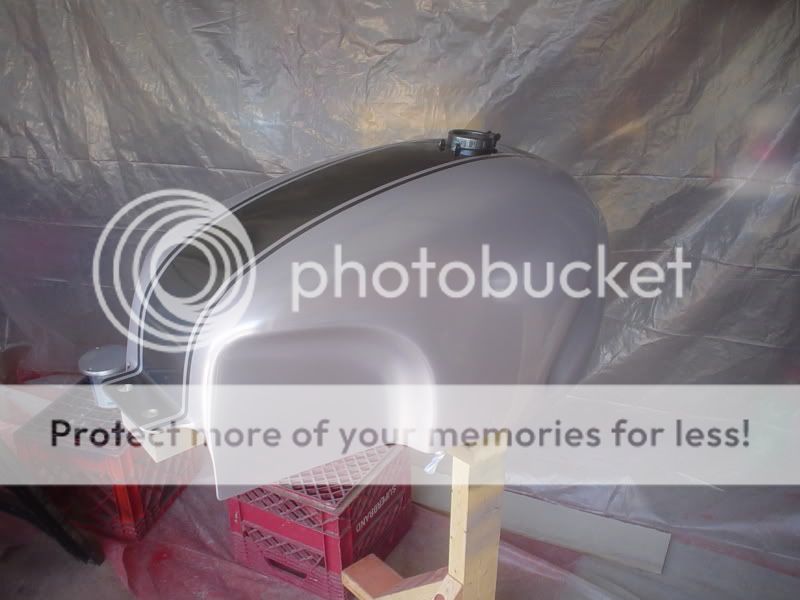
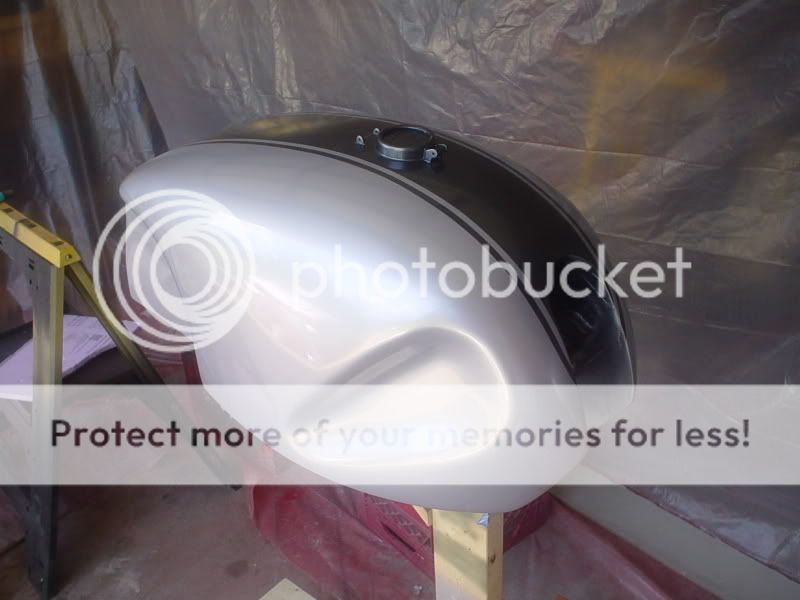
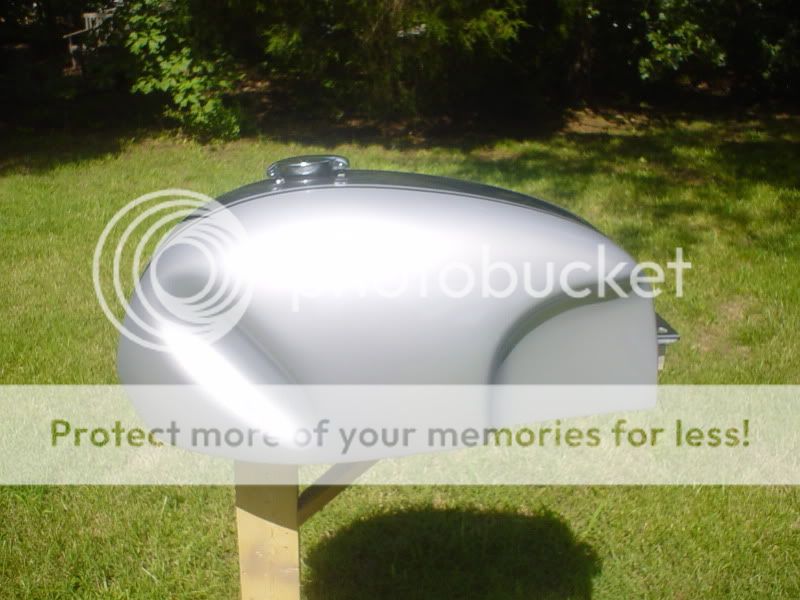
561design said:That's a great lil spray booth you had setup there. That gives me a great idea on how to set mine up when I get to that stage.
goodfornothing said:Not sure if this was mentioned in your thread, but what kind of welder are you using?