
We noticed you are blocking ads. DO THE TON only works with community supporters. Most are active members of the site with small businesses. Please consider disabling your ad blocking tool and checking out the businesses that help keep our site up and free.
You are using an out of date browser. It may not display this or other websites correctly.
You should upgrade or use an alternative browser.
You should upgrade or use an alternative browser.
Fisher Price: My first Cafe Racer; CB175
- Thread starter rentedshoes
- Start date
yamahaggard
New Member
As far as the charging of the battery goes, ballistic makes an awesome charger for it. We have one at the shop and it 20x's better than a regular charger. Basically you enter the battery and what type of charge you desire and it takes care of it. There was a ballistic battery that had 3 volts, hooked it up to the charger and within 30 mins it was ready to rock and roll. 3 year warranty, I'll be using one on my CB175 as well. Im a dealer so if you need one just message me and ill hook you up.
timbutterfield
Been Around the Block
you ever make any more progress on this bike?
rentedshoes
Been Around the Block
Unfortunately, I have nothing to report. The little Honda has been neglected. So today I went out to the garage to begin work again. As it turns out, I have nothing I need to make any progress. So, I made a list and will do some shopping. This little thing is turning into a money pit. Progress soon.
rentedshoes
Been Around the Block
Soooooooo,
at one point early this spring I tried to fire the motor. Turns out I got something wrong in the bottom end and that made the kicker engage only like every 6th turn. I knew the motor had to come back apart. Having been through that once, I dropped the motor off with somebody who knew that knows what they are doing. I will feel better about this once it is done.
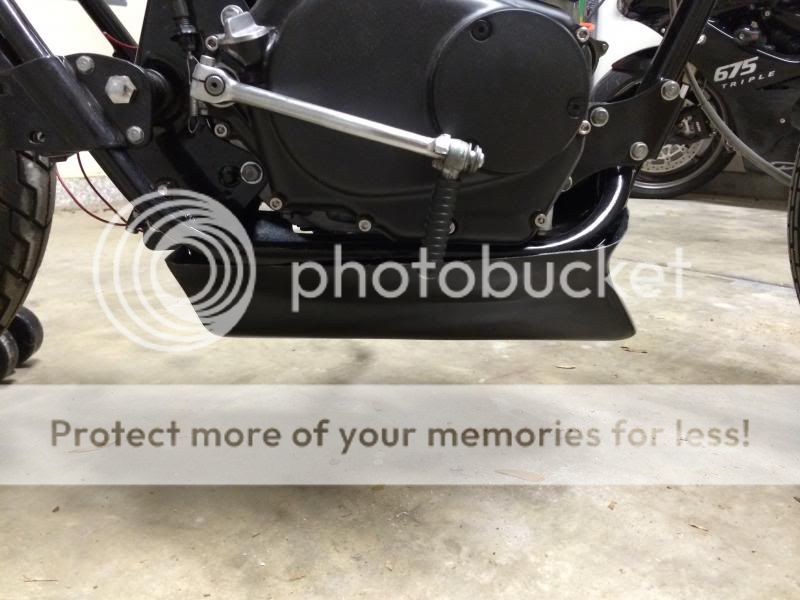
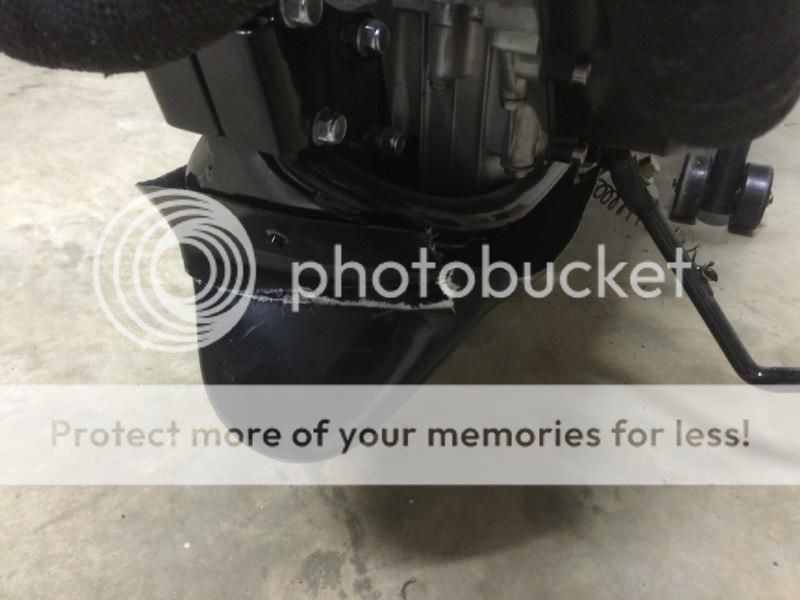
With the engine gone I have some new motivation. I decided to fit the belly pan that I have sat on for over a year. It certainly is amazing what you can do when you decide that it is going to be done.
After about 100 tape mock-ups it was time to cut something and get moving. I cut a groove in the back of the pan so it would fit up tight with the frame. Then I got tricky with some mounting hardware.

I used some 1/4 in rubber washers to insulate the fiberglass from the metal. I was a little afraid of cracking it. I had some really complicated ideas on how to fit this. In the end I found the simple solution.


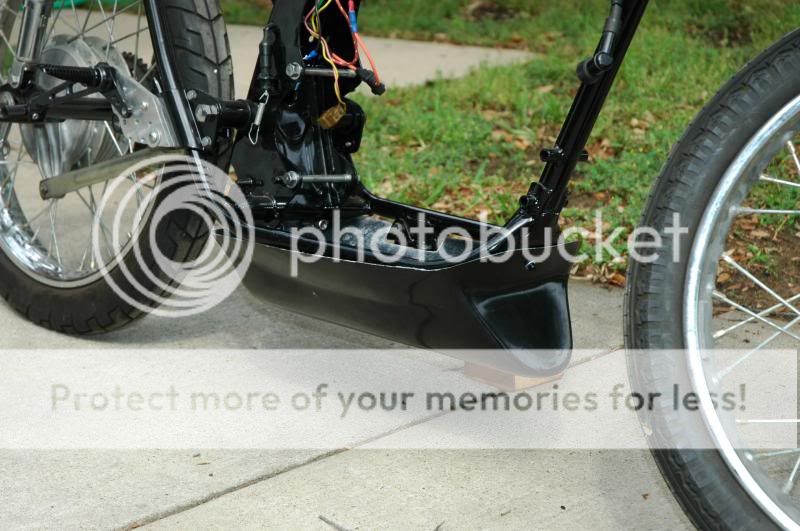
I can remove it with three bolts. Simple is good!
I am thinking about doing a little trimming to make it fit the frame better. I am going to wait until I get the motor back. After that, it is time to finalize the battery compartment, mount the license plate and figure out front signals again. Thanks everybody for your support.
at one point early this spring I tried to fire the motor. Turns out I got something wrong in the bottom end and that made the kicker engage only like every 6th turn. I knew the motor had to come back apart. Having been through that once, I dropped the motor off with somebody who knew that knows what they are doing. I will feel better about this once it is done.
With the engine gone I have some new motivation. I decided to fit the belly pan that I have sat on for over a year. It certainly is amazing what you can do when you decide that it is going to be done.
After about 100 tape mock-ups it was time to cut something and get moving. I cut a groove in the back of the pan so it would fit up tight with the frame. Then I got tricky with some mounting hardware.

I used some 1/4 in rubber washers to insulate the fiberglass from the metal. I was a little afraid of cracking it. I had some really complicated ideas on how to fit this. In the end I found the simple solution.


I can remove it with three bolts. Simple is good!
I am thinking about doing a little trimming to make it fit the frame better. I am going to wait until I get the motor back. After that, it is time to finalize the battery compartment, mount the license plate and figure out front signals again. Thanks everybody for your support.
rentedshoes
Been Around the Block
I fussed with it a bit more tonight. I realized I have been fighting the same battles since the beginning. So I jumped on DCC.com and ordered up some new parts. I'll show you guys in a few days.
rentedshoes
Been Around the Block
What kind of R/R would you suggest?Bert Jan said:1 the battery can not work with stock R/R,
yamahaggard
New Member
http://ricksmotorsportelectrics.com/part/10-135H/NzJIb25DQjE3NQ==
Here is an updated R/R from Rick's Motorsports
Here is an updated R/R from Rick's Motorsports
rentedshoes
Been Around the Block
A quest for incompatible parts.
I figured it was time for an update. I have been doing small jobs with the goal of getting the little 175 on the road for Spring. I am pretty sure that has been the goal every winter .
.
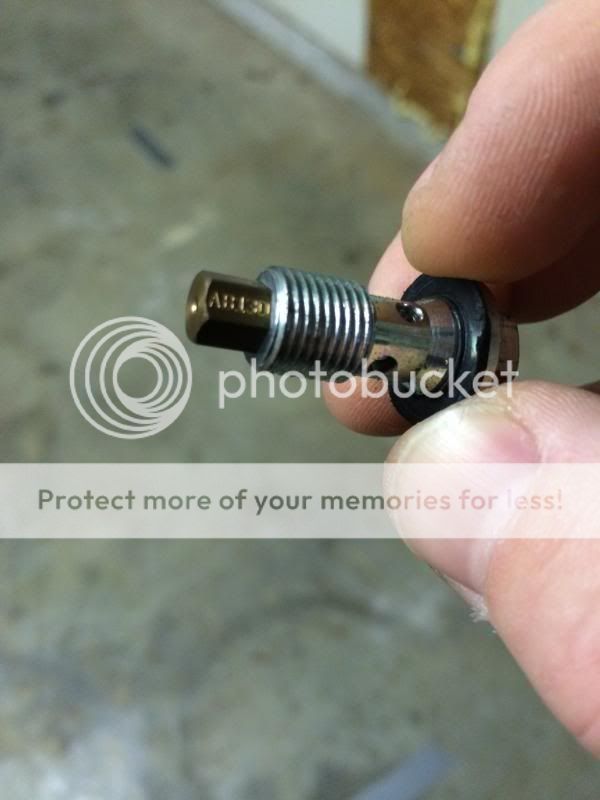
Somebody had asked a loooooooong time ago about the carb jets. The marking on the jet is ab130. It's been a long time since I had to think about carbs that I forget what that means.
I got the motor back and promptly installed it. Of course, I cant fire it until I get the electrical all sorted out. That has been a tall mountain to climb. There has been much discussion about the use of the Ballistic battery. Obviously, the charging system needs to be upgraded.
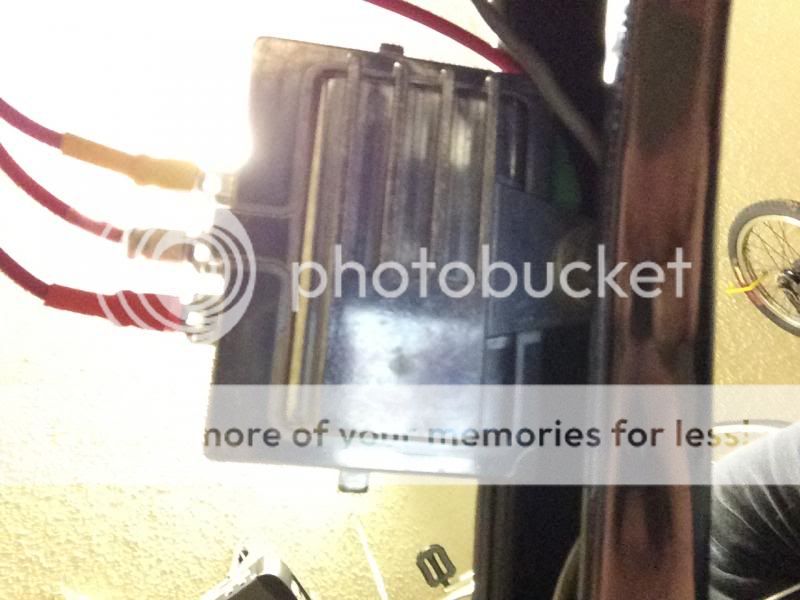
After some research I decided to go with this: http://www.amazon.com/Rectifier-Regulator-P-Series-Alternators-191-1748/dp/B004QI0FCK
It certainly was inexpensive and easy to instal. As I am writing this, I am becoming uncertain whether or not this will work. The guys on HondaTwins.net had a thread on this little guy but it occurs to me that they are likely using standard batteries. http://www.hondatwins.net/forum/viewtopic.php?f=46&t=14530
Does anybody have any experience with this kind of R/R? I don't really want to shell out $200 for the unit in the previous reply but I suppose I may have to. Anyhow, here it is installed on the bike.
When the motor was getting rebuilt, my mechanic recommended replacing the points with an electronic unit. So, I ordered a unit from here. http://www.charlies-place.com/PAGES/Store/electronic_ignitions_new_2.html
It seemed simple and straight forward. The instal was quite simple. It took about 10 min to get this bolted up, gapped and wired.
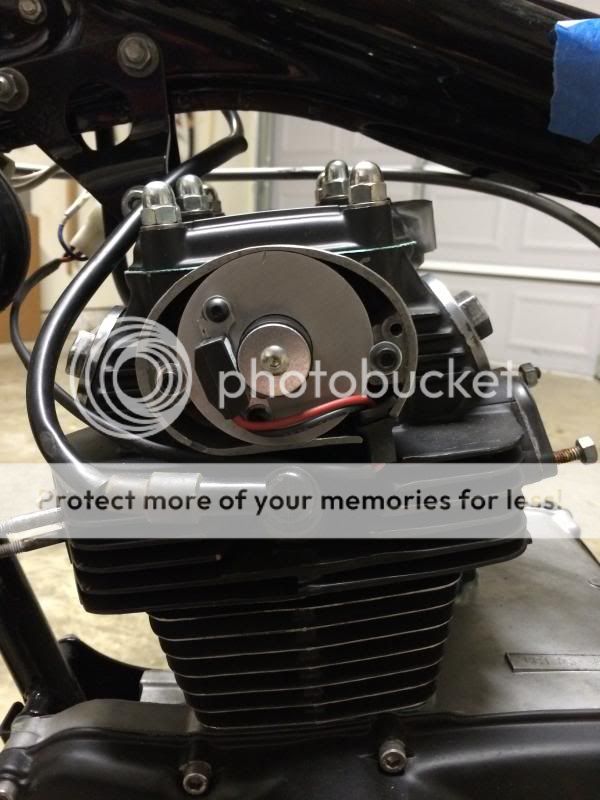
I am a little concerned about the spark advance feature of this unit. That is, it is always in full advance. The instructions note that the bike may be hard to start. I suppose time will tell.
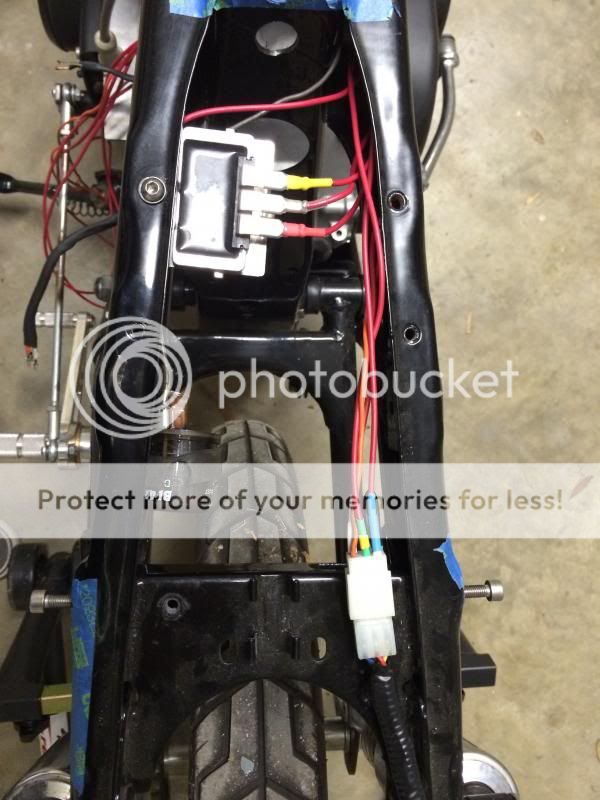
I tore out the distribution block I had wired up a few posts ago. I decided to go with a cleaner setup using modern connectors. It should make life tons easier if I need to remove anything. I know they aren't waterproof but I don't have any plans to ride this in anything but perfect weather.
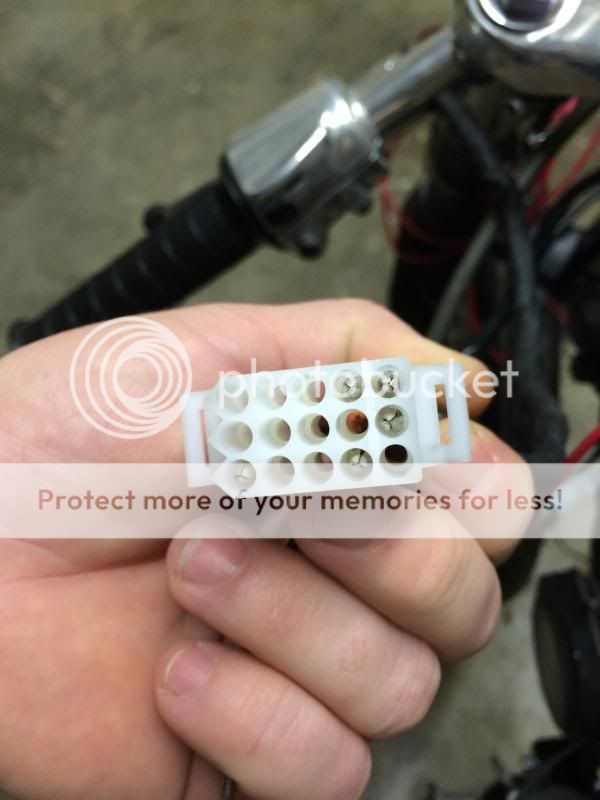
I am wiring this very slowly and carefully as I want this to be the last time I wire this bike.
Lastly, I installed some new rearsets. These are pretty darn nice! The only holdup on these is a chain. I want to know where the rear wheel is going to be before I try to finalize the linkage.
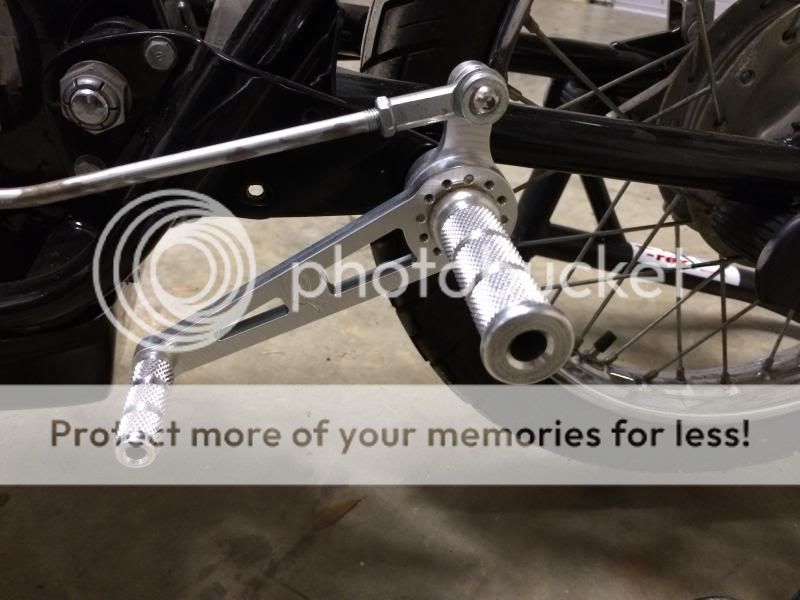
It certainly seems that to do anything, you need to have done everything. It ought to start falling into place shortly. That is if all the stuff I bought will actually work together.
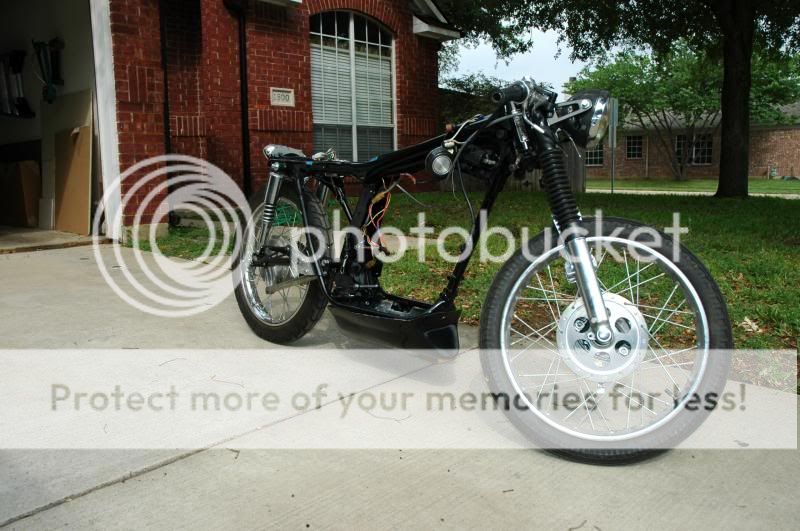
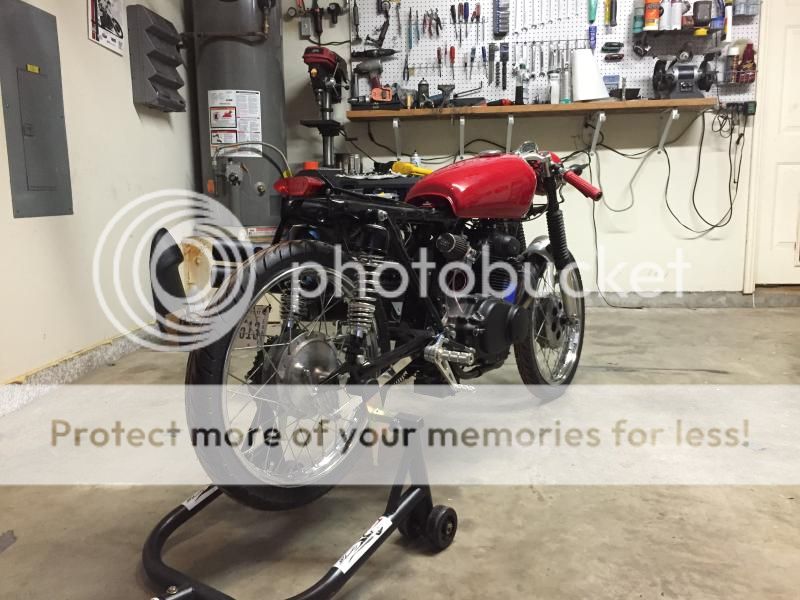
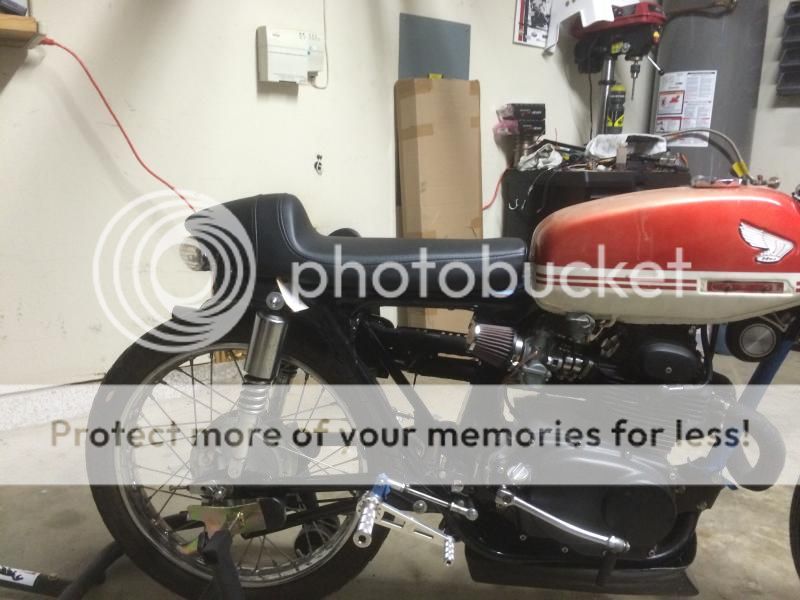
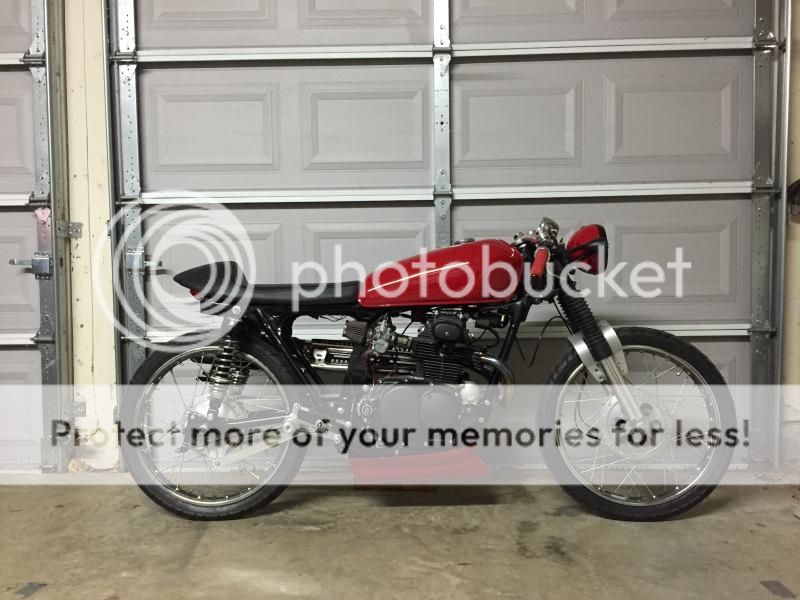
So, I had to take a shot of the bike with the tank and seat on. It looks waaaaaay more complete this way. Still lots to do.

I figured it was time for an update. I have been doing small jobs with the goal of getting the little 175 on the road for Spring. I am pretty sure that has been the goal every winter
. Somebody had asked a loooooooong time ago about the carb jets. The marking on the jet is ab130. It's been a long time since I had to think about carbs that I forget what that means.

I got the motor back and promptly installed it. Of course, I cant fire it until I get the electrical all sorted out. That has been a tall mountain to climb. There has been much discussion about the use of the Ballistic battery. Obviously, the charging system needs to be upgraded.
After some research I decided to go with this: http://www.amazon.com/Rectifier-Regulator-P-Series-Alternators-191-1748/dp/B004QI0FCK
It certainly was inexpensive and easy to instal. As I am writing this, I am becoming uncertain whether or not this will work. The guys on HondaTwins.net had a thread on this little guy but it occurs to me that they are likely using standard batteries. http://www.hondatwins.net/forum/viewtopic.php?f=46&t=14530
Does anybody have any experience with this kind of R/R? I don't really want to shell out $200 for the unit in the previous reply but I suppose I may have to. Anyhow, here it is installed on the bike.


When the motor was getting rebuilt, my mechanic recommended replacing the points with an electronic unit. So, I ordered a unit from here. http://www.charlies-place.com/PAGES/Store/electronic_ignitions_new_2.html
It seemed simple and straight forward. The instal was quite simple. It took about 10 min to get this bolted up, gapped and wired.

I am a little concerned about the spark advance feature of this unit. That is, it is always in full advance. The instructions note that the bike may be hard to start. I suppose time will tell.
I tore out the distribution block I had wired up a few posts ago. I decided to go with a cleaner setup using modern connectors. It should make life tons easier if I need to remove anything. I know they aren't waterproof but I don't have any plans to ride this in anything but perfect weather.

I am wiring this very slowly and carefully as I want this to be the last time I wire this bike.
Lastly, I installed some new rearsets. These are pretty darn nice! The only holdup on these is a chain. I want to know where the rear wheel is going to be before I try to finalize the linkage.

It certainly seems that to do anything, you need to have done everything. It ought to start falling into place shortly. That is if all the stuff I bought will actually work together.
So, I had to take a shot of the bike with the tank and seat on. It looks waaaaaay more complete this way. Still lots to do.

rentedshoes
Been Around the Block
Updates!!!
Okay, okay, tt’s been a while. I have been saving up for a super-update. I finally committed to finishing the project. I can finally say that it will be cruising the mean streets of Flower Mound this spring. I know this because I took it around the block last night. Here is a heap of progress photos. I posted these all in a single post last night, but for some reason it would repeat the post.
Installed this. And melted it because I wired it wrong. Now I realize it breaks the ground not the positive. Put the points back in.
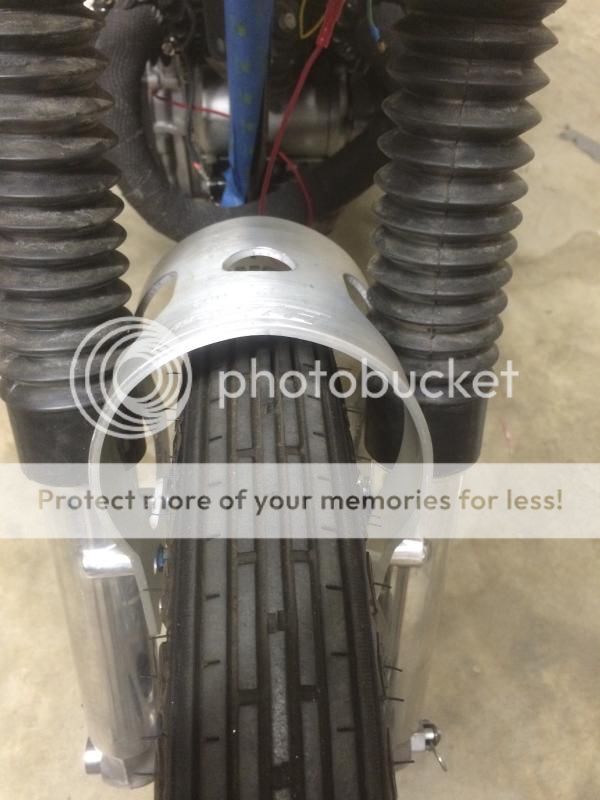
Found this NOS dirt bike fork brace on the ‘bay. Installed it.
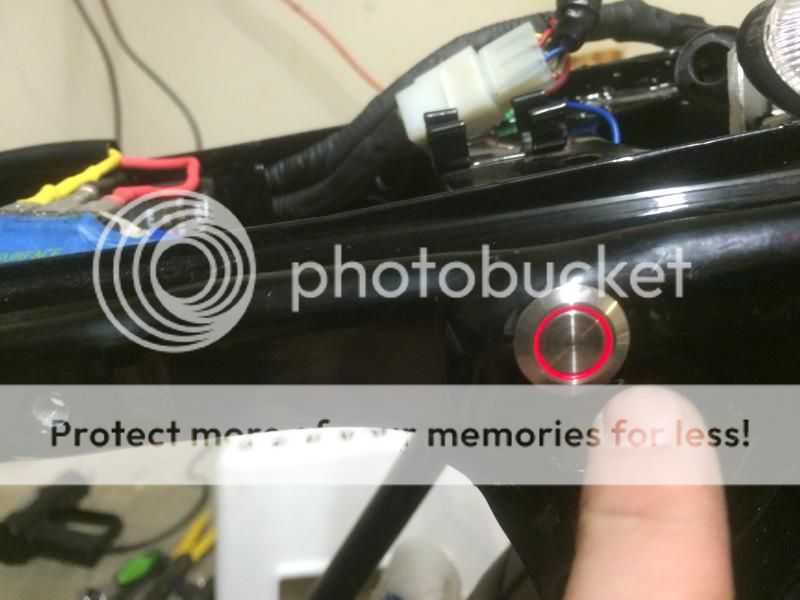
After giving up on Kick-only, as my kicker engages intermittently, I installed this secret starter-button. It is hidden by the seat.
Okay, okay, tt’s been a while. I have been saving up for a super-update. I finally committed to finishing the project. I can finally say that it will be cruising the mean streets of Flower Mound this spring. I know this because I took it around the block last night. Here is a heap of progress photos. I posted these all in a single post last night, but for some reason it would repeat the post.
Installed this. And melted it because I wired it wrong. Now I realize it breaks the ground not the positive. Put the points back in.
Found this NOS dirt bike fork brace on the ‘bay. Installed it.

After giving up on Kick-only, as my kicker engages intermittently, I installed this secret starter-button. It is hidden by the seat.

rentedshoes
Been Around the Block
Gave up on factory tank. It was just the wrong shape. Replaced it with a re-pop of a CD tank from “the ‘bay”. Had it, the headlight bucket and the belly pan (more on that in a second) painted by a friend. They came out great.
The belly pan is another story. I decided I would test the fiberglass’ impact resistance by dropping the bike on it one evening. The results were surprising.
Before:
After:
Yep, completely ruined. Ordered another and fitted it.

The belly pan is another story. I decided I would test the fiberglass’ impact resistance by dropping the bike on it one evening. The results were surprising.
Before:

After:

Yep, completely ruined. Ordered another and fitted it.
rentedshoes
Been Around the Block
Decided to go with a narrower seat.
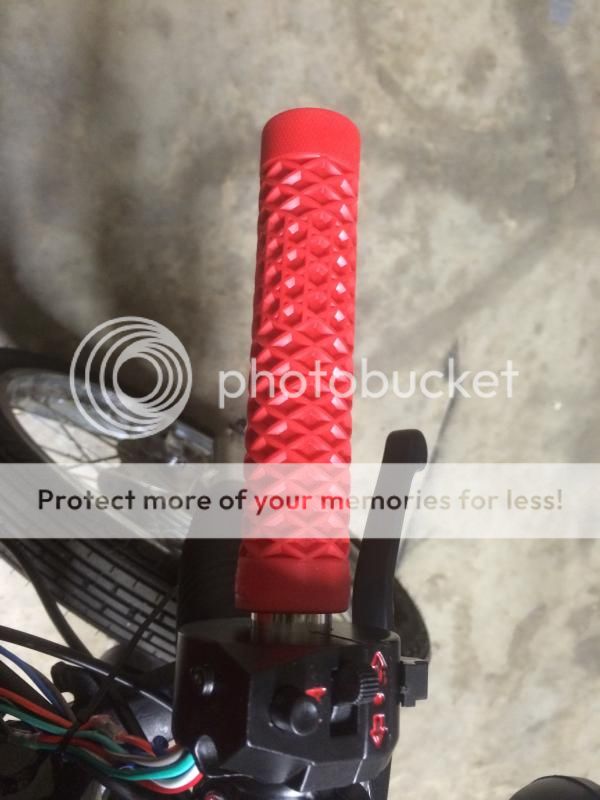
And replaced all the controls.
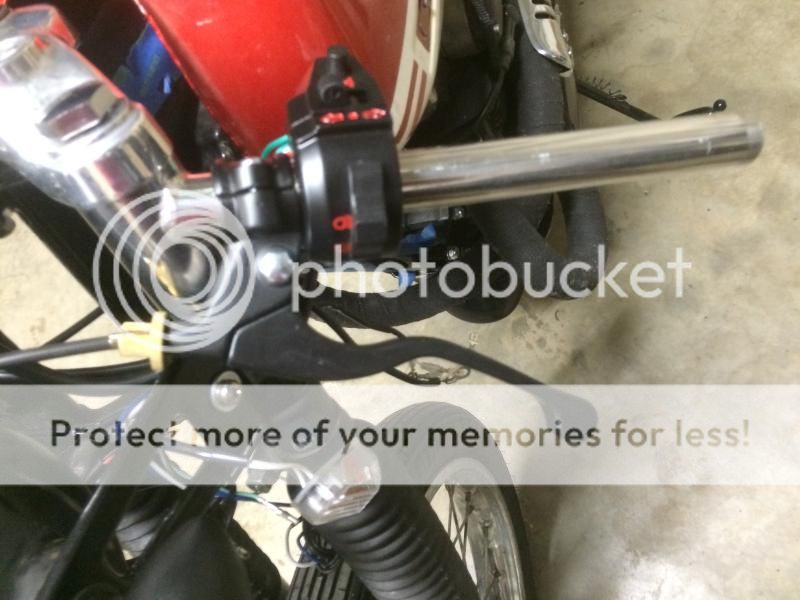

And replaced all the controls.

rentedshoes
Been Around the Block
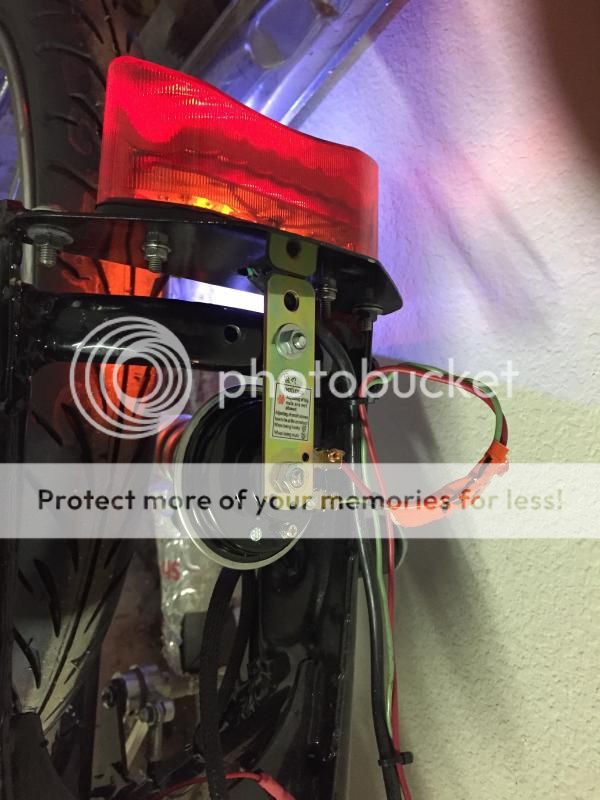
Then new taillight and horn.
And just the right grips. Since paint I have been trying to find black ones.
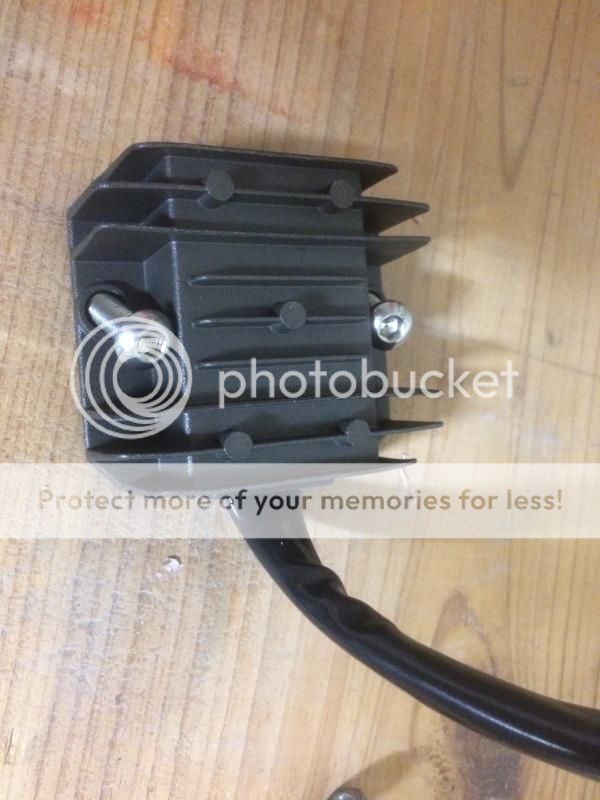
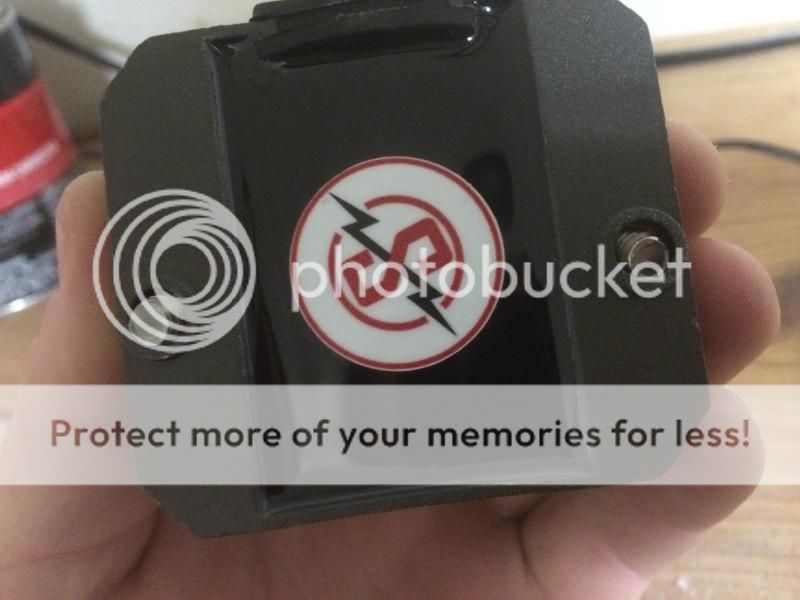
Plus Spark Moto R/R

And just the right grips. Since paint I have been trying to find black ones.

Plus Spark Moto R/R


rentedshoes
Been Around the Block
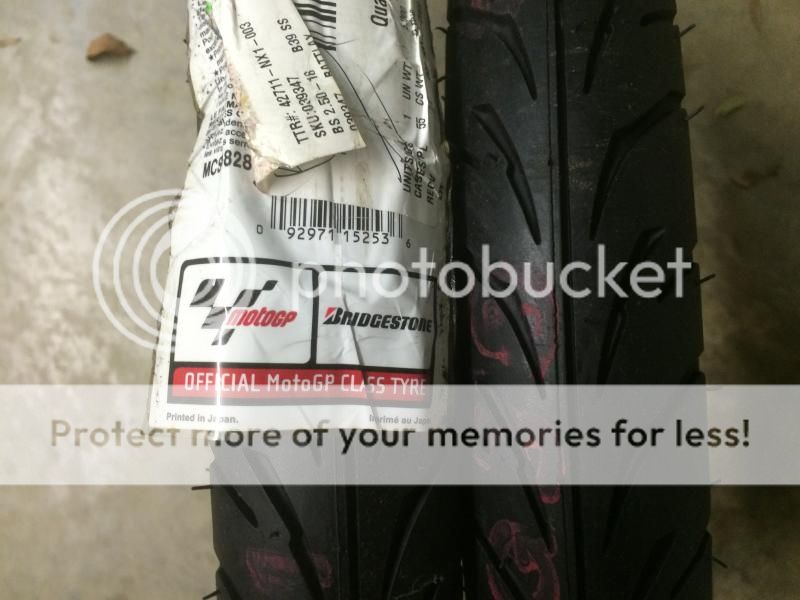
Picked out these: Bridgestone Battlax 80/90’s.
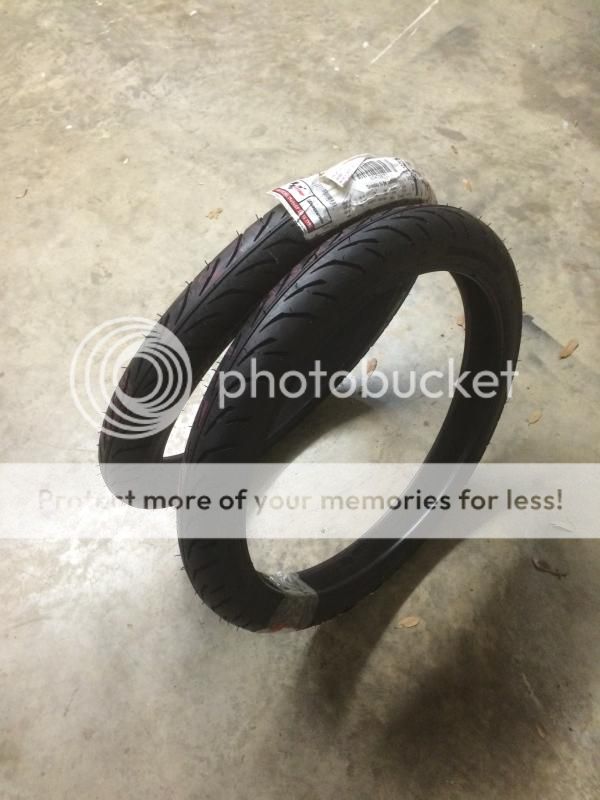
If they are good enough for Moto GP, then they are good enough for me.
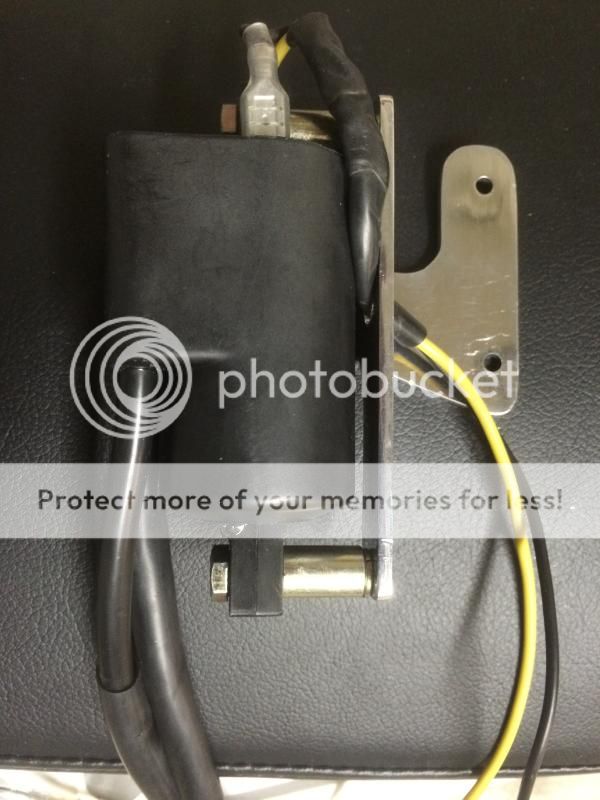
Replaced the coil I melted while finishing the wiring. Custom bracket and all.
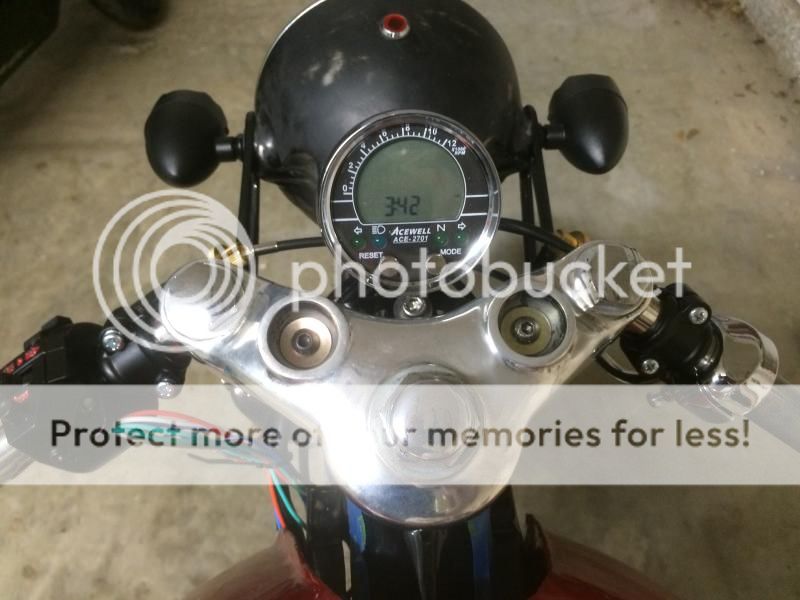
Acewell speedo/tach

Next, exhaust. I had a spare set of headers. I decided to ditch the one I had been using and add on some mufflers. After a few rounds with DCC I got what I needed.

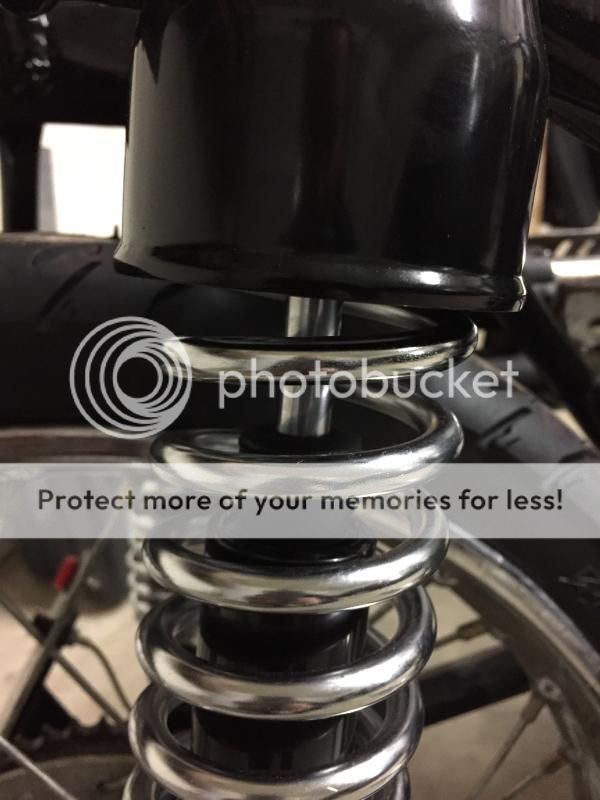
Oh yea, I replaced the factory shocks with DCC shocks that are 10mm longer than factory. Time will tell if this was a mistake.

If they are good enough for Moto GP, then they are good enough for me.

Replaced the coil I melted while finishing the wiring. Custom bracket and all.

Acewell speedo/tach


Next, exhaust. I had a spare set of headers. I decided to ditch the one I had been using and add on some mufflers. After a few rounds with DCC I got what I needed.

Oh yea, I replaced the factory shocks with DCC shocks that are 10mm longer than factory. Time will tell if this was a mistake.

rentedshoes
Been Around the Block
rentedshoes
Been Around the Block
Updates!!!
A week later, I bolted up the necessities and rode it around the block.

I am particularly concerned about cooking the battery, which lives under the engine inside the belly pan. The upgraded R/R should keep charging under control. However, I am apprehensive about my wiring. So I’ll be keeping an eye on things.
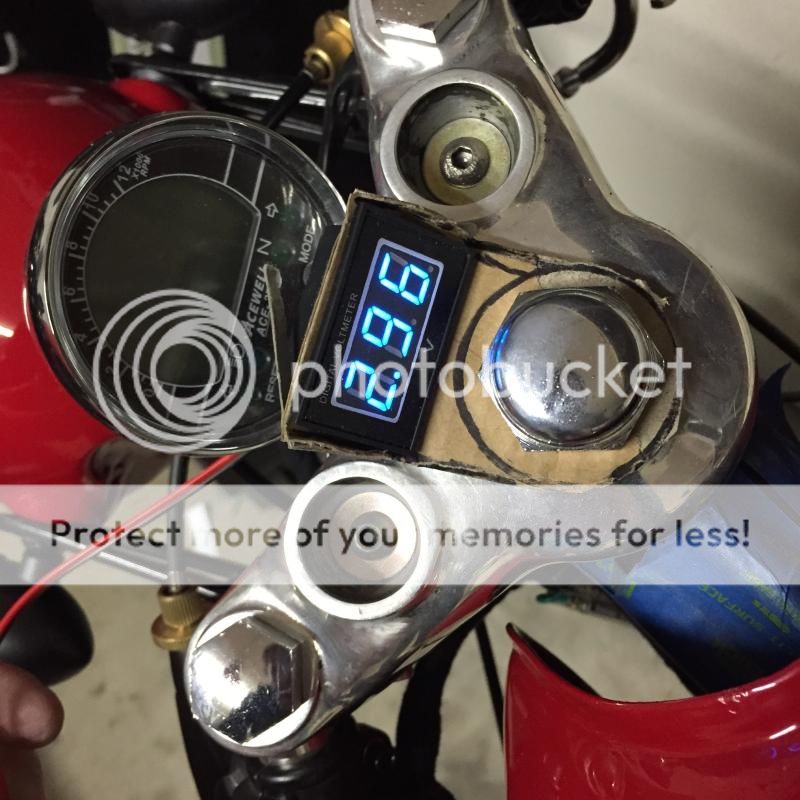
Next I'm gonna make the mount from aluminum and wire it up. The voltage displayed is from a dead drill battery. Just testing.
More to come.
A week later, I bolted up the necessities and rode it around the block.


I am particularly concerned about cooking the battery, which lives under the engine inside the belly pan. The upgraded R/R should keep charging under control. However, I am apprehensive about my wiring. So I’ll be keeping an eye on things.

Next I'm gonna make the mount from aluminum and wire it up. The voltage displayed is from a dead drill battery. Just testing.
More to come.
It's getting there. It's a nice clean job.
Are those the 2.50 -18 race BT39ss tires? I hear that they are nice and sticky but somewhat prone to punctures but have seen no details of when/how that occurs. They were designed for the Dream 50 race series with miniature riders, so it could be a load thing. It might also be that people have fitted tubes that are too large and get pinched.
Are those the 2.50 -18 race BT39ss tires? I hear that they are nice and sticky but somewhat prone to punctures but have seen no details of when/how that occurs. They were designed for the Dream 50 race series with miniature riders, so it could be a load thing. It might also be that people have fitted tubes that are too large and get pinched.


