We noticed you are blocking ads. DO THE TON only works with community supporters. Most are active members of the site with small businesses. Please consider disabling your ad blocking tool and checking out the businesses that help keep our site up and free.
You are using an out of date browser. It may not display this or other websites correctly.
You should upgrade or use an alternative browser.
You should upgrade or use an alternative browser.
Hi From Australia CB350
- Thread starter ducatiboy
- Start date
Well, it's been a looong time since an update!! Was a bit busy training for and running my first marathon which was last weekend. Haven't really felt like spending too much time on my feet since then...
A bit of progress has been made however. First and foremost, I now have a functioning clutch cable!! I managed to solder the nipple onto the cable without incident although I did have to trim down the cable outer a little bit to make sure the cable outer to nipple length was correct. So clutch is all good.
I also now have a functioning gearbox! Since mounting the gear change linkage I have been unable to actually get the gears to change. I decided I needed to remove the right side cover to have a look at the gear selector shaft, arm and drum and try and work out what was going on. I was going to try and avoid having to drain the oil when removing the side cover so I leaned the bike way over to the left and pulled the cover off. Unfortunately, leaning the bike over does not allow the oil to fall away enough from the side cover for it to be removed without making a mess. Awful mess, at least half a litre of oil all over the floor!!! Aaaarggghhh!!! All the Ducatis I've worked on have had a deep sump so it's a simple job to lean it over a little, pull the cover off and hardly a drop gets spilt. The CB350 has a very shallow sump, so big mess... Lesson learned: drain the oil to remove the side cover!
Anyway, I found the problem with the gear change. Back during the engine rebuild, I found that I had mislaid a part which I replaced with a large cap screw
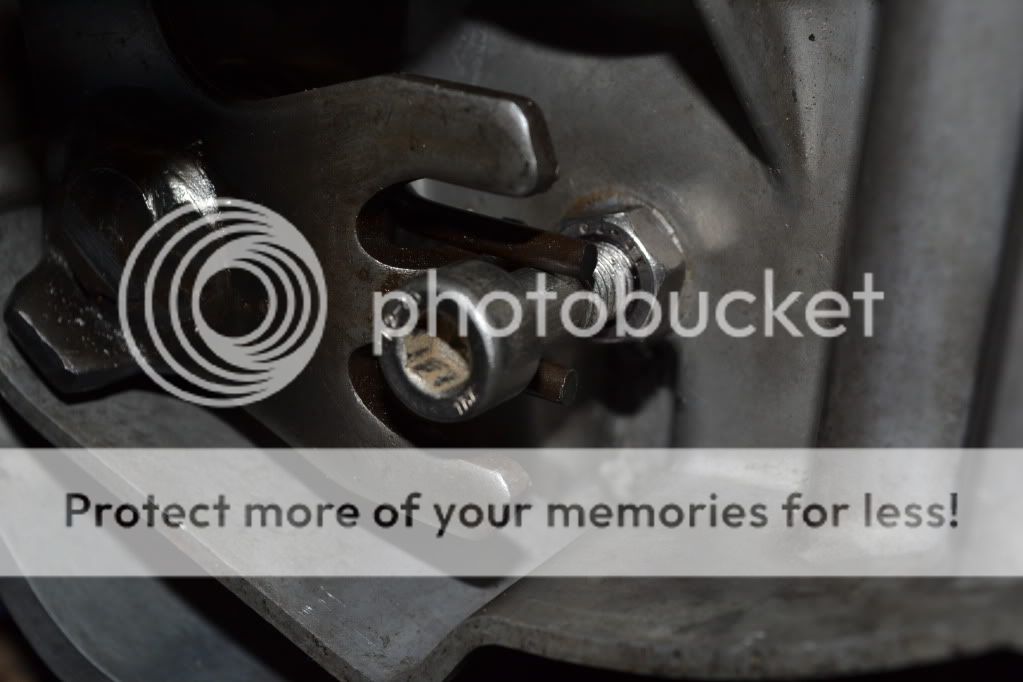
It turns out that when trying to change gears, the head of the cap screw was impeding the full travel of the gear selector arm.

A very easy fix. I just loosened the lock nut, wound out the bolt and retightened the locknut. Simple!! I am now praising God, Allah, Buddha and Mohammed that I don't have to open the cases again to delve into the interior of the gearbox...
Next up was to fix the oil leak that I had coming out from behind the electronic ignition cover on the left end of the camshaft. I had left the oil seal off the camshaft and assumed that replacing that seal would fix the leak. So I replaced the seal, started the engine and still had a huge leak from the same place!!! So pulled the cover off again, and eventually worked out what the problem was. Under the the housing that the ignition rotor is mounted in and that supports the end of the camshaft there is an oil passageway
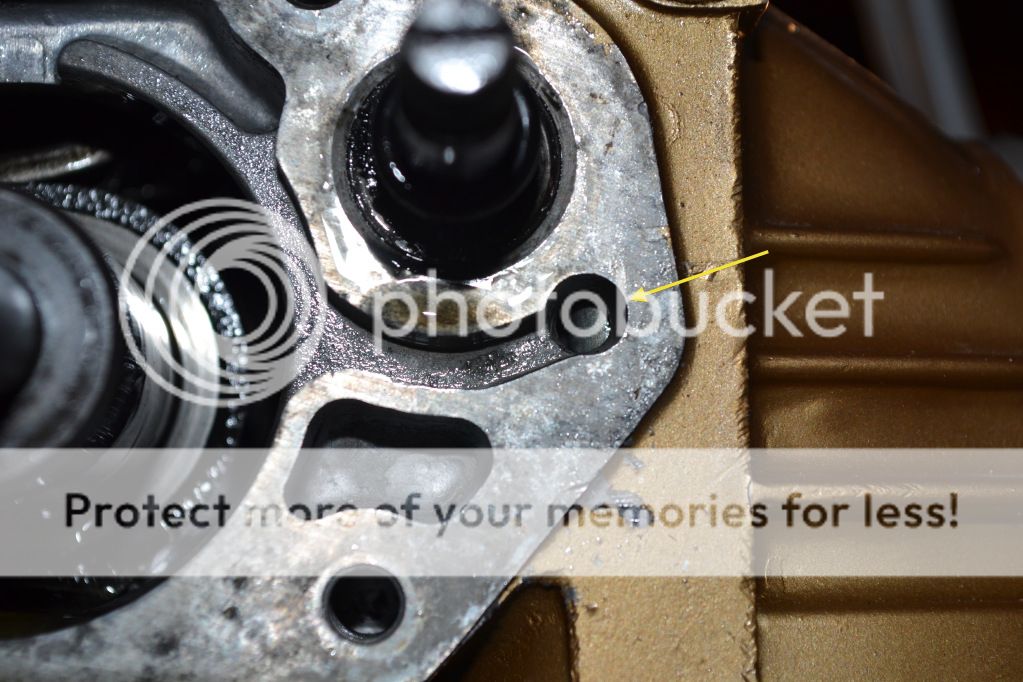
The gasket that fits between this housing and the head can go in one of two ways. If it is put in the wrong way it doesn't completely seal the oil gallery and allows oil to spew everywhere
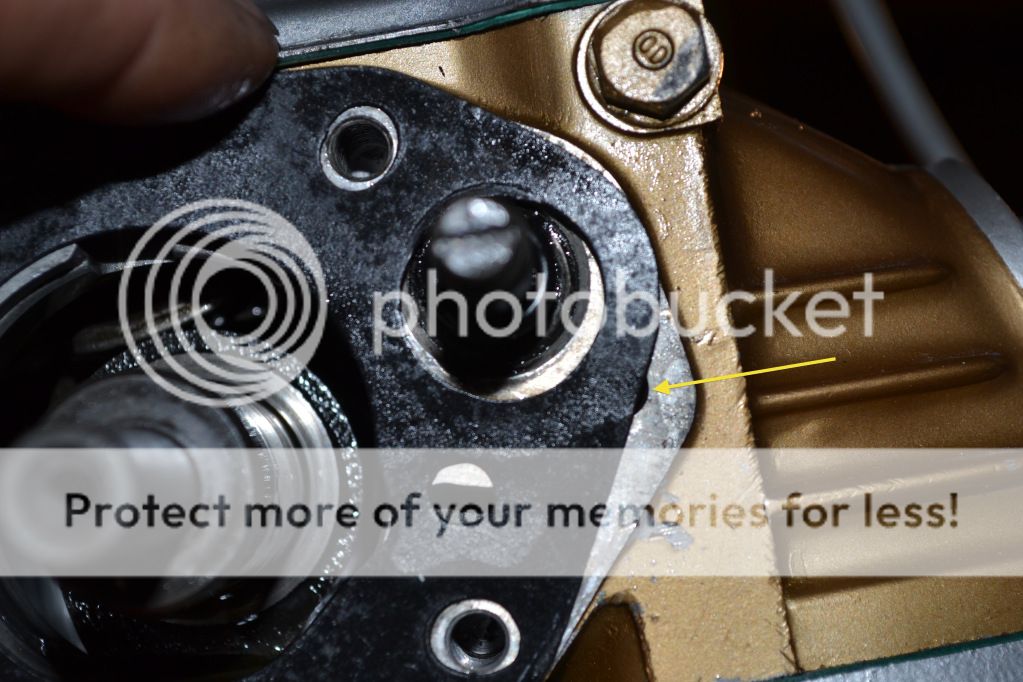
Gasket inserted the RIGHT way!

The next problem I had was to fix the kill switch. My kill switch was functioning a little too well. When activated it killed the engine by blowing the fuse!! I pulled apart my wiring and realised that there were two problems neither of which became apparent until the kill switch was activated. As long as the kill switch stayed in the Run position, there was no problem. When the kill switch was activated, the fuse blew.
The first problem was my fault in that the wires I had running to the kill switch wires were not hooked up correctly. So that was easily fixed. Next problem was that the cheap Made in China generic kill switch I bought from eBay was wired such that when the switch is in the RUN position, there is no current flow through the switch. When the switch is switched to STOP, there is current flow throughout the switch. This seems like an odd arrangement to me and I don't know what vehicle the switch was made for. The way my wiring works is for power to flow through the switch to the coils when in the Run position. Switching the switch to Stop, cuts the power to the coils. SO I pulled the kill switch apart and after an hour of fiddling around managed to change the switch to function so power will run through it when in the Run position and stop when in the Stop position. For the life of me I can't work out how the switch would work if it was the other way around?!? Anyway, it works now...it only cost me $8 so I can hardly complain.
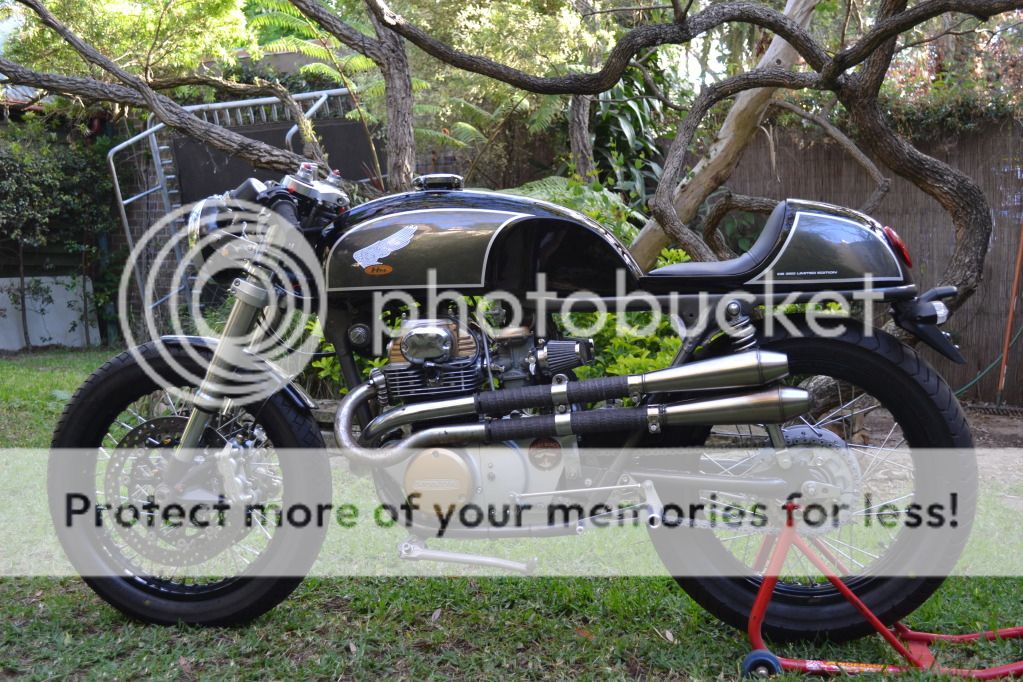
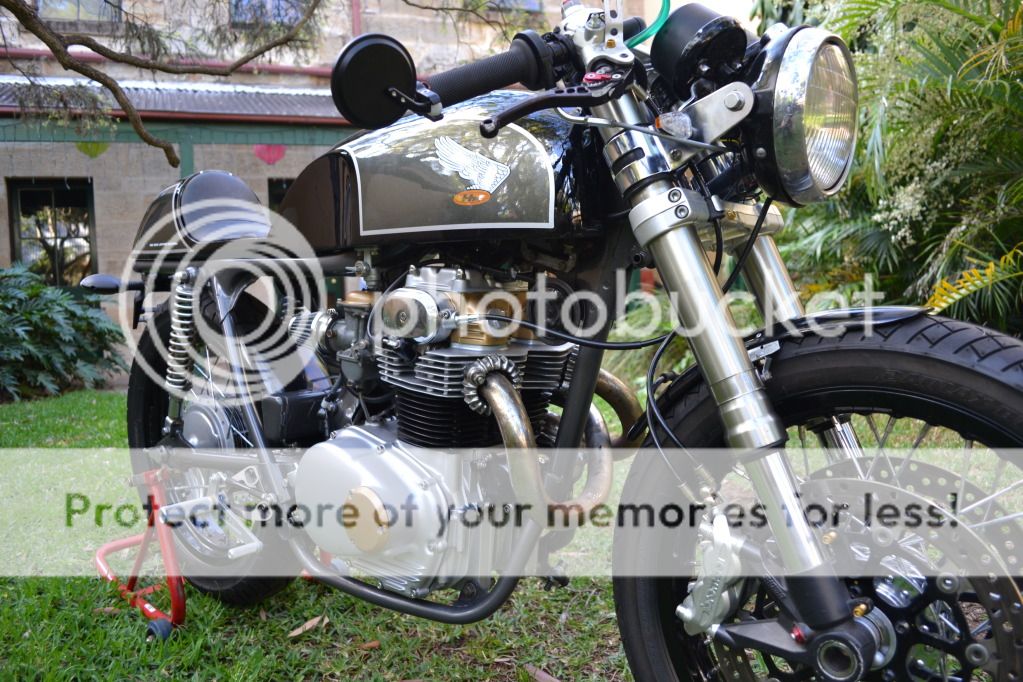
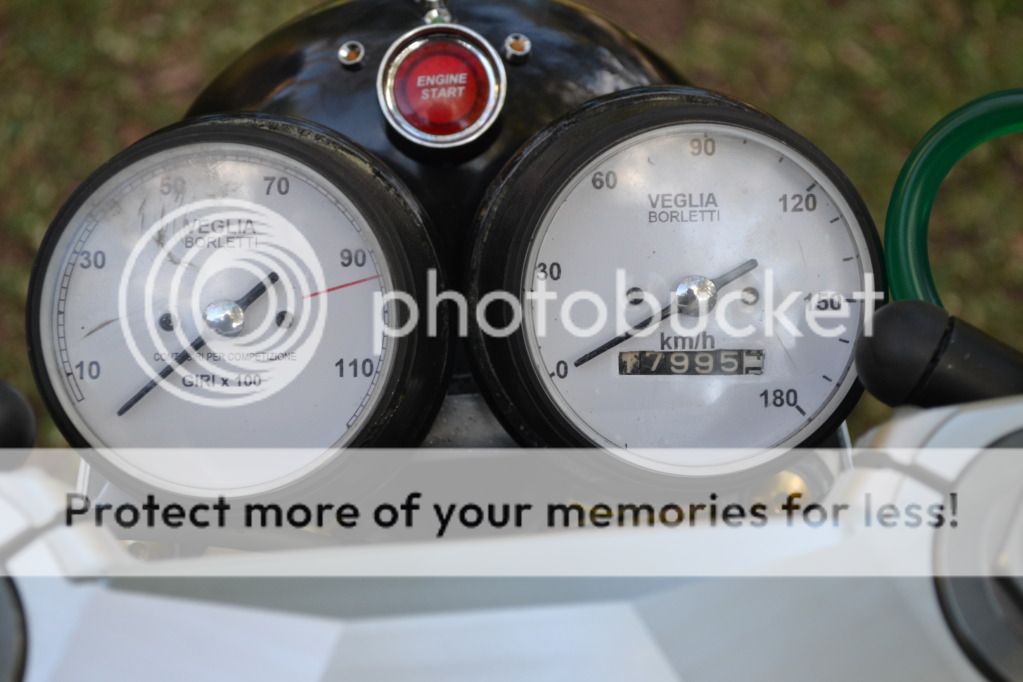
The bike is now "finished" (still needs paint though). But being "finished" means theoretically, I can take it for a ride. Which, theoretically, I may do tomorrow!!! Woohoo! ;D ;D ;D ;D
A bit of progress has been made however. First and foremost, I now have a functioning clutch cable!! I managed to solder the nipple onto the cable without incident although I did have to trim down the cable outer a little bit to make sure the cable outer to nipple length was correct. So clutch is all good.
I also now have a functioning gearbox! Since mounting the gear change linkage I have been unable to actually get the gears to change. I decided I needed to remove the right side cover to have a look at the gear selector shaft, arm and drum and try and work out what was going on. I was going to try and avoid having to drain the oil when removing the side cover so I leaned the bike way over to the left and pulled the cover off. Unfortunately, leaning the bike over does not allow the oil to fall away enough from the side cover for it to be removed without making a mess. Awful mess, at least half a litre of oil all over the floor!!! Aaaarggghhh!!! All the Ducatis I've worked on have had a deep sump so it's a simple job to lean it over a little, pull the cover off and hardly a drop gets spilt. The CB350 has a very shallow sump, so big mess... Lesson learned: drain the oil to remove the side cover!
Anyway, I found the problem with the gear change. Back during the engine rebuild, I found that I had mislaid a part which I replaced with a large cap screw
It turns out that when trying to change gears, the head of the cap screw was impeding the full travel of the gear selector arm.
A very easy fix. I just loosened the lock nut, wound out the bolt and retightened the locknut. Simple!! I am now praising God, Allah, Buddha and Mohammed that I don't have to open the cases again to delve into the interior of the gearbox...
Next up was to fix the oil leak that I had coming out from behind the electronic ignition cover on the left end of the camshaft. I had left the oil seal off the camshaft and assumed that replacing that seal would fix the leak. So I replaced the seal, started the engine and still had a huge leak from the same place!!! So pulled the cover off again, and eventually worked out what the problem was. Under the the housing that the ignition rotor is mounted in and that supports the end of the camshaft there is an oil passageway
The gasket that fits between this housing and the head can go in one of two ways. If it is put in the wrong way it doesn't completely seal the oil gallery and allows oil to spew everywhere
Gasket inserted the RIGHT way!
The next problem I had was to fix the kill switch. My kill switch was functioning a little too well. When activated it killed the engine by blowing the fuse!! I pulled apart my wiring and realised that there were two problems neither of which became apparent until the kill switch was activated. As long as the kill switch stayed in the Run position, there was no problem. When the kill switch was activated, the fuse blew.
The first problem was my fault in that the wires I had running to the kill switch wires were not hooked up correctly. So that was easily fixed. Next problem was that the cheap Made in China generic kill switch I bought from eBay was wired such that when the switch is in the RUN position, there is no current flow through the switch. When the switch is switched to STOP, there is current flow throughout the switch. This seems like an odd arrangement to me and I don't know what vehicle the switch was made for. The way my wiring works is for power to flow through the switch to the coils when in the Run position. Switching the switch to Stop, cuts the power to the coils. SO I pulled the kill switch apart and after an hour of fiddling around managed to change the switch to function so power will run through it when in the Run position and stop when in the Stop position. For the life of me I can't work out how the switch would work if it was the other way around?!? Anyway, it works now...it only cost me $8 so I can hardly complain.
The bike is now "finished" (still needs paint though). But being "finished" means theoretically, I can take it for a ride. Which, theoretically, I may do tomorrow!!! Woohoo! ;D ;D ;D ;D
Good point Dr J. The nipple at the lever end of the cable gets pulled in an arc which adds an extra dimension of stress rather than the straight line pull at the distal end of the cable . I'll have to remember that for next time ")
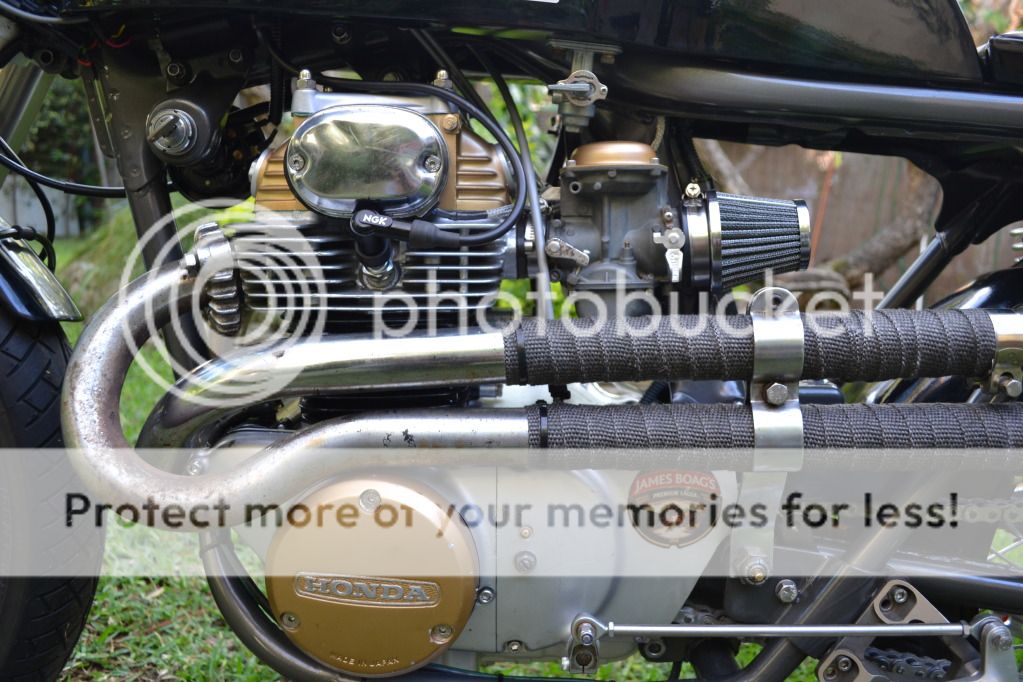
Zacc, the gear lever travel was being impeded by the head of the bolt that I had inserted (see picture). So the gears were not selected at all. Easily solved by screwing the bolt out a little so the head of the bolt was not getting in the way.
Zacc, the gear lever travel was being impeded by the head of the bolt that I had inserted (see picture). So the gears were not selected at all. Easily solved by screwing the bolt out a little so the head of the bolt was not getting in the way.

deepwaterimports
Over 1,000 Posts
THIS BIKE IS BEAUTIFUL!
a very well done to you mate she turned out awesome. be ultra proud.
a very well done to you mate she turned out awesome. be ultra proud.
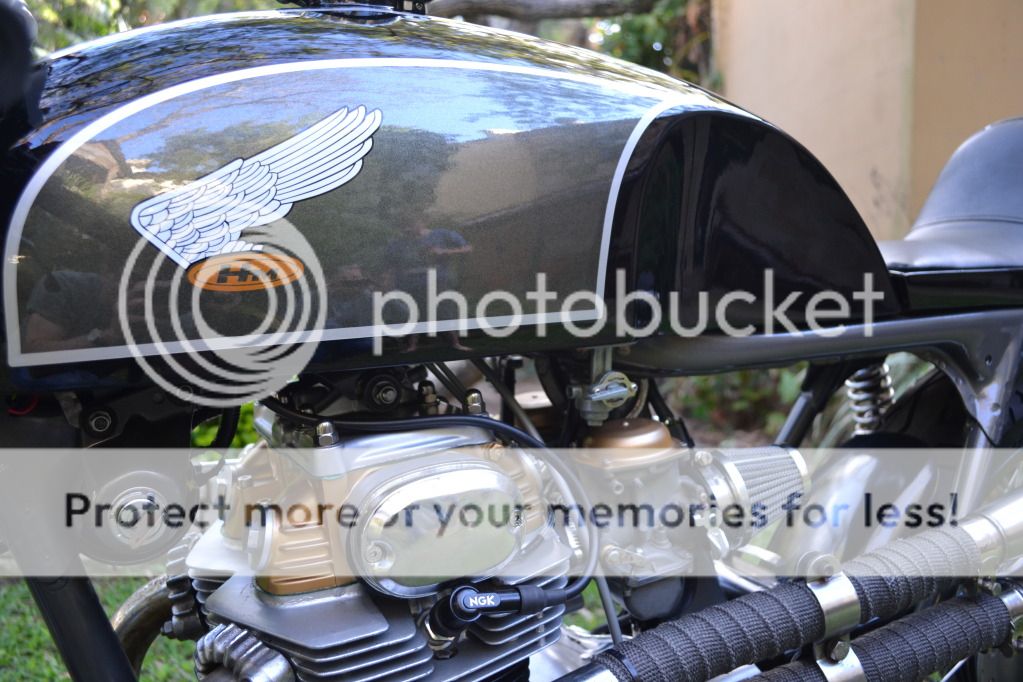
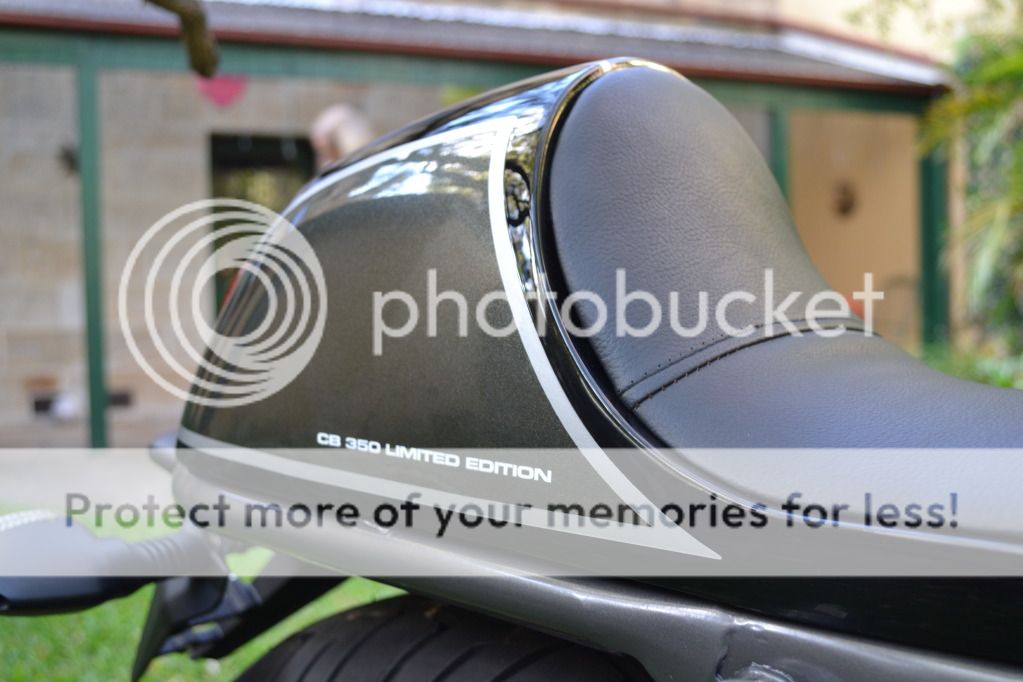
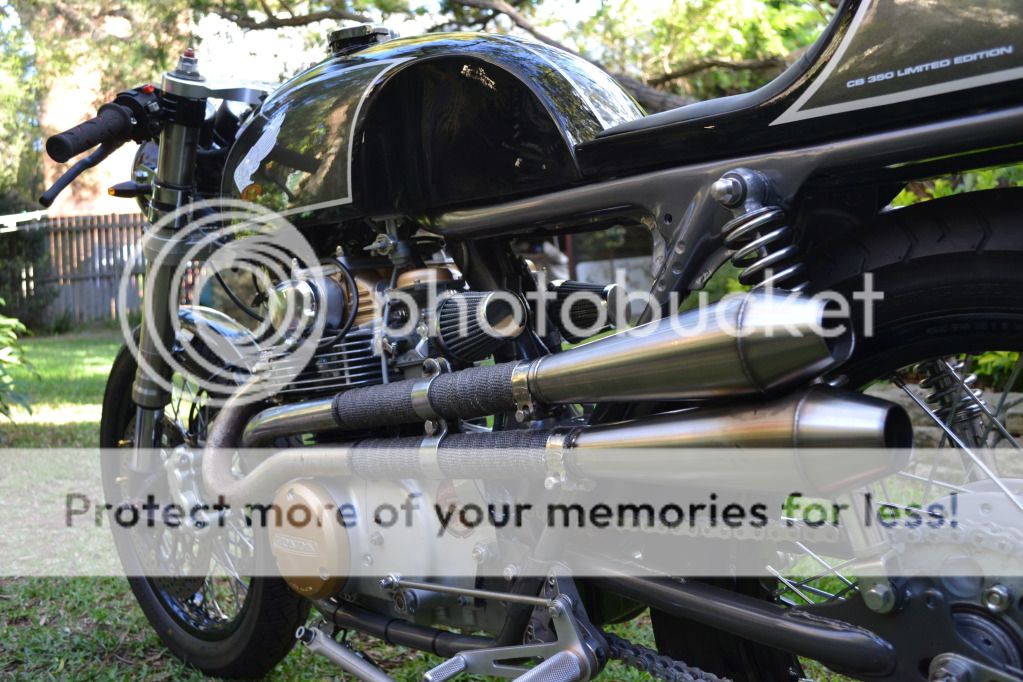
Hey thanks guys for the comments. I'm pretty pleased with the way it has turned out. After agonising for months over what colours and what layout to go with I was still very uncertain about whether I'd made the right decision. Once I saw the end result I was very pleased with it. Quite subtle and understated. The black and grey both have metal flake which don't show up very very well in the photos but really sparkle in the sun.
Neevo, paint was by Collide-a-Scope in Hornsby. Not the first time I've used them for paint but first time for a complicated custom job. They do outstanding work, took the time to go over every detail of what I wanted colours, layout, stickers, etc The black is paint, the grey and silver are vinyl stickers with clear coat over the top. For tank, seat and front guard it came to $943. Not cheap but definitely good quality.
Neevo, paint was by Collide-a-Scope in Hornsby. Not the first time I've used them for paint but first time for a complicated custom job. They do outstanding work, took the time to go over every detail of what I wanted colours, layout, stickers, etc The black is paint, the grey and silver are vinyl stickers with clear coat over the top. For tank, seat and front guard it came to $943. Not cheap but definitely good quality.
andycafe
Northern Suburbs, Melbourne Victoria, Australia
neevo
Over 1,000 Posts
ducatiboy said:$943. Not cheap but definitely good quality.
Wow, that's a bit more than I thought. Better start saving.
fantastic efforts sir!
really hope to see this in the flesh one day.
going to ride the hell out of it now?
Where are you located Sinbad? Could meet for a coffee at Deus if you're in Sydney!
Will be a while before I can ride this bike properly though! I need to get it registered which may be a whole can of worms in itself. In the meantime I need to sort out the jetting with the CV carbs. I've got it running on both cylinders now (no mean feat) and it runs smoothly and idles well. But I haven't been able to really rev it out past about 5000rpm yet mainly because living in the inner city limits where I can safely open it up and work and travel have conspired to limit my riding time!!
Soooo...one of these days...
DrJ
Over 1,000 Posts
ducatiboy said:
That's a very tidy build indeed. I assume you relocated the sidestand mount forward to clear the shift lever. I also need to do that. How does it work? Does it balance well?
Thx DrJ.
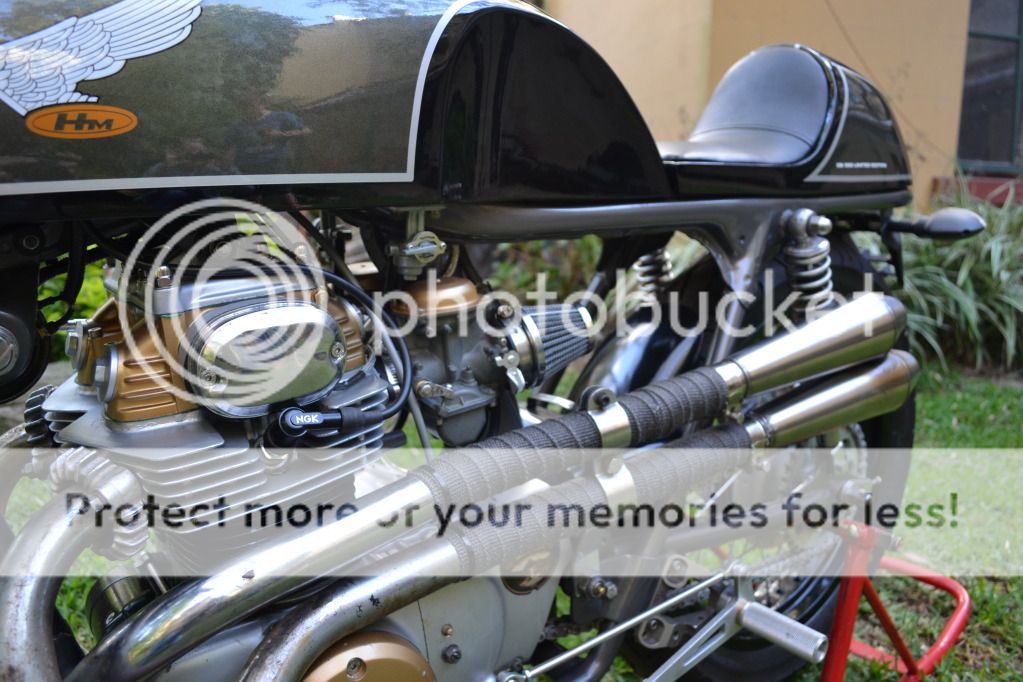
Yes I moved it forward to clear the shift lever but as it turns out I didn't really need to. The original side stand for the CB350 is mounted onto the the footrest crossmember mechanism. So when you go to rear sets you need to mount the side stand bracket somewhere. I chose to move it forward because just eyeballing the location I thought it was going to foul the shift lever (this was before I'd even bought the rear sets). In fact it would have been fine further back.
There are two problems as it sits right now. First is the stand is slightly too long. This means the bike stands too upright. Although on flat ground it leans enough (just) to be stable, it would not take much to accidentally bump it off the stand. So the stand needs to be slightly shorter or the rear shocks slightly longer. I need to measure my geometry properly and compare to stock before I commit to longer shocks (the standard rear shocks are *ahem* a bit primitive). The second problem is when sitting on the bike, the stand is a bit hard to reach with the toe of your left foot.
If I was doing this build again, I would mount the stand further back and I would make sure I had rear sets and gear lever in place to check clearances instead of just guessing that there would be a problem
I assume you relocated the sidestand mount forward to clear the shift lever.
Yes I moved it forward to clear the shift lever but as it turns out I didn't really need to. The original side stand for the CB350 is mounted onto the the footrest crossmember mechanism. So when you go to rear sets you need to mount the side stand bracket somewhere. I chose to move it forward because just eyeballing the location I thought it was going to foul the shift lever (this was before I'd even bought the rear sets). In fact it would have been fine further back.
How does it work? Does it balance well?
There are two problems as it sits right now. First is the stand is slightly too long. This means the bike stands too upright. Although on flat ground it leans enough (just) to be stable, it would not take much to accidentally bump it off the stand. So the stand needs to be slightly shorter or the rear shocks slightly longer. I need to measure my geometry properly and compare to stock before I commit to longer shocks (the standard rear shocks are *ahem* a bit primitive). The second problem is when sitting on the bike, the stand is a bit hard to reach with the toe of your left foot.
If I was doing this build again, I would mount the stand further back and I would make sure I had rear sets and gear lever in place to check clearances instead of just guessing that there would be a problem


