
billyp
Been Around the Block
Like the title says, I started the process to build my own tail section. After reading and re-reading several threads here on the Ton, and watching many videos on youtube, I decided to give it a shot.
Reasons for doing it myself...
Couldn't find one already made that looked how I wanted
Wanted to learn how to make molds and fiberglass
I like the satisfaction of learning and doing something new and doing it myself
I decided to build just the tail "hump," I'm still working out a seat idea and I won't be using a traditional seat pan. I also wanted a place to hide a battery, fuse panel, reg/rec, blinker relay and whatever other electrics I come up with.
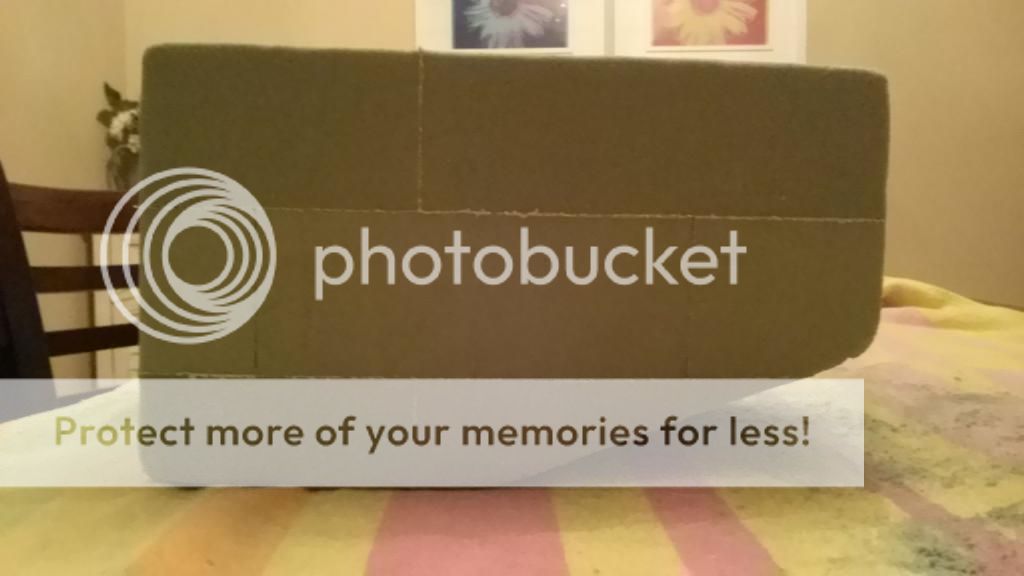
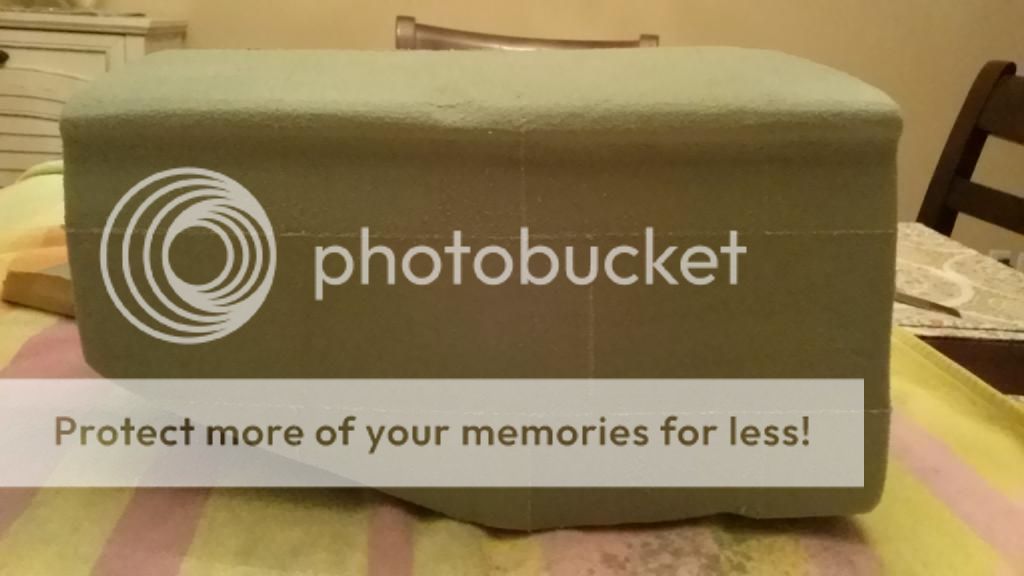
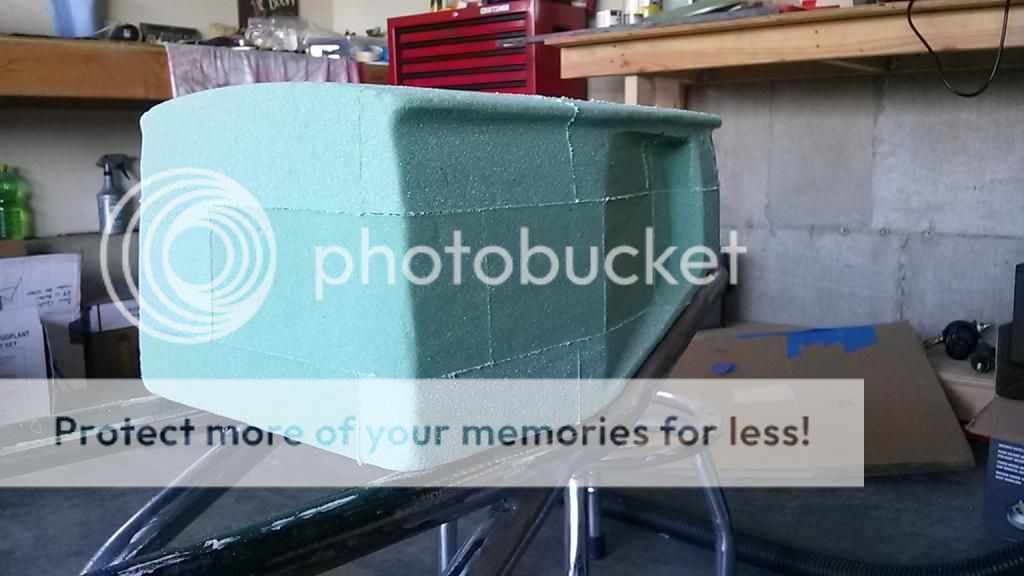
So I went with florist foam as it was cheap and it turns out extremely easy to work with. Got some spray glue and glued them together into a rectangle shape and went to work.
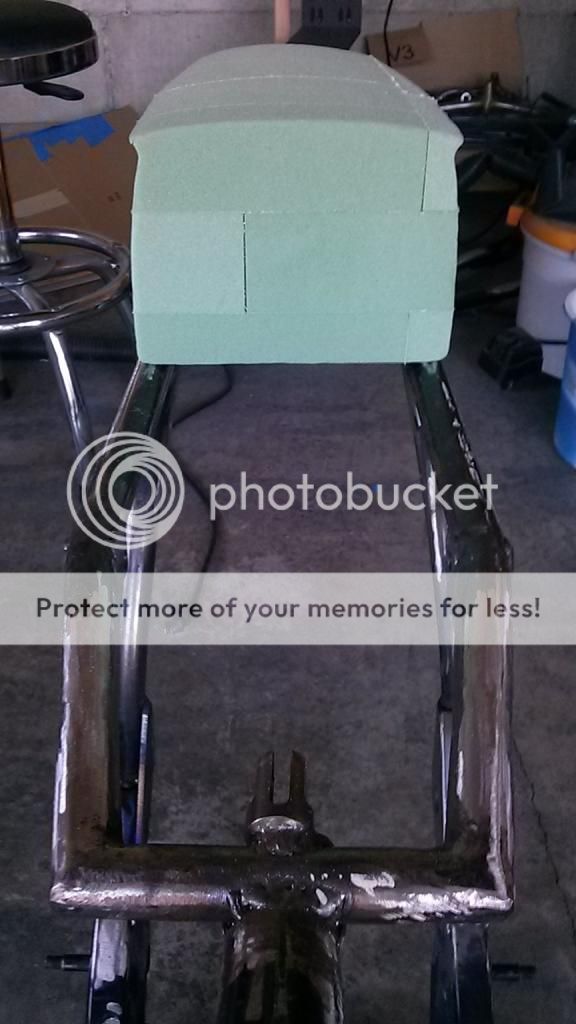
First I traced a rough outline with it sitting on the frame, figured out the angle of the kick up and gave it a rough shape
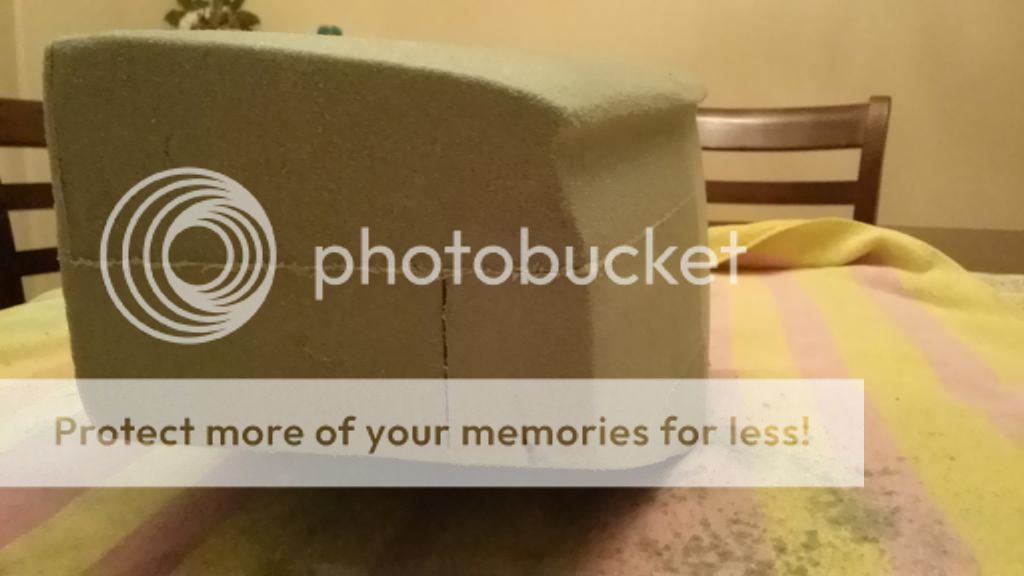
I want the sides and top to be slightly rounded, took some 120 grit on a flexible sanding block and started to shape it
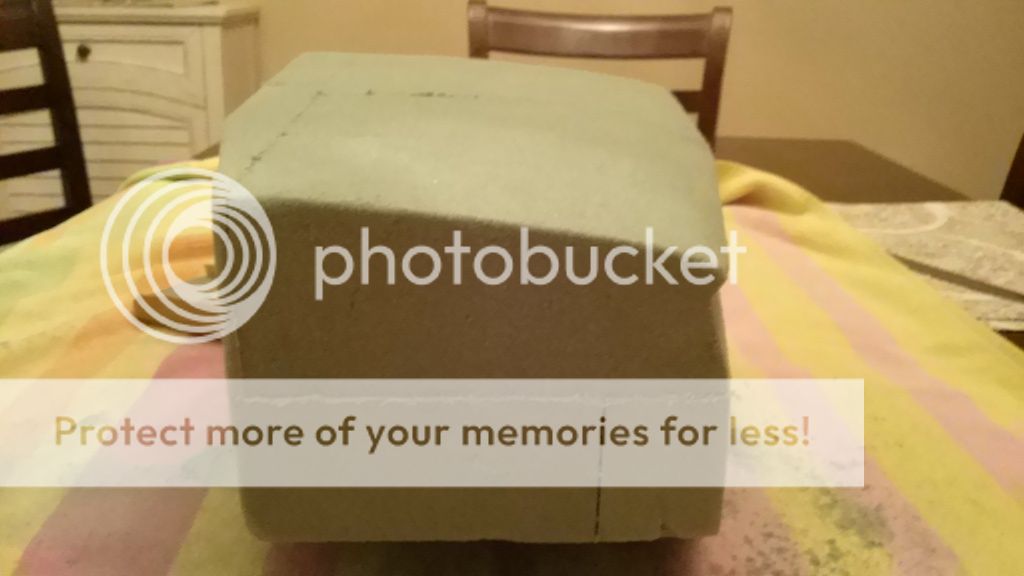
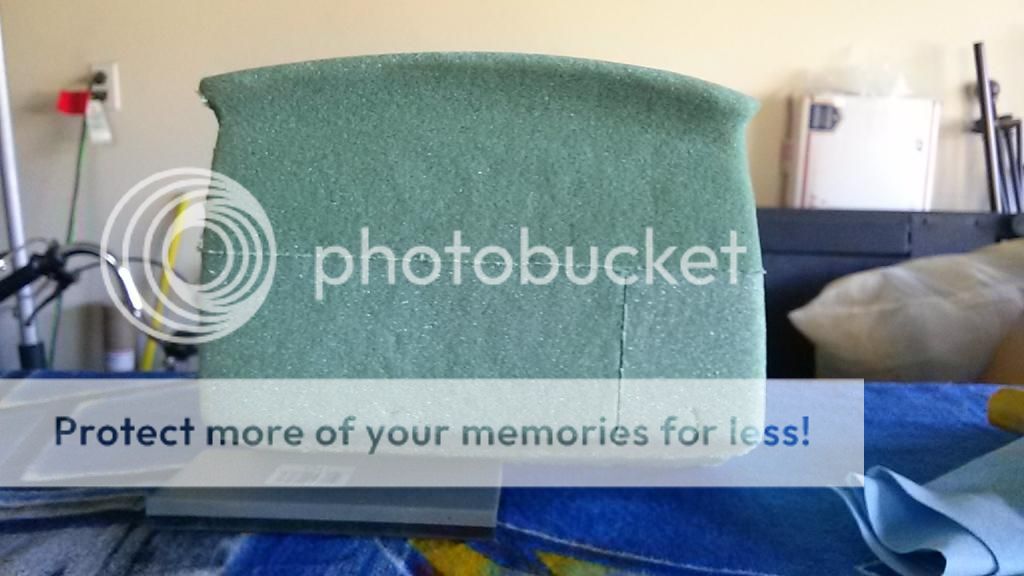
This is the rear
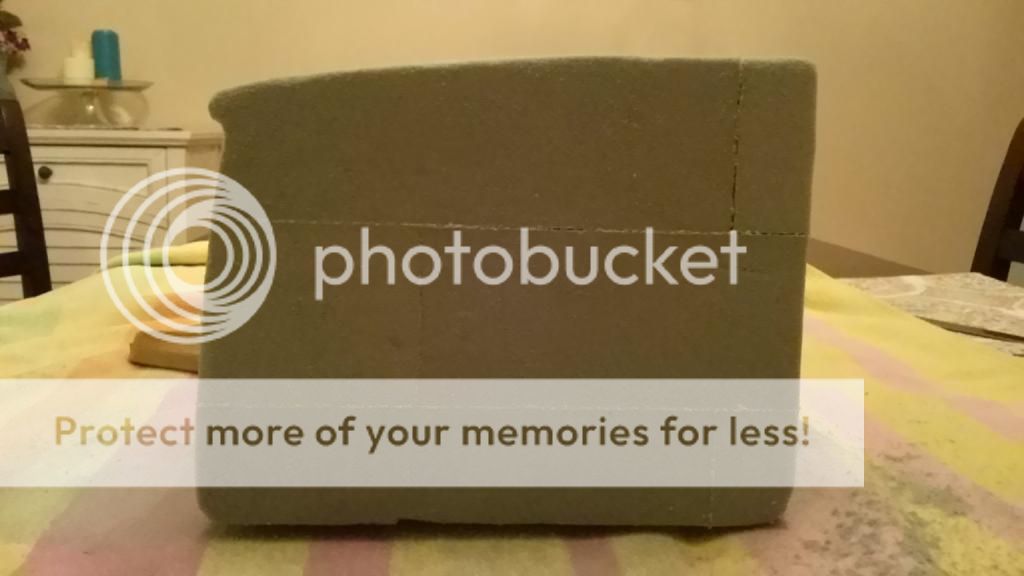
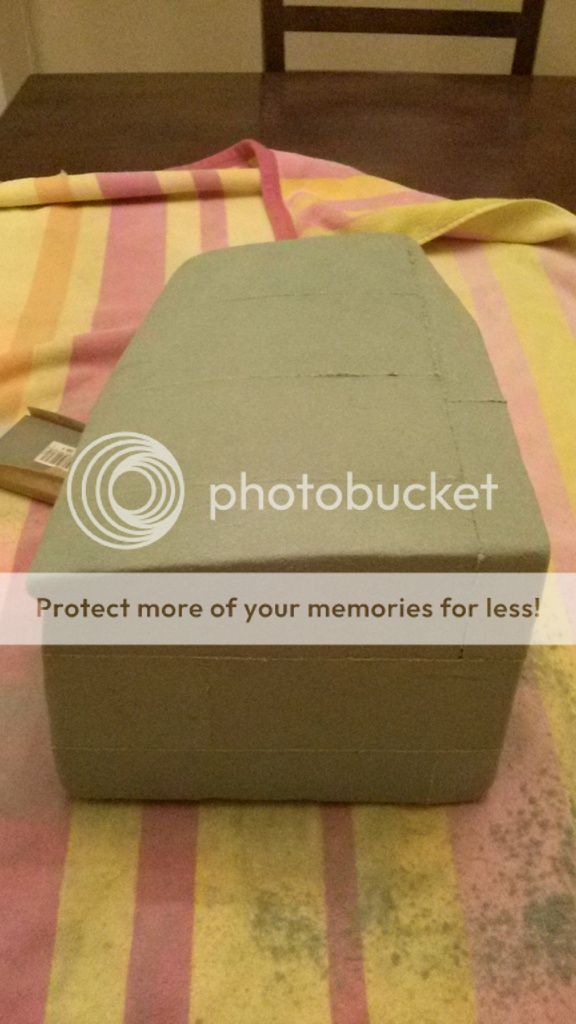
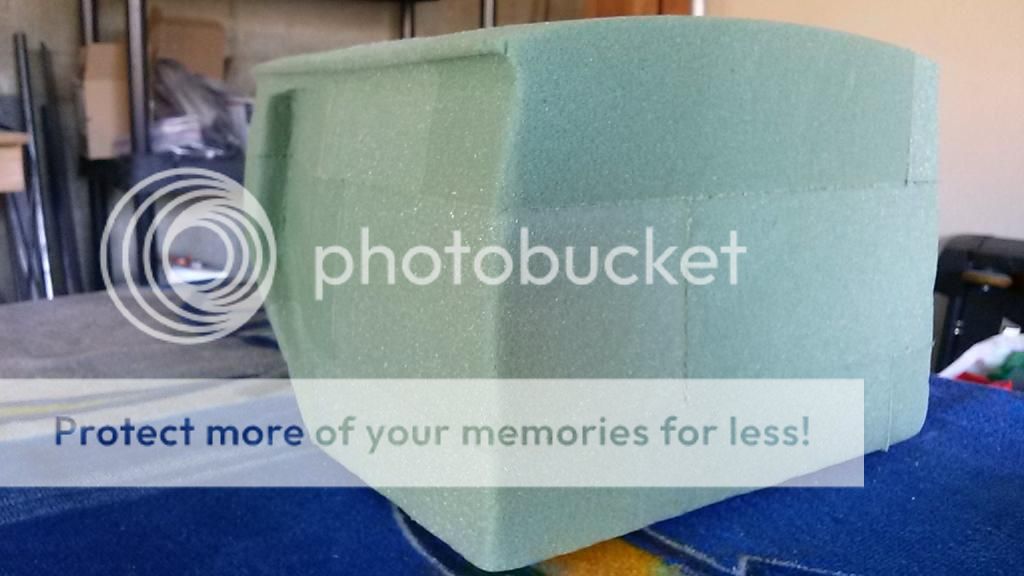
Front
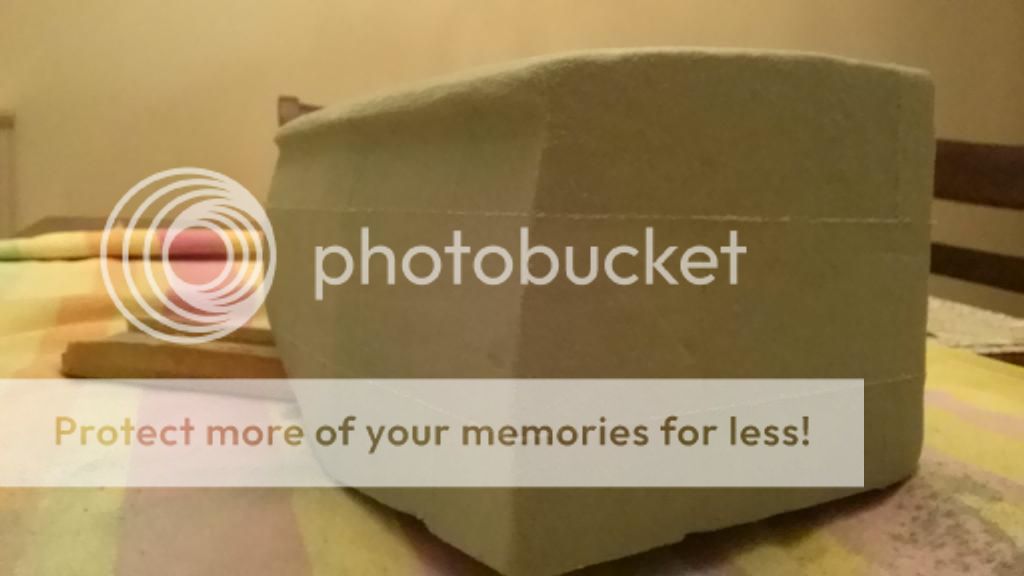
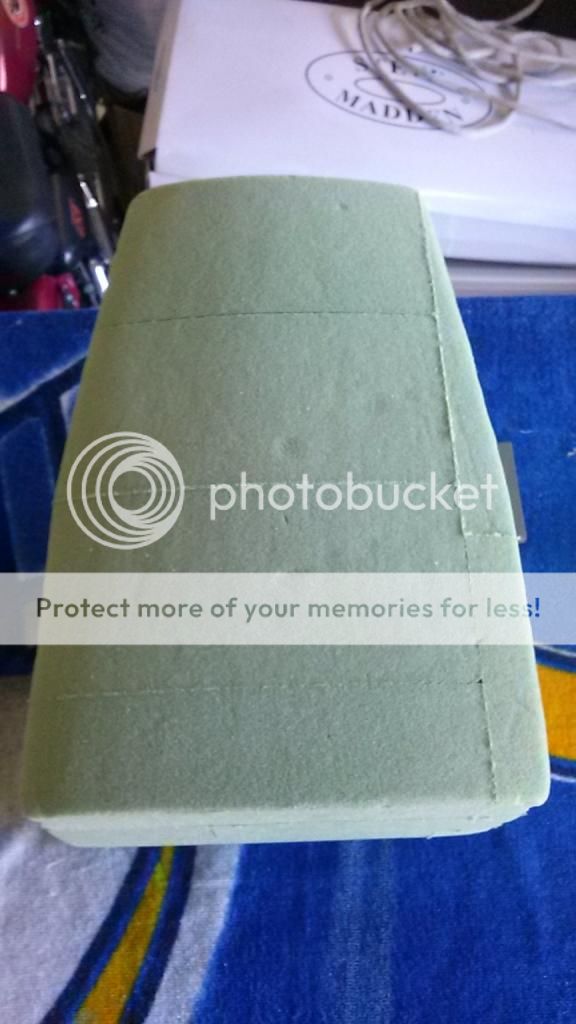
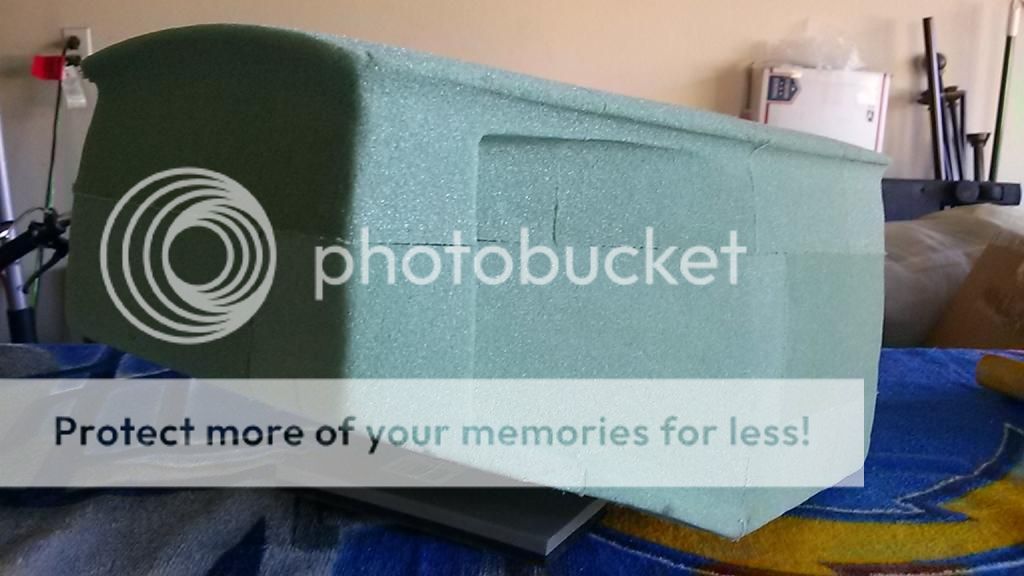
Down the side. You can see how it kicks in about halfway down, tapers from about 9 inches wide in the front to about 6 in the back
Starting to take shape
Now to get it symmetrical
Reasons for doing it myself...
Couldn't find one already made that looked how I wanted
Wanted to learn how to make molds and fiberglass
I like the satisfaction of learning and doing something new and doing it myself
I decided to build just the tail "hump," I'm still working out a seat idea and I won't be using a traditional seat pan. I also wanted a place to hide a battery, fuse panel, reg/rec, blinker relay and whatever other electrics I come up with.
So I went with florist foam as it was cheap and it turns out extremely easy to work with. Got some spray glue and glued them together into a rectangle shape and went to work.
First I traced a rough outline with it sitting on the frame, figured out the angle of the kick up and gave it a rough shape
I want the sides and top to be slightly rounded, took some 120 grit on a flexible sanding block and started to shape it
This is the rear
Front
Down the side. You can see how it kicks in about halfway down, tapers from about 9 inches wide in the front to about 6 in the back
Starting to take shape
Now to get it symmetrical

")


