Follow along with the video below to see how to install our site as a web app on your home screen.
Note: This feature currently requires accessing the site using the built-in Safari browser.
We noticed you are blocking ads. DO THE TON only works with community supporters. Most are active members of the site with small businesses. Please consider disabling your ad blocking tool and checking out the businesses that help keep our site up and free.
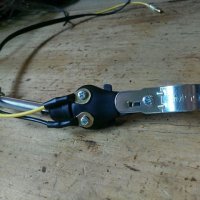
I used aftermarket perches on my CL350 and for the front brake switch instead of relying on the post installed in the factory perch I used a front brake cable off of an early 350 (68 or 69) that has the switch built into the cable itself . I believe they used the same style for the early 175s too.
Quick little update...I just ordered an Electronic Ignition from Probe Engineering. The thing has progressive dwell and is built for both street and racing applications. They are pretty pricey but their service is great and they are top of the line.
I used aftermarket perches on my CL350 and for the front brake switch instead of relying on the post installed in the factory perch I used a front brake cable off of an early 350 (68 or 69) that has the switch built into the cable itself . I believe they used the same style for the early 175s too.
I've just come across the most frustrating part of the build so far. The CL exhaust is giving me one heck of a time. Is there any trick to installing this thing??
I went to Lowe's and snagged a clamp to mount the thing, but I have discovered I have no idea how to get the mounting collars in place and the hemispherical standoffs + the crush gasket in place for both pipes....
What's the proper way to do this?! I'm stumped!
Do you have to install the pipe that's welded to the muffler first (loose) and then install the short header pipe separately?
Or do you have to keep the header side (left) slipped in the muffler but loose and then assemble both sides at once? How do you keep the crush washers from flying out while assembling and still fit the standoffs in place?
I'm so confused...I can't post any pictures because I already need 3 hands to hold everything together...
idea...
Put a dab of grease on the exhaust gaskets to set them into the exhaust port.
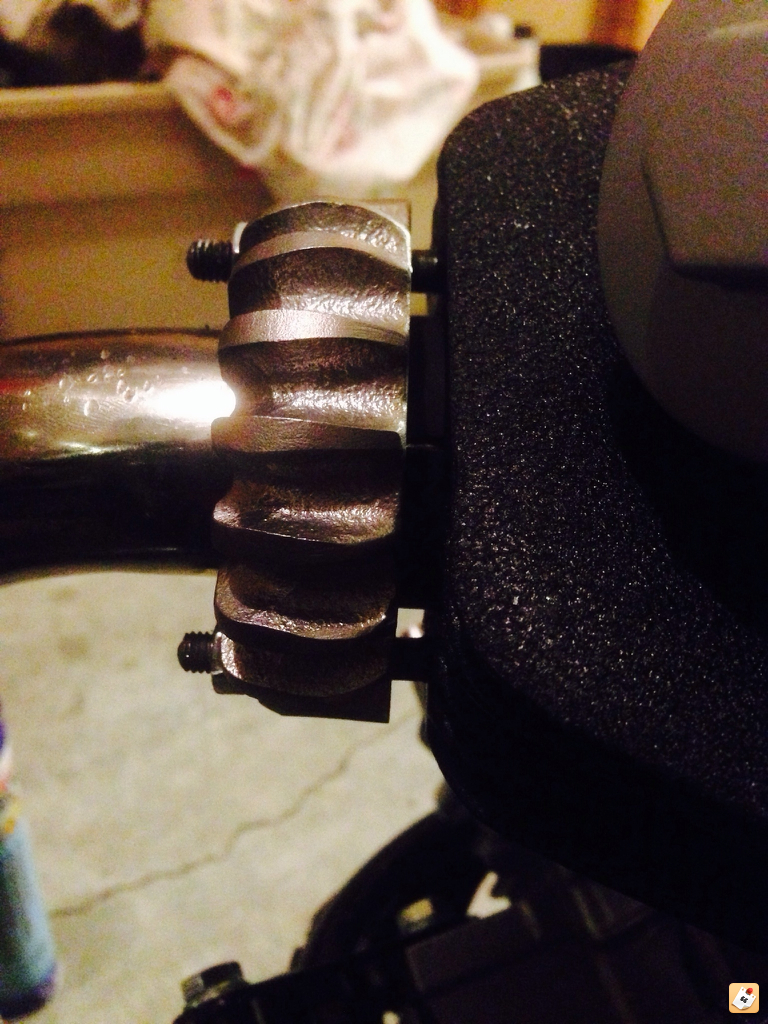
Put the collar on the exhaust, then tape the the clamping collars around the end of the exhaust pipe. Slide it on partially and secure with one nut so it can still jiggle around...
idea...
Put a dab of grease on the exhaust gaskets to set them into the exhaust port.
Put the collar on the exhaust, then tape the the clamping collars around the end of the exhaust pipe. Slide it on partially and secure with one nut so it can still jiggle around...
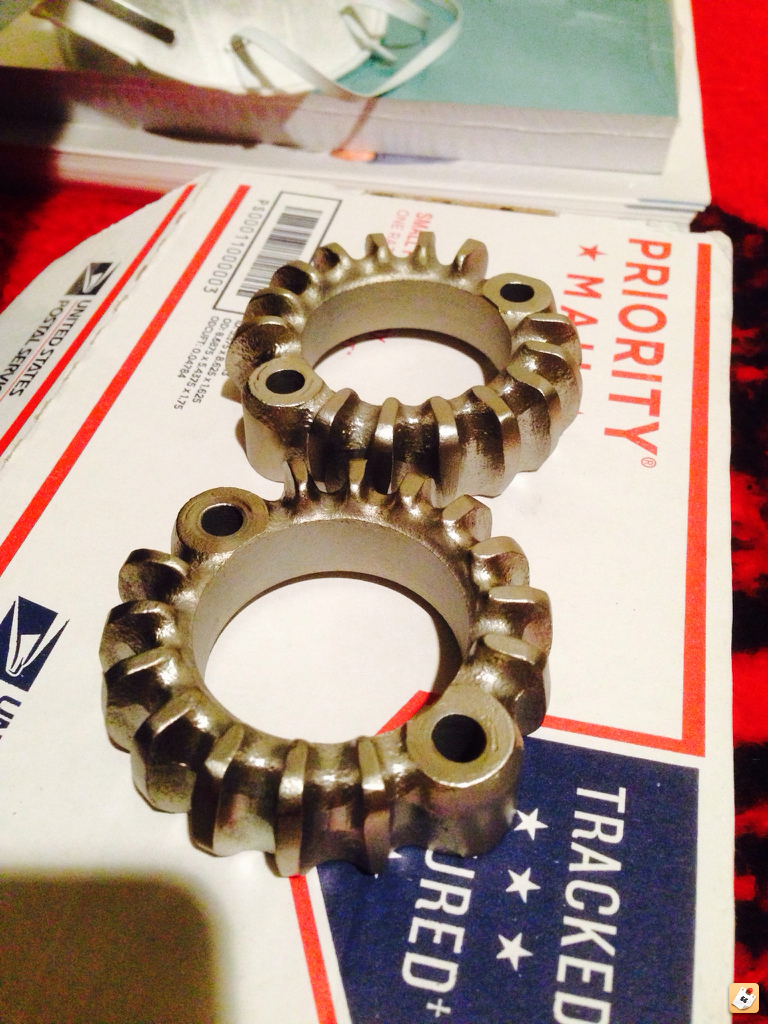
Good call, after I posted that I tried the grease thing and that worked perfectly. Also, I discovered that there is so much room taken up by the fins on the exhaust flange. I trimmed them down some. I assume they are there for heat dissipation but I've seen some without fins at all. Hopefully it won't make a difference.
This should give me some more room. It was my biggest issue.
I've been thinking about carbs for this thing lately. I'm planning on using the stock Keihin 20 carbs and I'll be running the stock CL175 exhaust for the time being. For an intake, I'll be running 6" velocity stacks from Steel Dragon Performance than extend past the downtube on the frame.
I know that the stock CB175 carb specs are as follows:
#98 Main Jet
#150 Air Jet
#38 Slow Jet
I need some help choosing jets to start tuning on this bike. Will the stock configuration be close enough to at least get it to idle and run long enough to figure out what my air/fuel mixture is looking like?
Also, the air screw setting, based on the manual, is 7/8 +/- 1/4. Does this mean that you screw it all the way in, and then back it out 7/8 turns?
Any help you guys can give me about finding a better starting point for tuning based off of the configuration I will be running would be great!
The velocity stacks will look something like this..
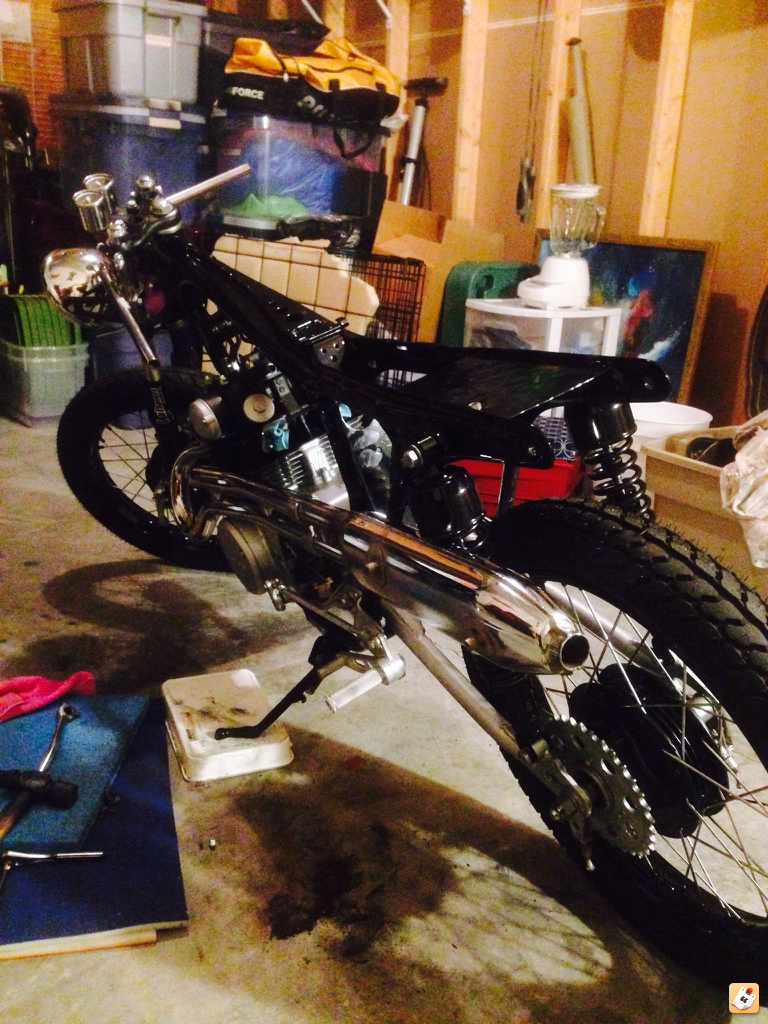
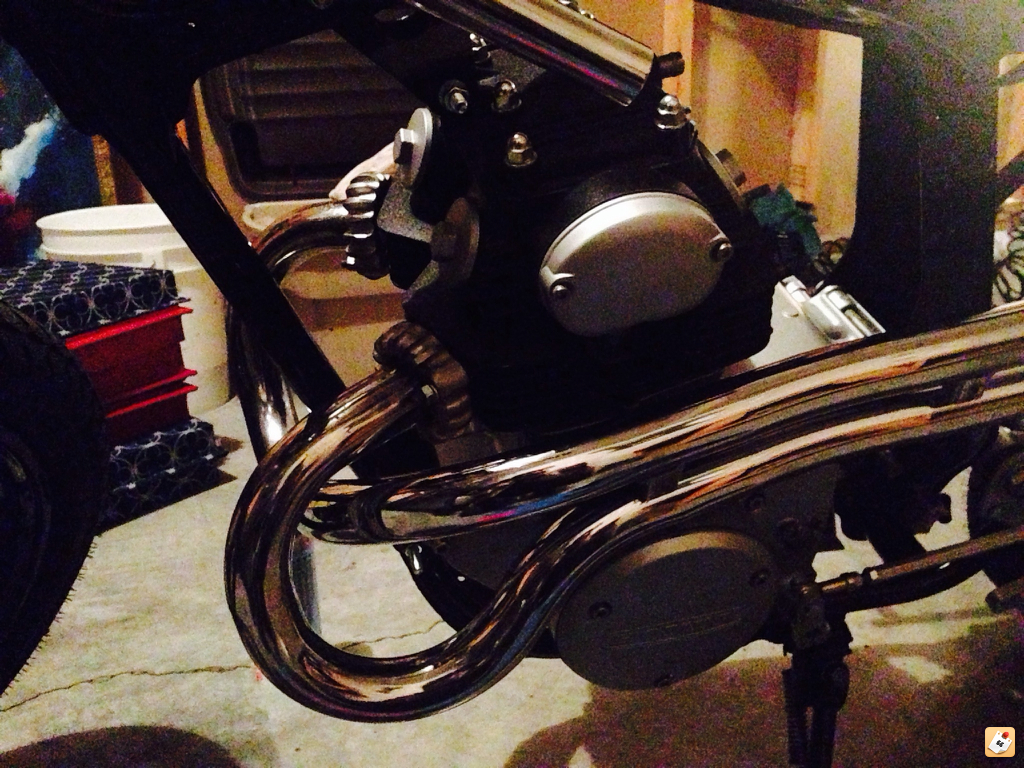
I finally got the exhaust installed. Is it normal to have a little gap between the exhaust flange and the cylinder head? I feel like I've seen this issue on a thread before.
Anywho, I have some rubbing issues as you can kinda see below. Anyone know how I can push the exhaust outward a bit? I don't have the stock tube hangar brackets that the exhaust is supported by so I tried making something up a couple of ways that didn't turn out well. I'll try something else. Otherwise it looks sweet and actually is in pretty good condition.
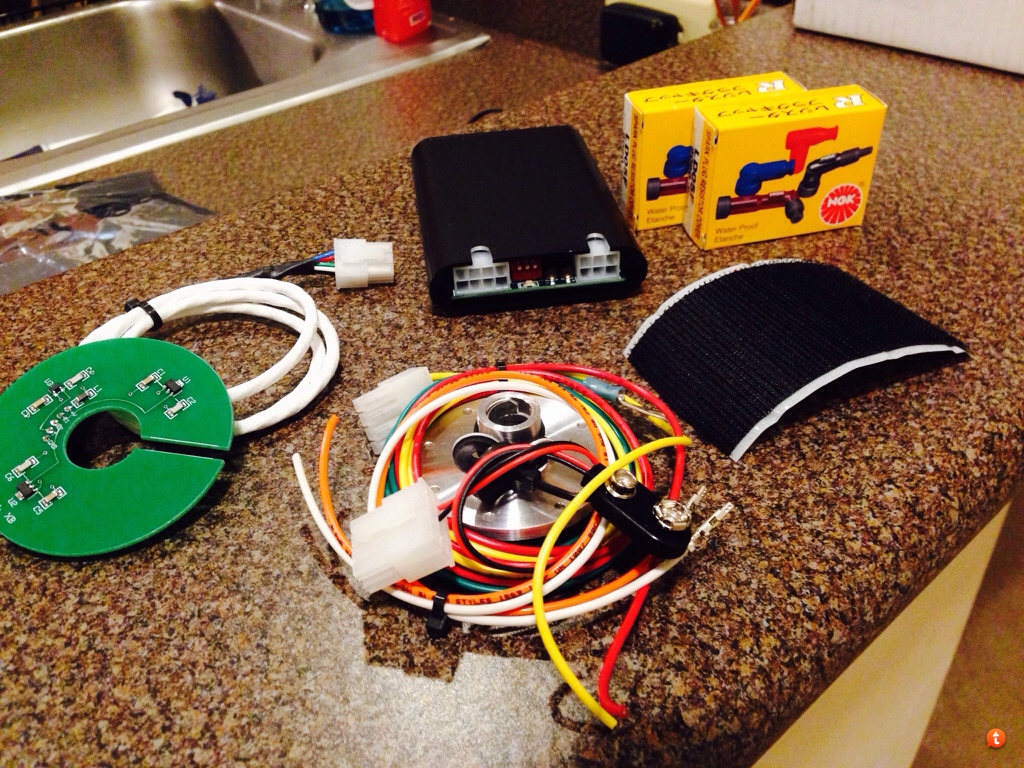
I think everything is in place for Matt to make me one of his beautiful wiring harnesses. I recently received in my electronic ignition from Mike Whitebrook at Probe Engineering...here's the contents of the package...
I'll be having Matt wire my harness for kick only with the stock coil running a standard battery under the cowl. The EI module will go between the frame rails under my crotch.
I'll also be having him wire the harness for:
gauge lights
trigger switch ignition
kill switch
handlebar aftermarket controls
front and rear brake light switches
headlight
It should be a pretty simple one for him. I'll be kicking this thing over soon!
Might be too late now but since you are making a custom harness, you could have really made it simple with this http://motogadget.com/en/electrics/electronic-control-box-m-unit/m-unit-digit-tastersteuerung-u-sicherung.html
Sorry if this has been covered, but how does the powder coated clear compare to a regular clear? I'm sure it's a lot more resilient but is the finish as smooth?
Sorry if this has been covered, but how does the powder coated clear compare to a regular clear? I'm sure it's a lot more resilient but is the finish as smooth?
The powder clear is super durable. I'm sure you could get spray clear that is as durable.
When Marc coated it for me, he warned me that it may have some orange peel (golf ball looking texture) simply because it is a large flat surface. It has some orange peel but I'm pretty sure you could buff it out just like anything.
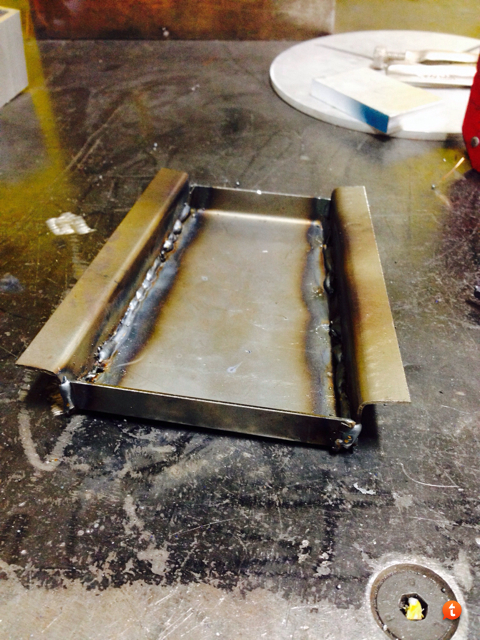
Made up a little tray to fit the electronic ignition module and the regulator/rectifier....hopefully.
It's not pretty but it's the first time I've ever welded. I'd say if it holds together I am happy and consider it a success. It will bolt down under the rubber seat mounts.
Might be too late now but since you are making a custom harness, you could have really made it simple with this http://motogadget.com/en/electrics/electronic-control-box-m-unit/m-unit-digit-tastersteuerung-u-sicherung.html
Indeed, Jay, that is quite the system! I wouldn't know where to start.
Matt, good news! Did my pictures for the front brake switch make sense last night? Need me to send it to you? Sounds like you are on your way without it in hand.
I took a risk with that EMGO switch...I like it too. It will be a little different to mount over the stock looking units but it looked solid. For anyone that's interested, you can get them from DCC.
This site uses cookies to help personalise content, tailor your experience and to keep you logged in if you register.
By continuing to use this site, you are consenting to our use of cookies.