We noticed you are blocking ads. DO THE TON only works with community supporters. Most are active members of the site with small businesses. Please consider disabling your ad blocking tool and checking out the businesses that help keep our site up and free.
You are using an out of date browser. It may not display this or other websites correctly.
You should upgrade or use an alternative browser.
You should upgrade or use an alternative browser.
Project CB690 (KTM 690 engine in a CB550f frame)
- Thread starter goodoltup
- Start date

goodoltup
Been Around the Block
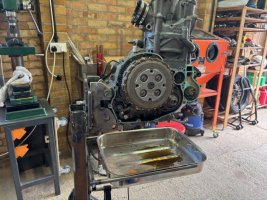
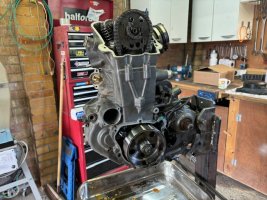
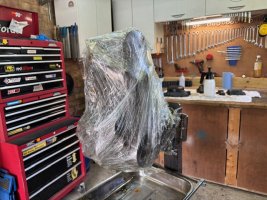
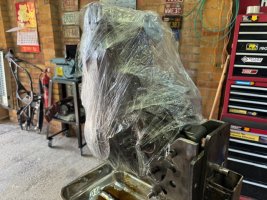
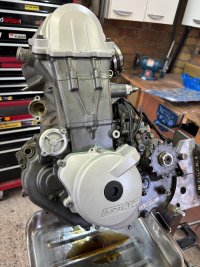
Clutch, alternator, waterpump, and valve covers removed, internals stripped, cleaned, and ready to be vapour blasted. I wrapped the engine up in cling film for protection.
Attachments
goodoltup
Been Around the Block
goodoltup
Been Around the Block
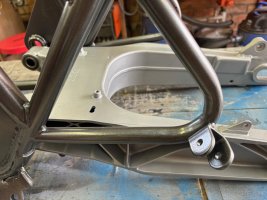
The frame has been dropped off for blasting/powder coat! A big day indeed.
Frame and sidestand - Grit blasted, primed, powder coated (gun-metal grey)
Swingarm - vapour blasted, clear coated (Cerakote H)
Alternator, clutch, water pump, and cam covers - vapour blasted, clear coated (Cerakote H)
Lead time 3 weeks, £250 total. Well pleased with that. The guy essentially specialises in motorbikes so he really gets it, knows what to look out for and what to mask off, etc.
Attachments
goodoltup
Been Around the Block
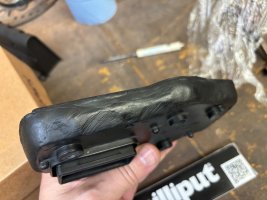
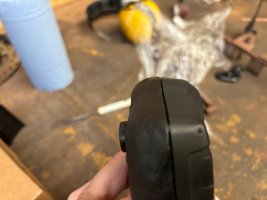
To improve the look of the speedo cluster I added milliput to the lower half. Pics below show the milliput after application. After drying I will sand it to refine the shape, and paint it matte black.
I did some sanding already but didn't take pictures, it was a messy and fussy process. Updates to follow.
I did some sanding already but didn't take pictures, it was a messy and fussy process. Updates to follow.
Attachments

goodoltup
Been Around the Block
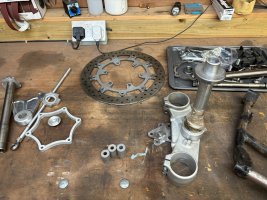
Small update, as I wait for the frame and wheels I started refinishing the parts that are immediately needed to make a rolling chassis. Mostly just beadblasting, wire brushing, and then clear coating or painting. This weekend I should plan on scraping engine gaskets and preparing for the newly refinished covers.
I'm really holding my breath on the frame colour choice, I hope that the gunmetal grey powder coat I chose will be dark enough for my liking. I almost called the guy and told him just to do black, but I'm holding fast. I hope it looks good.
I'm really holding my breath on the frame colour choice, I hope that the gunmetal grey powder coat I chose will be dark enough for my liking. I almost called the guy and told him just to do black, but I'm holding fast. I hope it looks good.
Attachments
goodoltup
Been Around the Block
Ok the frame has been powder coated. The colour is in fact a little lighter than I was hoping for, but still very nice. I had the swingarm and engine covers vapour blasted and clear coated, which in hindsight maybe worked better when I was envisioning a black frame. Now I have two different colour greys, and black wheels. Maybe I should get the rims vapour blasted too, we'll see.
I dropped off the wheels at the local Kawasaki shop, and they've had some trouble getting the Dunlop TT100GP tyres that I want. This is currently the hold up.
I dropped off the wheels at the local Kawasaki shop, and they've had some trouble getting the Dunlop TT100GP tyres that I want. This is currently the hold up.
Attachments
goodoltup
Been Around the Block
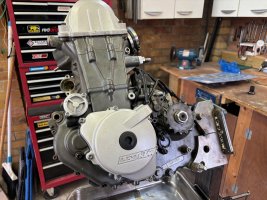
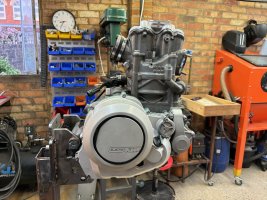
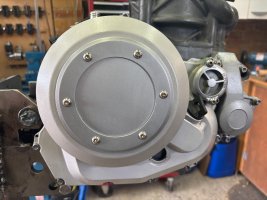
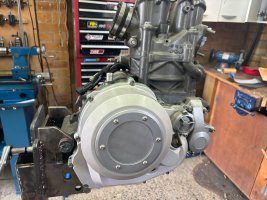
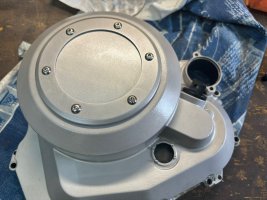
Got the covers on the engine over the weekend. I'm warming to the look. I do wish I could have painted the engine, on the other hand I absolutely did not want to paint the engine, what a ball ache that would have been! I think this is a good halfway. Note the clutch cover. I removed the cover centre bit and now I can't get it back in. It must have been put in with a press and a very good fitting tool. I tried my best but I just cant get the piece in with the gasket, so it's all squirting out now. I've decided to get an aftermarket clear clutch cover kit. They bolt in place to make the seal instead of being pressed in, so it should be ok. I may replace the glass pane with aluminium because I think the clear cover is kind of cheesy. We'll see. Likely no more work on this until July.
Attachments
goodoltup
Been Around the Block
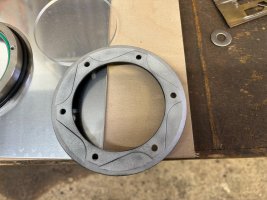
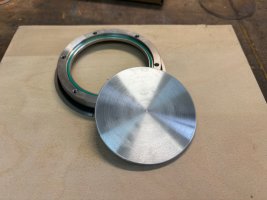
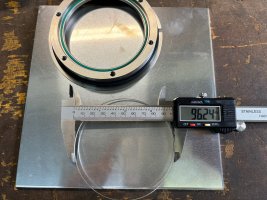
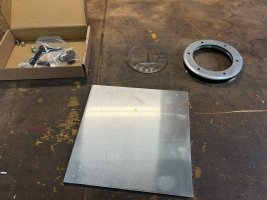
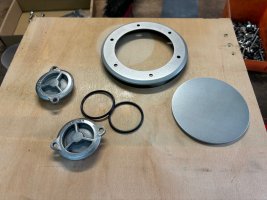
Ok the clutch cover. I definitely don't like the black, or the logo, so I beadblasted it. Then I didn't like the star pattern, so I sanded it flat. I still don't like the transparent window, so I will replace that with 4mm thick aluminium. I COULD just trace, cut, and file the aluminium to fit the cover, and that would be fine, but I have a lathe coming next week, so I may as well have a go with it. I will probably need to make an arbor and super glue the aluminium plate to it, we'll see. Likely the next update will be the lathe install.
Attachments
goodoltup
Been Around the Block
Small update.
I had decided on Dunlop TT100GP tyres, and was able to get the rear tyre pretty easily, but was never able to get the front. After about a month I finally gave up and got a set of Pirelli Scorpion Trail. Now the wheels are with the shop to get fitted with the Pirelli's, and I've got the rear Dunlop on Ebay at a small loss. We'll see if I sell it.
Also, I decided against the frame colour. Just couldn't do it. Too many greys. I brought the frame, sidestand, and swingarm back to the powdercoater, he will redo them all in just a regular gloss black.
Some fair setbacks for the schedule, maybe I'll get the bike done in the fall now.
sandmanred
Been Around the Block
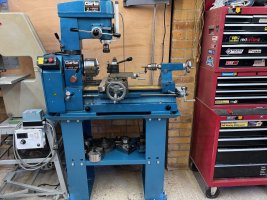
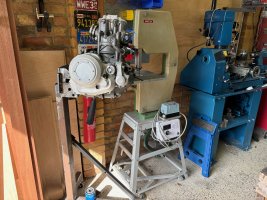
That's a nice addition!Stopped work on the bike for a week or two while I installed a lathe.
goodoltup
Been Around the Block
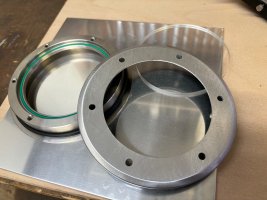
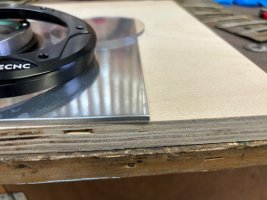
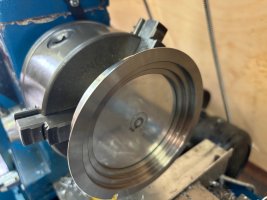
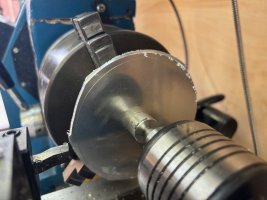
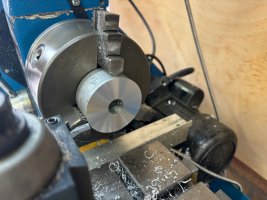
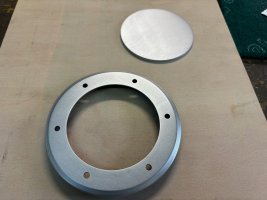
First project on the lathe, the clutch cover. Traced and cut out the 4mm aluminium sheet, made a faceplate for the chuck, dab of superglue, then used a live centre to hold it to the faceplate. I then used digital calipers and the DRO to sneak up on the OD.
Attachments


goodoltup
Been Around the Block
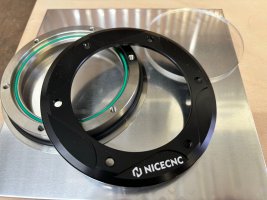
Then I beadblasted the two parts and gave it a scotch-brite finish, then clear coated them. I was worried about how it would look, but to be honest I like it better than the original!
Attachments
goodoltup
Been Around the Block
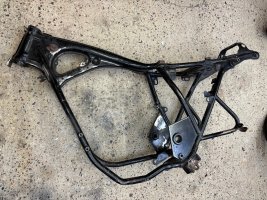
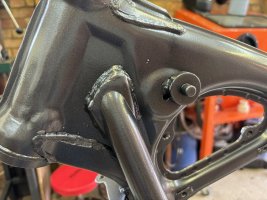
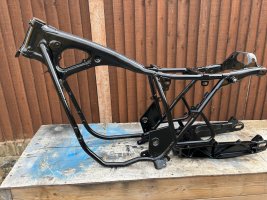
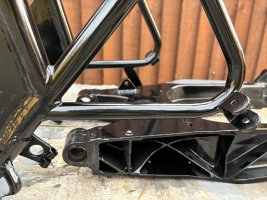
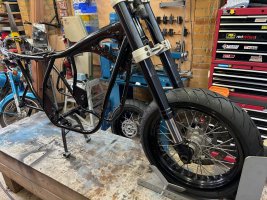
Changed my mind on the powdercoat. Both the frame and swingarm I got repainted black. I think they may have just gone over the gunmetal grey instead of beadblasting it, but the finish looks ok. Much happier with black, there were too many different kinds of grey on the bike, so had to go back to basics.
Attachments
goodoltup
Been Around the Block
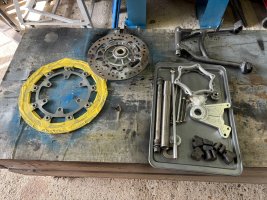
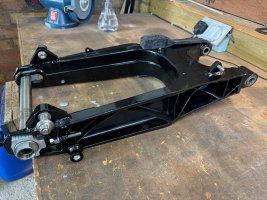
Swingarm all built up. Parts all cleaned and clear coated where needed. Engine ready to go. New tyres mounted and wheels all cleaned up. I had to scotch brite all the spoke nipples, that was a pain.
Attachments

goodoltup
Been Around the Block
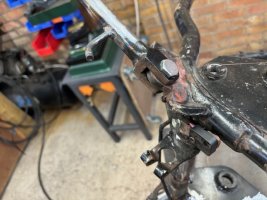
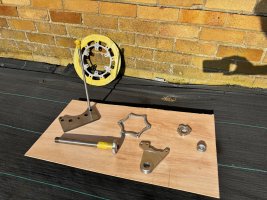
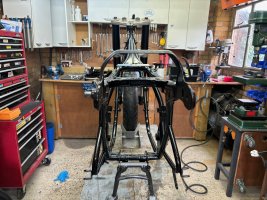
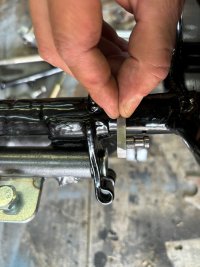
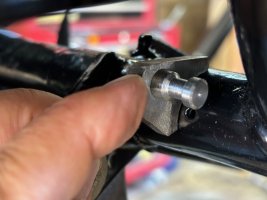
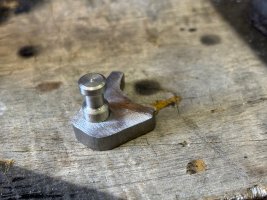
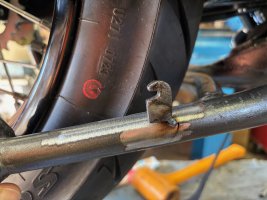
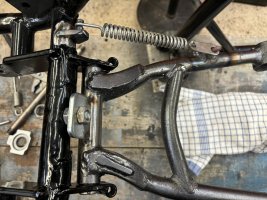
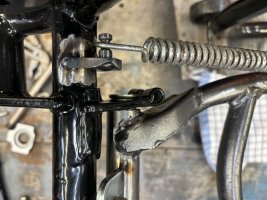
I decided actually that I DO want the centerstand. As I left it I needed to make a stop, and move the spring pivot. So I made a new spring anchor in the lathe and fabricated a bracket for it, and made an adjustable stop and tacked that to the stand.
Attachments
goodoltup
Been Around the Block
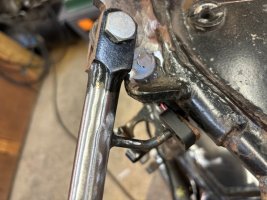
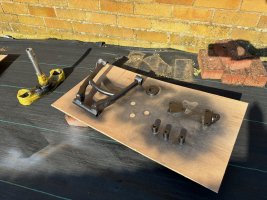
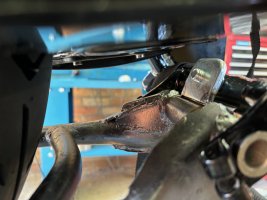
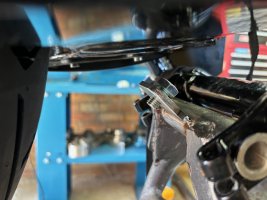
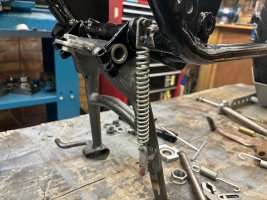
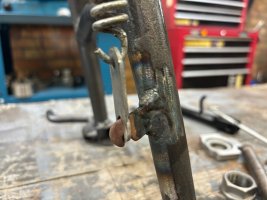
After tacking I fabbed a spring extension, and used a CD175 spring that I had around. It all worked very well. Next I will finish weld it all and repaint the frame where I needed to remove some powdercoat. You'll never see it. The stand will get spray painted black. Again it won't match the powdercoat, but it's close enough and no one will ever notice.
Attachments
Last edited:


