Follow along with the video below to see how to install our site as a web app on your home screen.
Note: This feature currently requires accessing the site using the built-in Safari browser.
We noticed you are blocking ads. DO THE TON only works with community supporters. Most are active members of the site with small businesses. Please consider disabling your ad blocking tool and checking out the businesses that help keep our site up and free.
Wish I had some Photoshop skills. I'd try to manipulate this picture over top of the side view above to try and get an idea if this would work on there.
Oh mercy! Your penance is to say three Our Ducati's, five Hail Honda's, read a CB360 shop manual, and throw $20 in the collection plate. Go in peace my son.
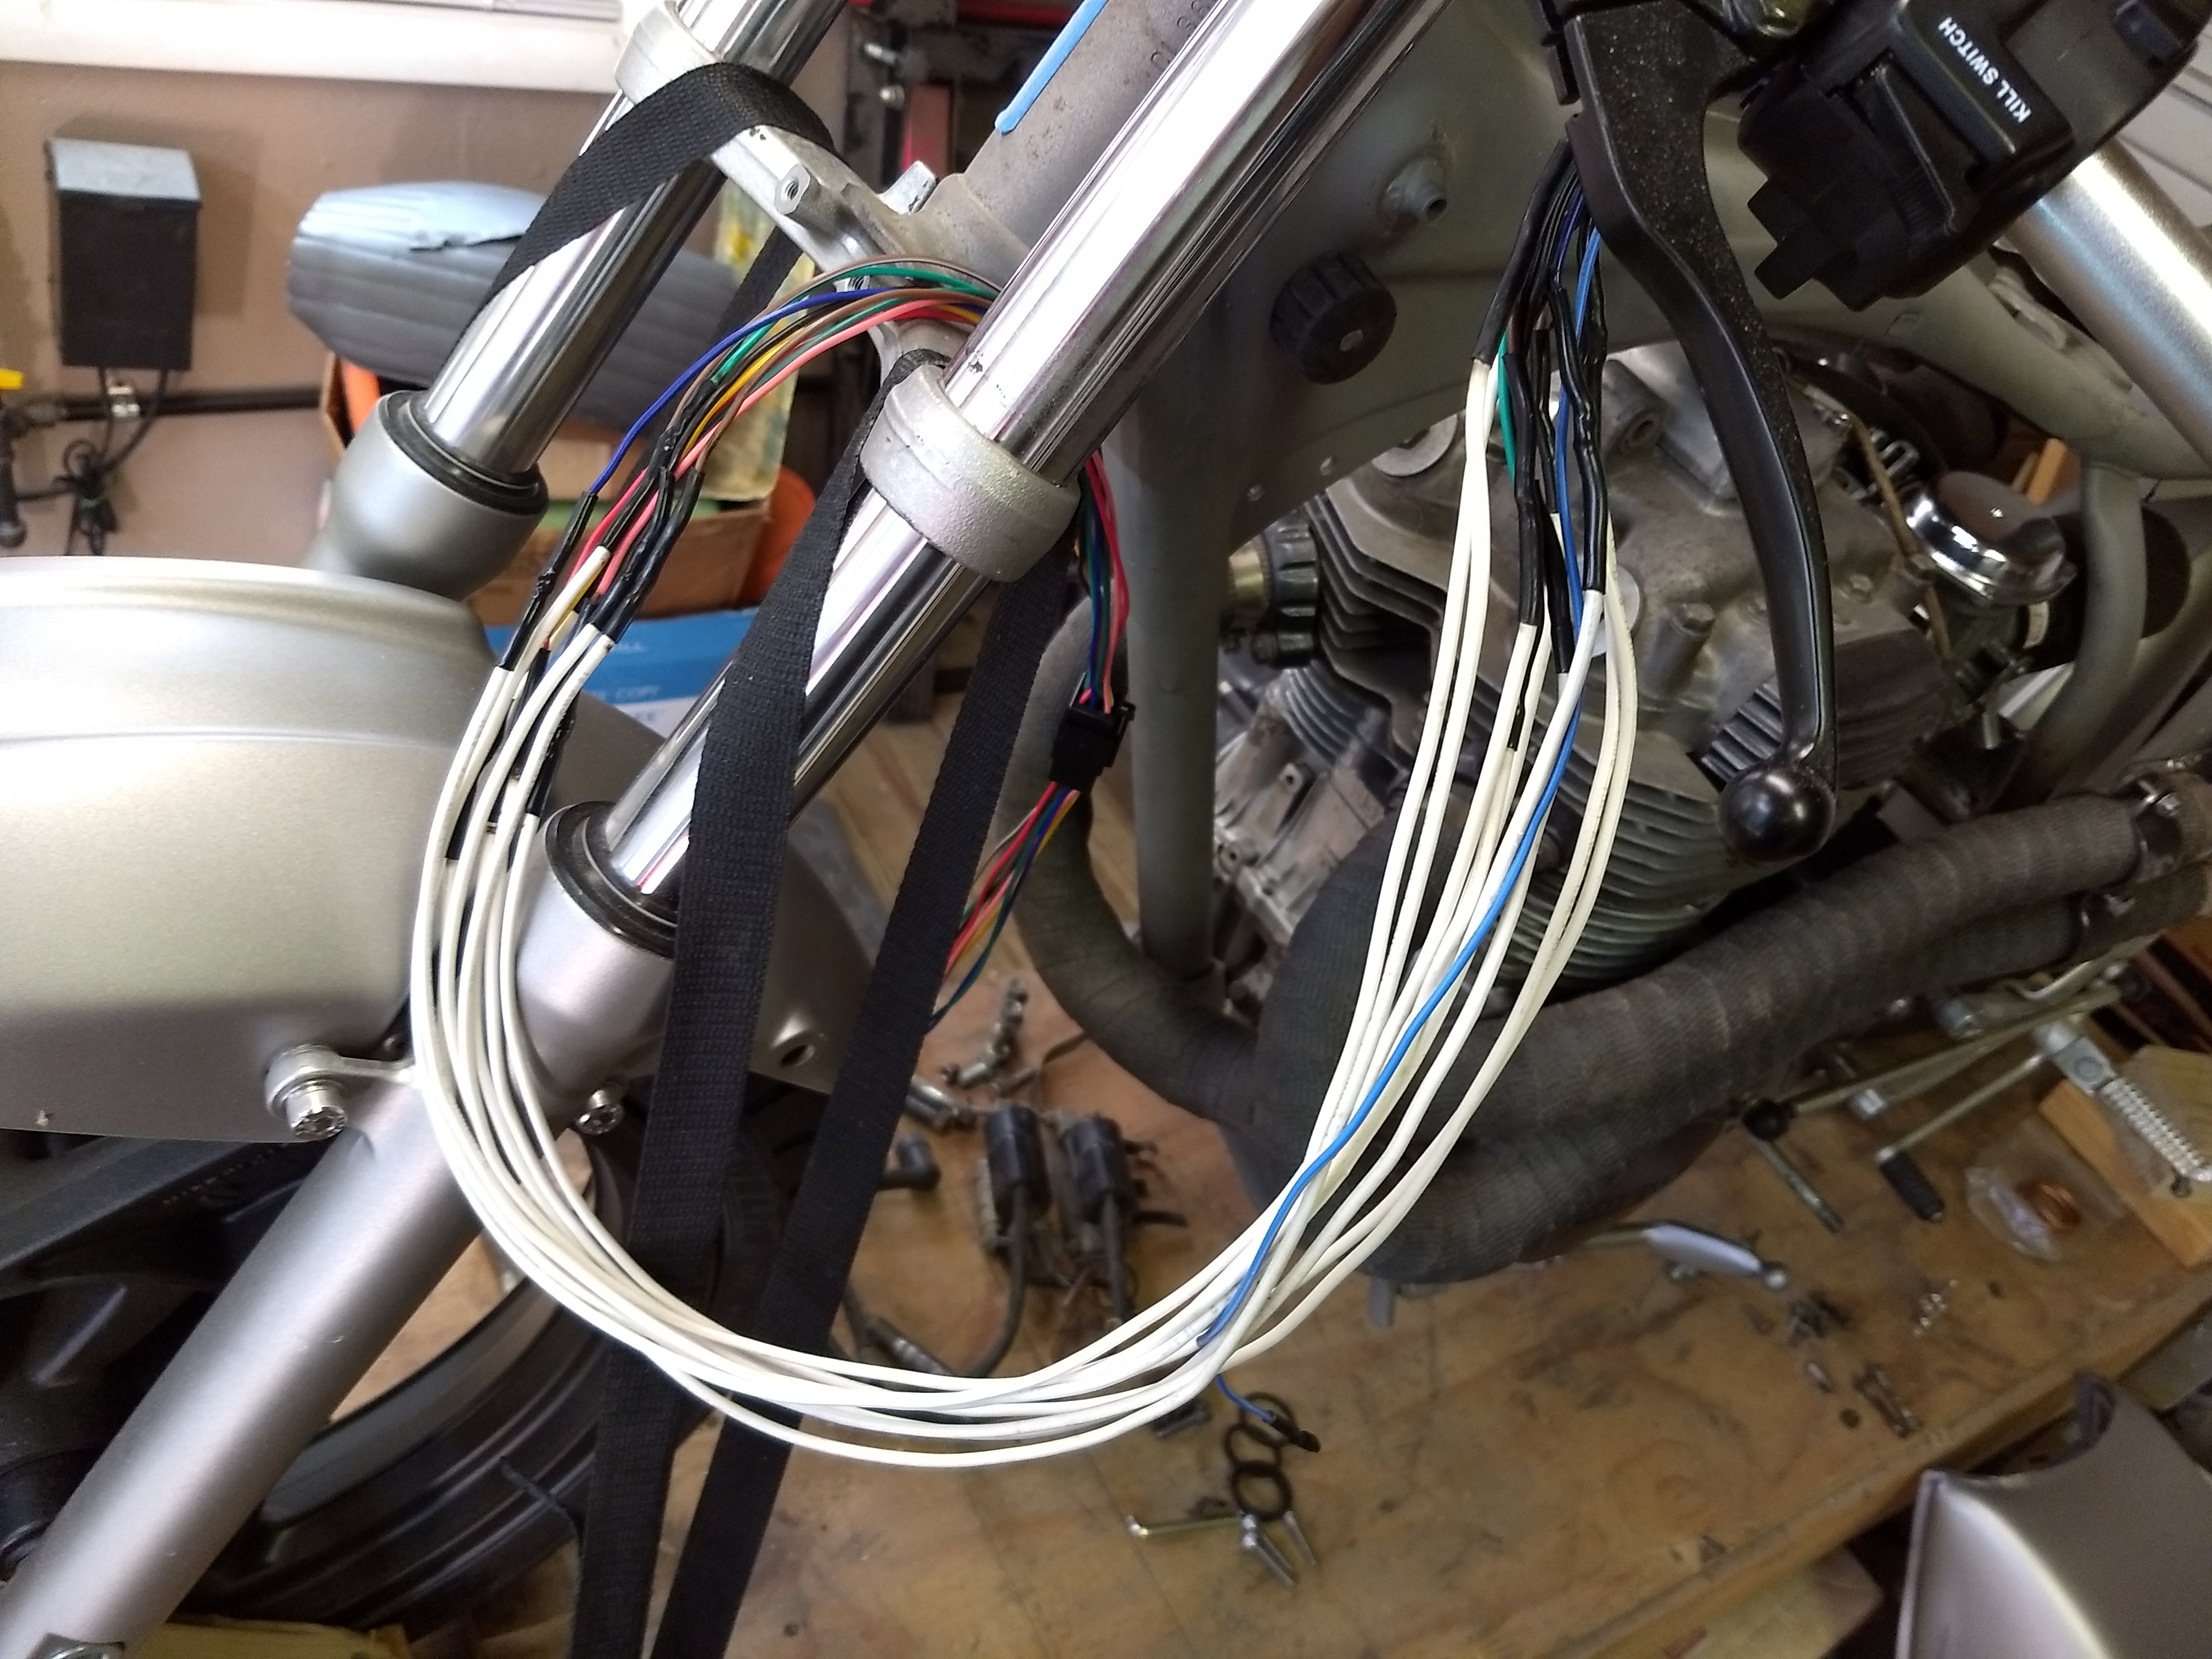
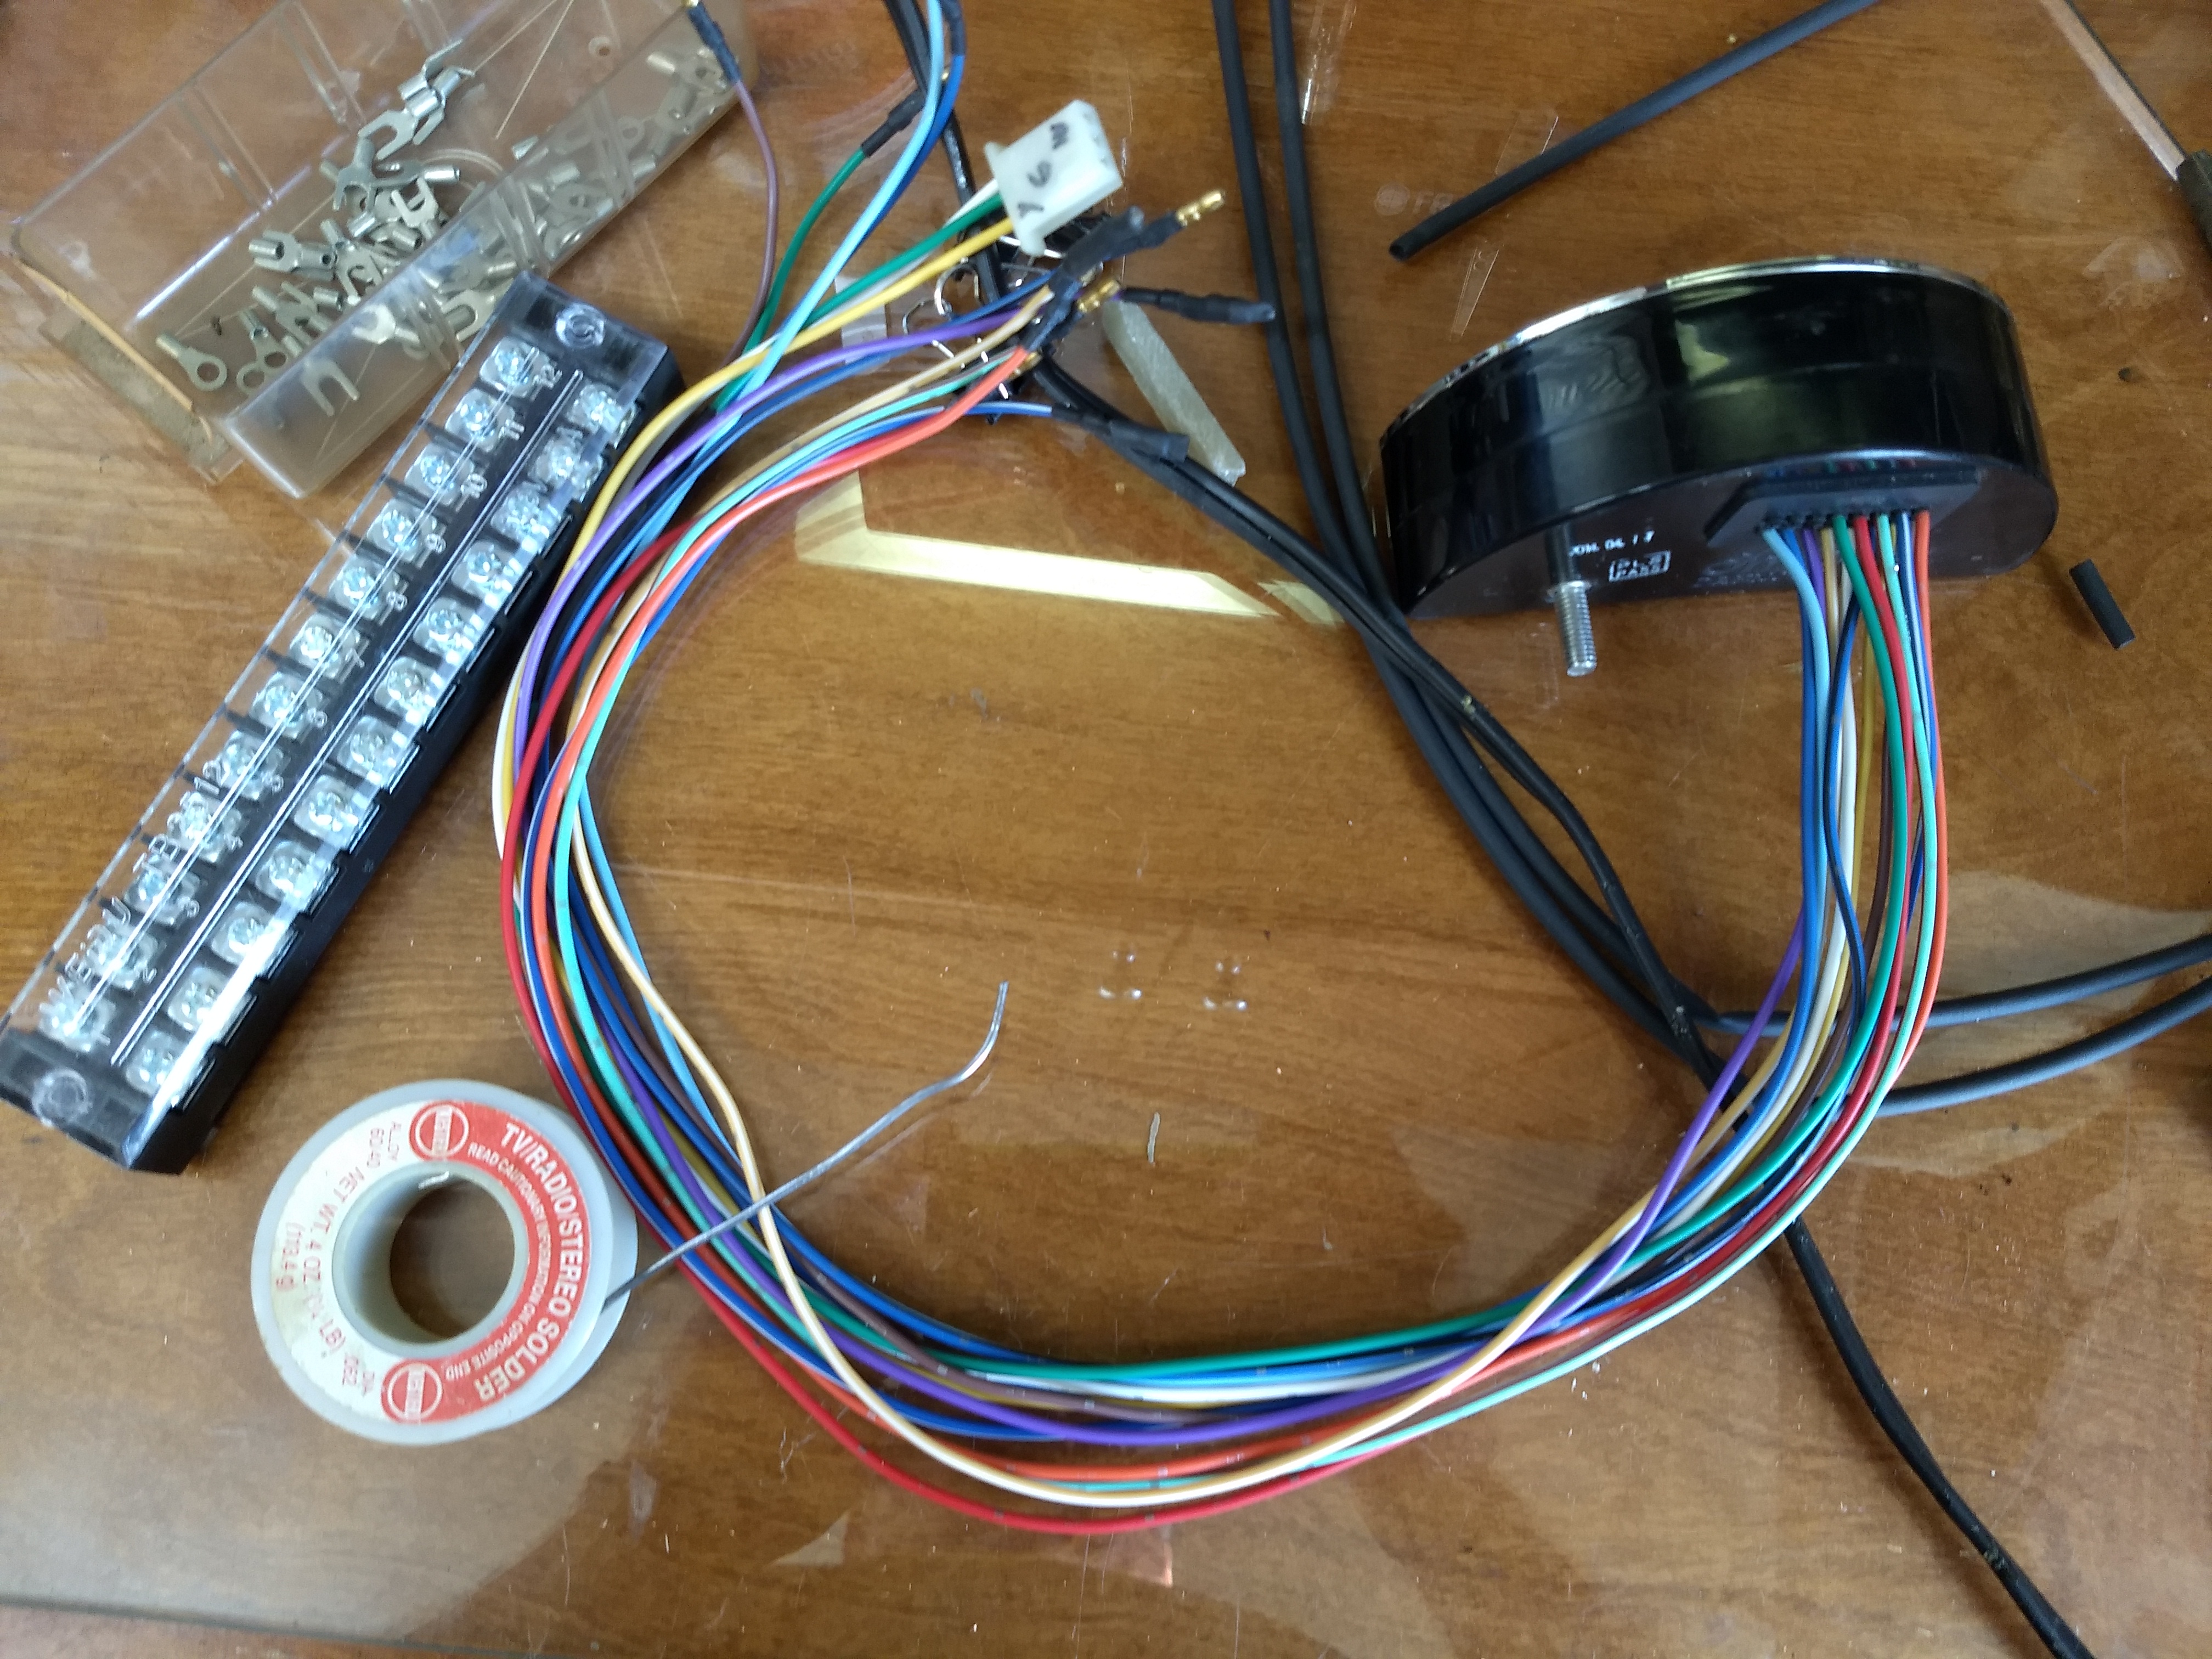
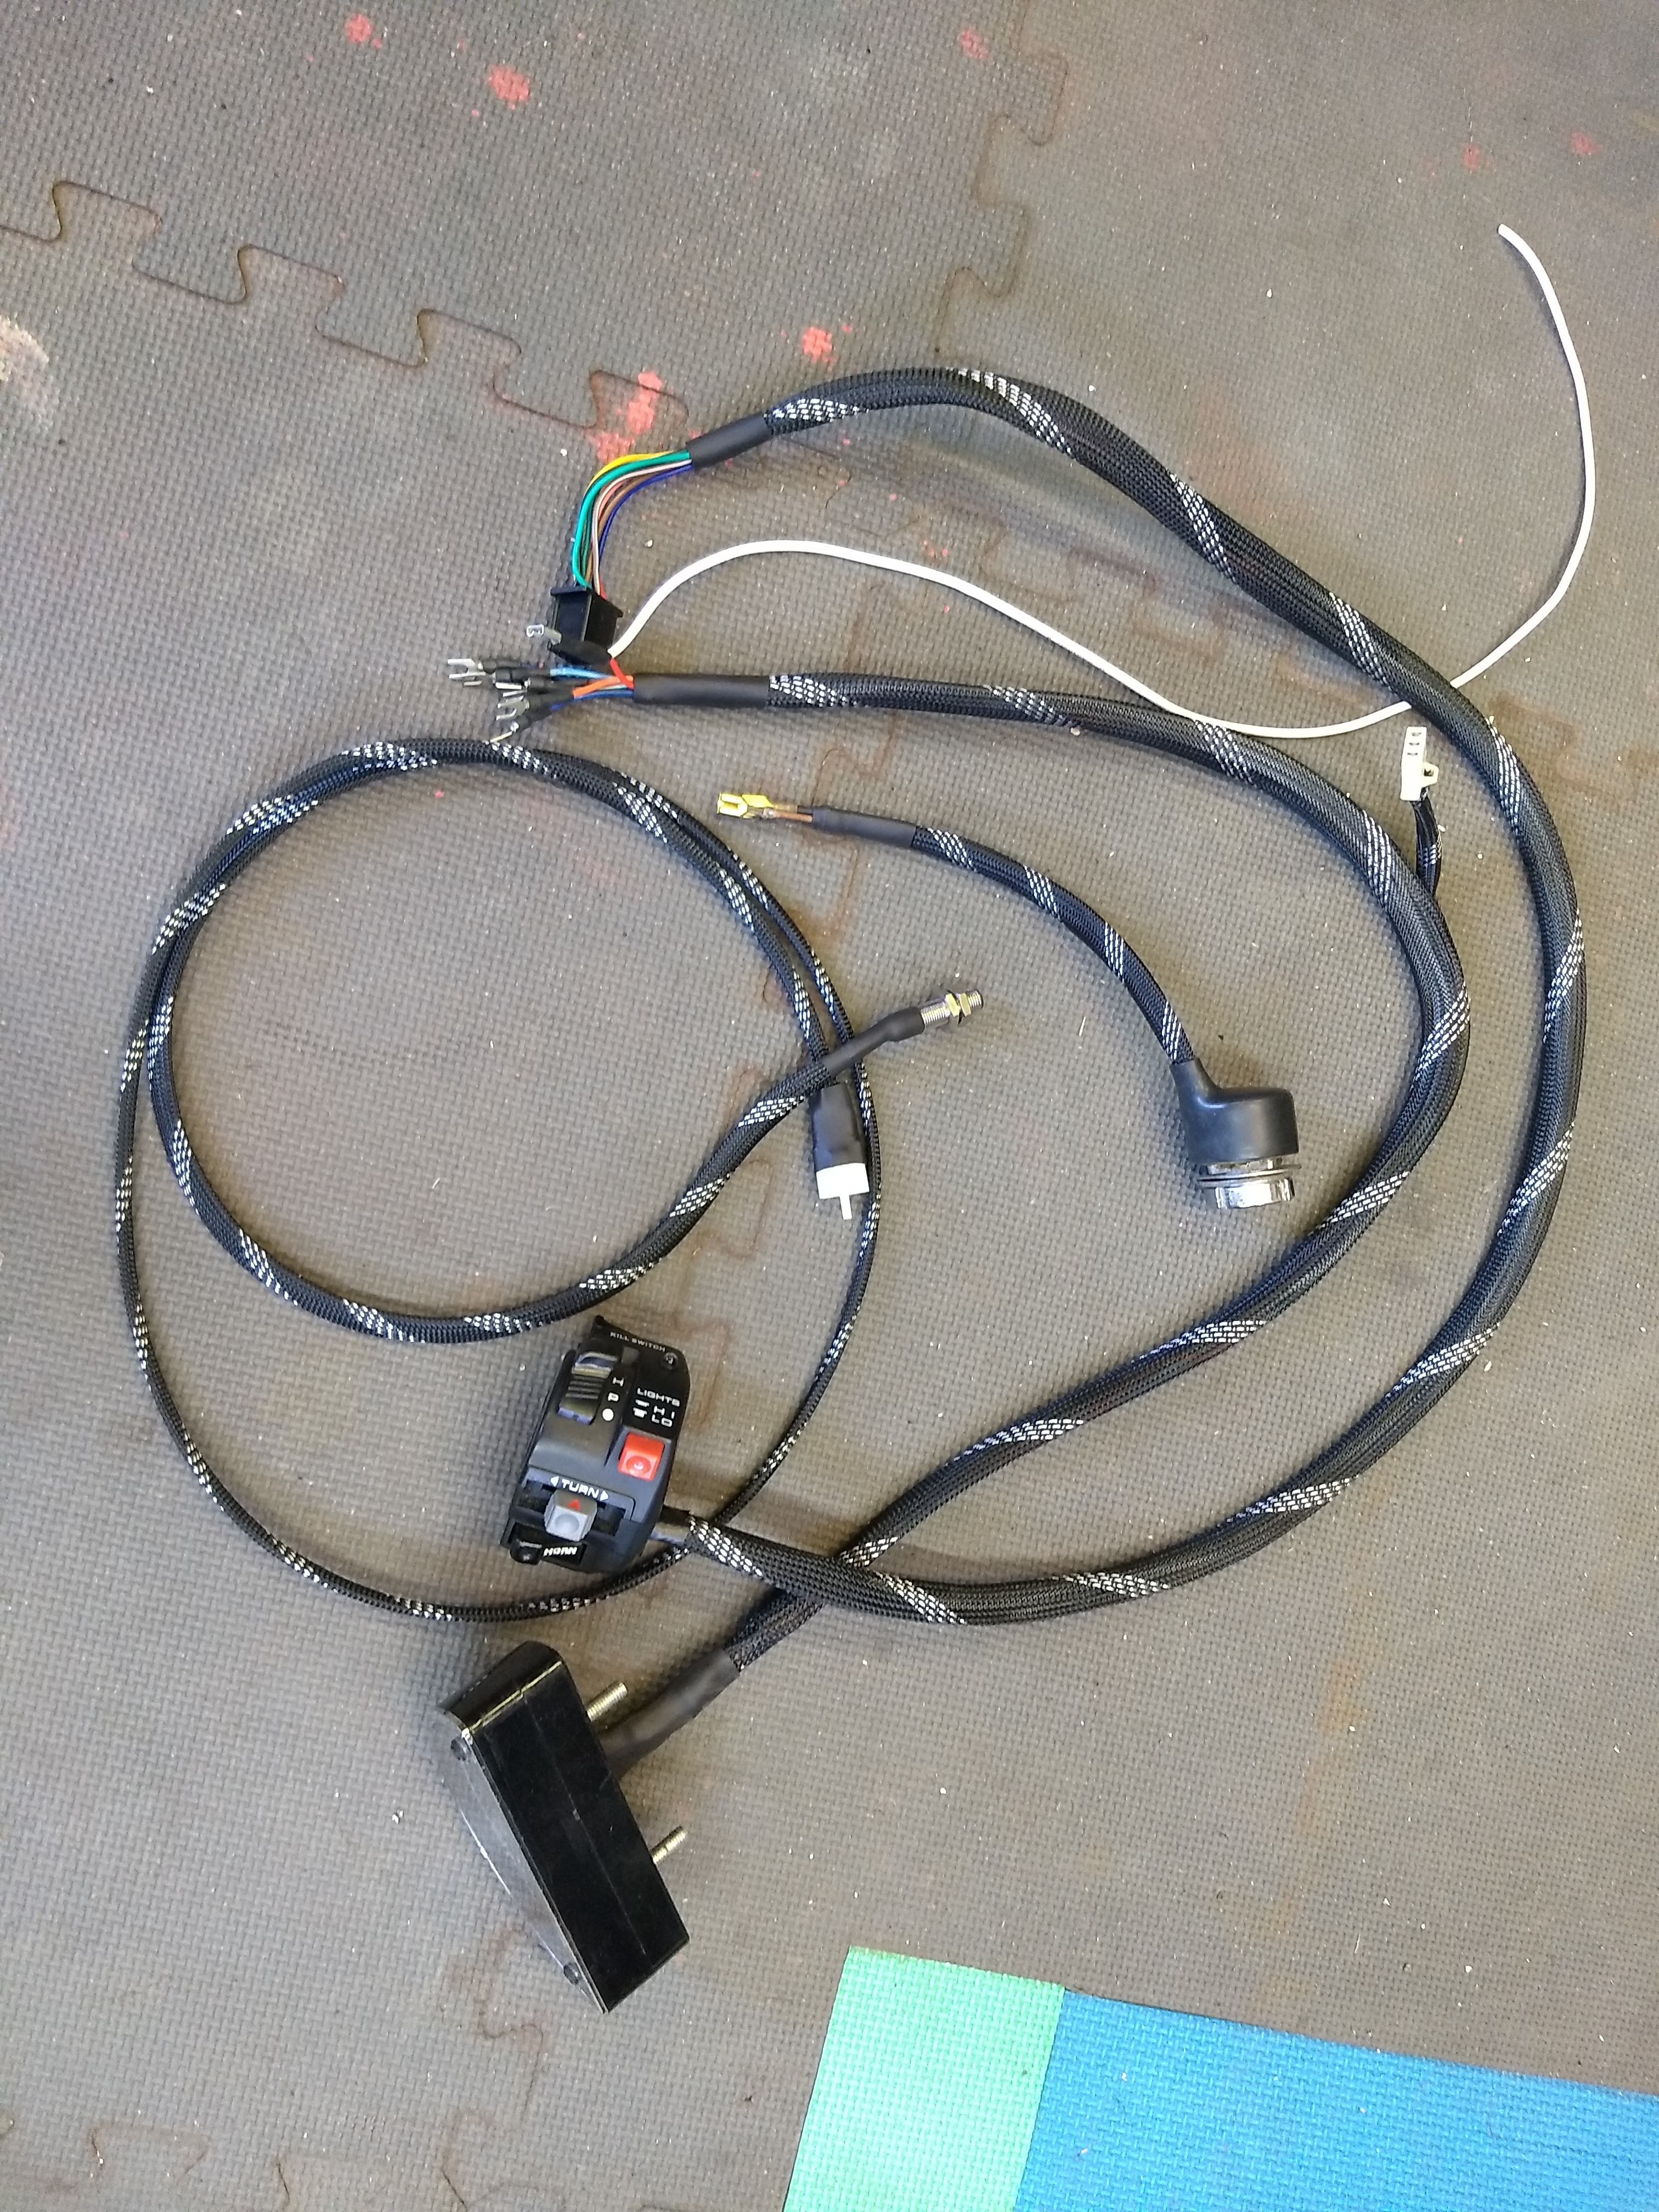
Have been tied up w/ some non-build for a few days. Mrs and I do some work for an auctioneer and we had a very large one last weekend that kept us occupied. I have gotten in some work, though. I decided to work on wiring for a while before I dig back into paint and other stuff. Both the K&S handlebar switch and the Danmoto digital dash don't have wires long enough to reach back to the electrics tray under the seat so I'm having to extend them. I didn't have a prayer of finding wire in all of the different colors needed so I decided to splice them mid-run in white and then use woven wire wrap to cover it all up and make things neat and professional looking. I'm waiting for the wrap to come in so I've been getting the runs soldered and ready to go.
The K&S switch unit is done and ready to wrap up.
And I've only just started on the Danmoto loom. While the K&S only has one wire that I won't be using, the Danmoto has three. These are not being extended and are capped off w/ heat-shrink and then just wrapped inside the braid.
The plug shown in the bottom pix is where the Hall sensor lead for the speedo plugs in. After some study I've decided it'll be much better to have the Hall sensor do it's thing back on the rear wheel. Kind of non-traditional to run the speedo off the rear, but it'll be a MUCH more tidy setup.
British bikes until the late 70's used rear wheel to drive speedo. It was kinda fun (as a 14 yr old) seeing my old man's bikes running at 100mph + on the centre stand
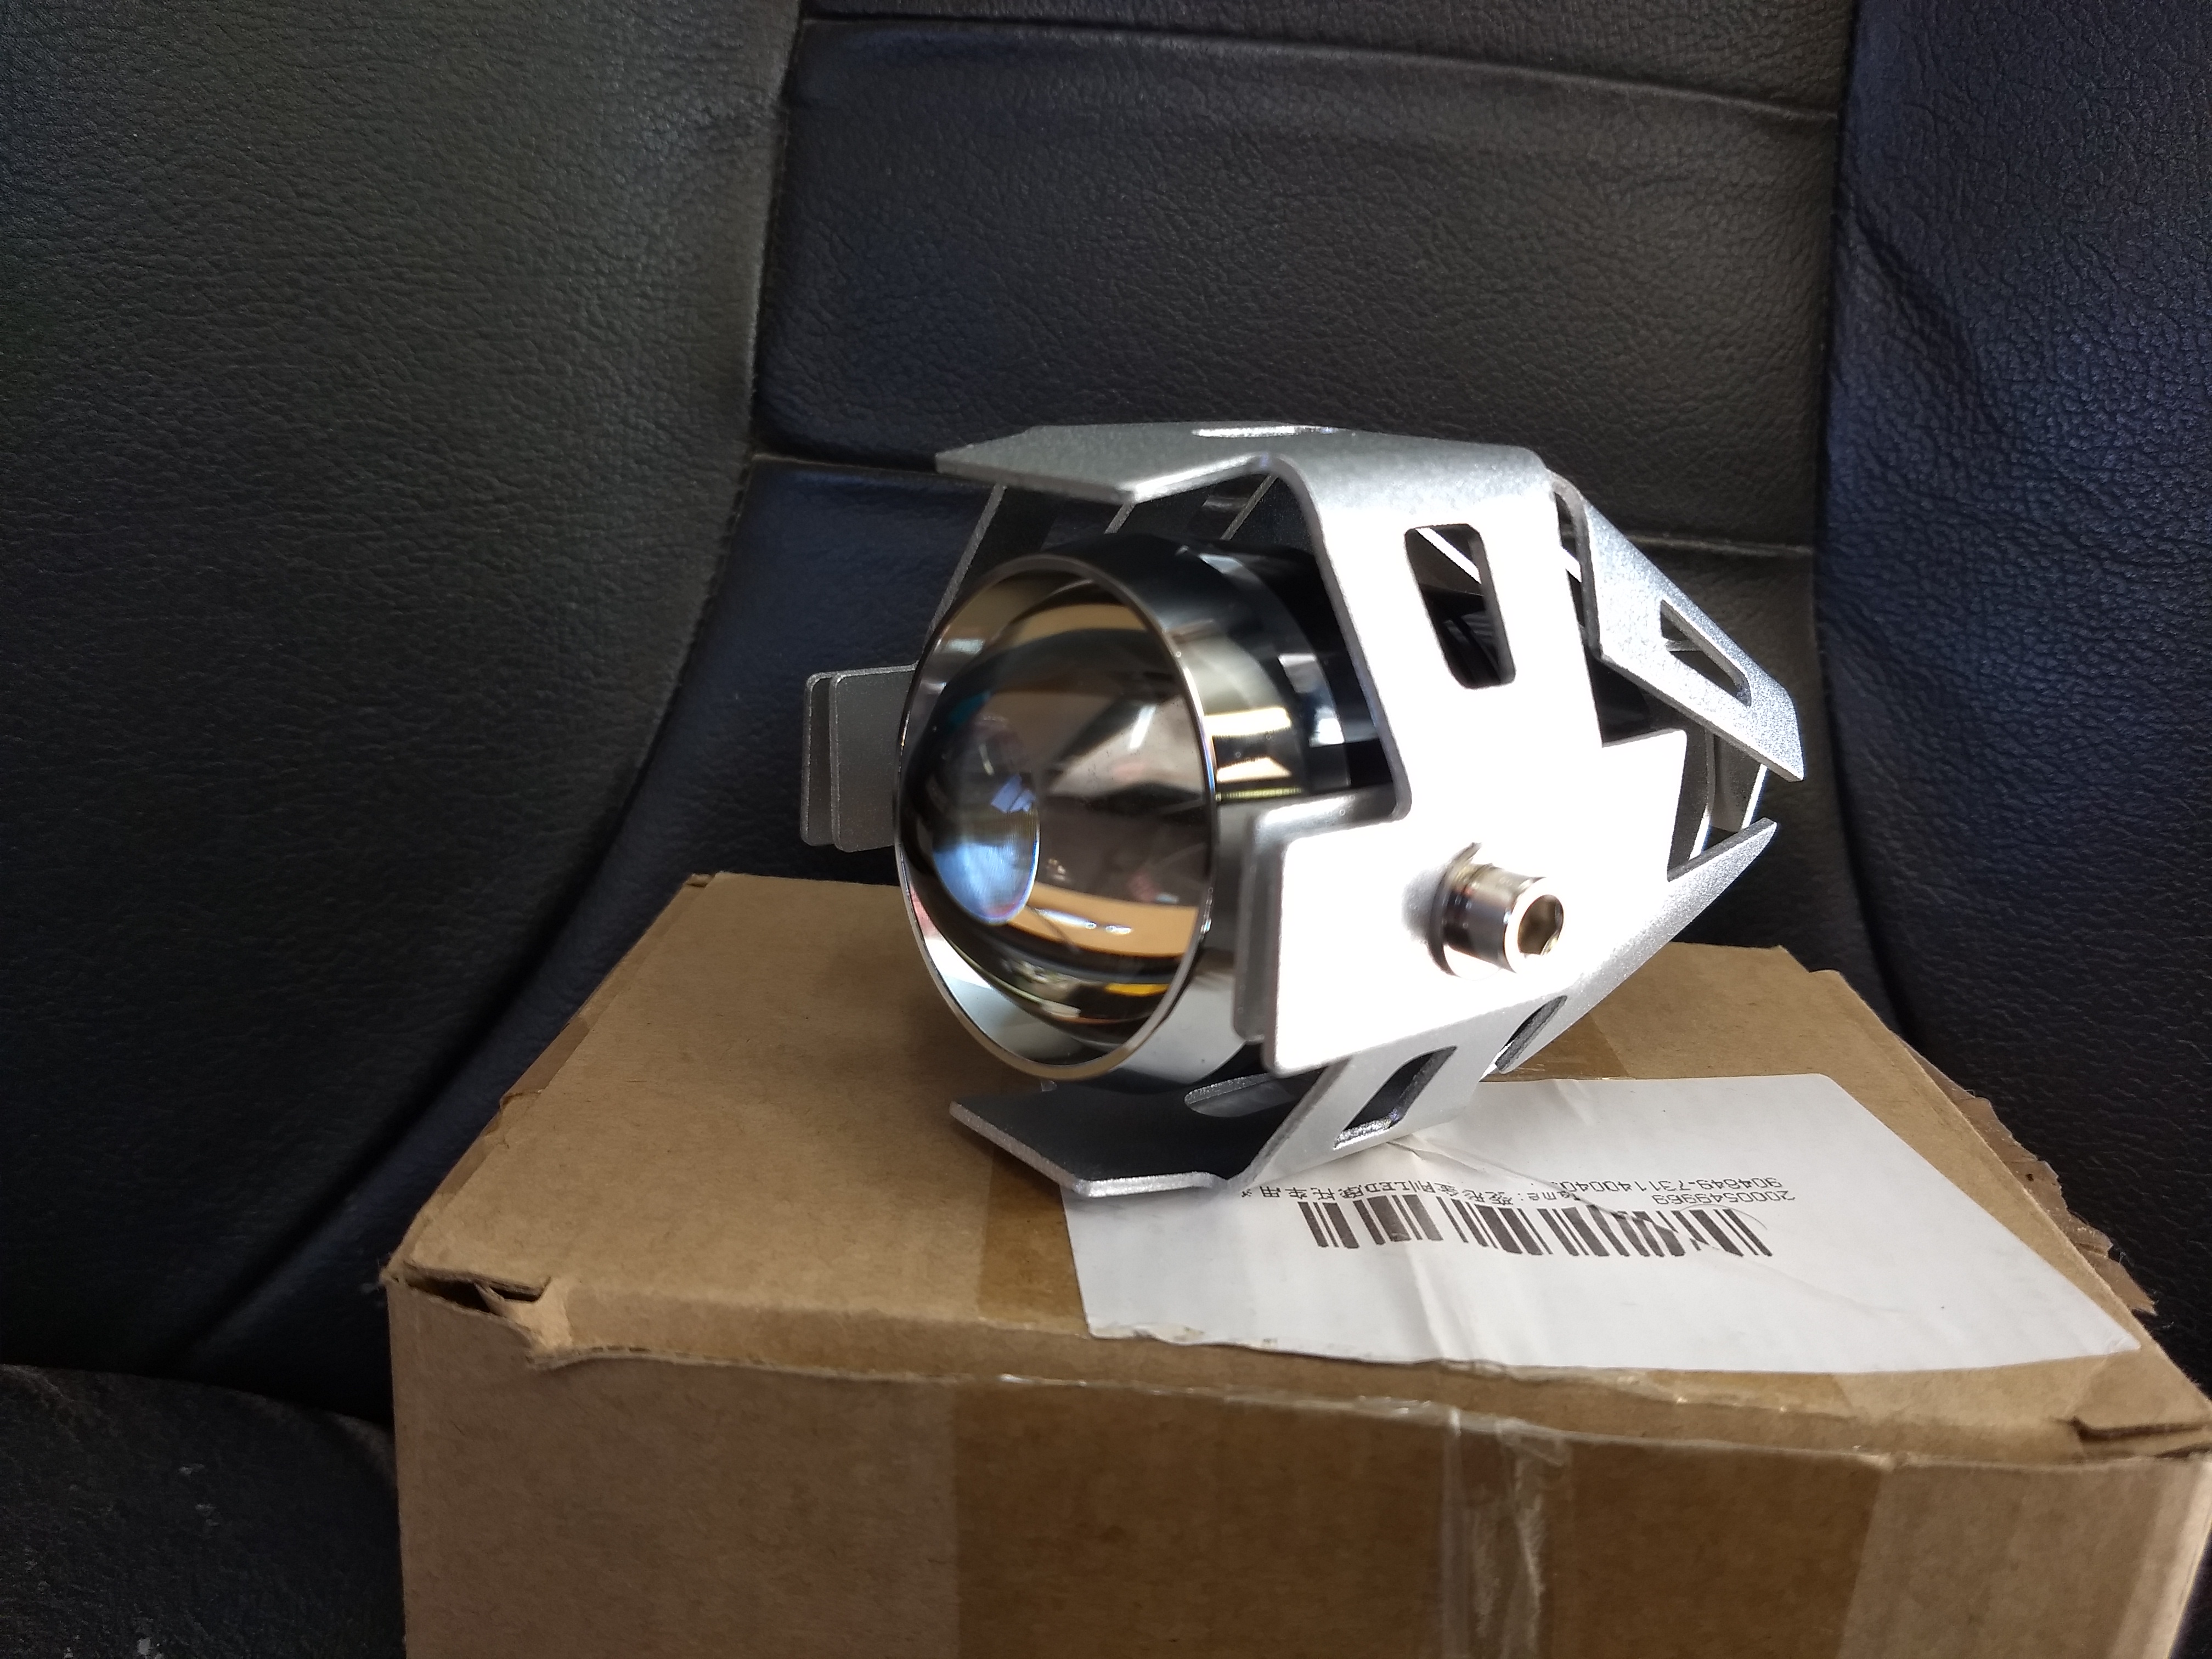
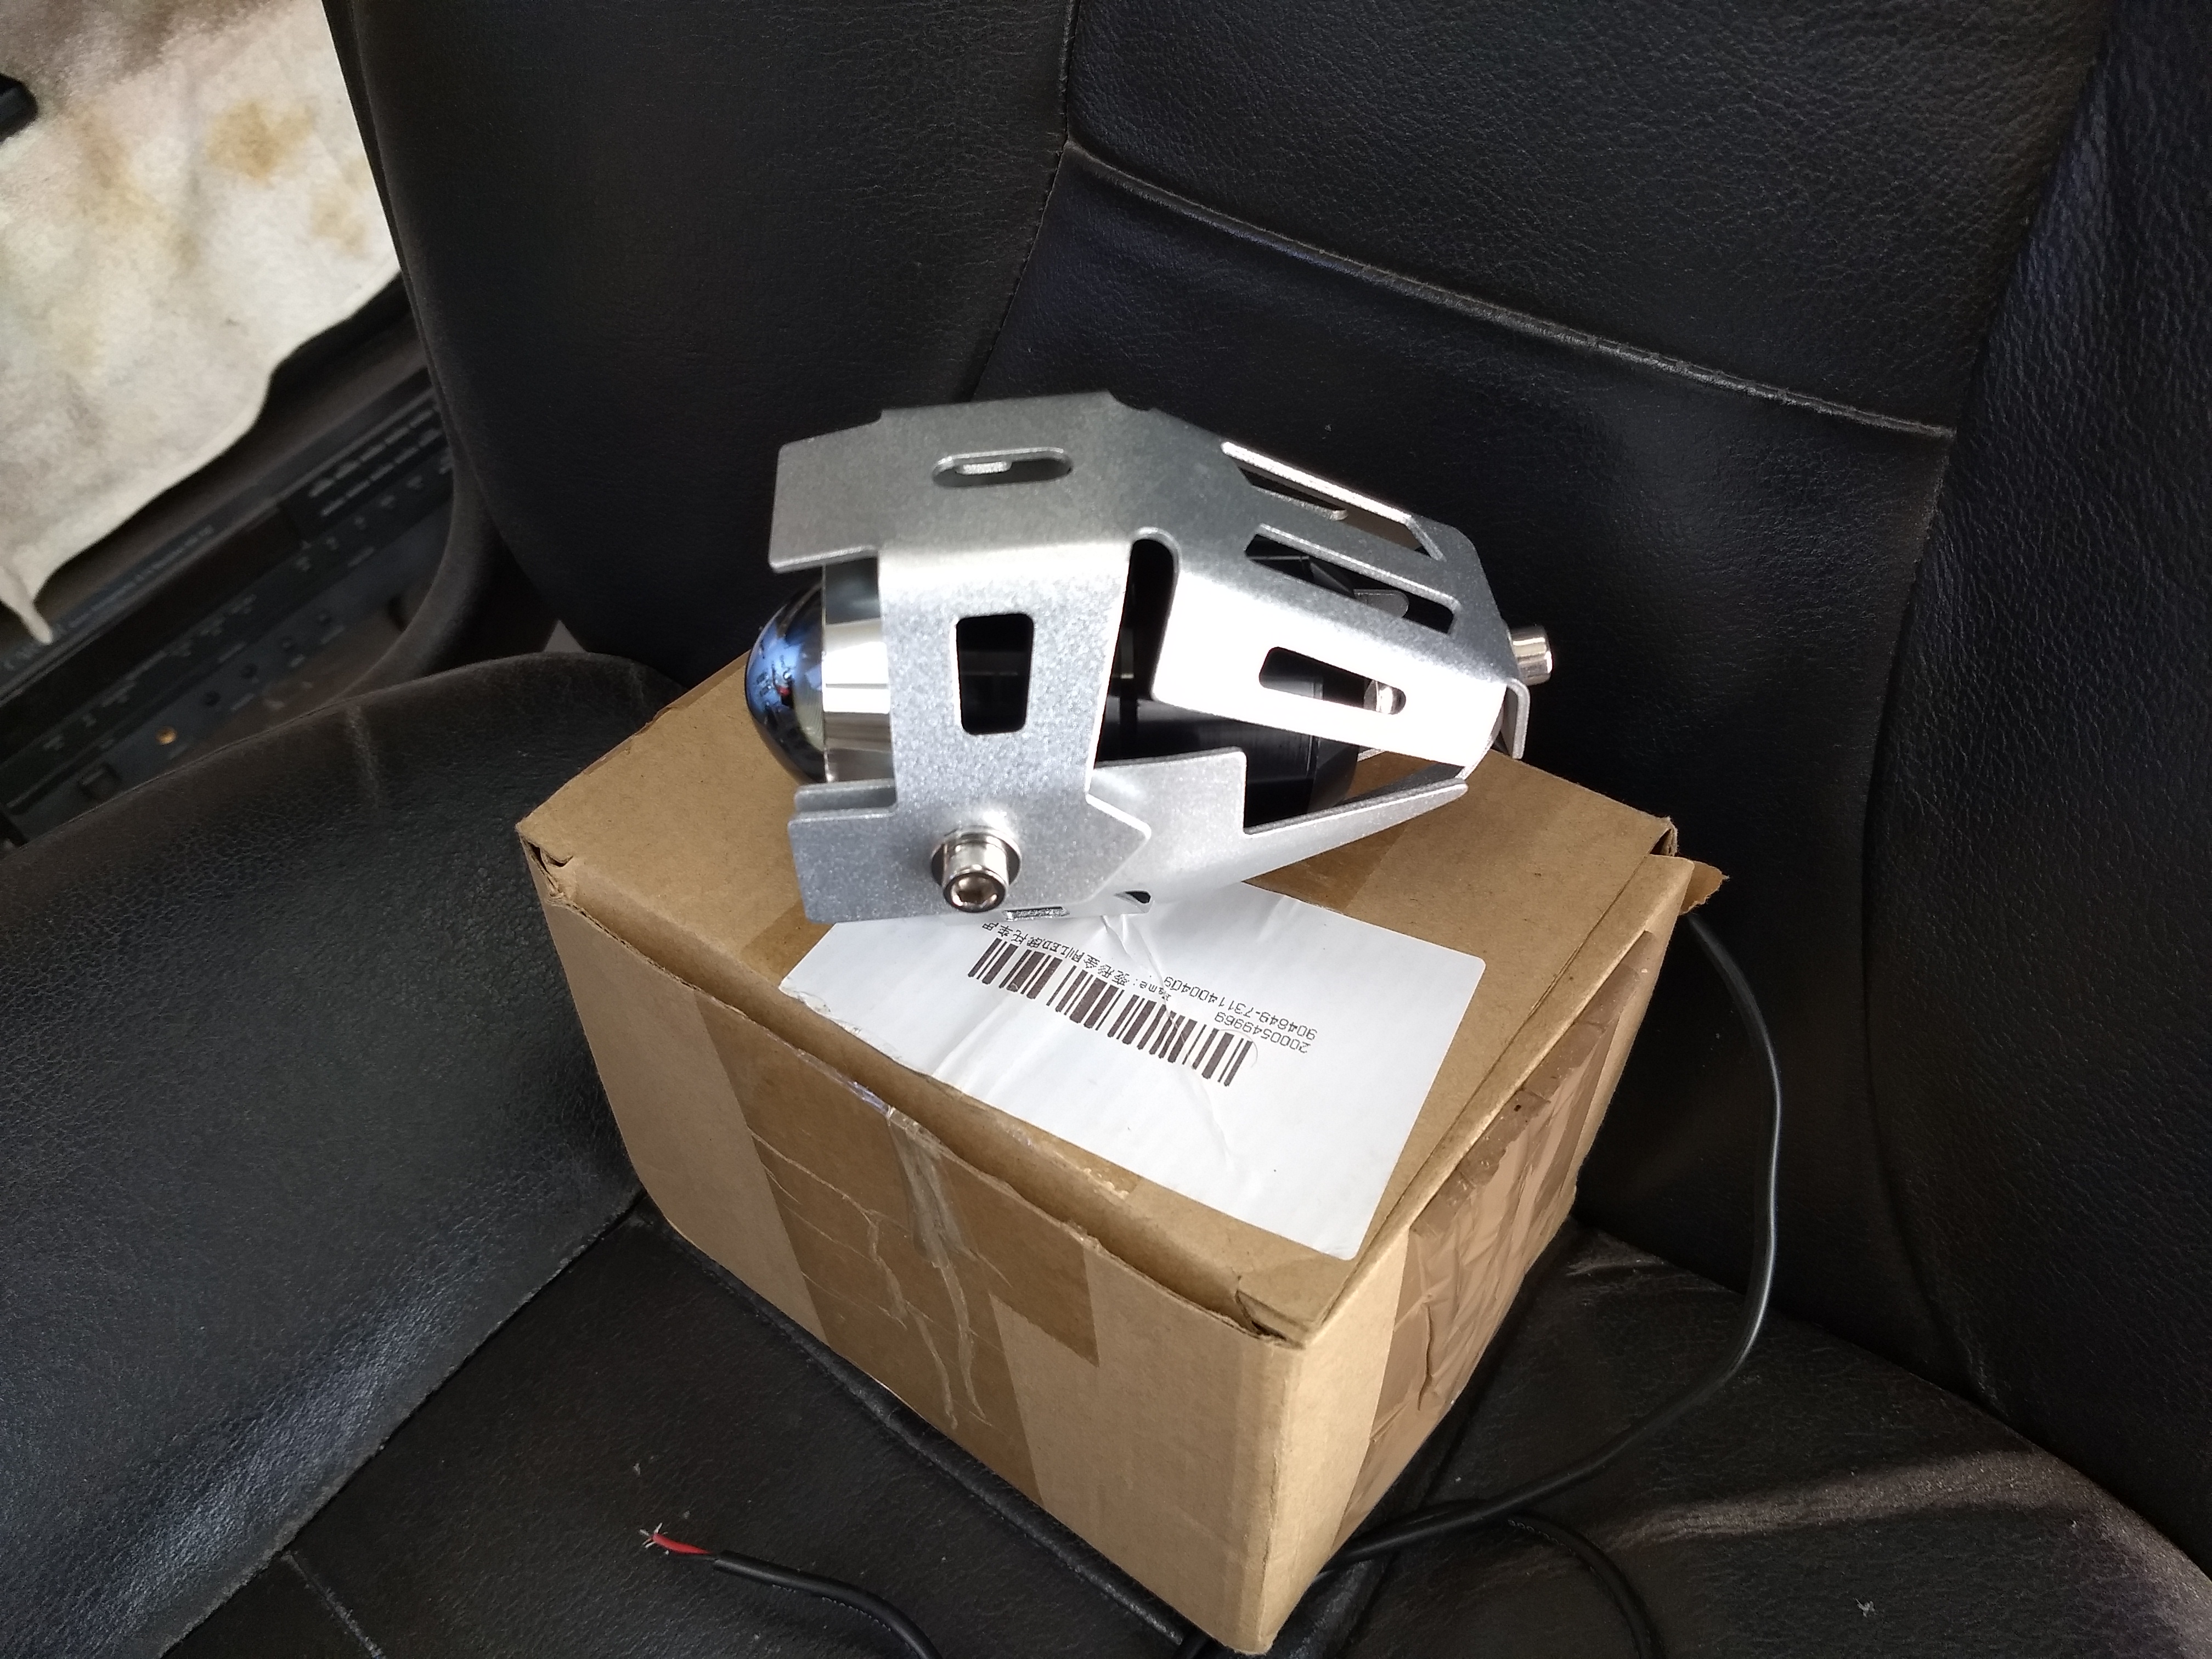
Thanx for the info on that. Too small for my application in your opinion? I'll be honest, I'm somewhat torn on this. Part of me would like to find and mount a full race type fairing on the thing but there's no way I'm spending that kind of money. My original plan was to mount two smaller LED lights side-by-side for headlights, using one for low beam and both for high beam. Problem is that I got the things and I really like 'em a bunch, but they are made to always cycle through bright/dim/flash when you put power to them. I probably could deal w/ the bright/dim thing but the flashing mode isn't going to cut it for a headlight, at least not at night. If I could find a way to turn that feature off or find some way to reprogram them or something I'd definitely leave it as a nekkid bike w/ twin LED headlights. I'm not really fond of the generic headlight brackets available so I thought that a good compromise would be to go w/ the bikini fairing. It gives me a decent place to put a headlight and, while not as nice as a full race fairing, at least the flavor is there.
Here's a pix of one of the headlights I was going to use. I thought two of these, side by side would be a good look.
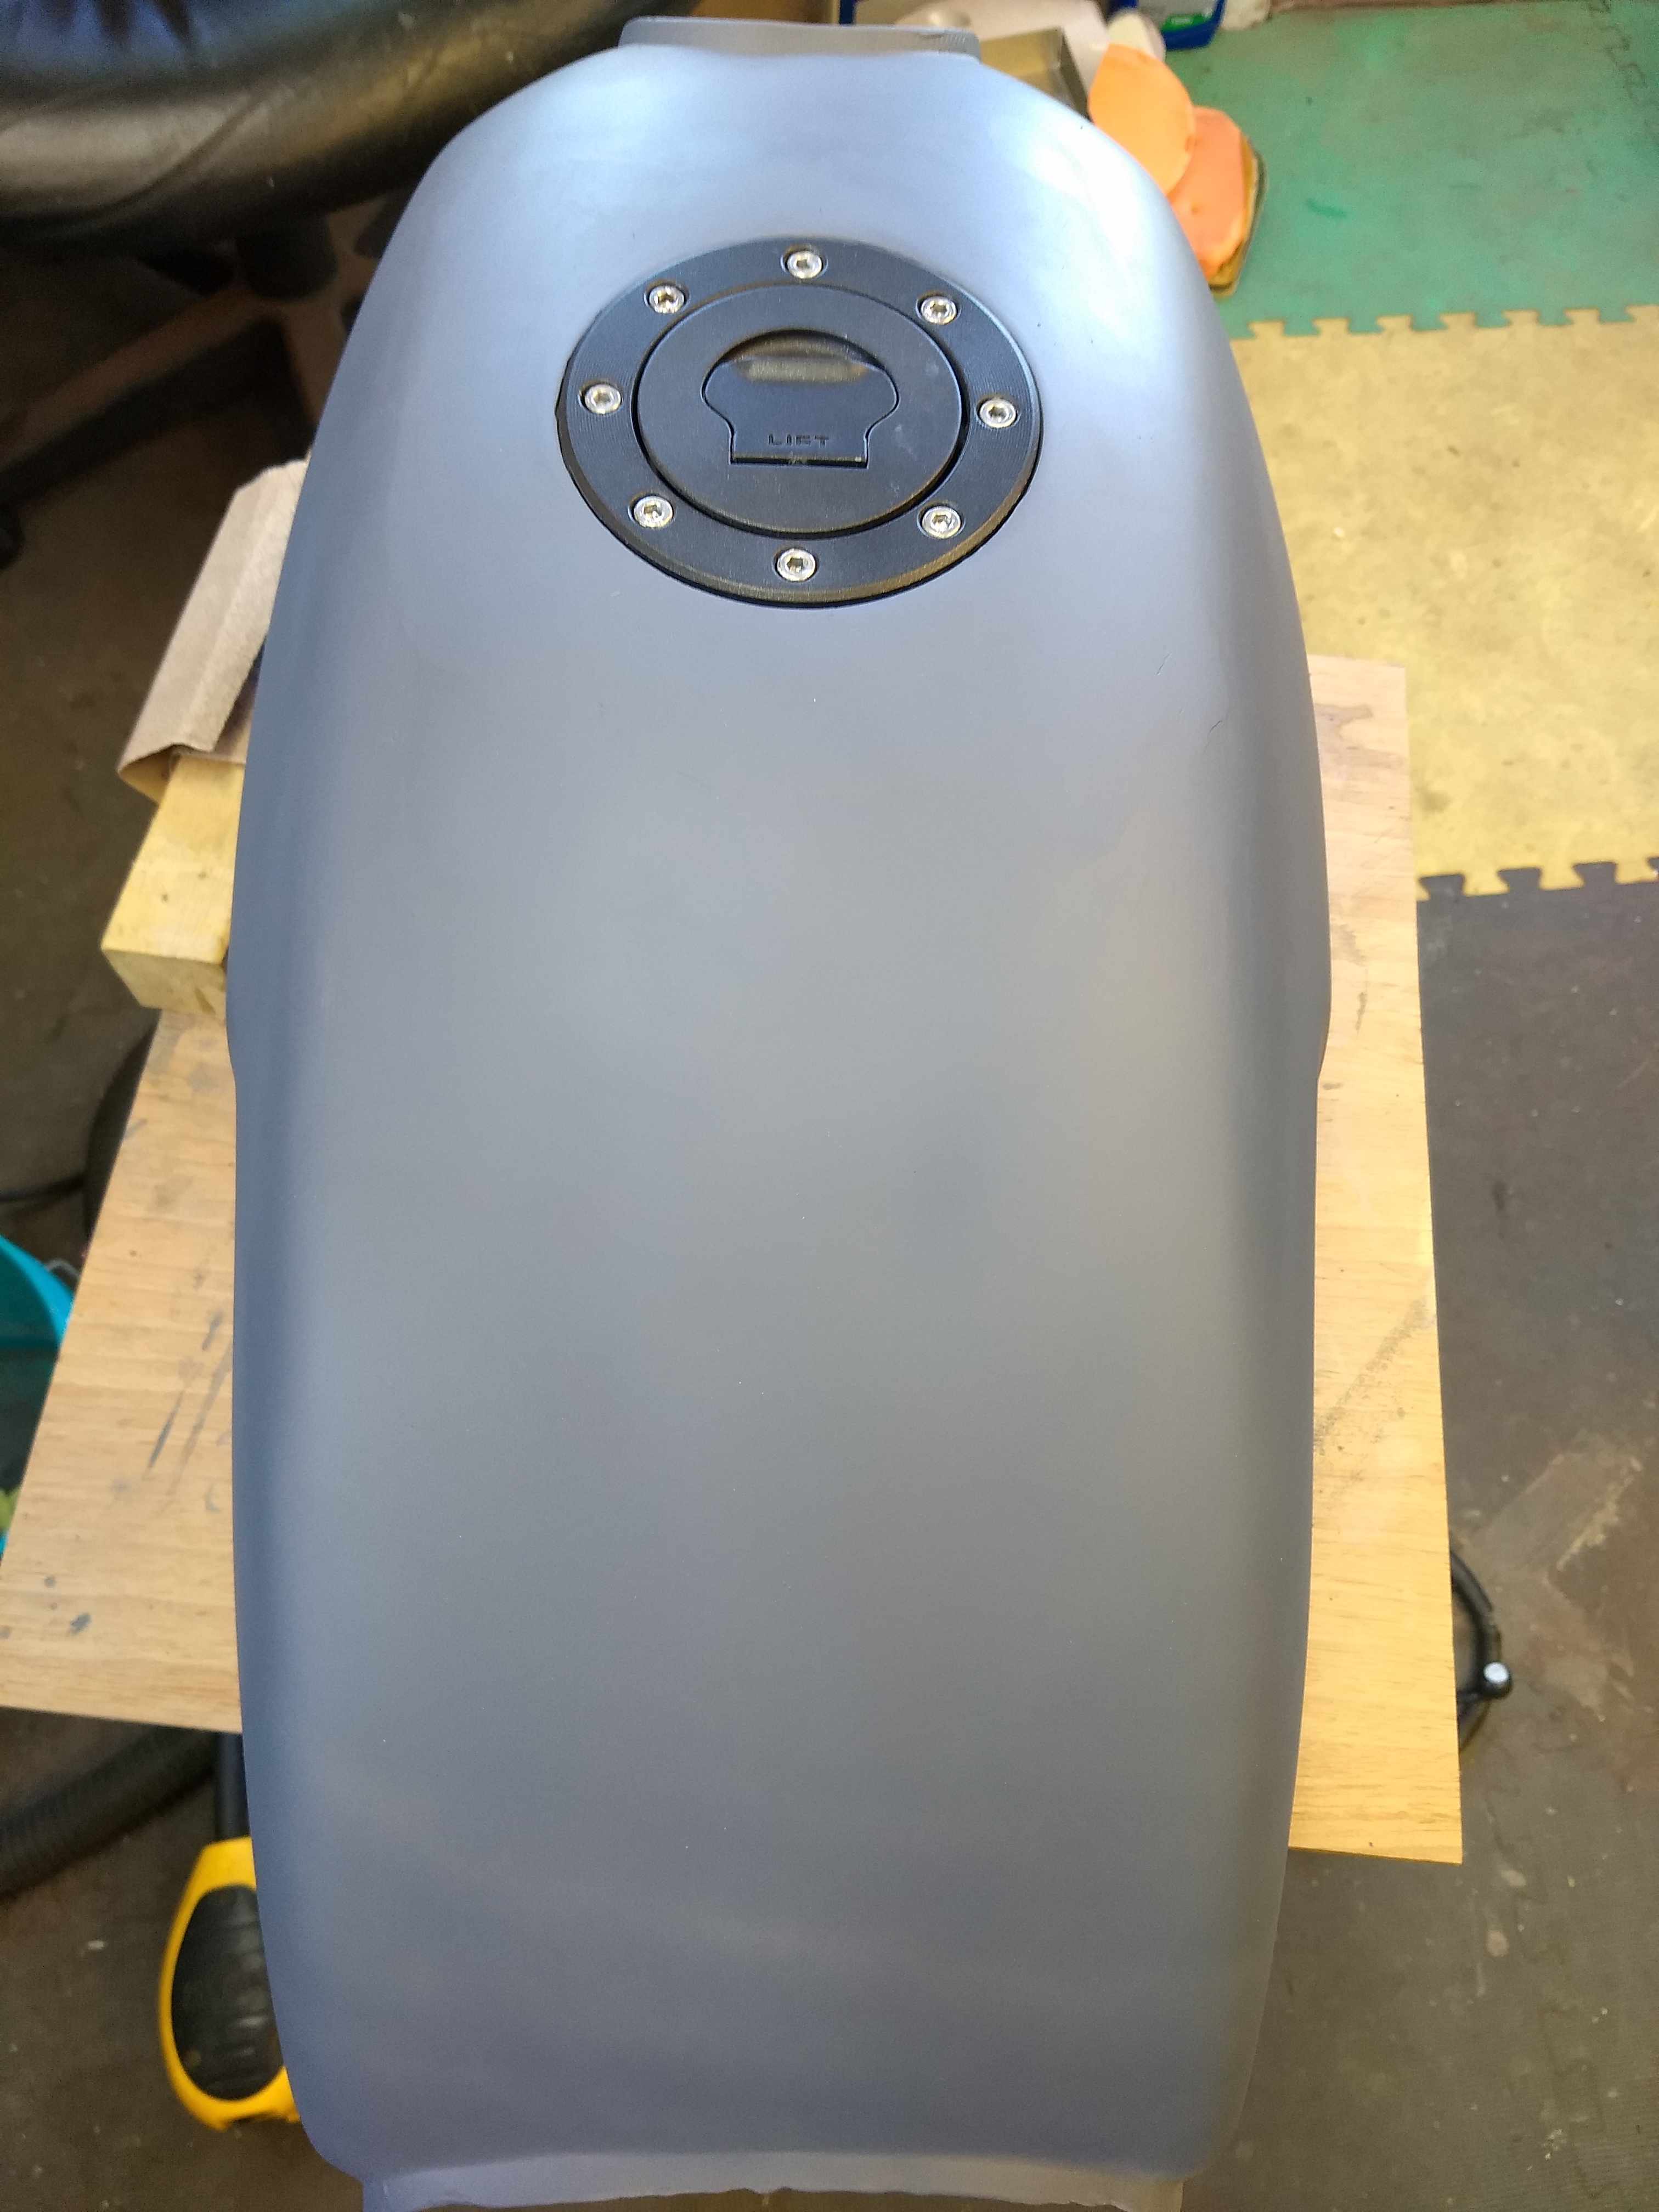
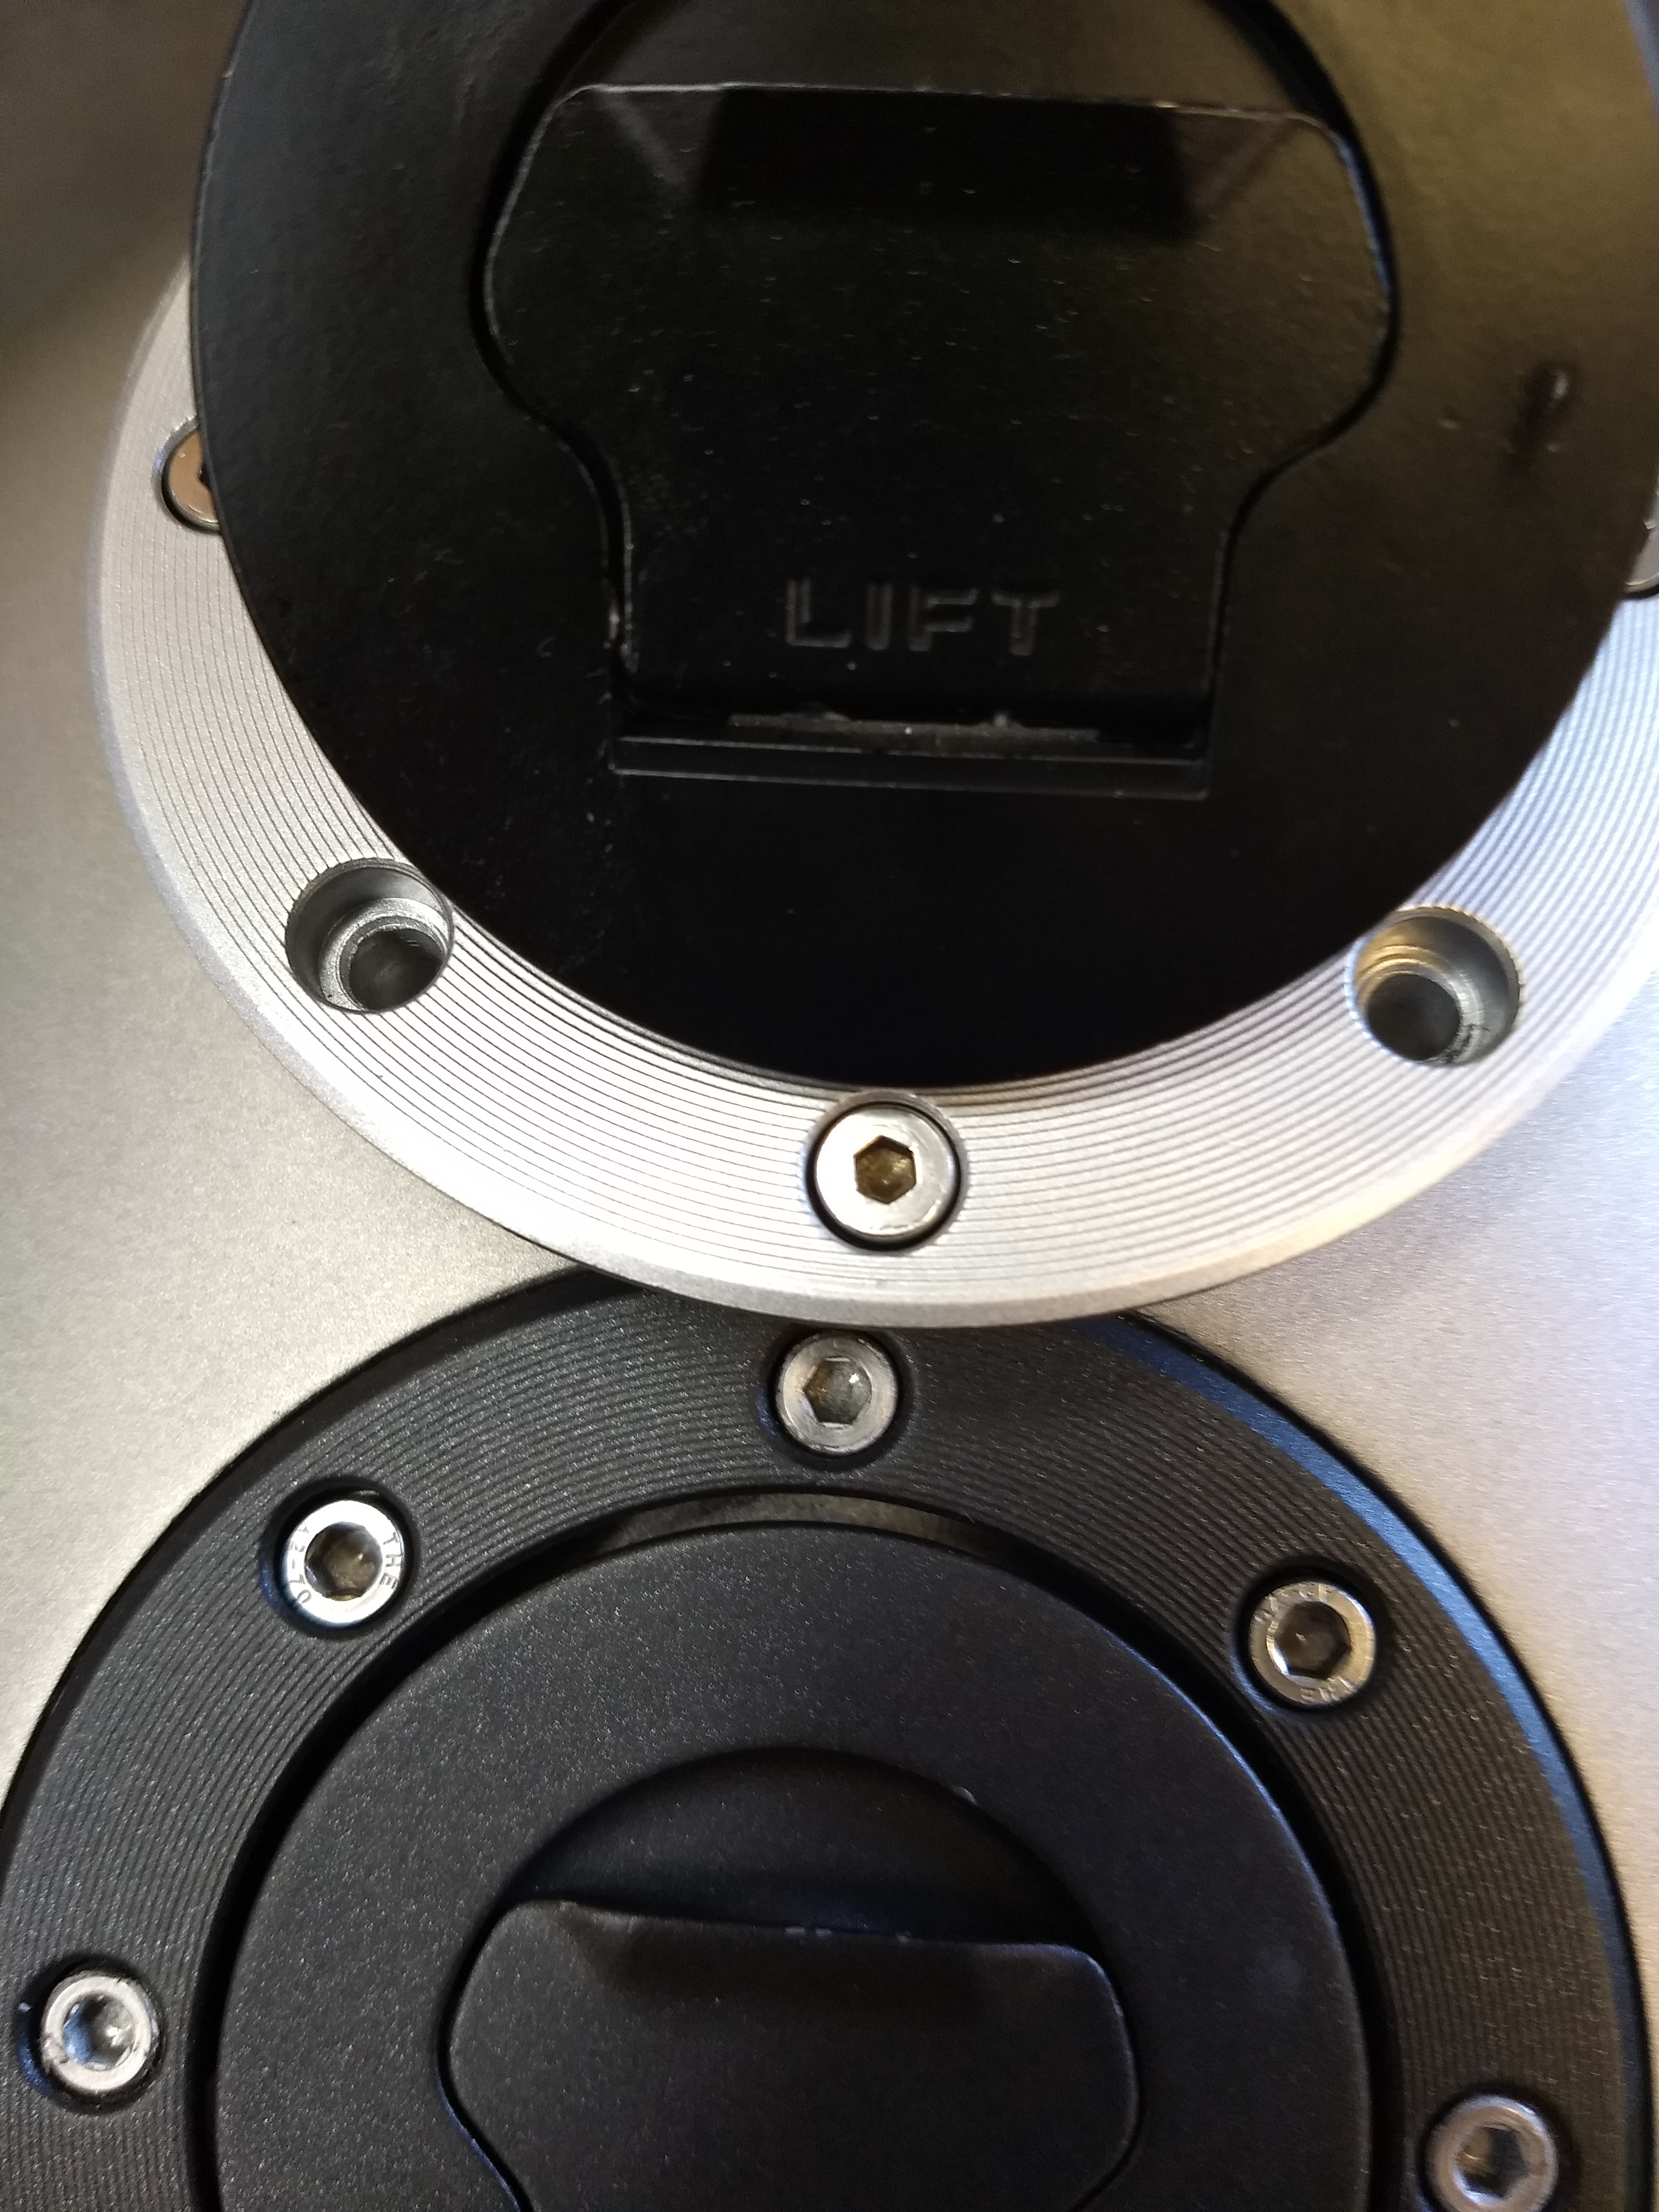
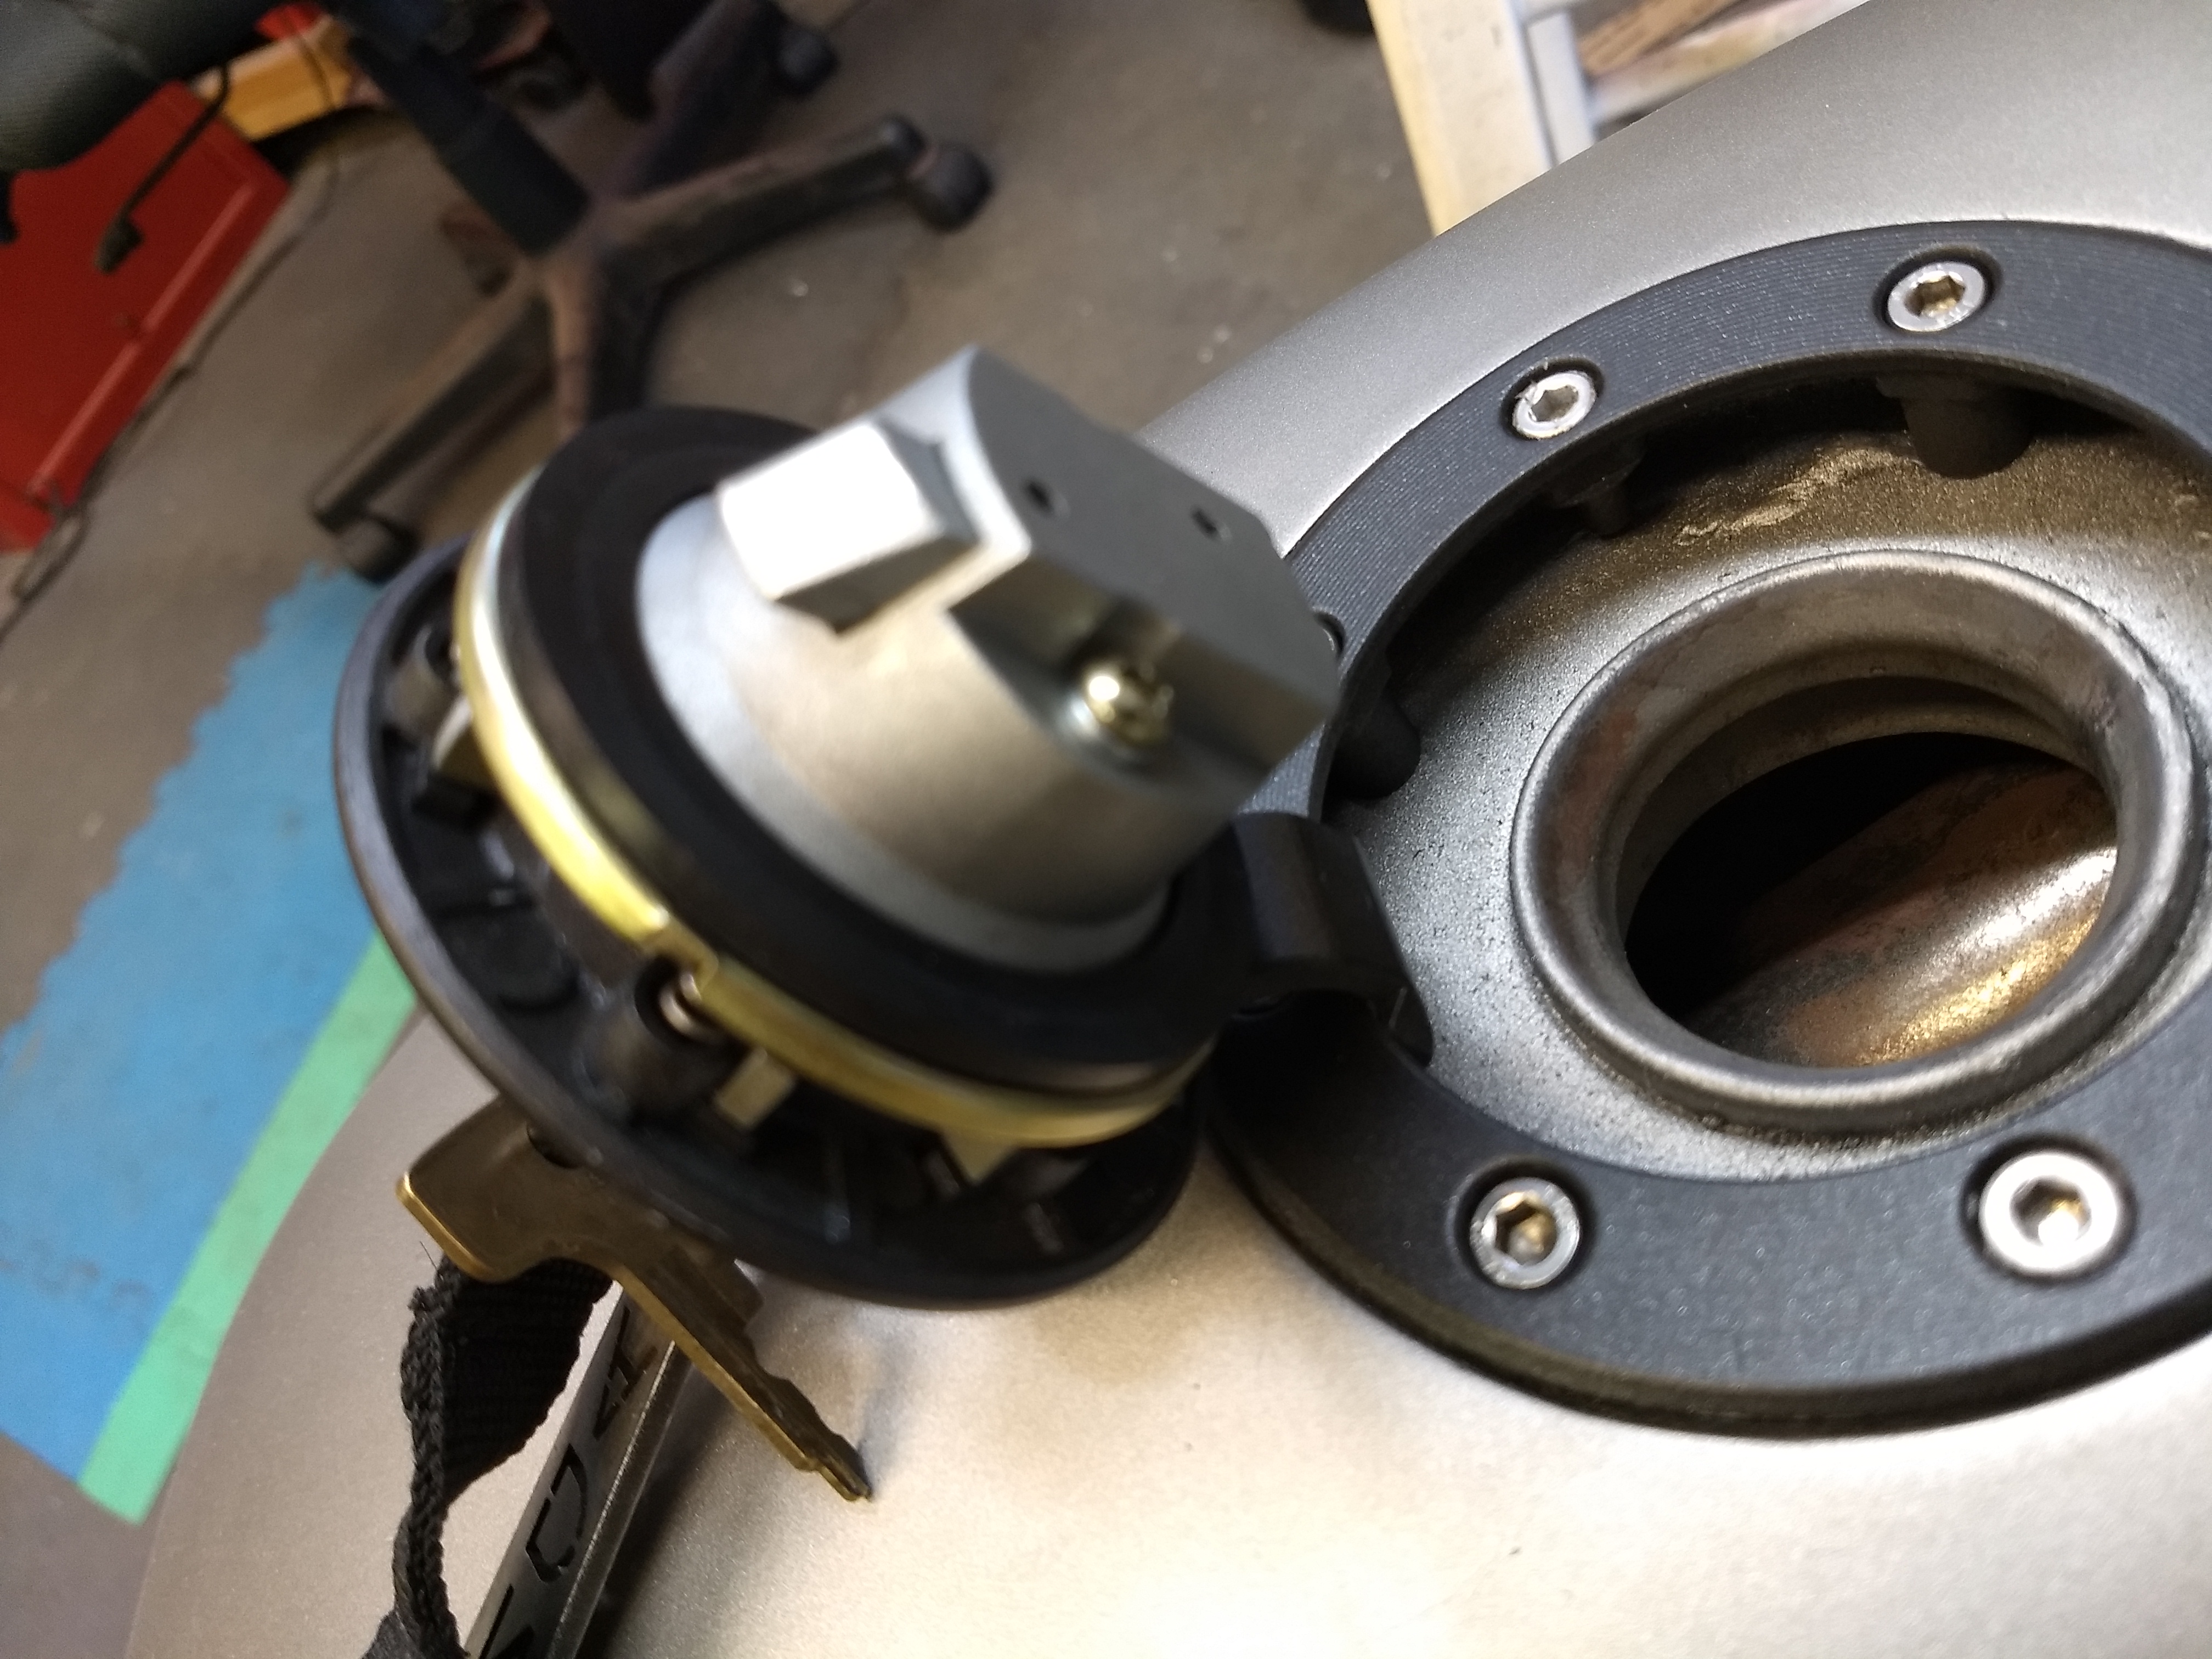
I had been looking for another filler cap for parts. My original wasn't too bad but the lock had been drilled out. I eventually found one in a MC salvage shop and built one good one out of two and even was able to get a key made. I discovered that the rubber seal ring that fits down tight against the filler neck was too old and dried to use and I further discovered that Suzuki only sells the whole cap unit as a (very expensive) single part with no separate replacement parts. I finally resorted to buying a replacement cap from eBay and it arrived today. It looked to be a pretty close copy and it fit right into place but it didn't close right. Closer inspection showed that the six springs arranged in a circle under the rubber ring are too long to let the latch down into the filler neck. What the heck, swap 'em out w/ the originals, right? Yeah right... that was the beginning of two hours of disassemble, reassemble, test, adjust, disassemble, reassemble, test, repeat. I finally got the replacement working pretty well using parts from both but decided that I really liked the look of the one I had prepared before. Another session of assemble and test and reassemble, using a mash-up of parts from both (those few that were actually pretty much the same...) resulted in a cap that locks, seals, and on the outside looks exactly like what I started with! Guess I have to just put it on the list of things that I spent inordinate loads of time on that nobody but me will know (or care) about.
EDIT: And it occurs to me that I probably should take out the two bolts holding the thing together and apply some thread locker. DONE!
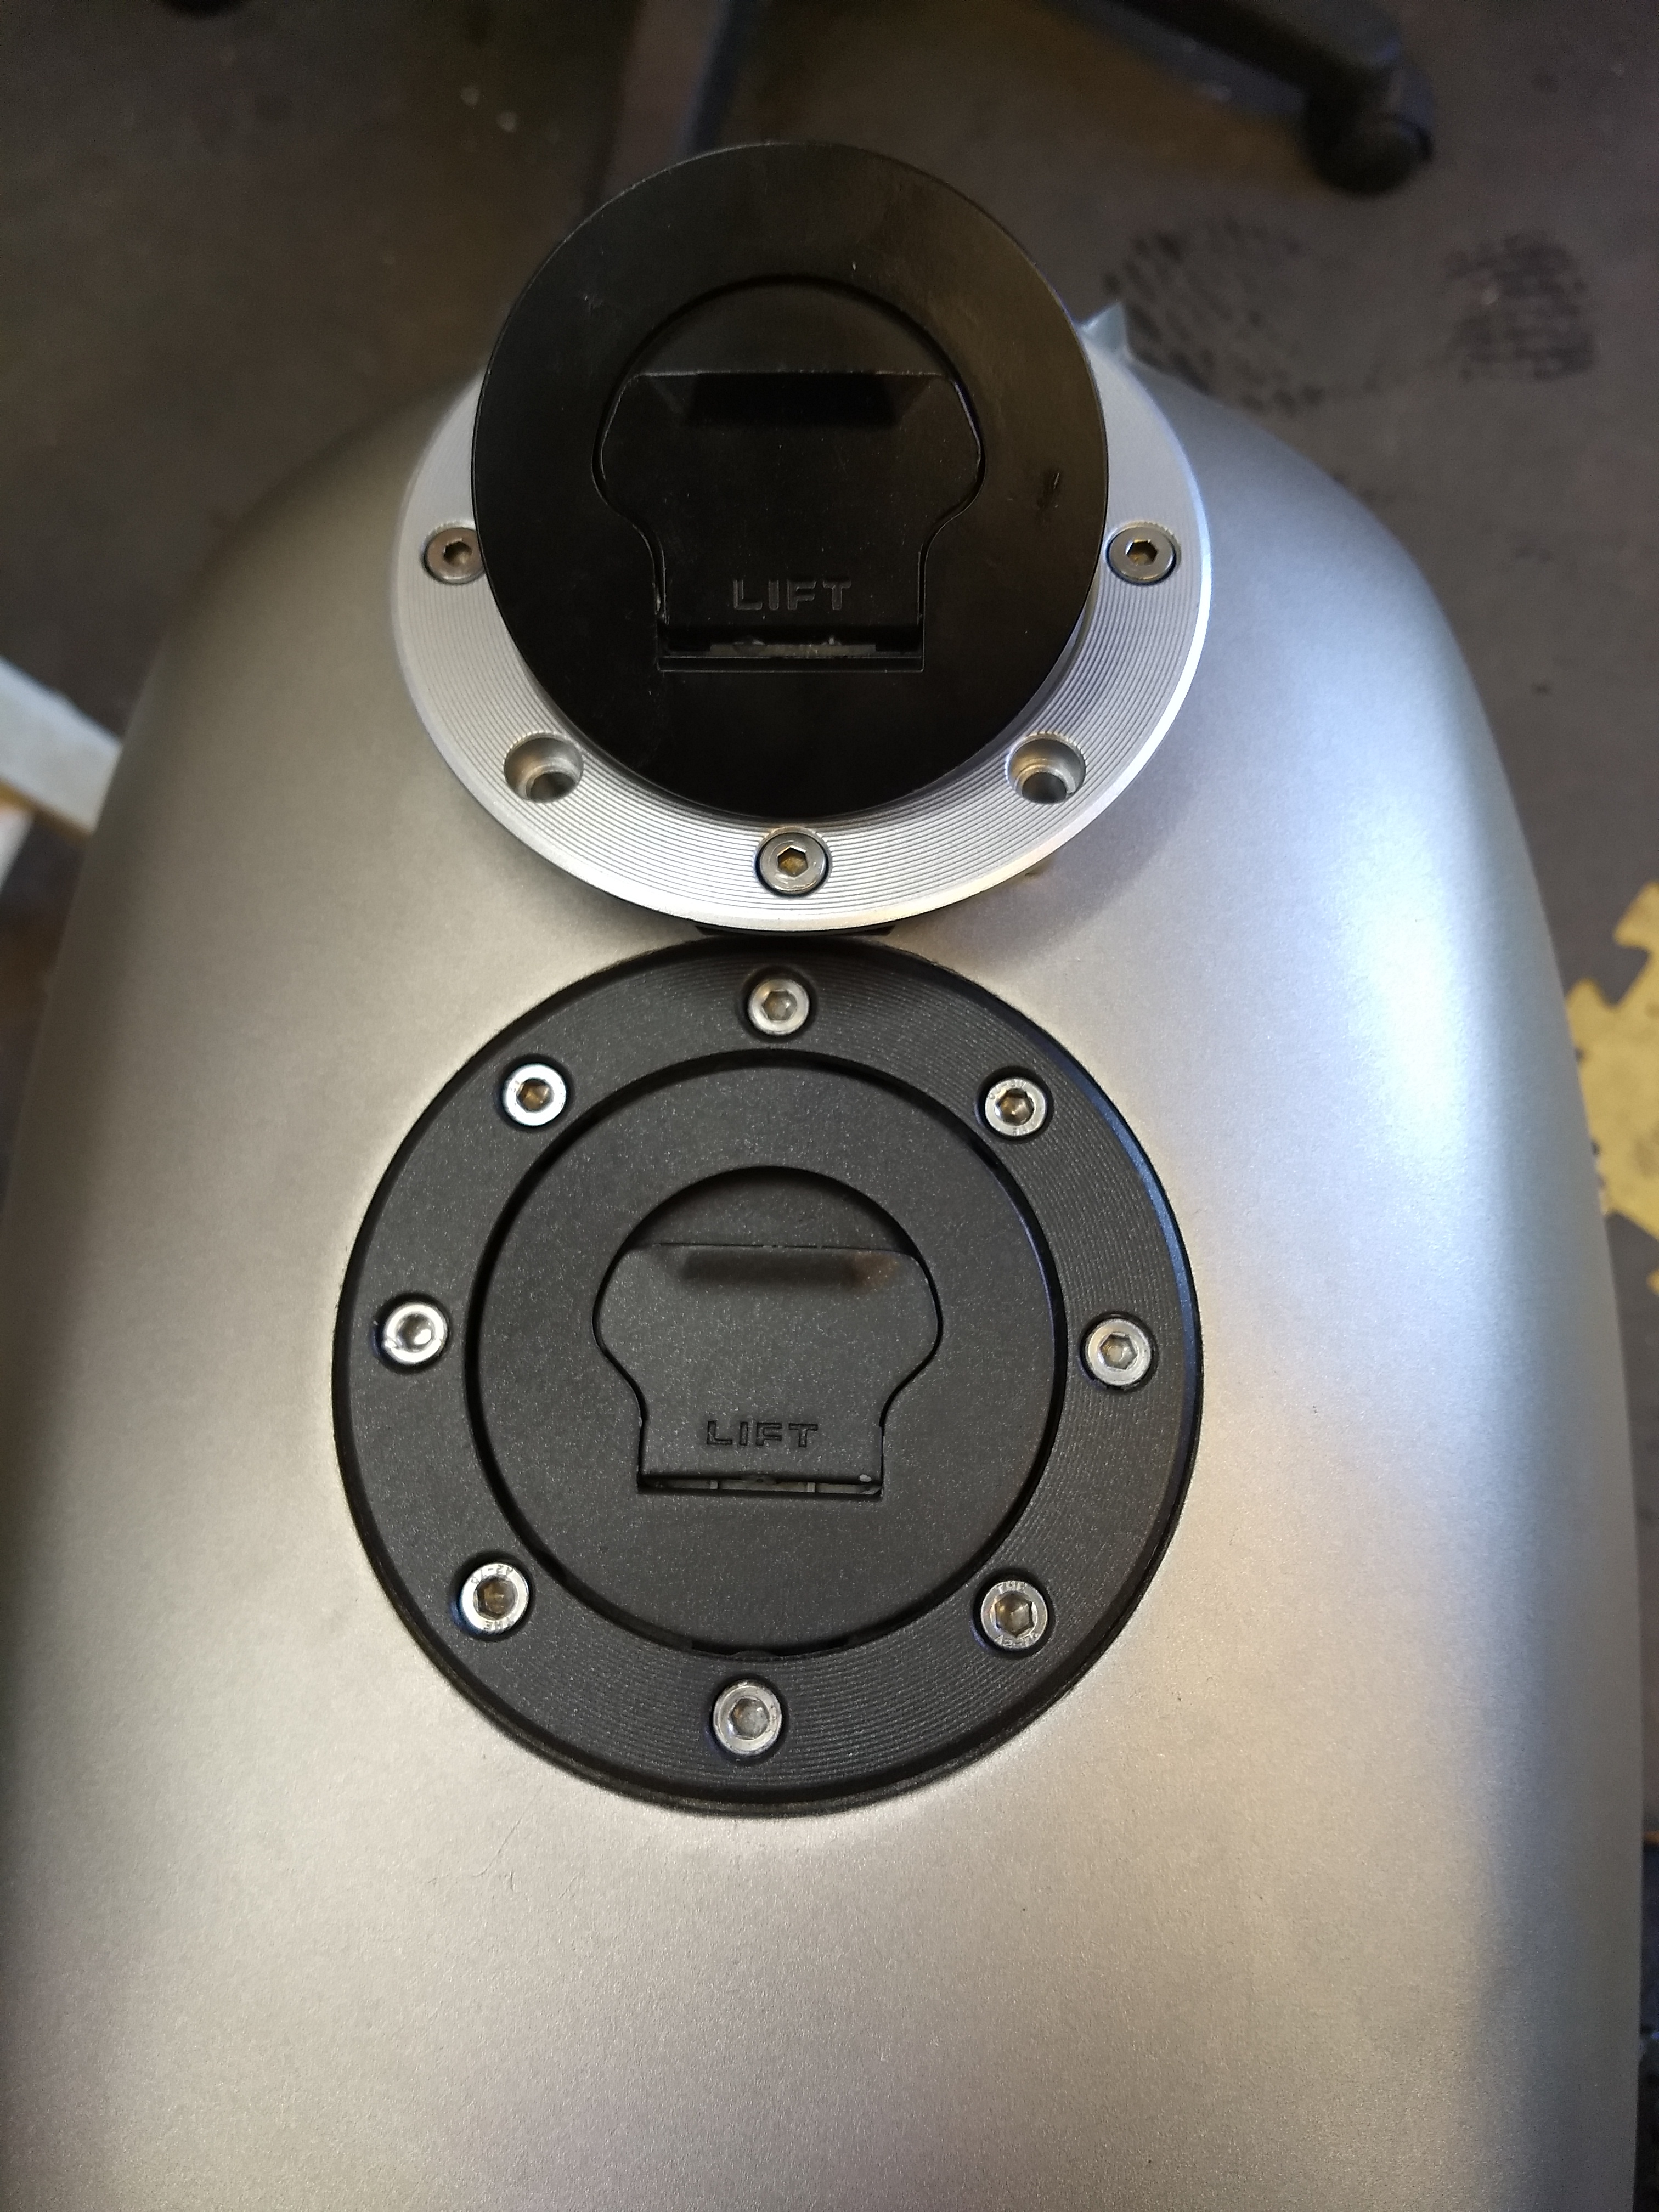
Posting up a couple pix here. I just didn't like the look of the new one. I could have painted it; the one I'm using is painted in the Black Pearl like the wheels and other parts, but the ChinaBay copy is just... not as nice.
The big decision maker for me was the fake, ornamental bolt heads. They didn't even take the trouble to try and make them look like the real ones.
The good news is that the important parts that I really needed mated right up and will work great.
However the lock cylinders aren't the same so I wasn't able to use the new lock and fancy plastic head key... oh well...
After going through all the trouble of re-building the Suzuki cap I would have used it anyway. I know there are some tiny springs and nall bearings in the vent mexhanisn built into the lock, your a hero if you got all that back together properly 8)
After going through all the trouble of re-building the Suzuki cap I would have used it anyway. I know there are some tiny springs and nall bearings in the vent mexhanisn built into the lock, your a hero if you got all that back together properly 8)
Yup, all of that. Tiny little dabs of lithium grease temporarily kept the various springs and ball bearings in place. I didn't have any "oh shit" moments with the various tiny bits n pieces. Generally the OEM Suzuki part was better designed and the knock-off was functional but not as... smooth... graceful... adept... fine... However some of the parts, the ones I swapped in as replacements, were pretty much identical, fit great, and work fine. Fortunately the one part I really needed, the rubber seal ring was perfect.
LOL, only just noticed I hit N instead of B (why are keyboard keys so close together?) I found out 'the hard way' about the teeny spring and ball bearing vent. I guess it's less than 1.00mm. It was worth getting the Chinese part just for the gasket
The wire braid came in so I spent a few minutes putting some things together today. Mostly these will plug into the electric tray terminal strip or fuse box so they've been set w/ the appropriate end terminals. I bought two different sizes based on what seemed like would be correct. Perhaps I could have gone down a size on each, but they'll work fine. The learning curve wasn't too steep. The loop near the center is the Hall sensor for the speedo; I wouldn't have had to cover it but I thought it would blend in well and contribute to the overall finished look I'm hoping for. The braid is black w/ silver so it should blend right in nicely.
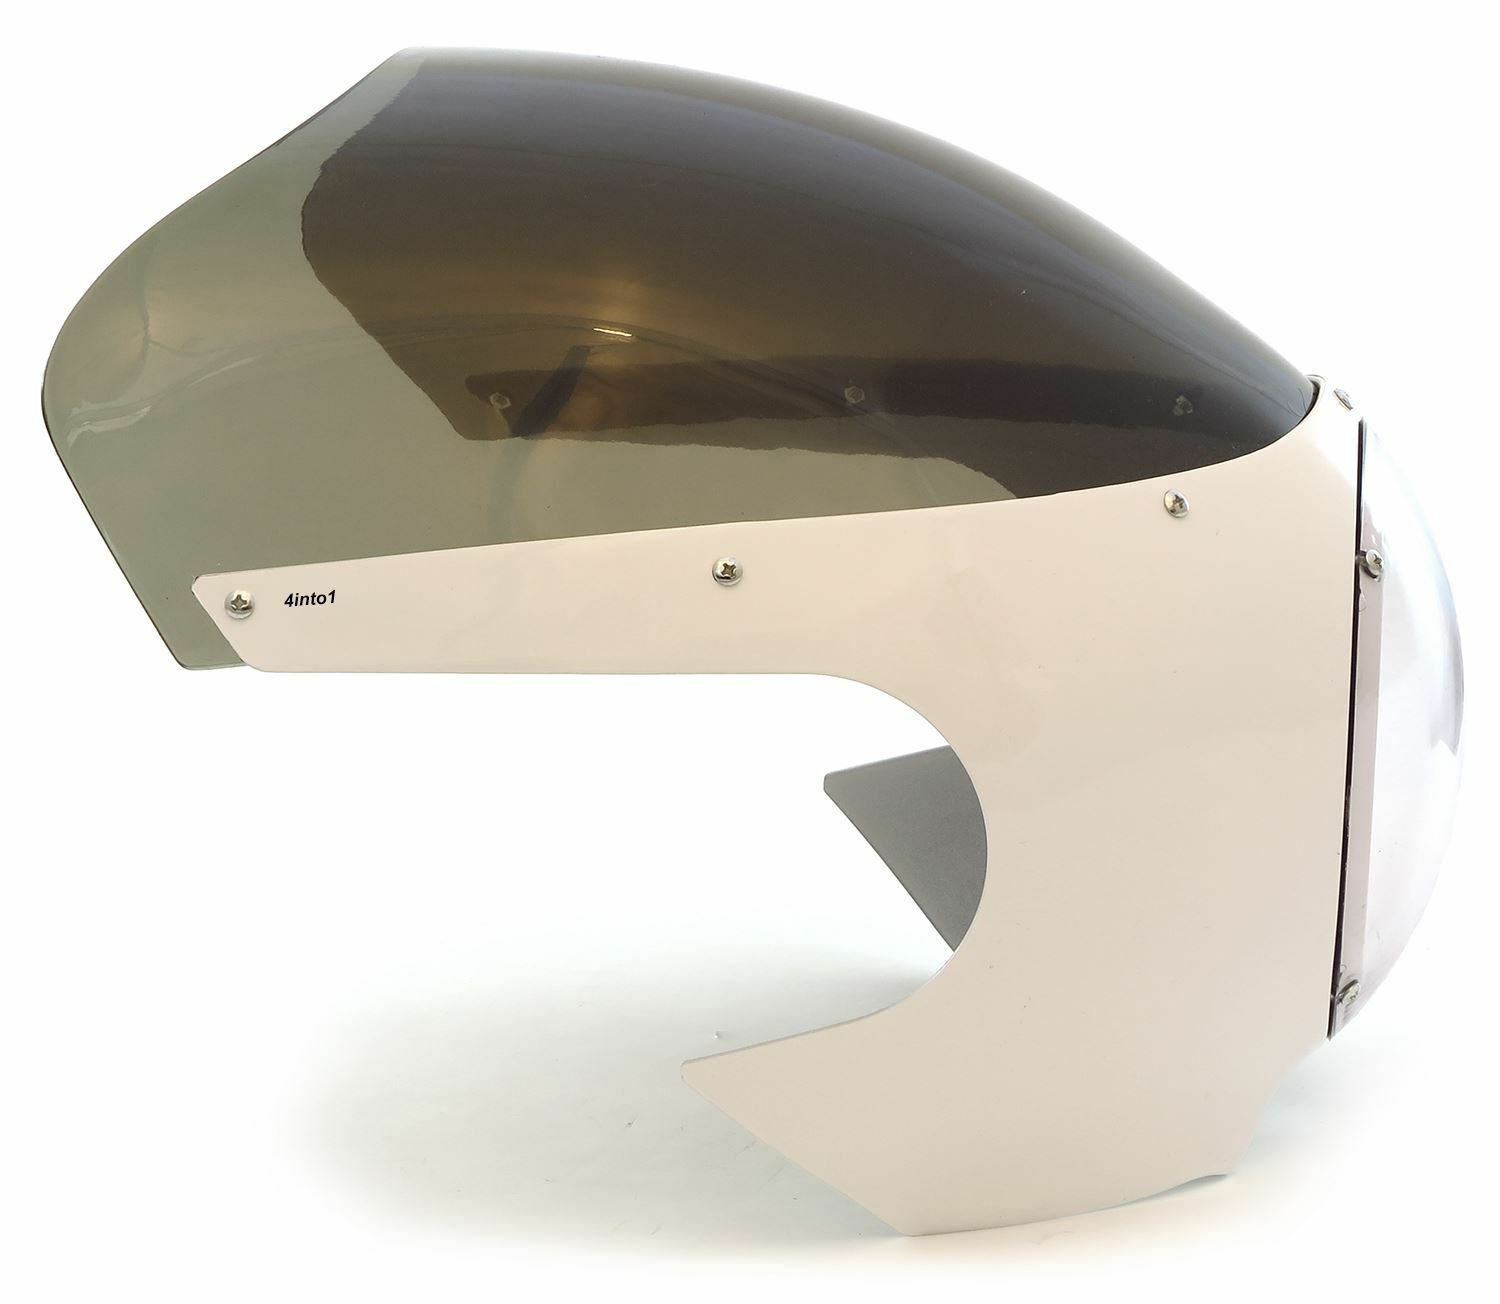
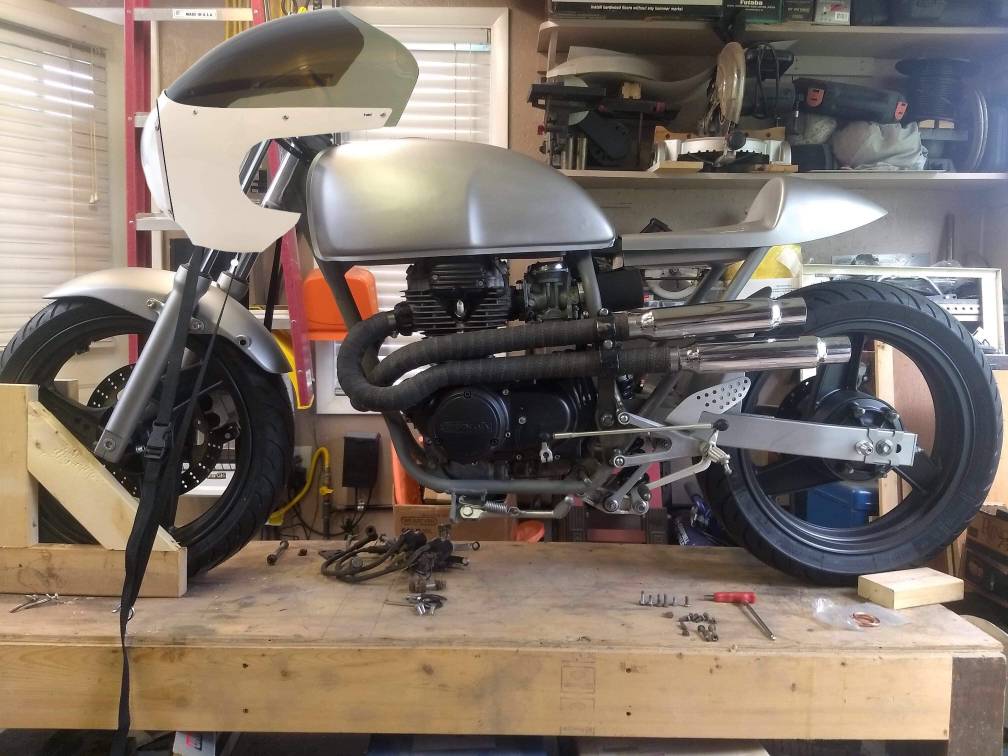
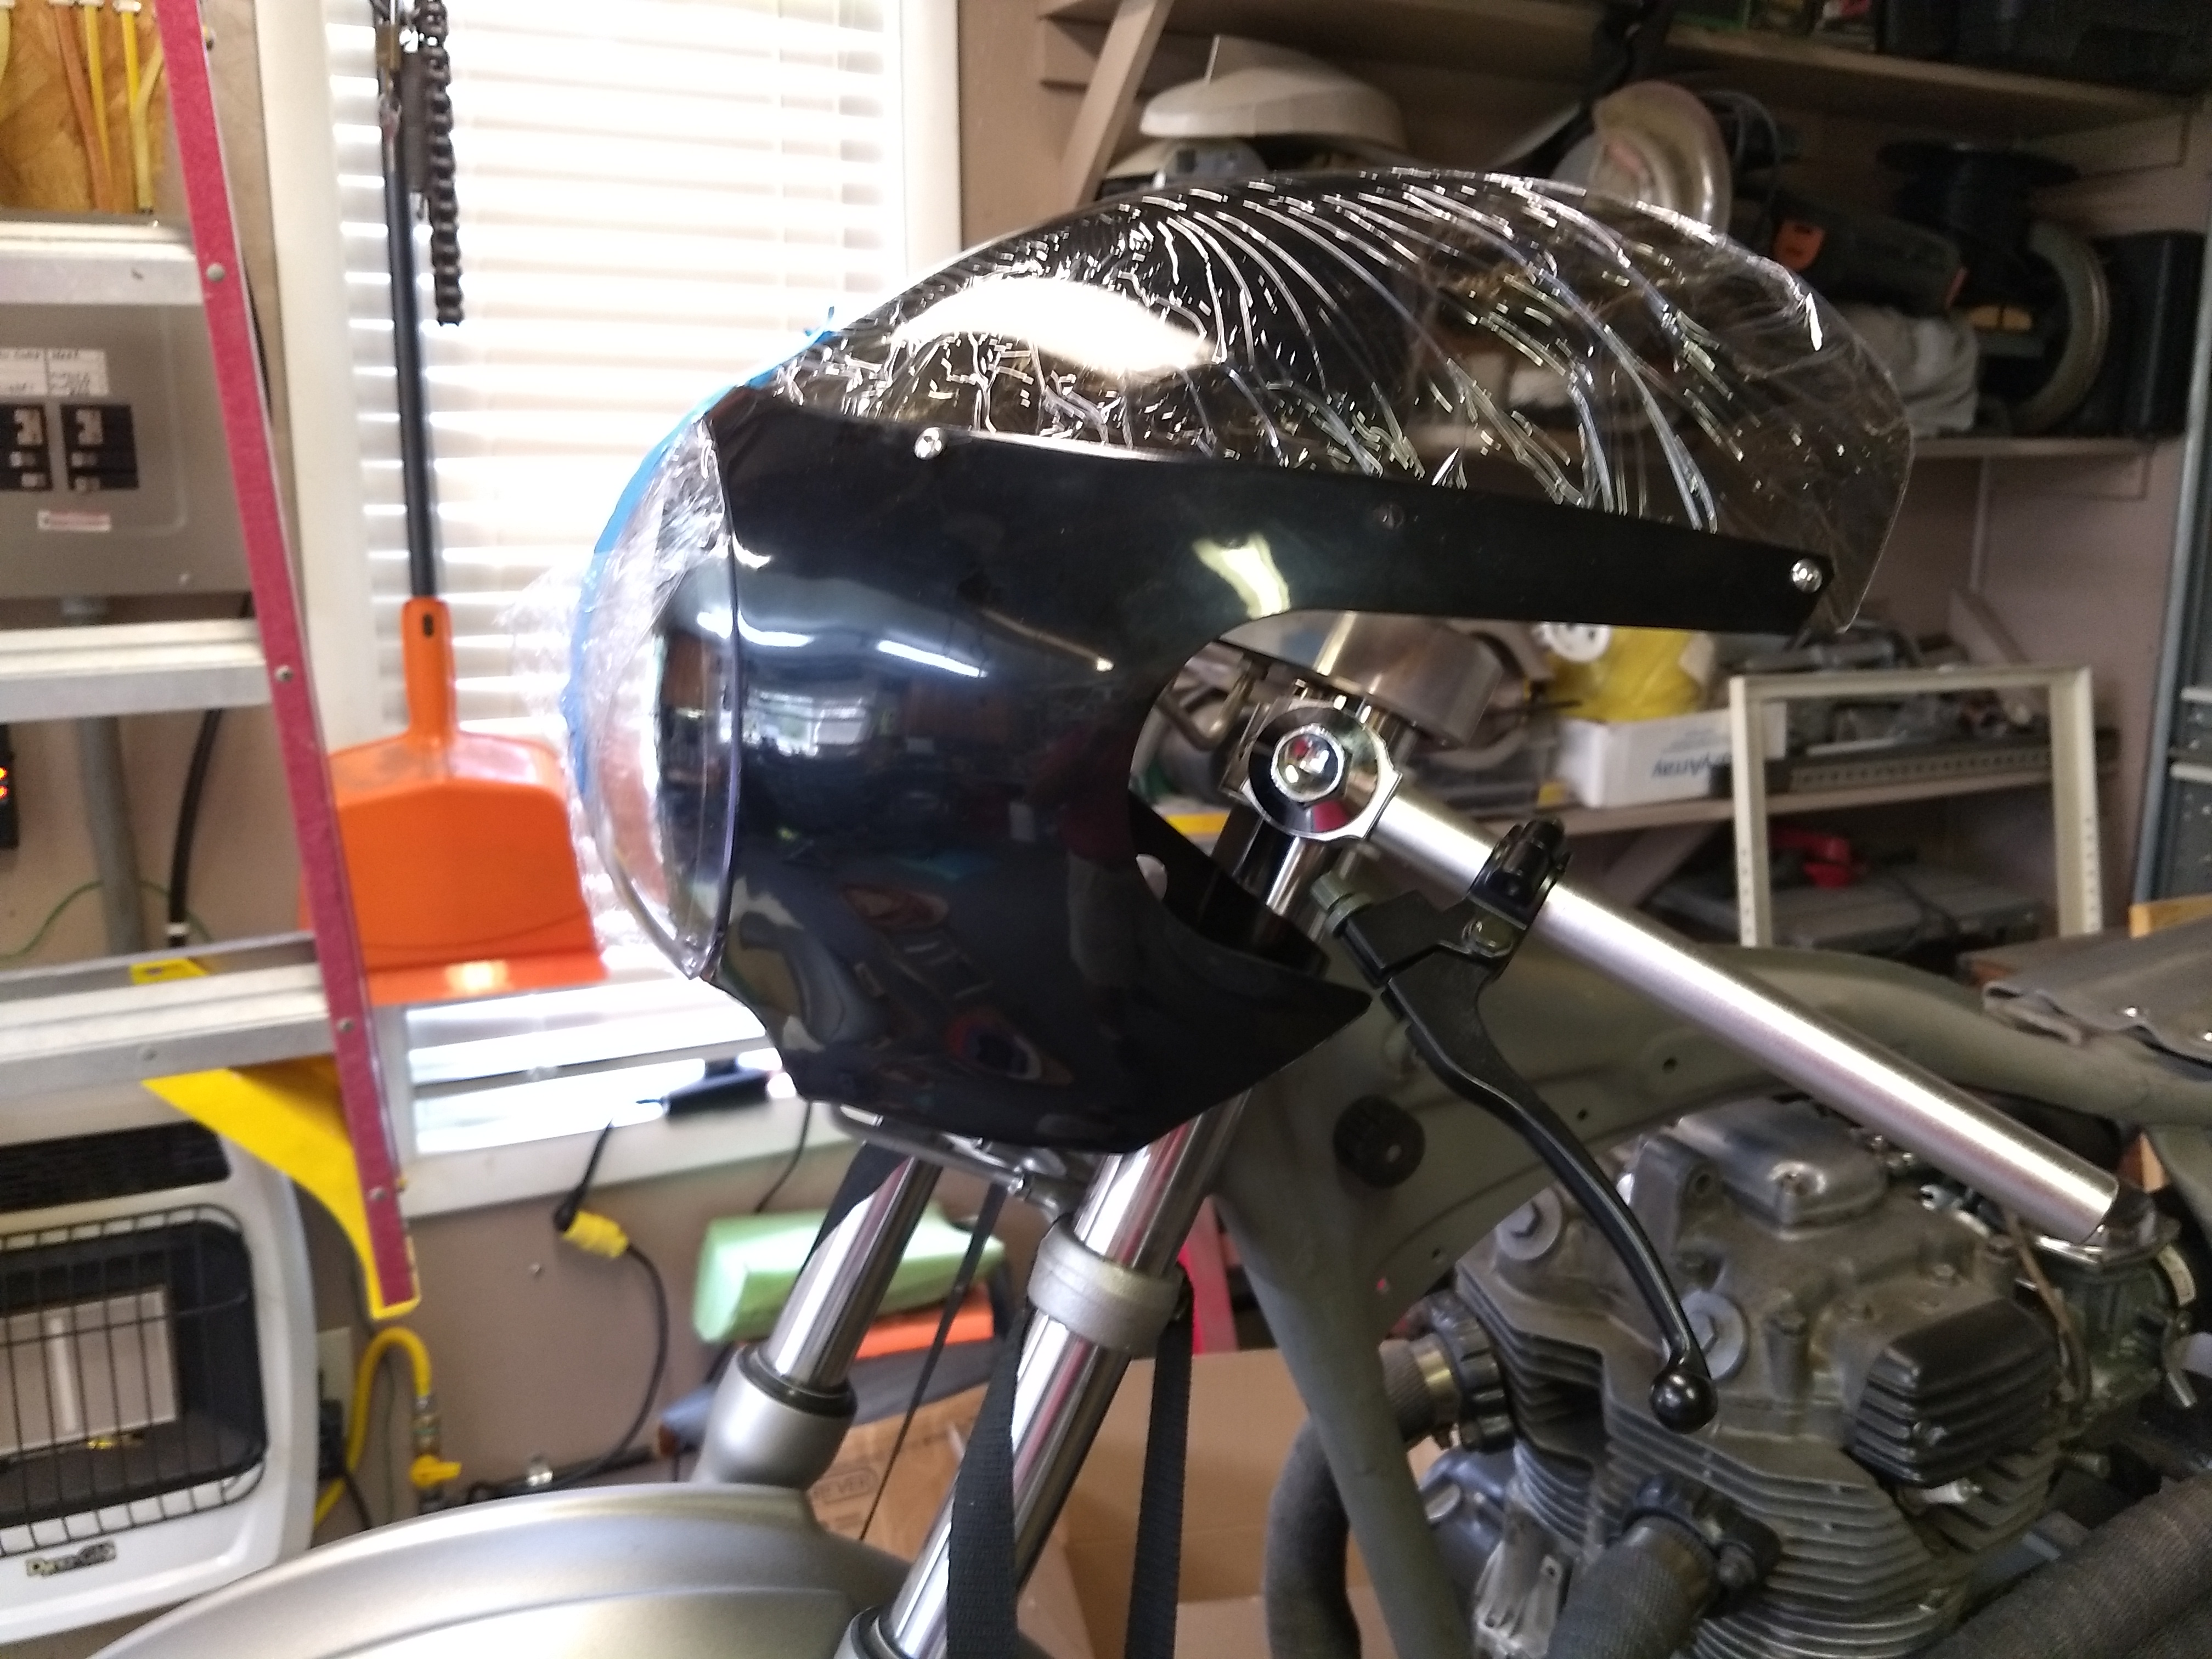
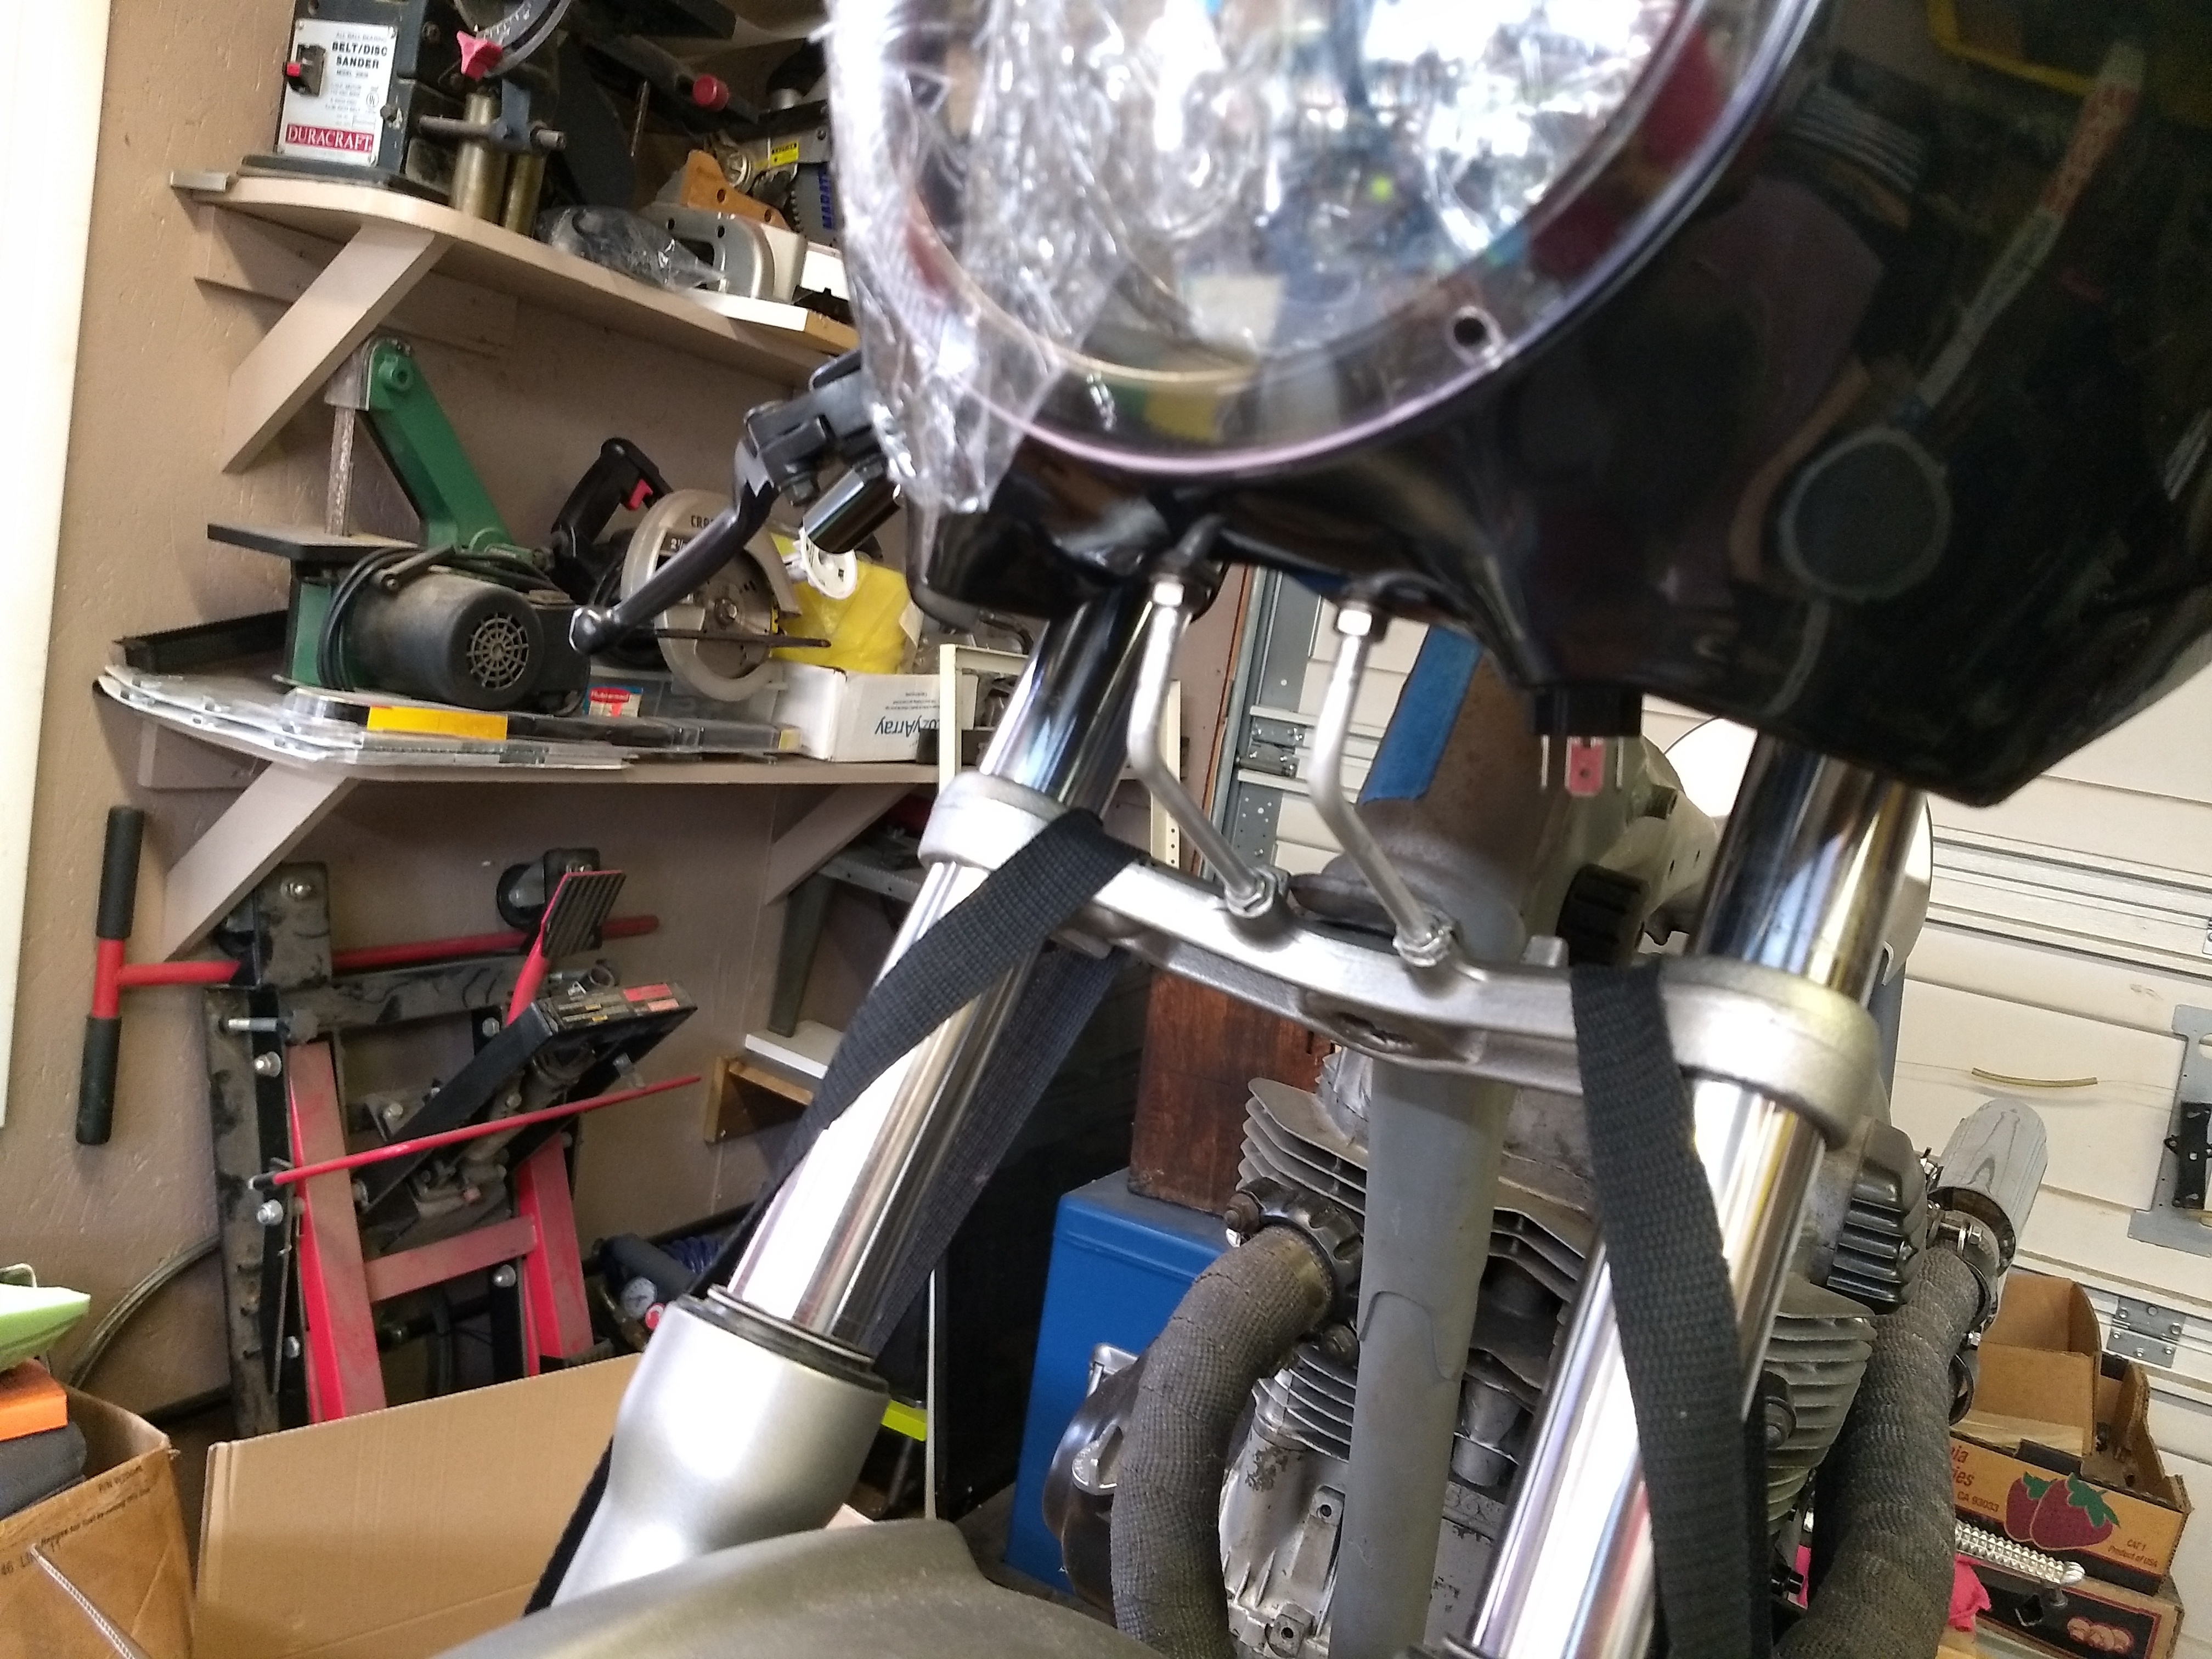
I've been braving the heatwave a few hours at a time to get a few more things done. The headlight bucket, headlight, and fairing came in so I've been working to get them fitted up. I was pleased w/ the headlight bucket and mounts, for the price I paid I expected metal brackets and a plastic bucket assembly but it's all metal and pretty decent quality. The headlight is a 5.75" LED w/ turn signals built in. It works fine and will fit the bill. Because I wanted LED and integrated turn lights my choices were a bit limited and I probably would have chosen something a bit more traditional looking if it had been available. The fairing isn't large but the quality seems to be pretty good and I think that once it's painted it'll look good on there. The lexan bubble over the headlight is a nice looking feature.
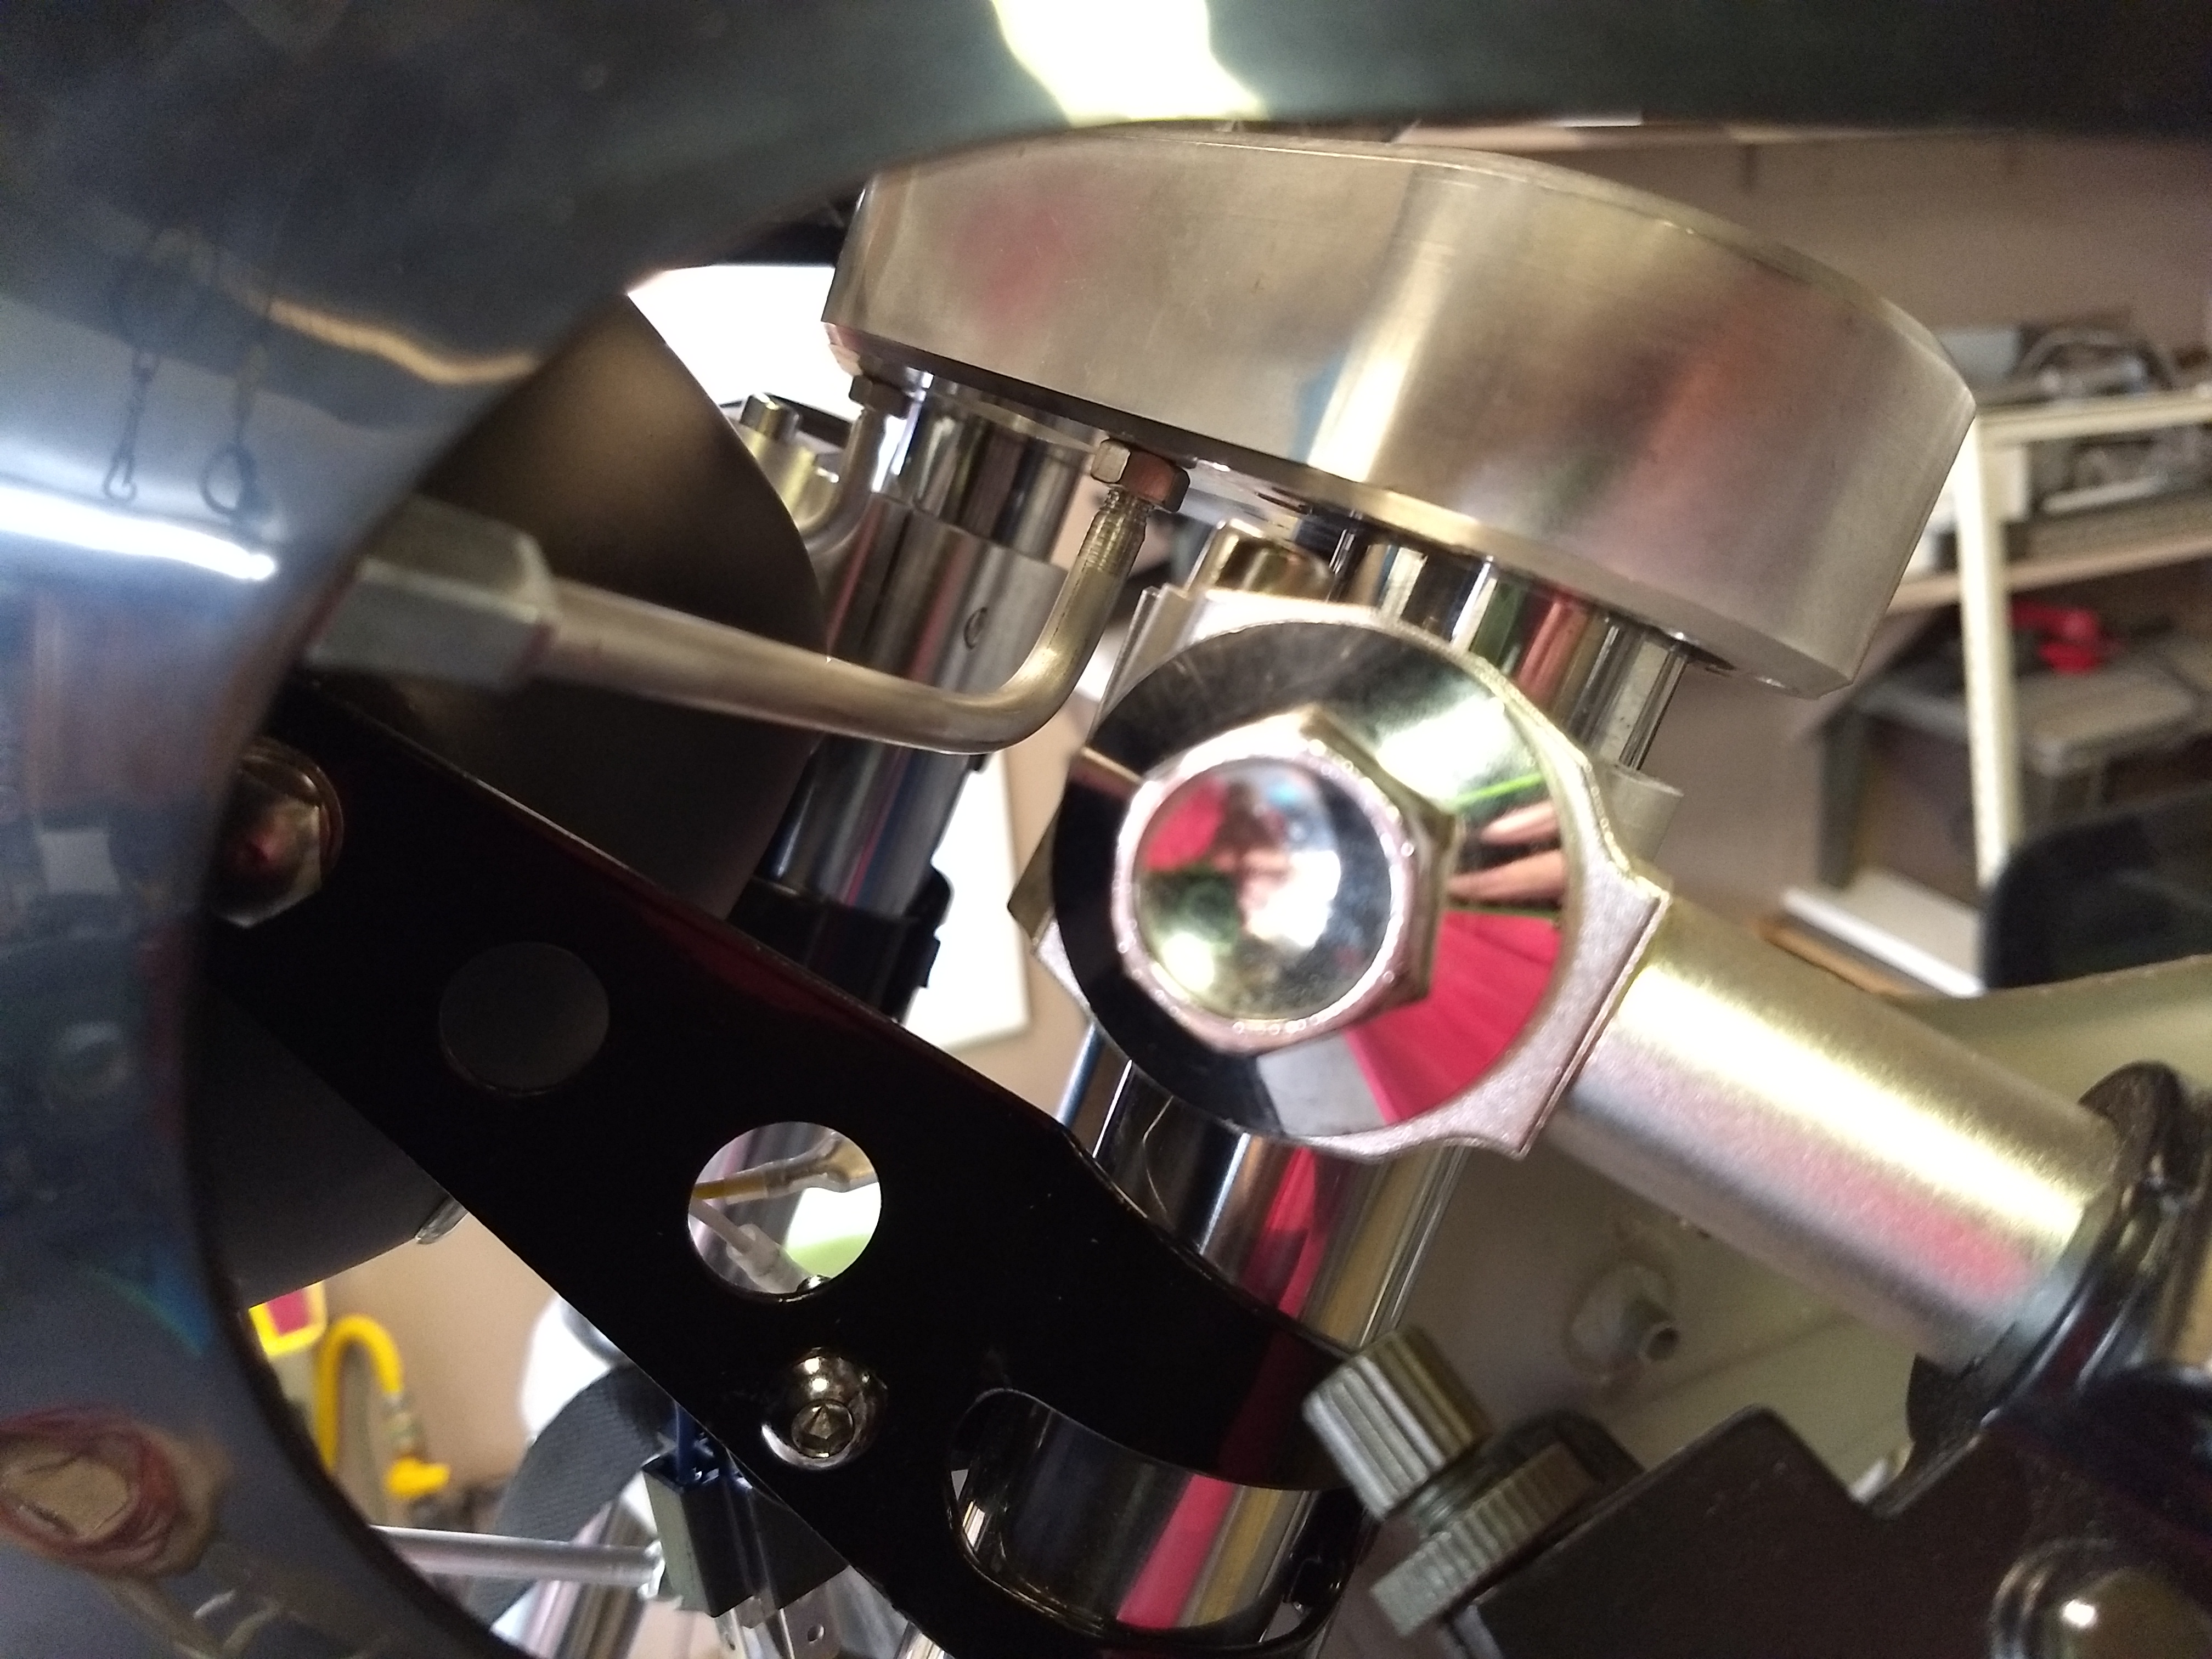
The lower fairing mounts thread into a couple of holes on the front of the lower triple. I guess they aren't super graceful but a coat of paint will help them disappear and the horn will also be painted black and will ride in that area.
The upper mounts run across from the bottom of the top triple.
Hopefully with everything painted the main color it all should blend together.
News 13 this morning gave a weather update showing how the rest of the country is havinga heatwave, then ruined it by saying your having 'normal' temps for Florida (93 degrees earlier)
This site uses cookies to help personalise content, tailor your experience and to keep you logged in if you register.
By continuing to use this site, you are consenting to our use of cookies.