boomshakalaka
Over 1,000 Posts
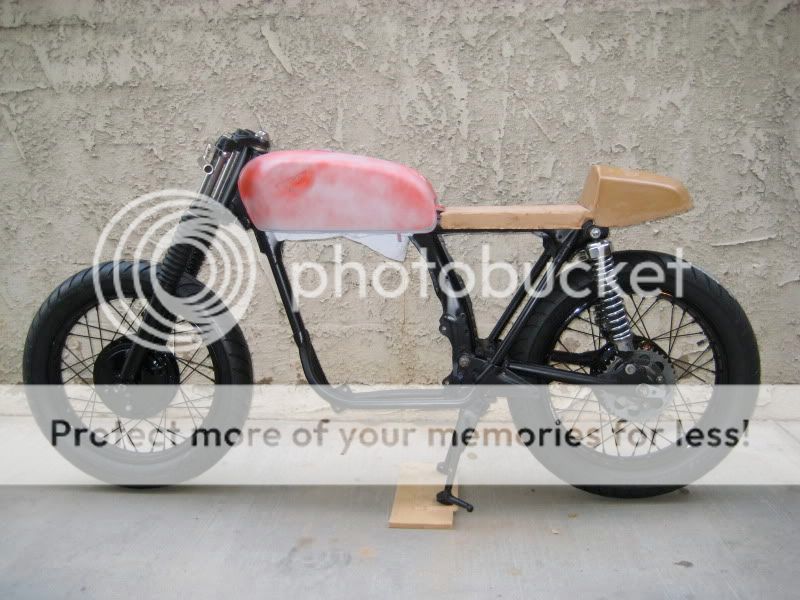
where did you find the early cb tank for 10$!!?
boomshakalaka said:where did you find the early cb tank for 10$!!?
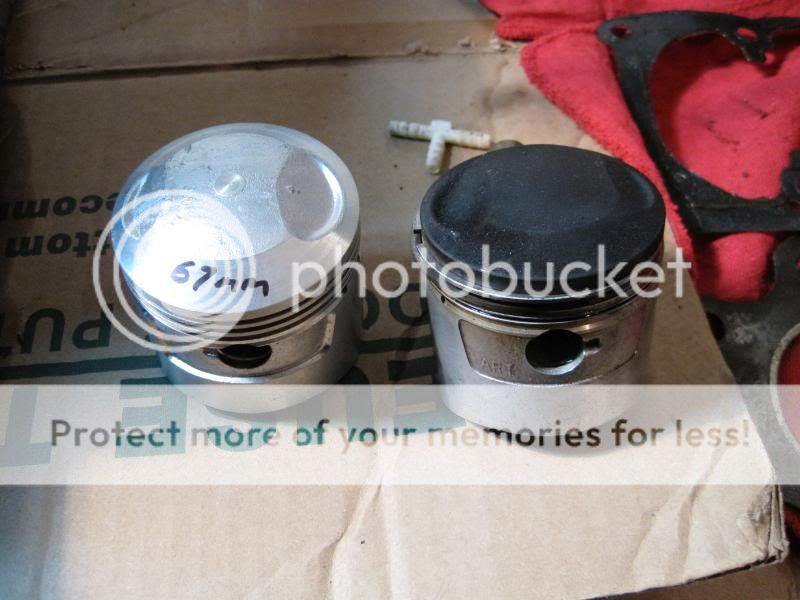
quach said:Picked up a set of what I believe are Rocky S12 pistons. Theyre marked ART on the side. They're 3mm oversize, which should bump my displacement to 357cc's. Interestingly, the pistons I pulled were also marked ART, not sure if that is OEM or not?
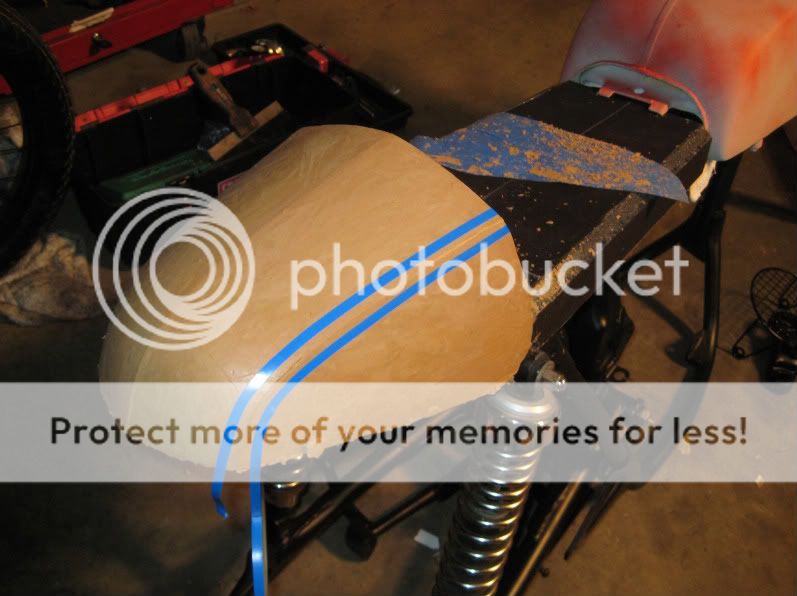
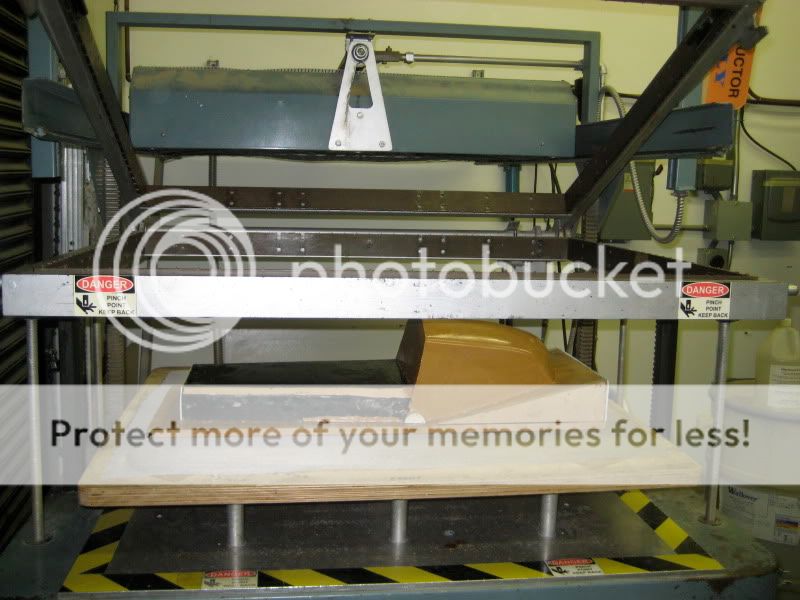
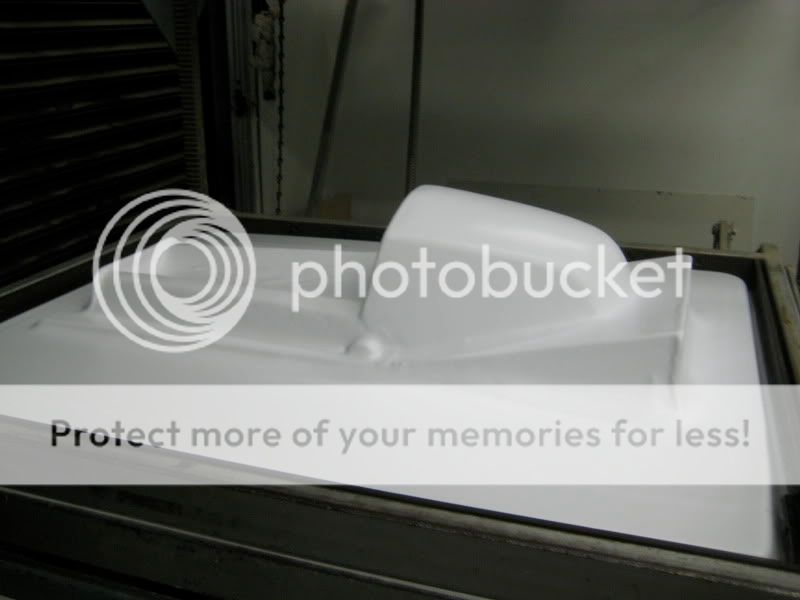
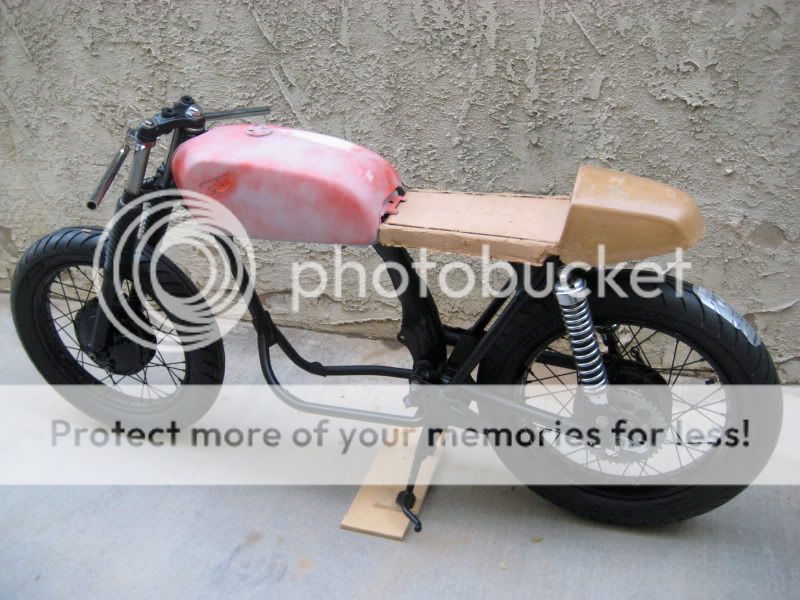
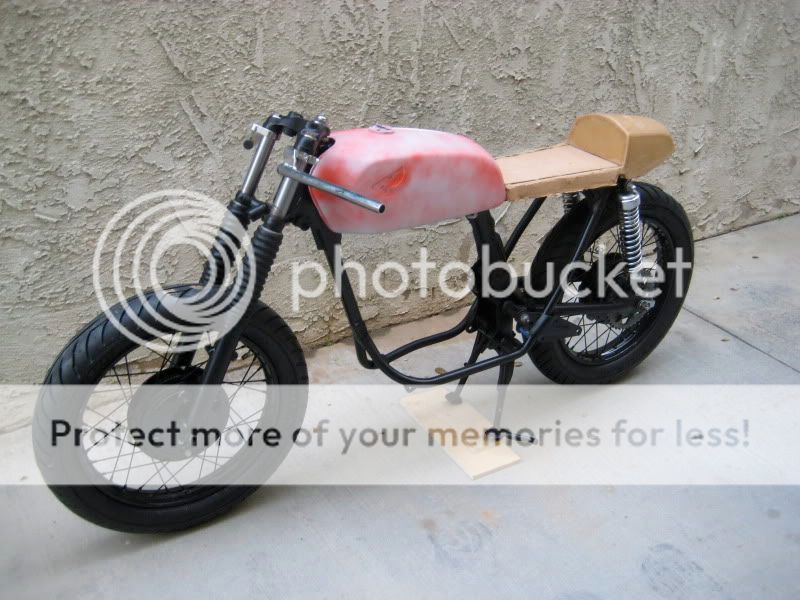
vinniefranco said:WOW. This is what I am talking about. Your attention to detail on the cowl nothing short of amazing.
It looks like it belongs on this bike and it ties the bike completely together. Not just a set of bolted on components. Brilliant man. Keep it up!
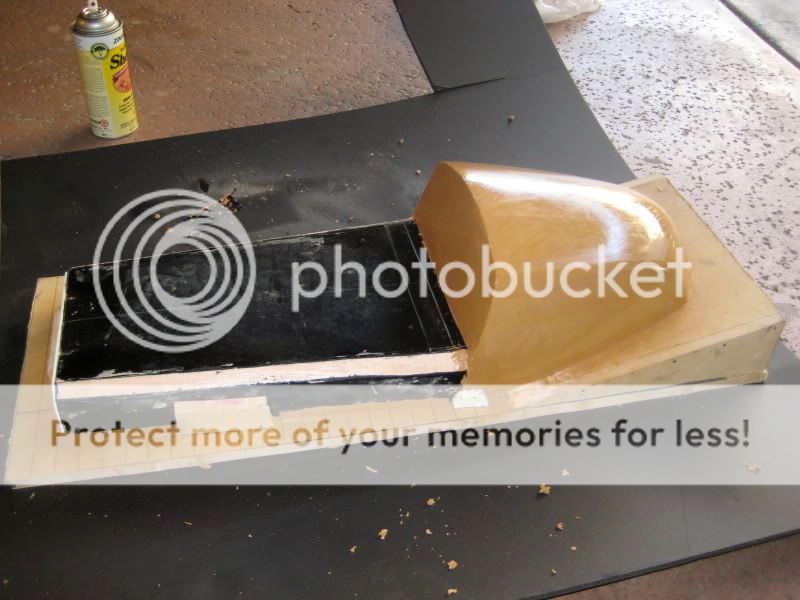
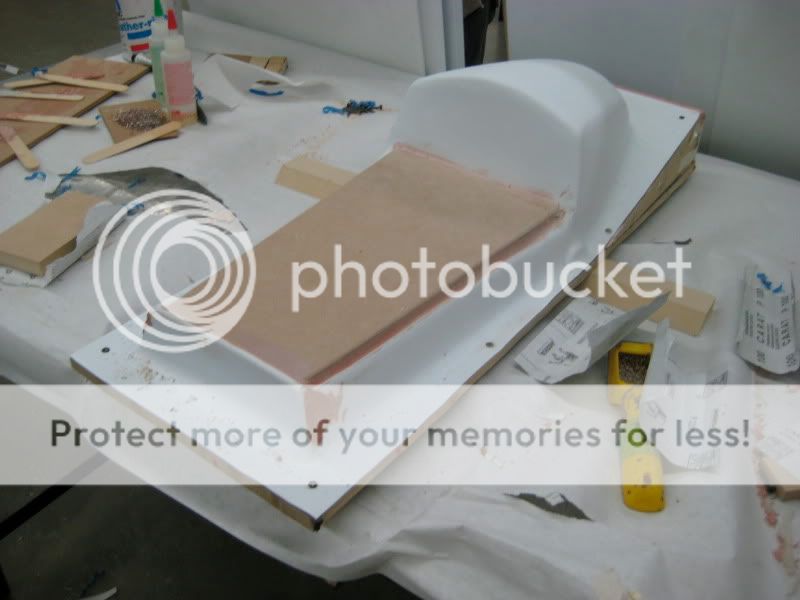
HerrDeacon said:Very nice quach, really like the design of that tail, going to look sharp. Great clay skills too.
I was thinking about using that clay when I made my last seat but couldn't find any locally. Is there a specific name on it? Expensive?
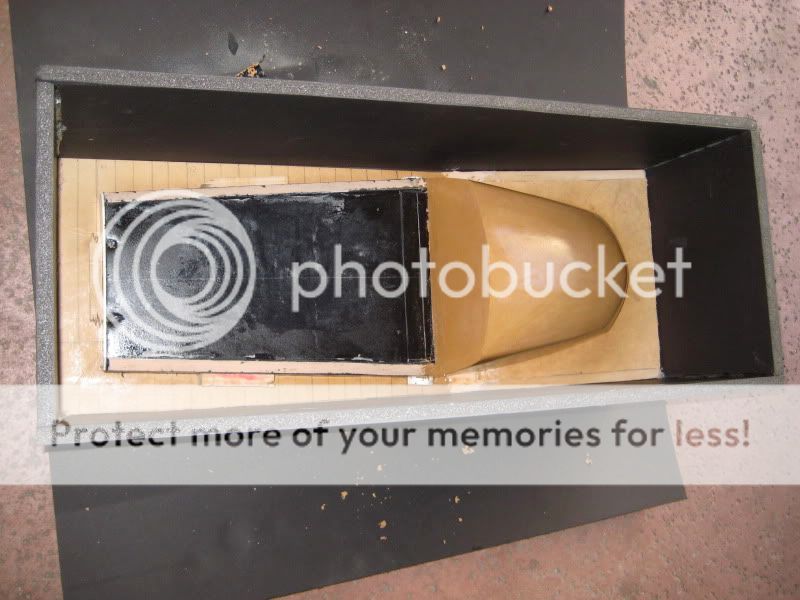
quach said:I'm not sure what the name of the Industrial clay I'm using on my seat is, it's a Japanese brand that Toyota uses and the labels are all in Japanese. I have used two other brands called Chavant and Faber, our school sells Faber and it works really well. Faber is what BMW uses. I'm not sure where you can purchase some, I get my clay from school or the occasional donation from car companies. The clay is definitely pricey, about 10 dollars a billet, but for a seat you will probably only need about 3-5 billets.
If you can't find any, I can probably pick up a few billets from school and ship them out to you if you want.
Keep in mind you need to purchase some specialized tools (pricey) to work with this clay, and it's definitely got a learning curve to using it.
") Going to be a while yet before I ready to make one for the 350 anyway. I'll just sit back and watch your progress ;D
Going to be a while yet before I ready to make one for the 350 anyway. I'll just sit back and watch your progress ;Dcierrecart said:Badass man. Great job with the clay. My brother in law graduated from Art Center back in 02.
quach said:Thanks guys! Gotta update this more often, been spending too much time in the garage not enough on the internet haha. BIG updates coming up.
Nice! what major did he graduate in?