racing geek
Just a kid with a welder
I already started a build thread on another forum so the following posts will just be copied and pasted from there. Because of this, some of the stuff in my posts may not make sense such as names of people and what not but at least you can see the progress. Anyway, here it goes...
---------------------------------------------------------------
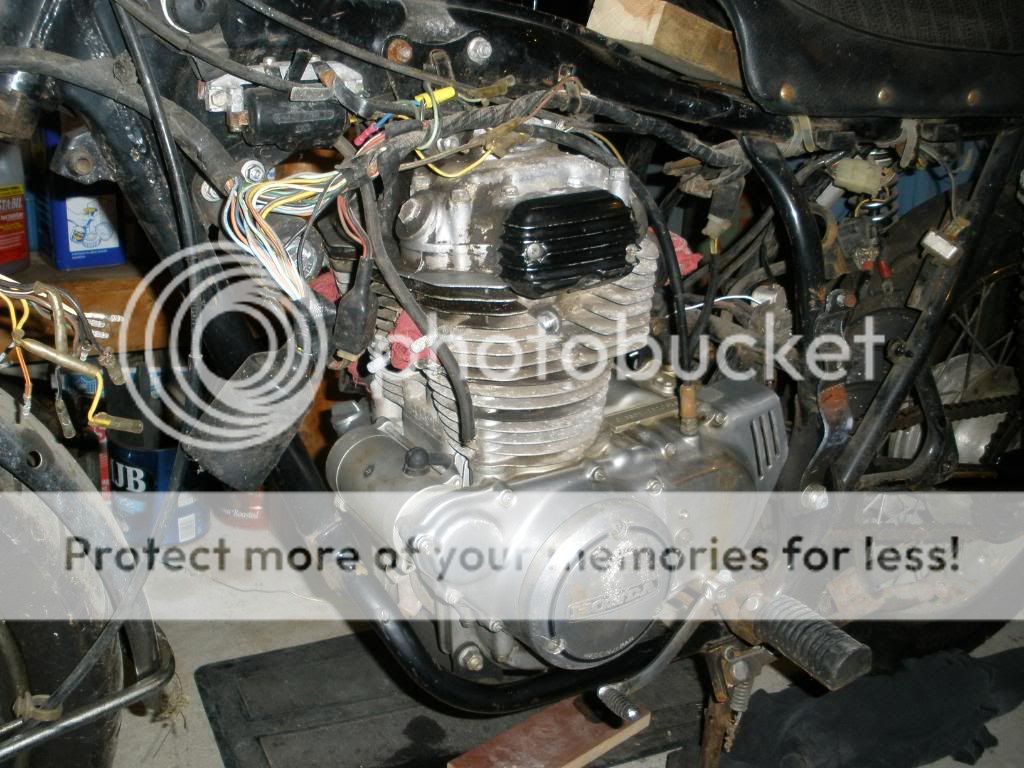
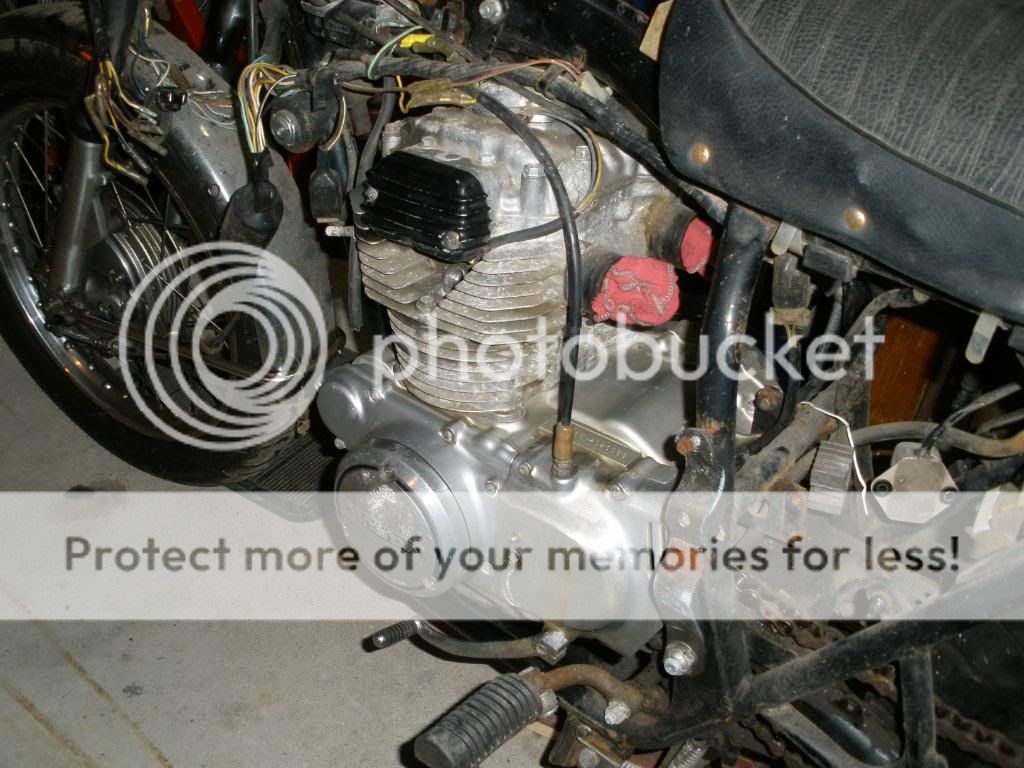
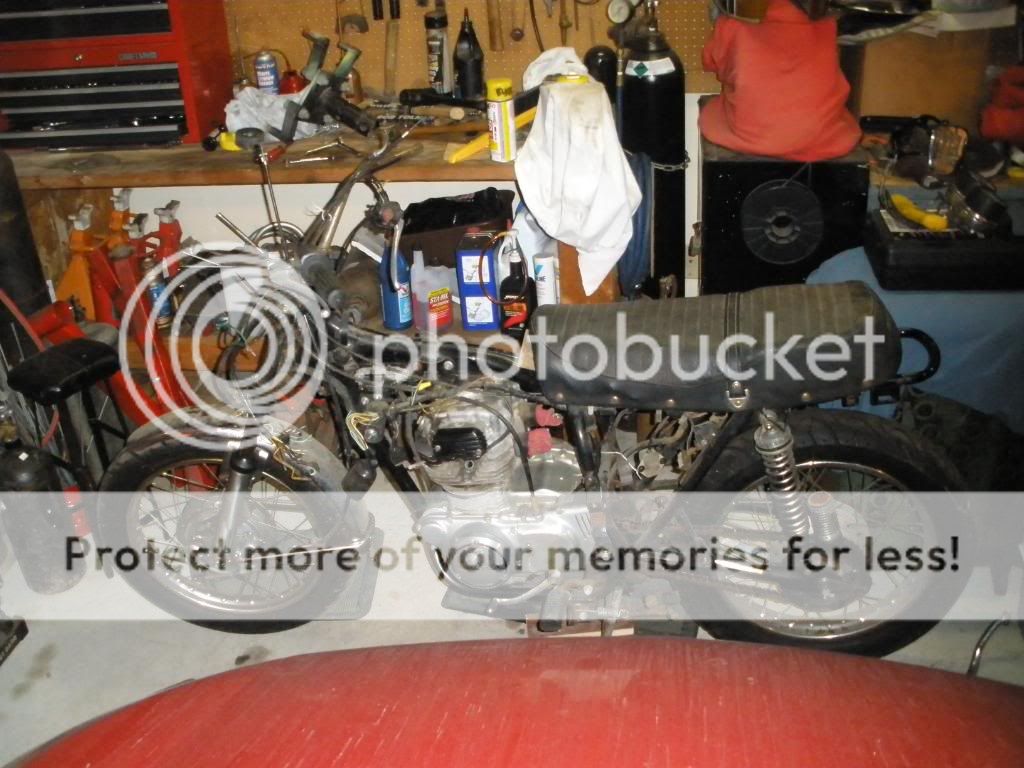
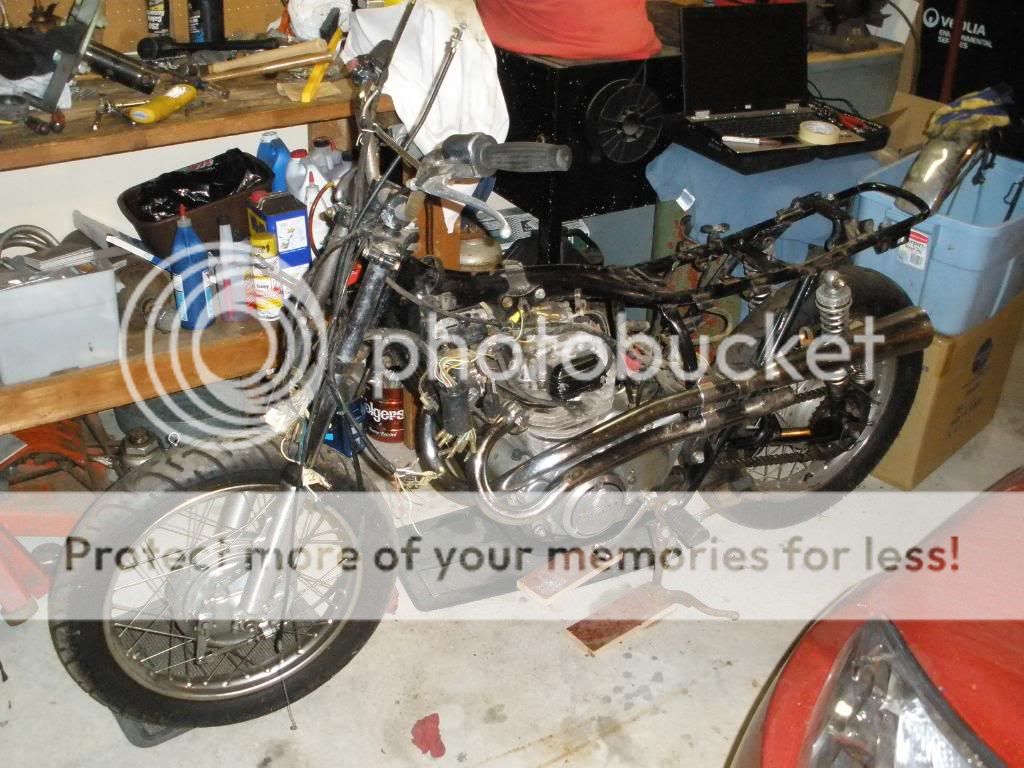
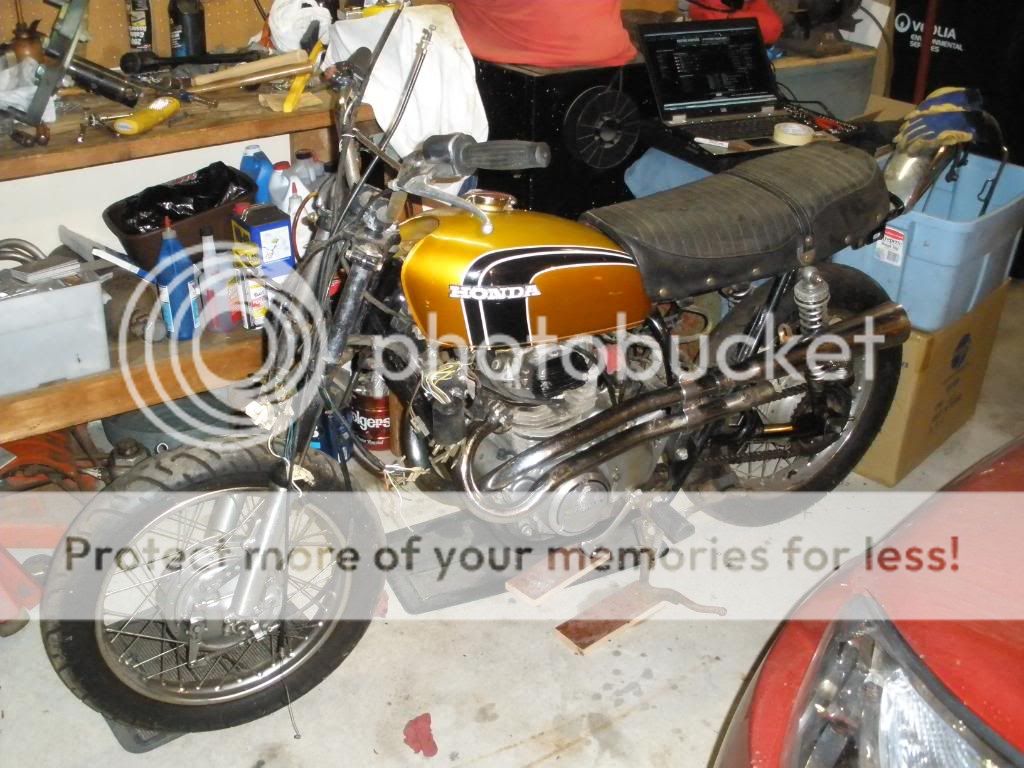
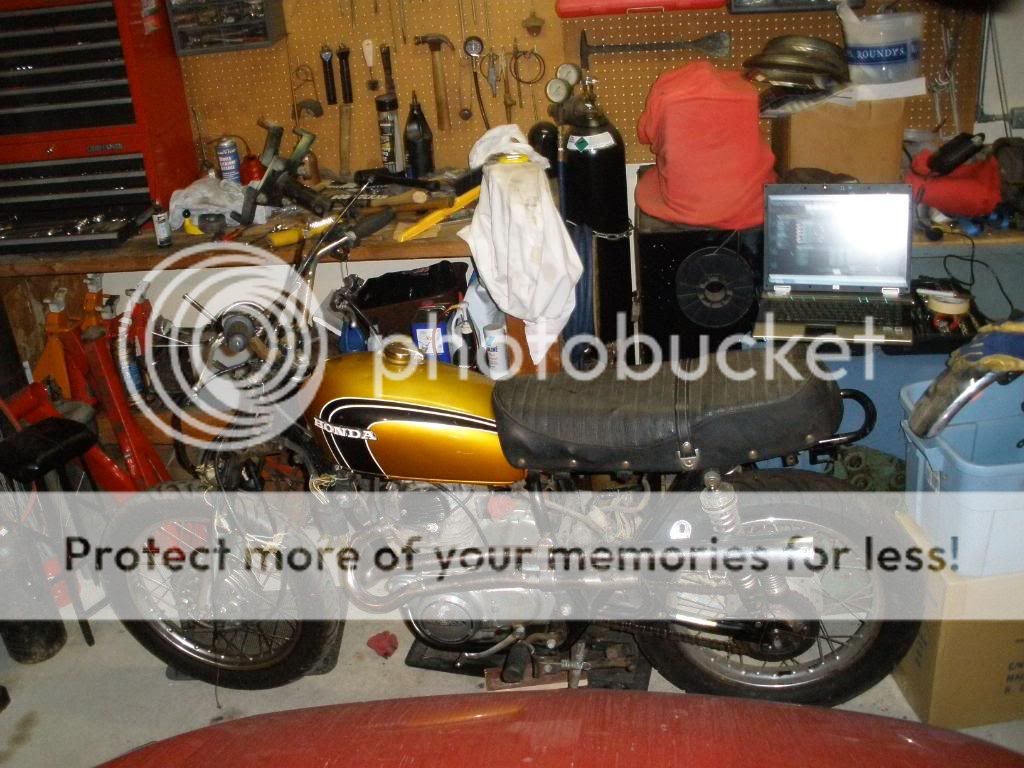
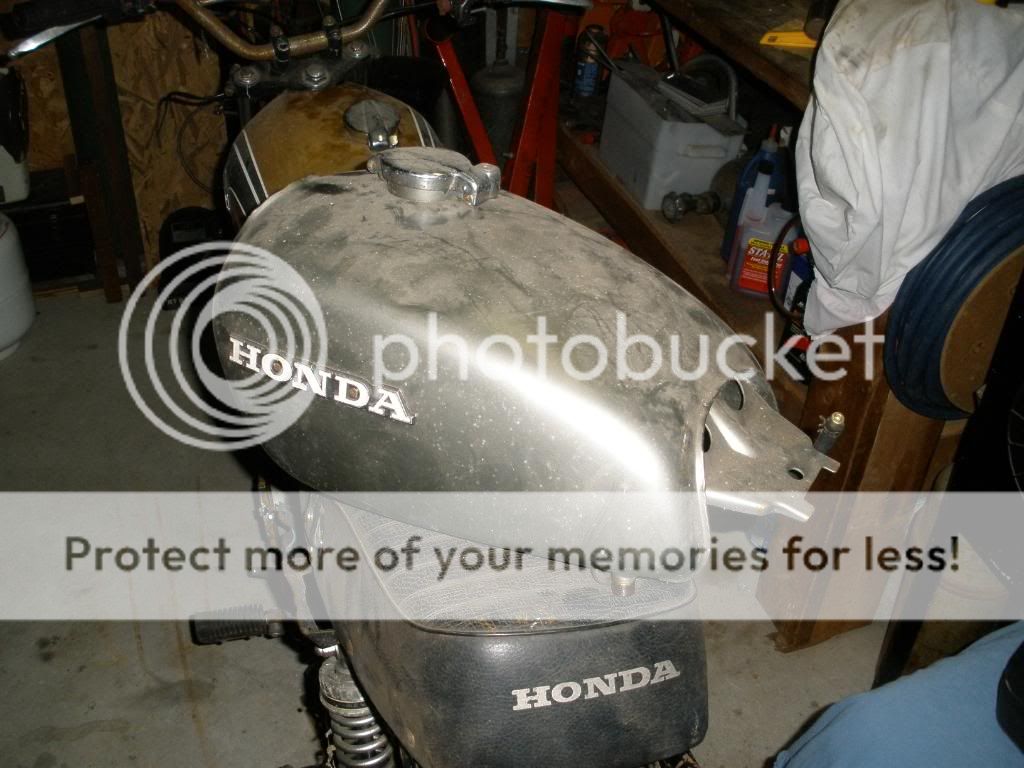
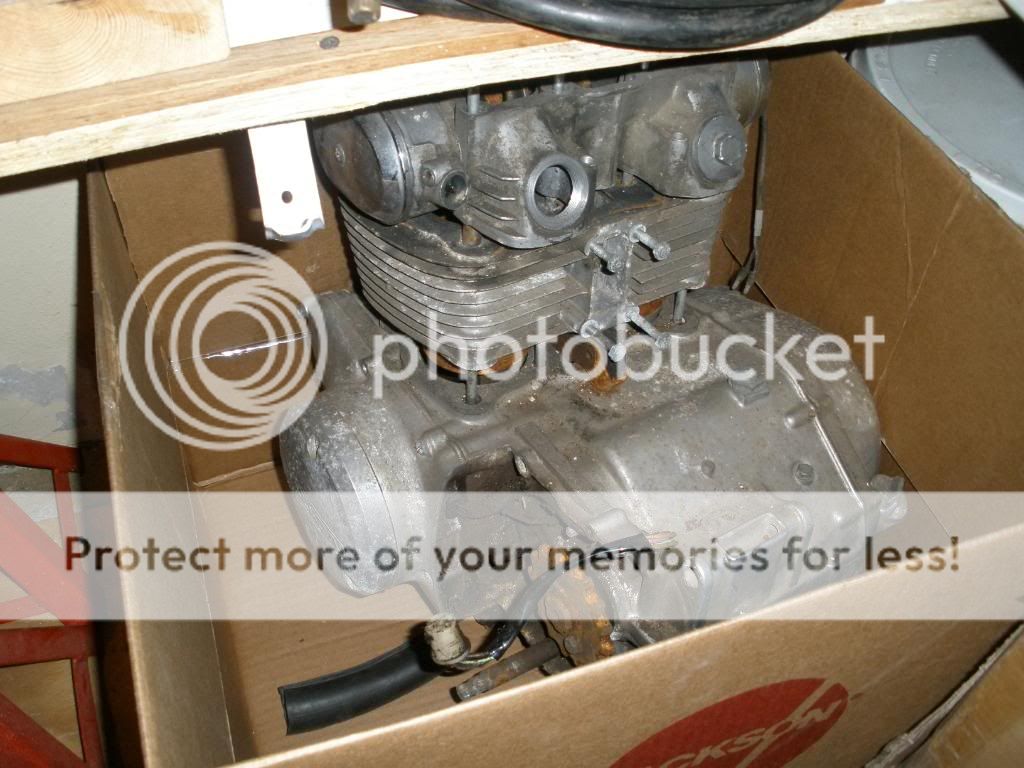
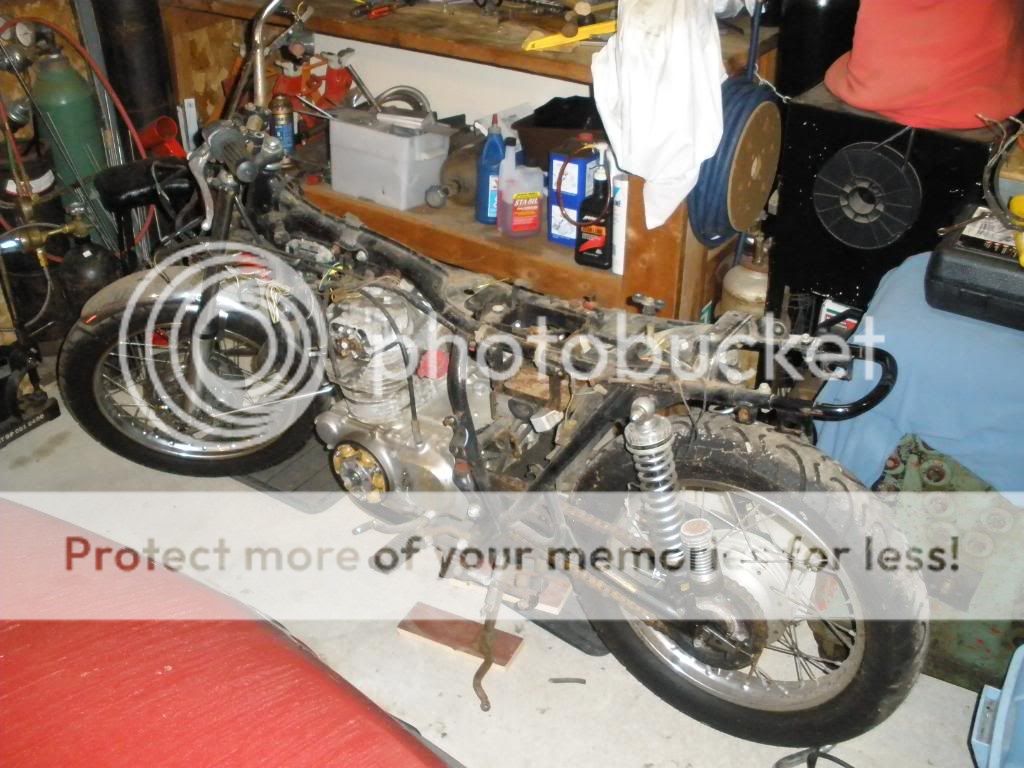
Here is the the bike I just got tonight from CK 187. "Captain Awesome" truly is a fitting name for him since he gave me the bike and extra parts for free. This is why I would like everyone to send the man some rep when he gets around to posting in here since he deserves far more rep than only I can give.
I plan on going more of a Cafe route with it rather then throwing modern parts at it becuase I figure it would be cheaper and easier to do. Both of those things are key since this is my first motorcycle build and I'm short on cash as is pretty much everyone now days.
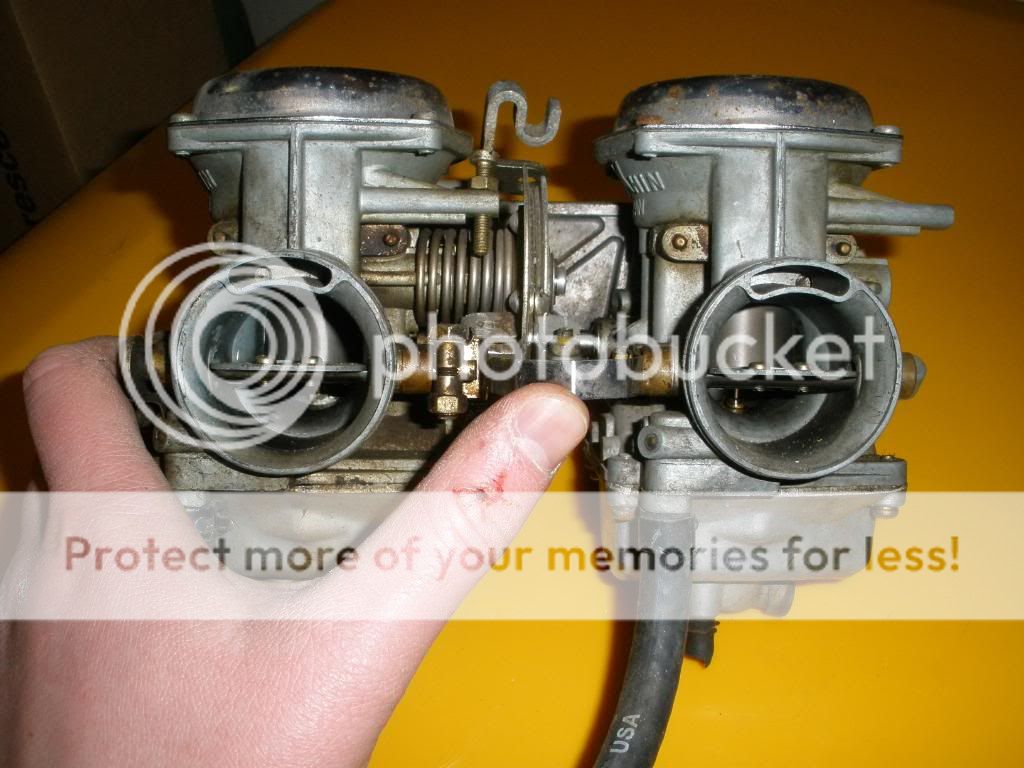
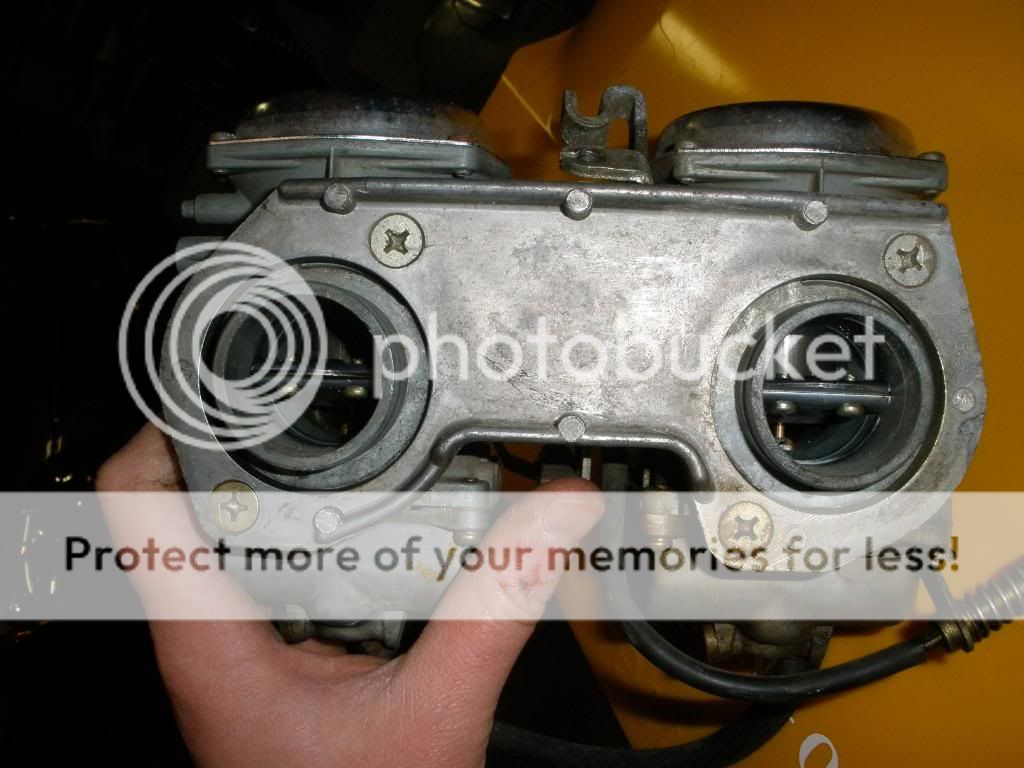
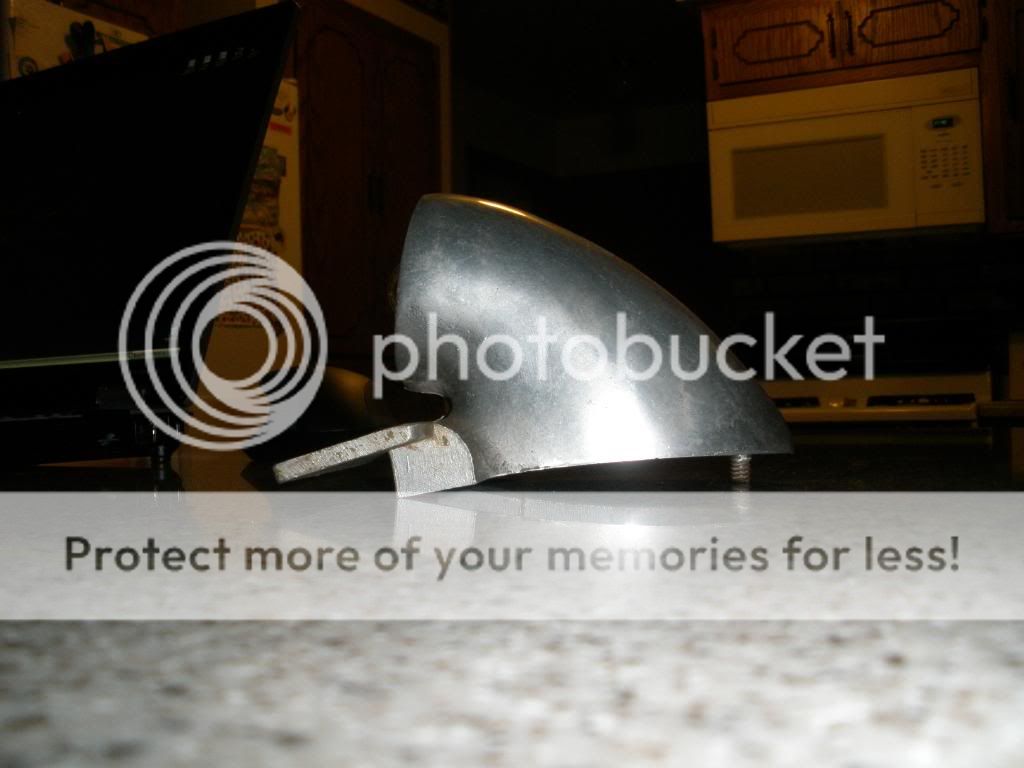
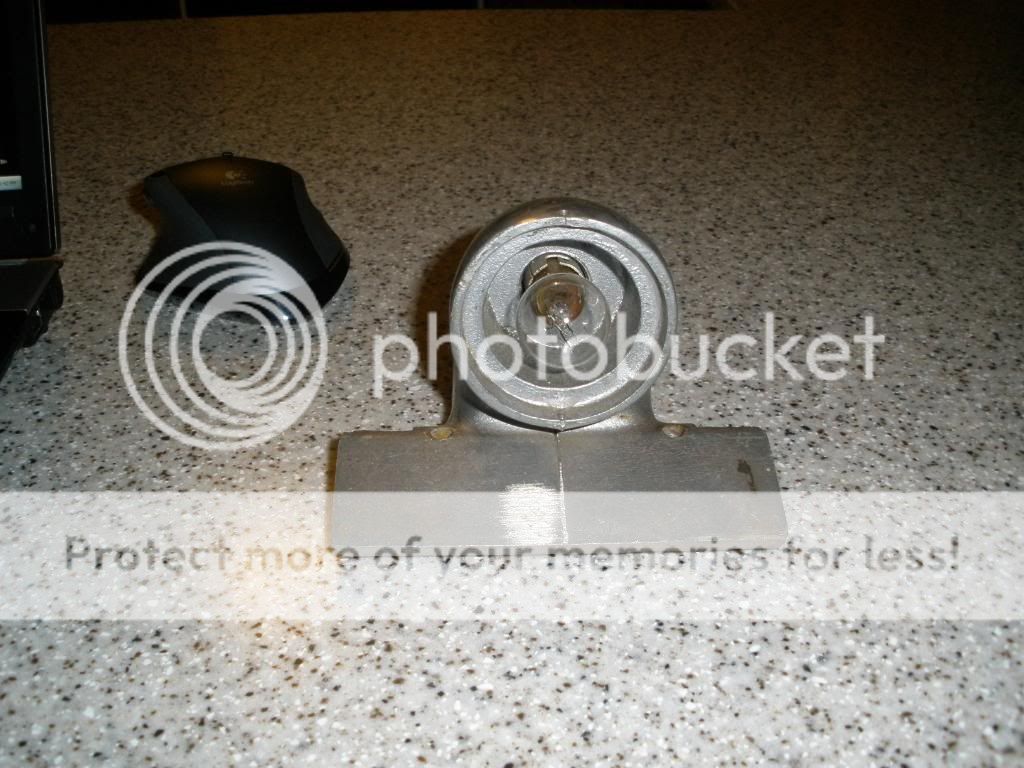
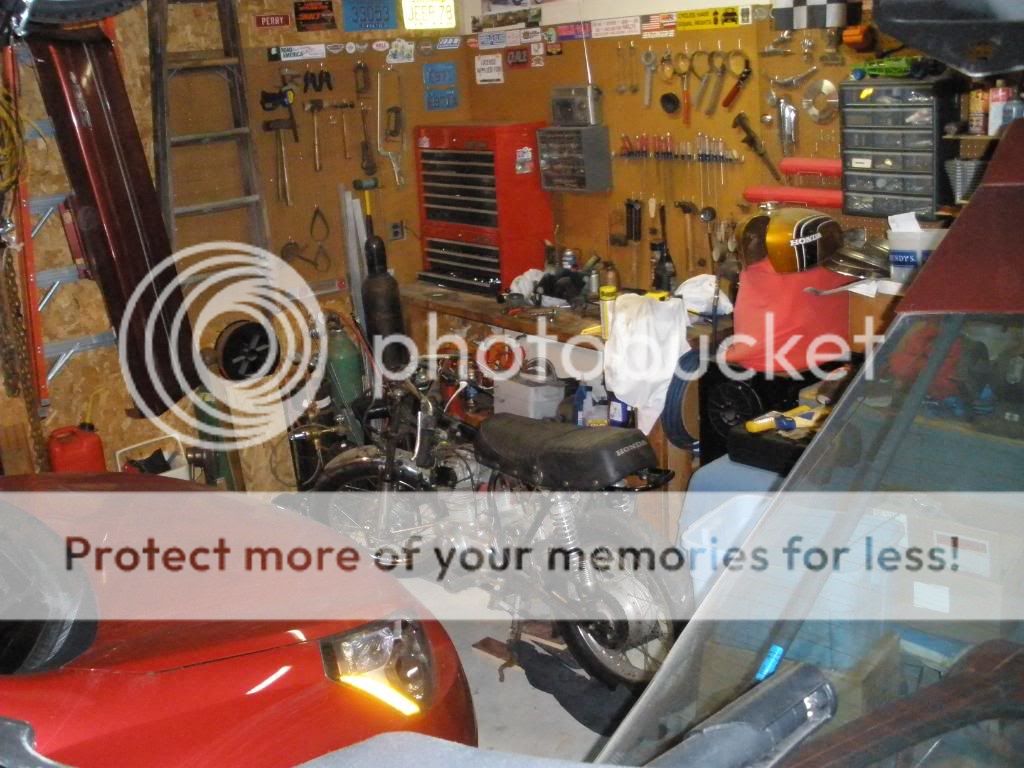
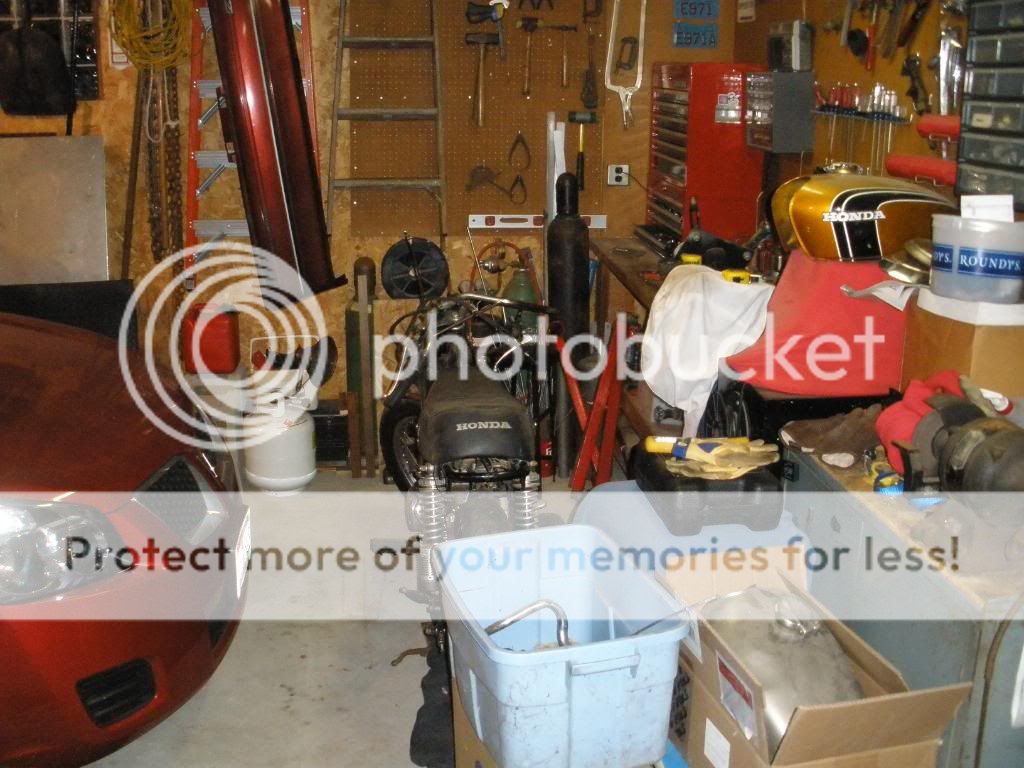
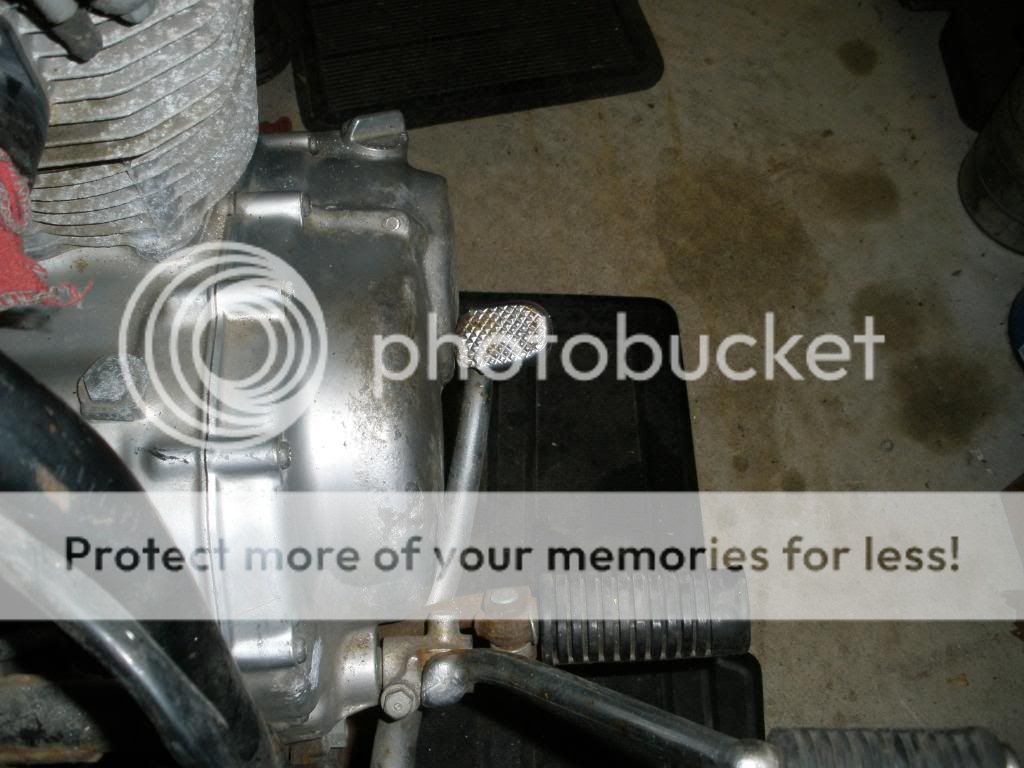
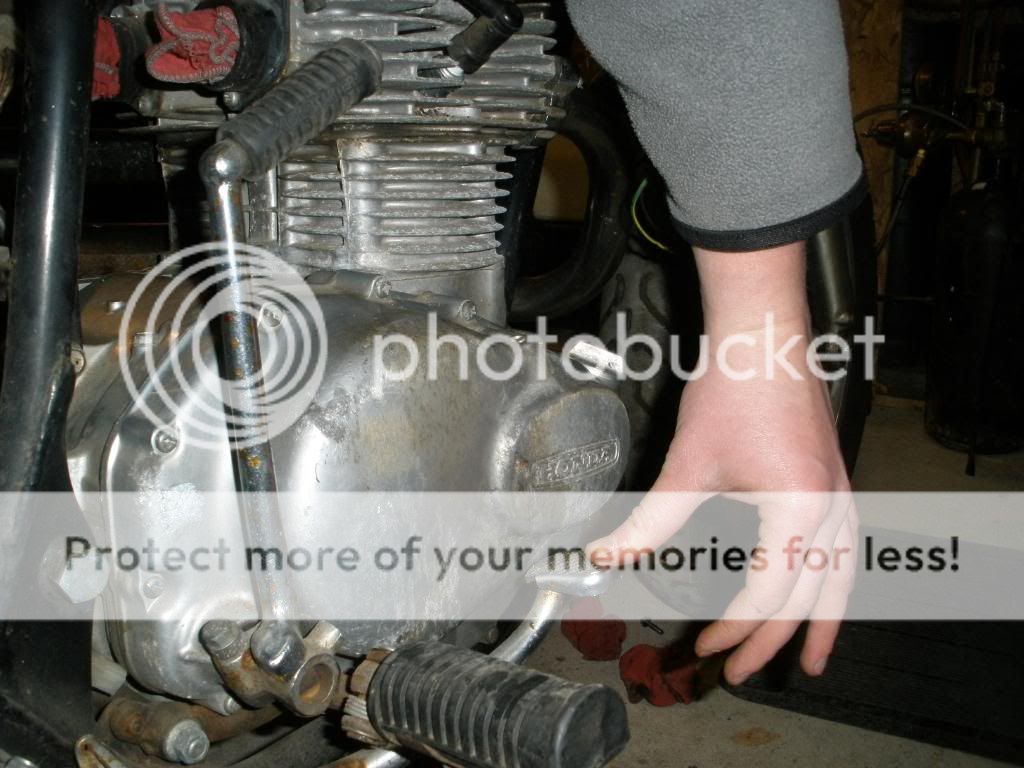
Anyway, here are some pictures of it in it's new home. The tank and seat were just set on the bike in these photos because I didn't want my mom to see how much work I really have in store for me when she goes out to her vehicle in the morning. Lets just say she is less then excited about me taking on another project.
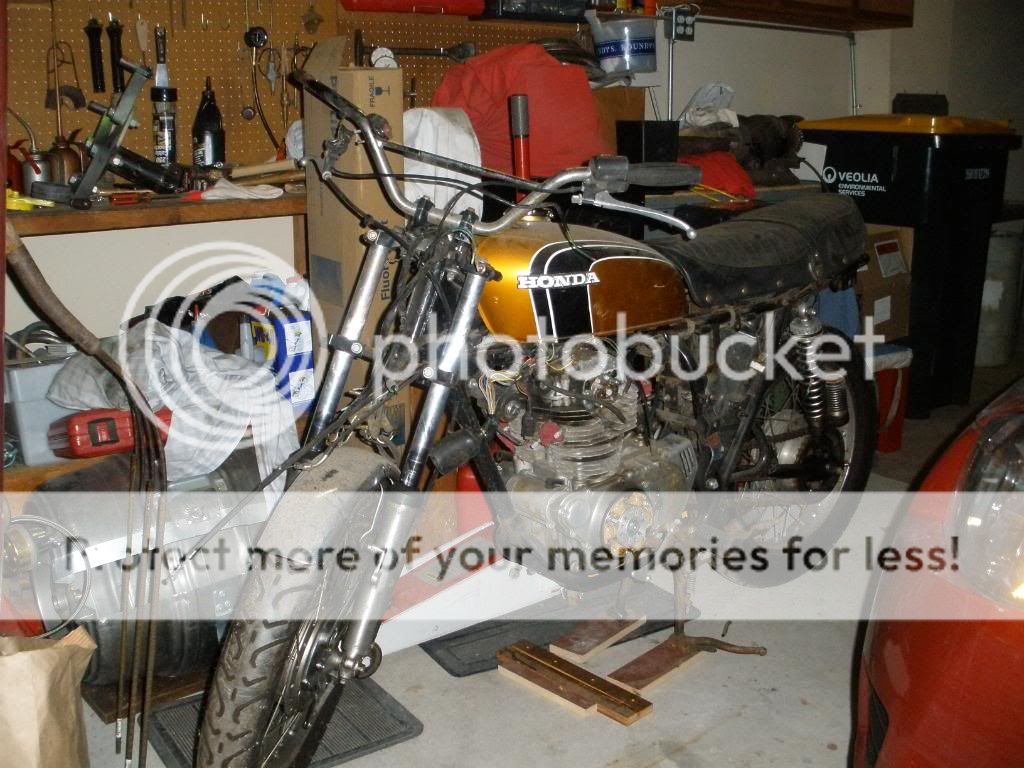
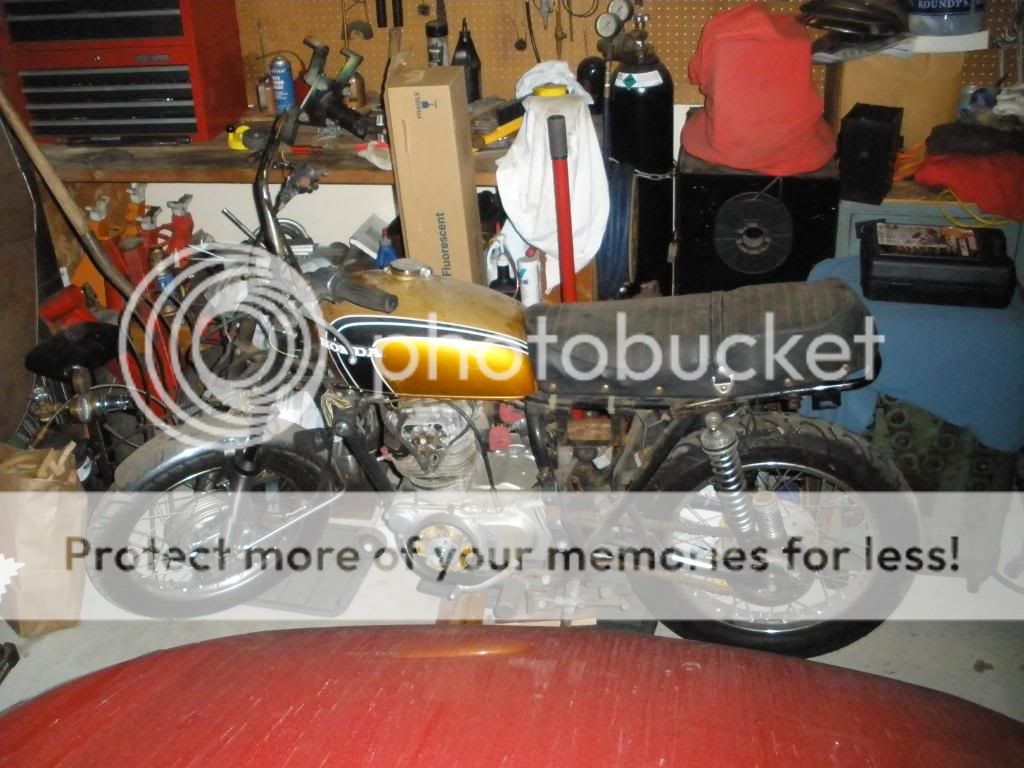
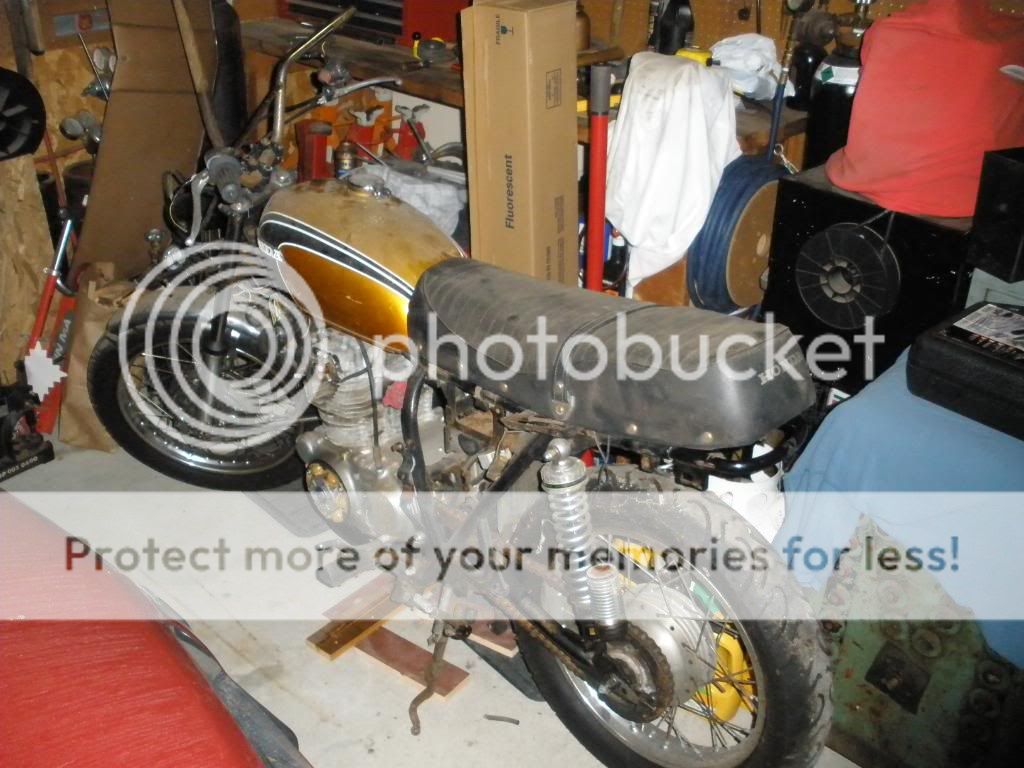
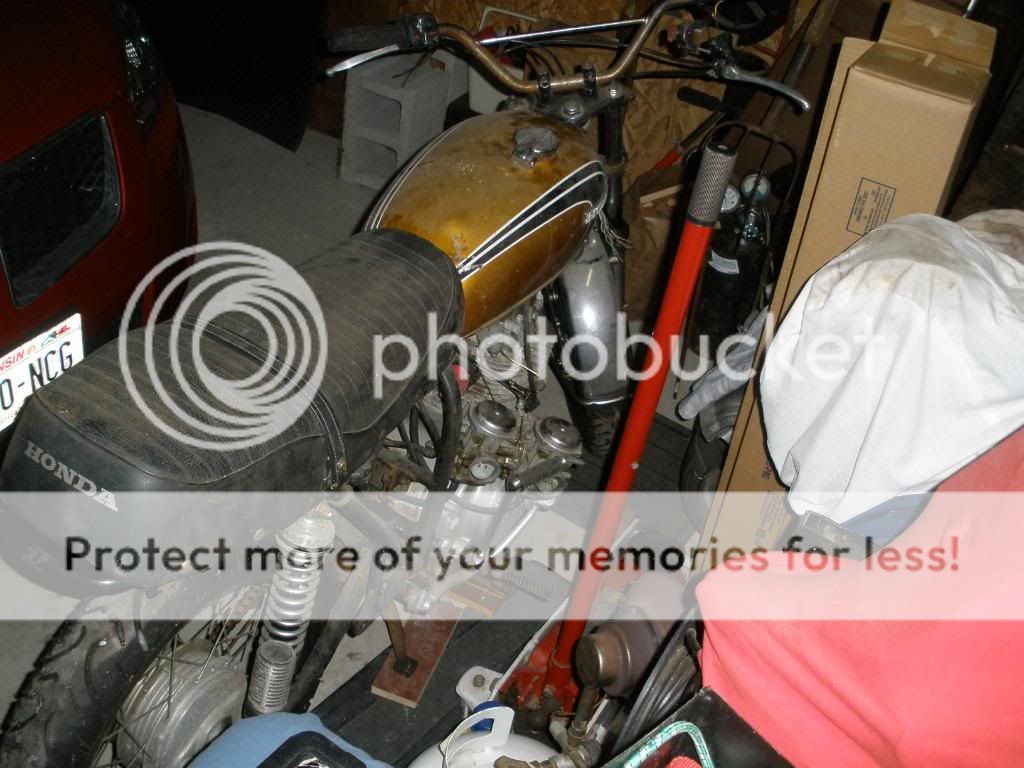
I plan on just rebuilding the suspension, brakes and motor to stock specs and I'll only be modifying the physical appearance of the bike. I already have plans for a custom headlight, altered gauge package, and a modified but stock looking seat and tank but I'll start giving details on that once I get that far. Even though the orange/copper colored tank on the bike now isn't the stock tank, I've been thinking about leaving it there after I try and fix the dent. I like the color but I'm also one to do something a little different so I've also been thinking about a dark olive green color since this orange is so common (I hate cookie cutter anything).
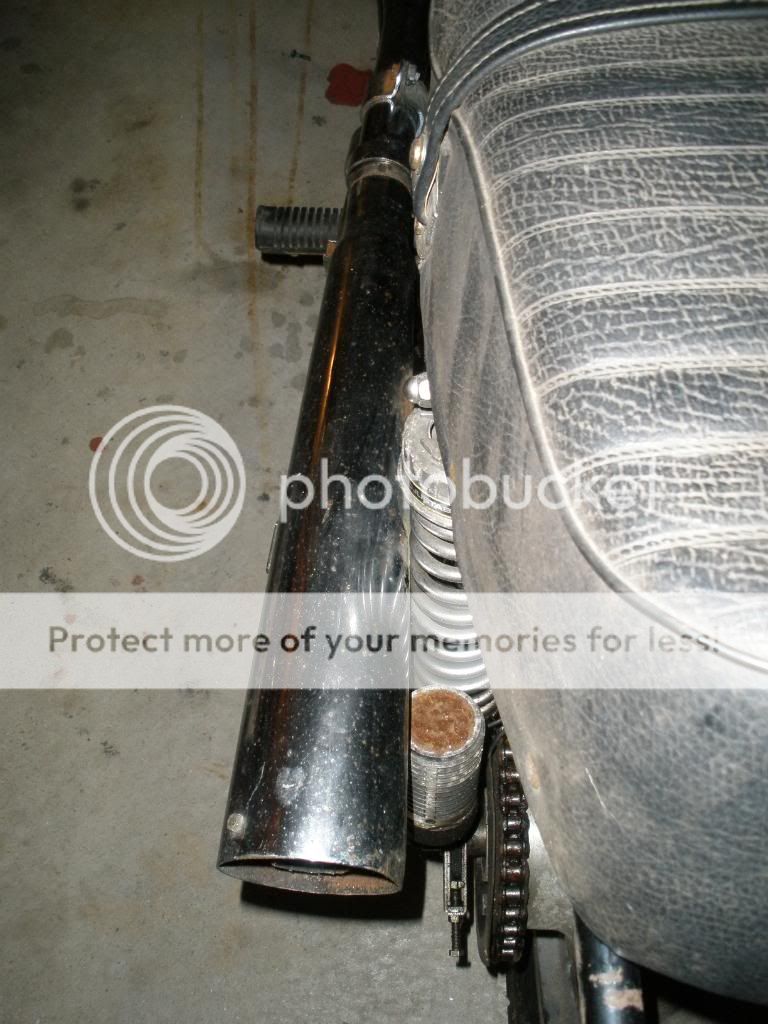
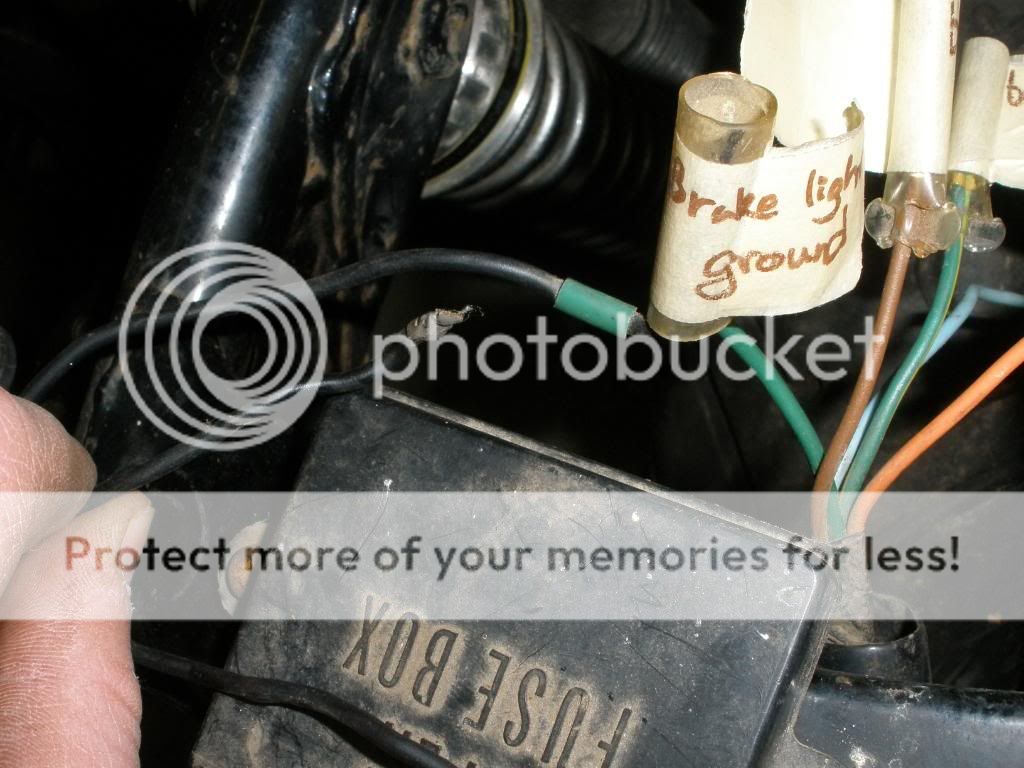
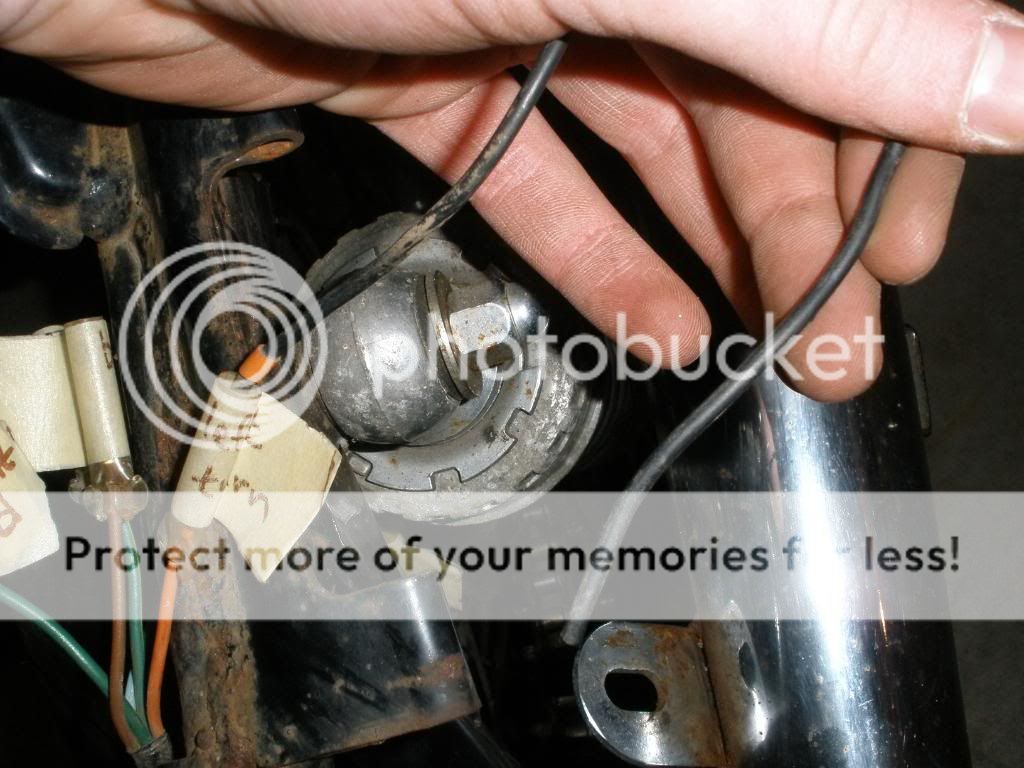
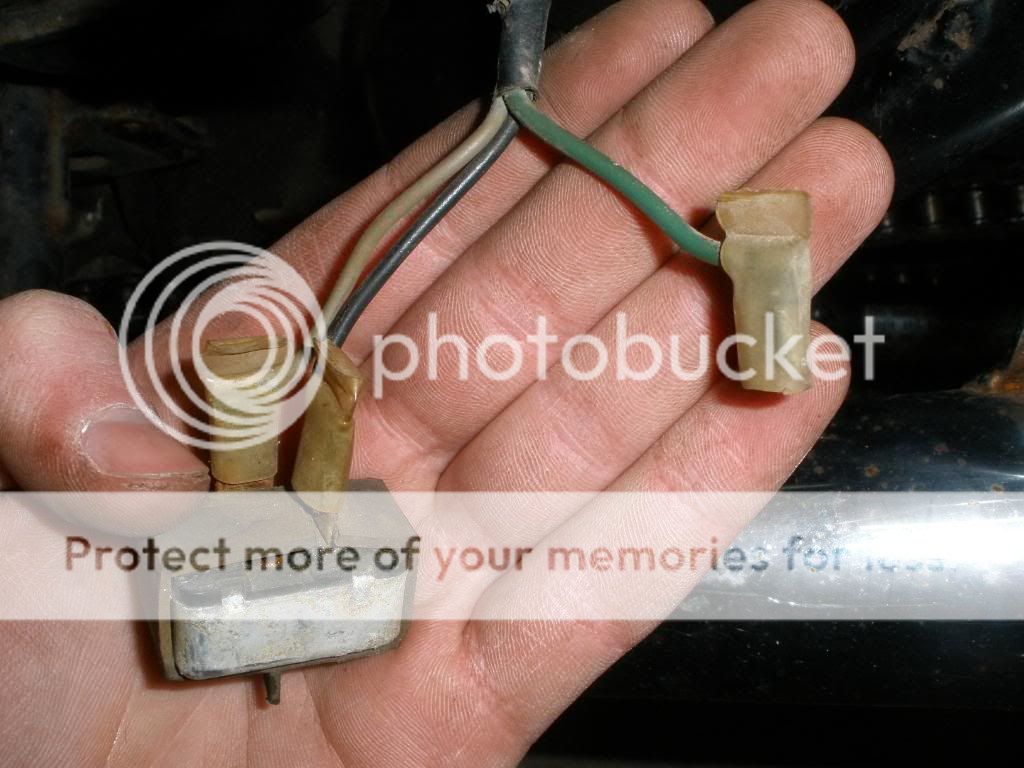
This is all I can think of for now. I'll get pictures of all the spare parts tomorrow afternoon and maybe try and bolt some more parts on just so I can get an idea what all those brackets are for that are on the frame. I have no idea where to even begin with the bike so if someone can chime in on where to start that would be great.
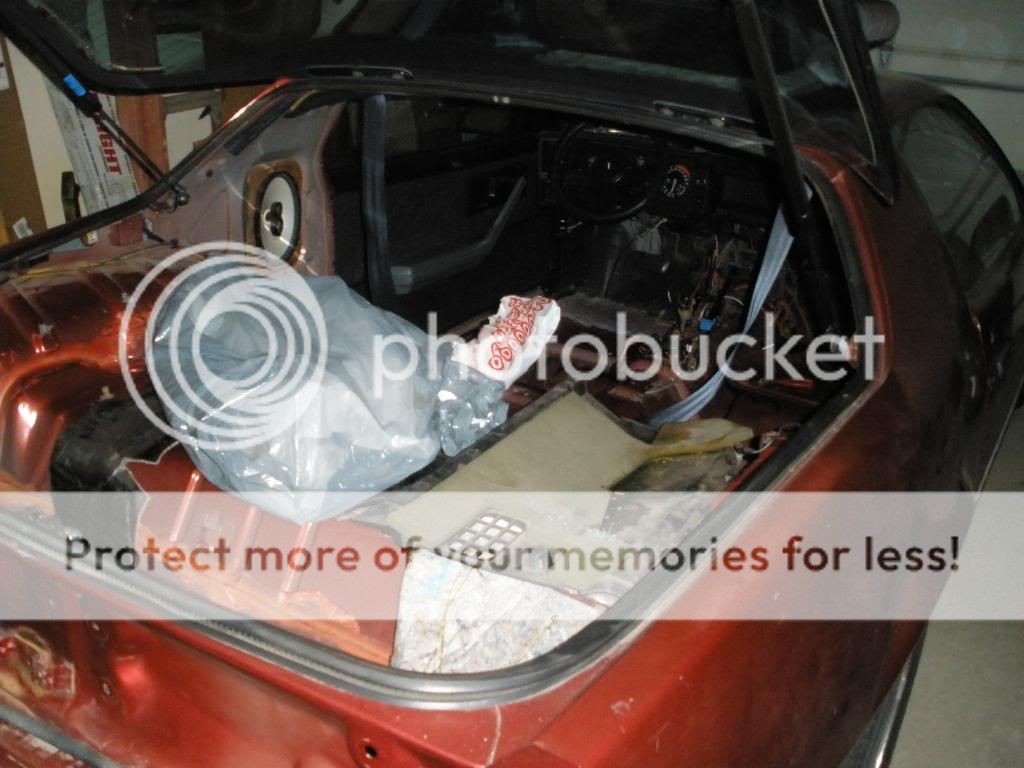
Here is why progress will be really slow. I need the Camaro back together and drivable before April 18th because that is the first race of the year, and the list of things to do is still HUGE!

Well, I'm off to DW now...
---------------------------------------------------------------
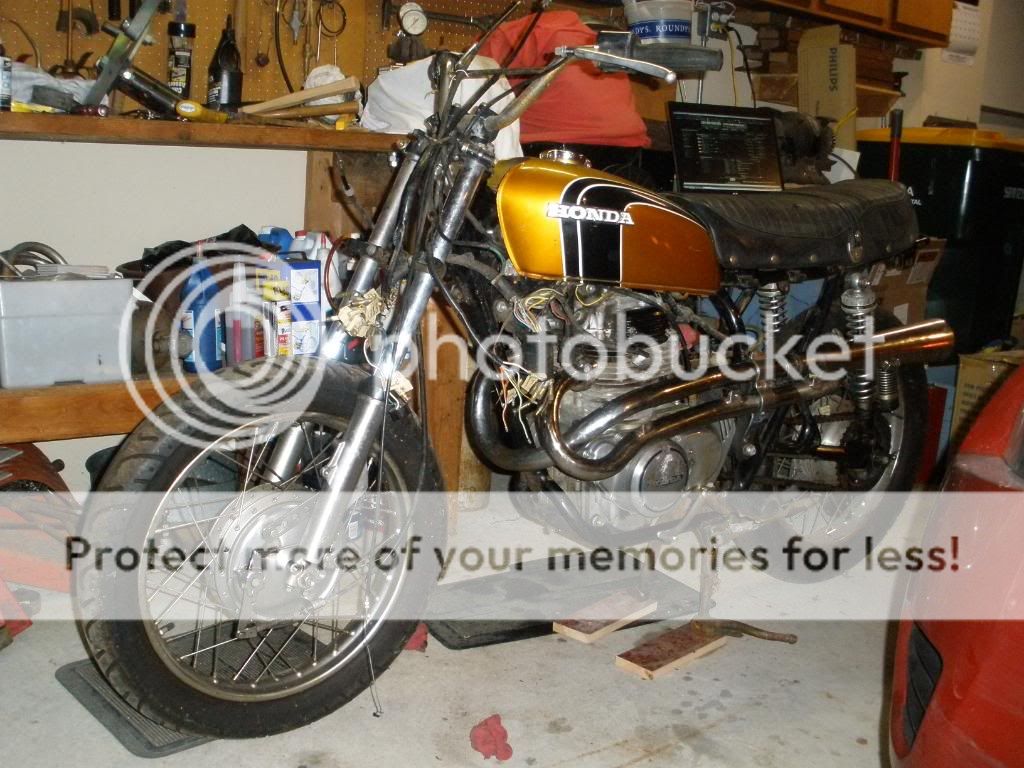
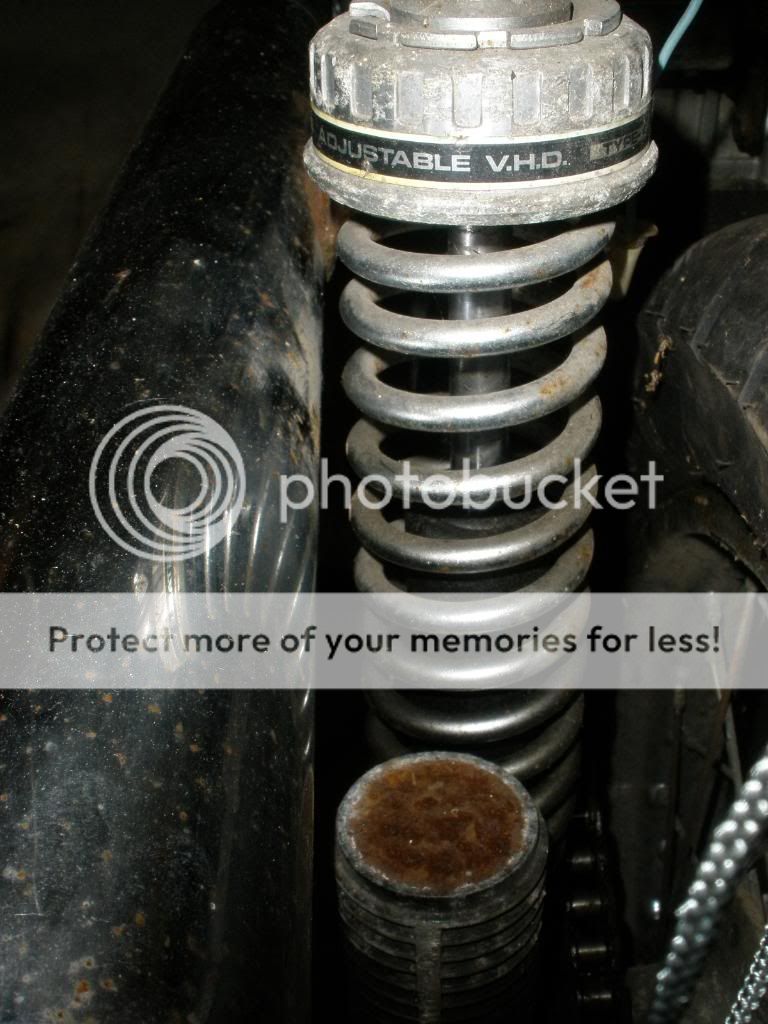
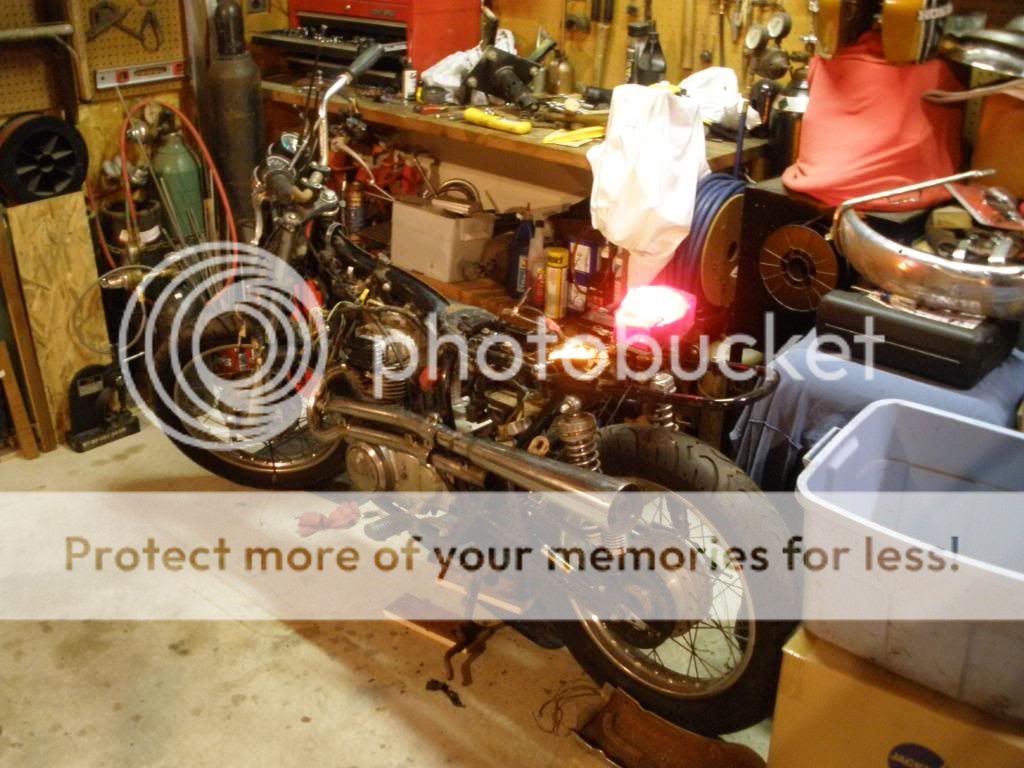
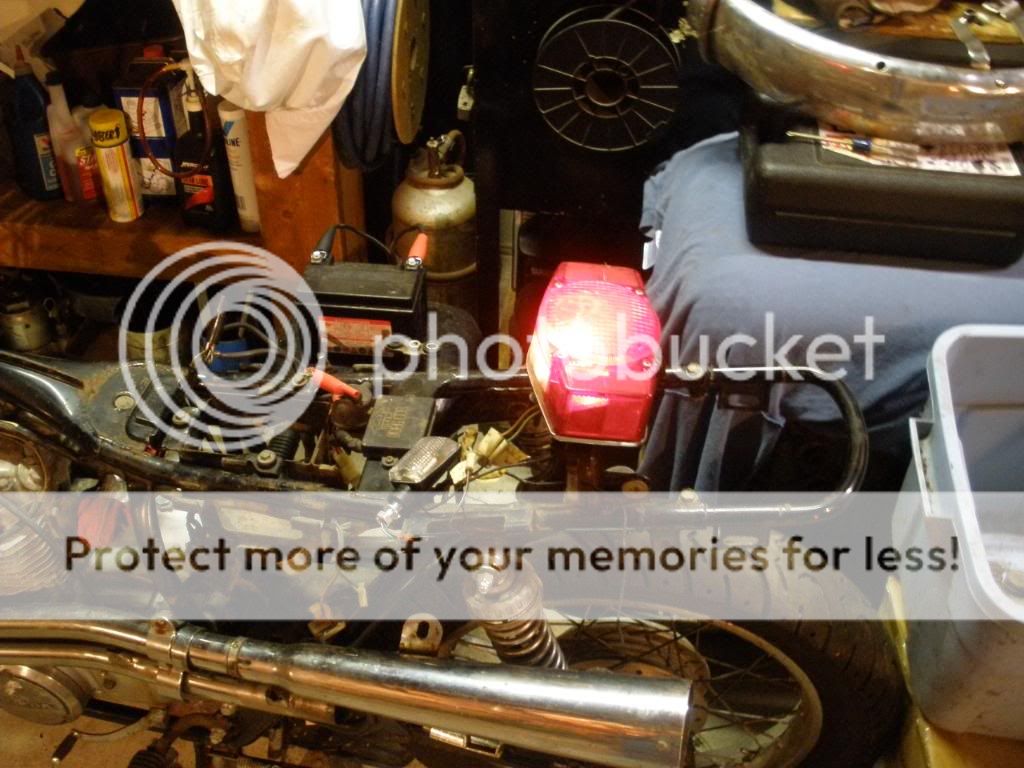
Here is the the bike I just got tonight from CK 187. "Captain Awesome" truly is a fitting name for him since he gave me the bike and extra parts for free. This is why I would like everyone to send the man some rep when he gets around to posting in here since he deserves far more rep than only I can give.
I plan on going more of a Cafe route with it rather then throwing modern parts at it becuase I figure it would be cheaper and easier to do. Both of those things are key since this is my first motorcycle build and I'm short on cash as is pretty much everyone now days.
Anyway, here are some pictures of it in it's new home. The tank and seat were just set on the bike in these photos because I didn't want my mom to see how much work I really have in store for me when she goes out to her vehicle in the morning. Lets just say she is less then excited about me taking on another project.
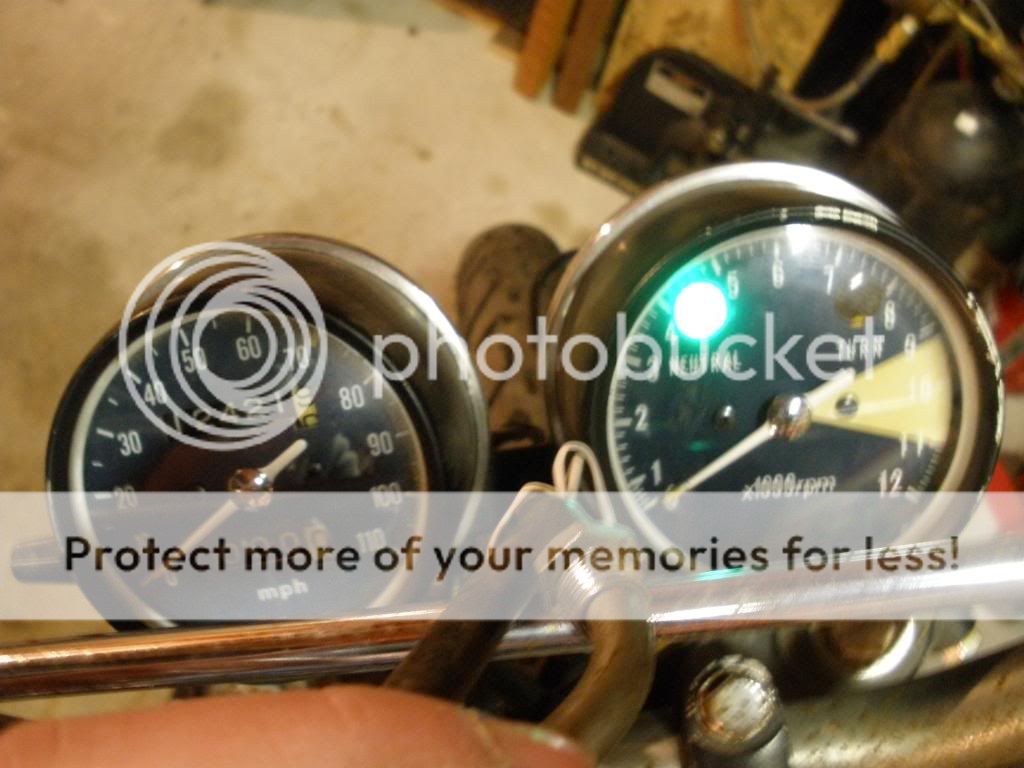
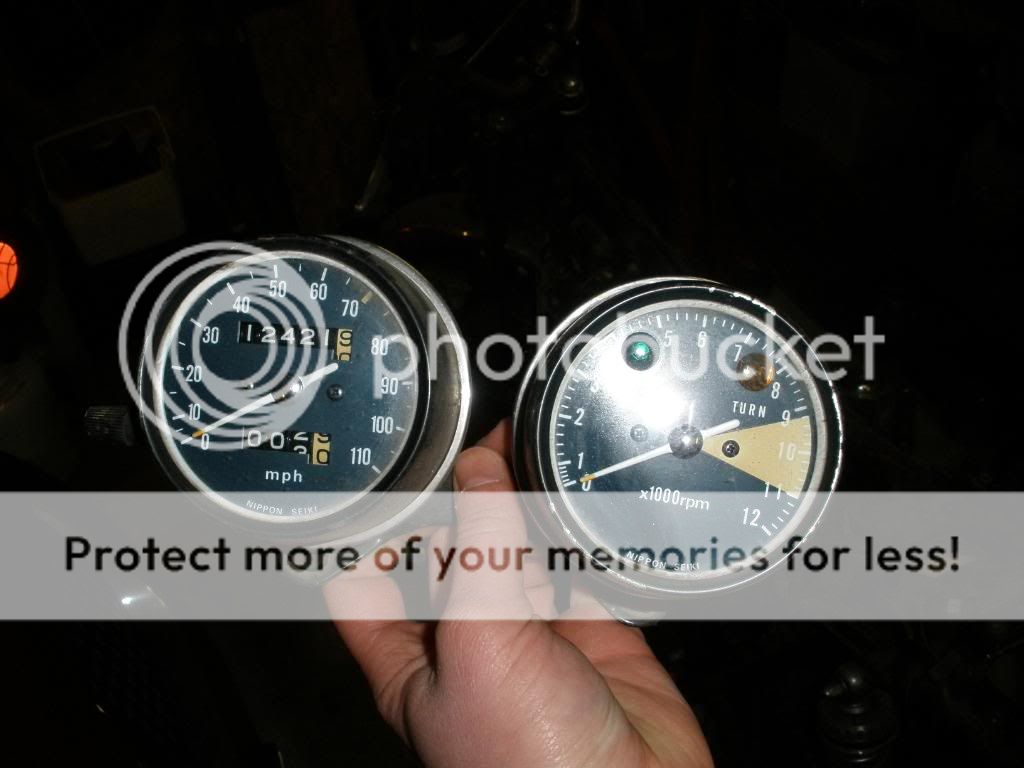
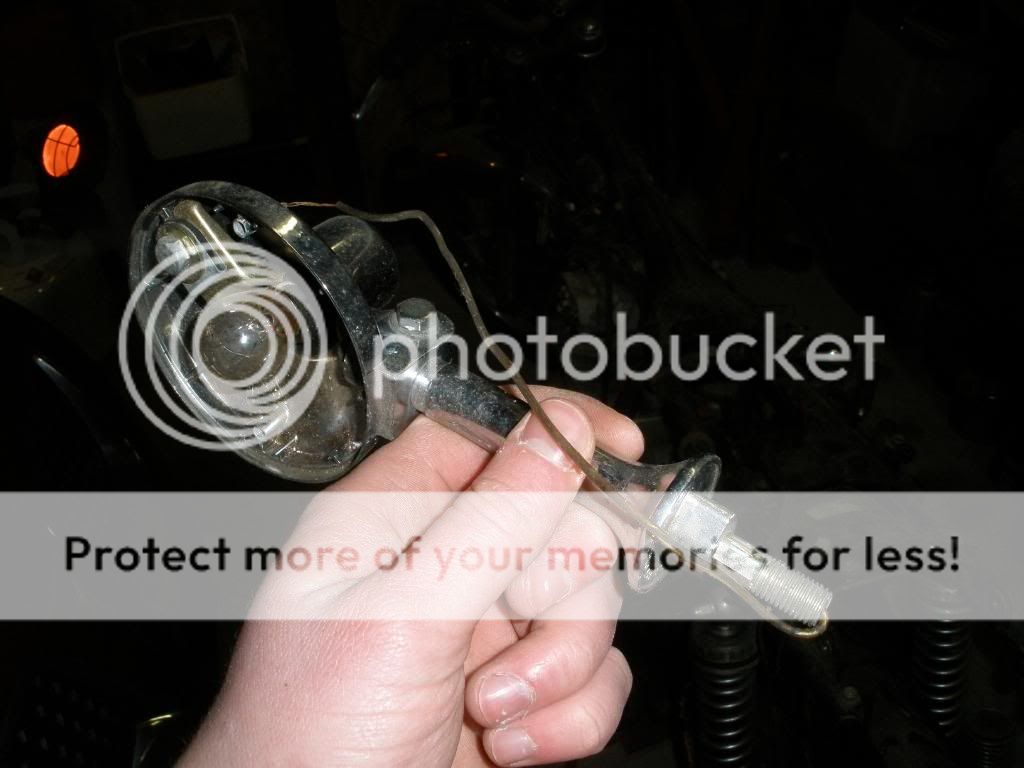
I plan on just rebuilding the suspension, brakes and motor to stock specs and I'll only be modifying the physical appearance of the bike. I already have plans for a custom headlight, altered gauge package, and a modified but stock looking seat and tank but I'll start giving details on that once I get that far. Even though the orange/copper colored tank on the bike now isn't the stock tank, I've been thinking about leaving it there after I try and fix the dent. I like the color but I'm also one to do something a little different so I've also been thinking about a dark olive green color since this orange is so common (I hate cookie cutter anything).
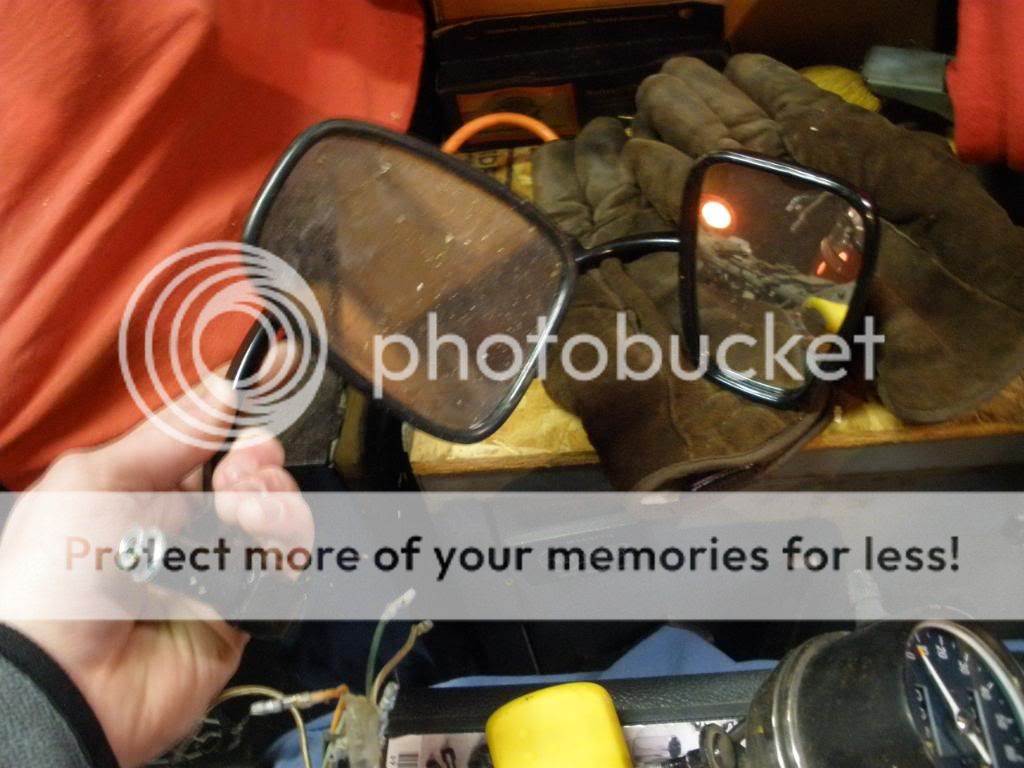
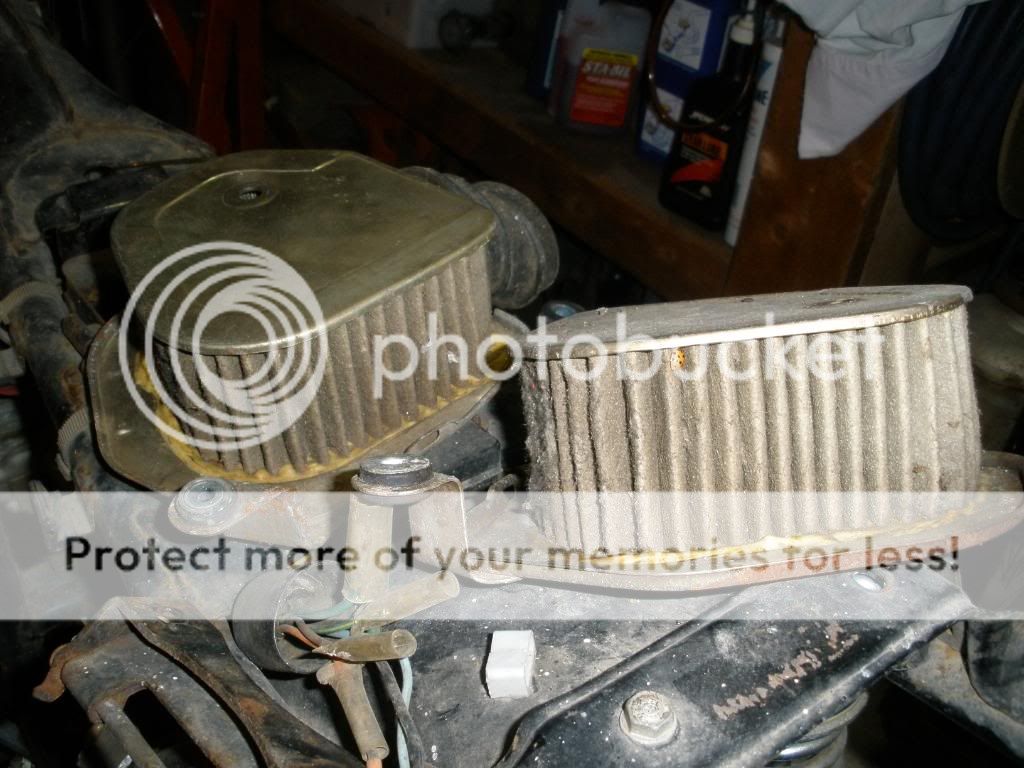
This is all I can think of for now. I'll get pictures of all the spare parts tomorrow afternoon and maybe try and bolt some more parts on just so I can get an idea what all those brackets are for that are on the frame. I have no idea where to even begin with the bike so if someone can chime in on where to start that would be great.
Here is why progress will be really slow. I need the Camaro back together and drivable before April 18th because that is the first race of the year, and the list of things to do is still HUGE!
Well, I'm off to DW now...

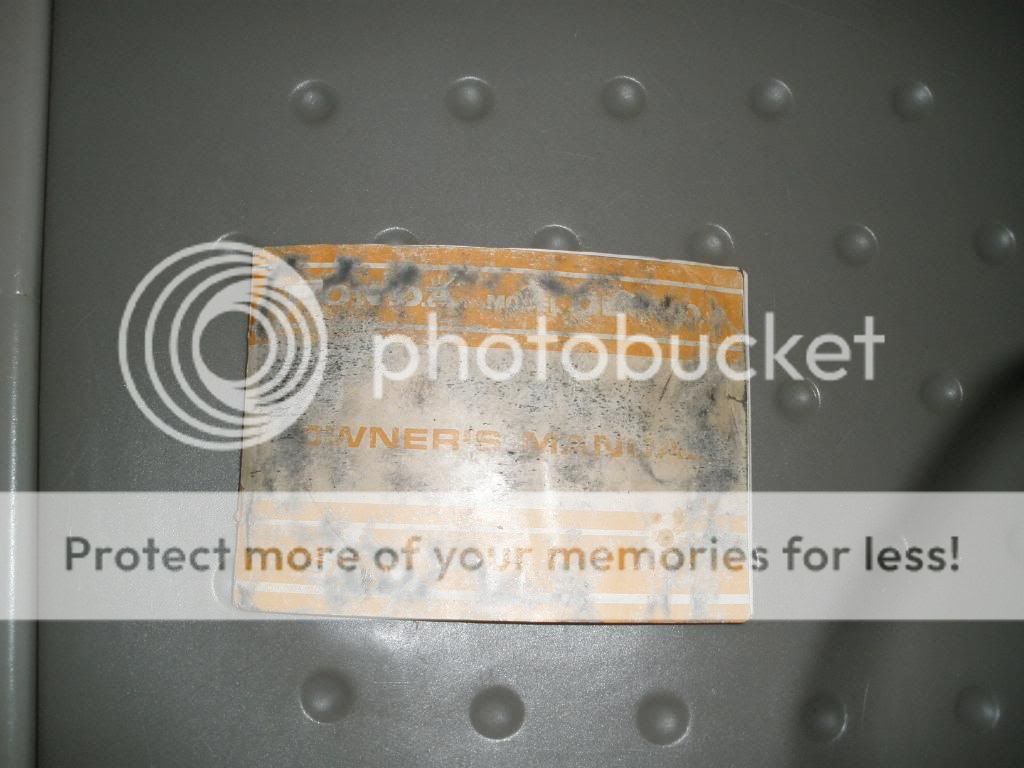
") It's a shame it is falling apart.
It's a shame it is falling apart.