Follow along with the video below to see how to install our site as a web app on your home screen.
Note: This feature currently requires accessing the site using the built-in Safari browser.
We noticed you are blocking ads. DO THE TON only works with community supporters. Most are active members of the site with small businesses. Please consider disabling your ad blocking tool and checking out the businesses that help keep our site up and free.
Re: The Poor Boy - A Tale Of A CB550 - Pics of New Seat
Now... the questions:
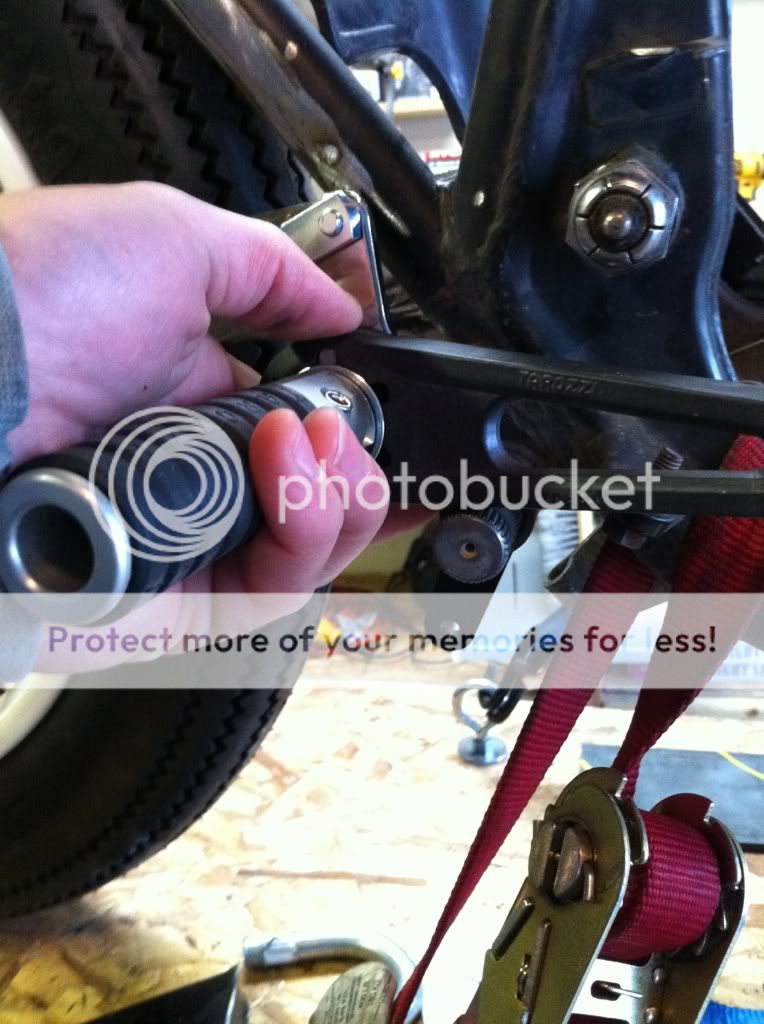
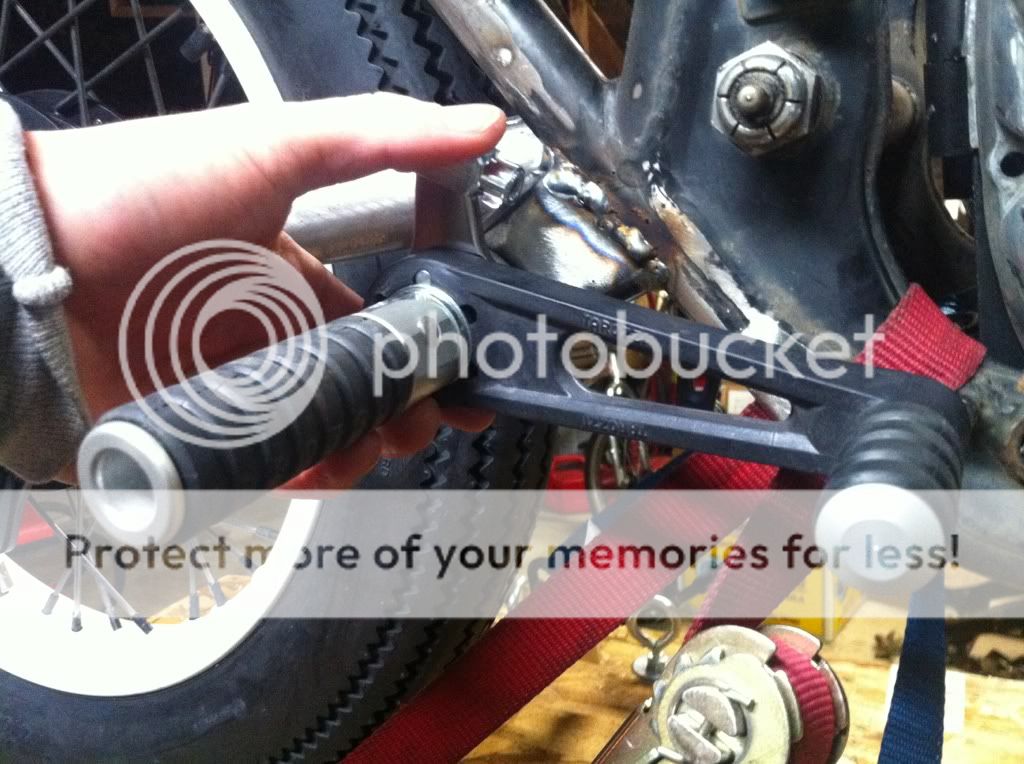
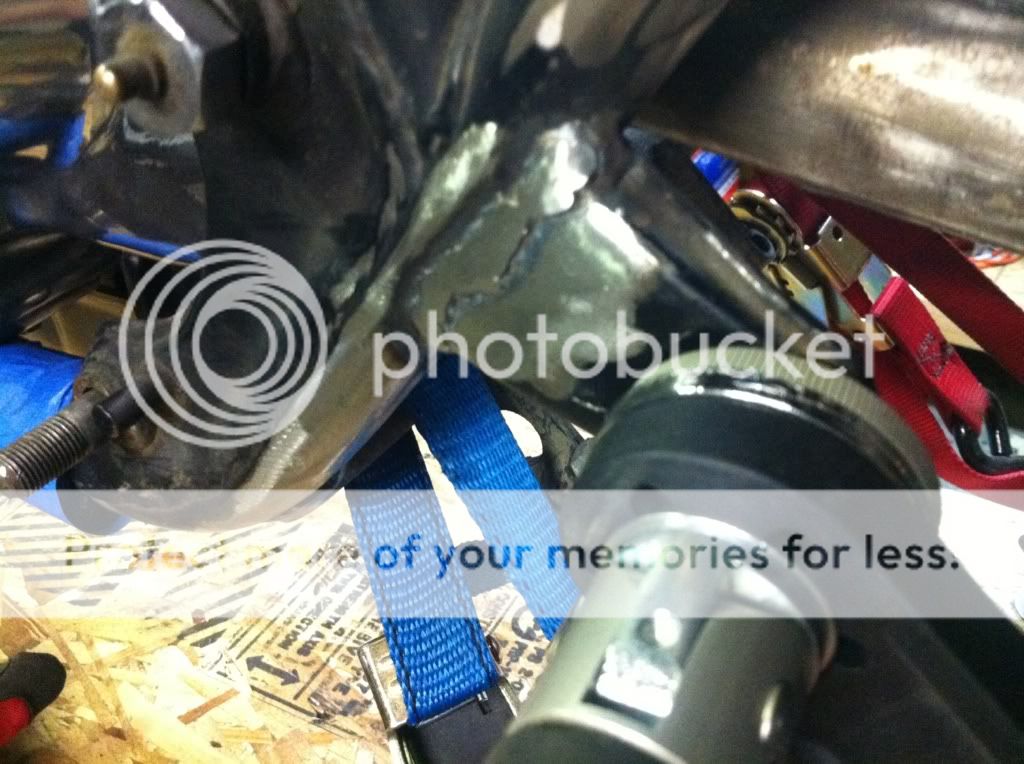
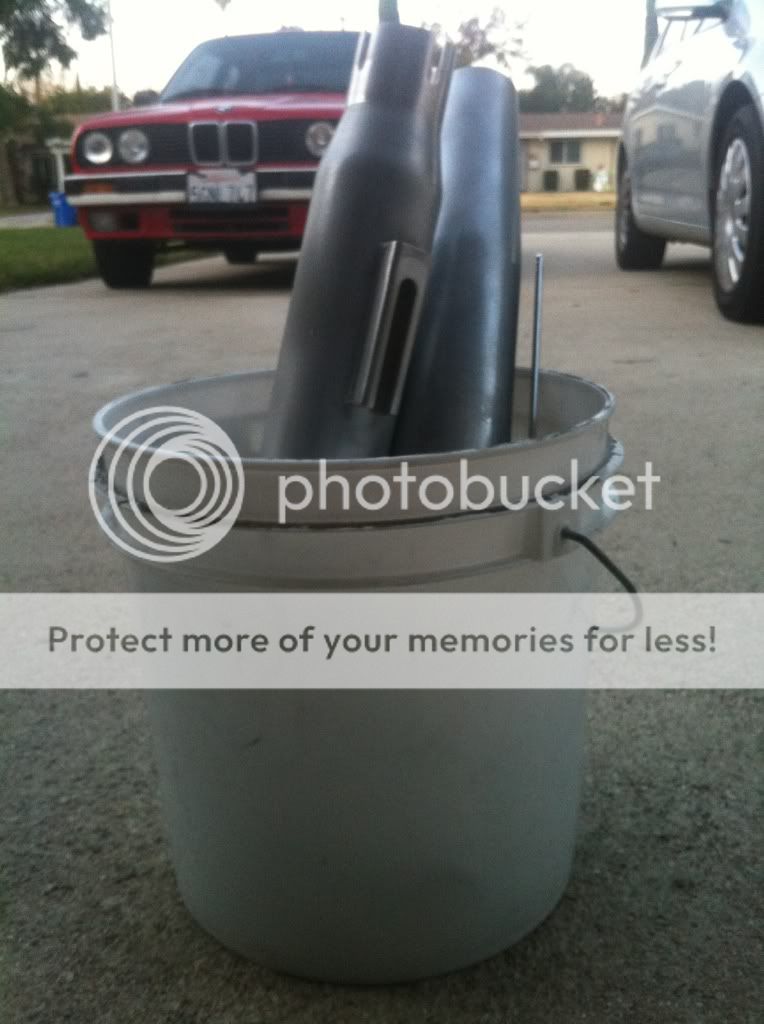
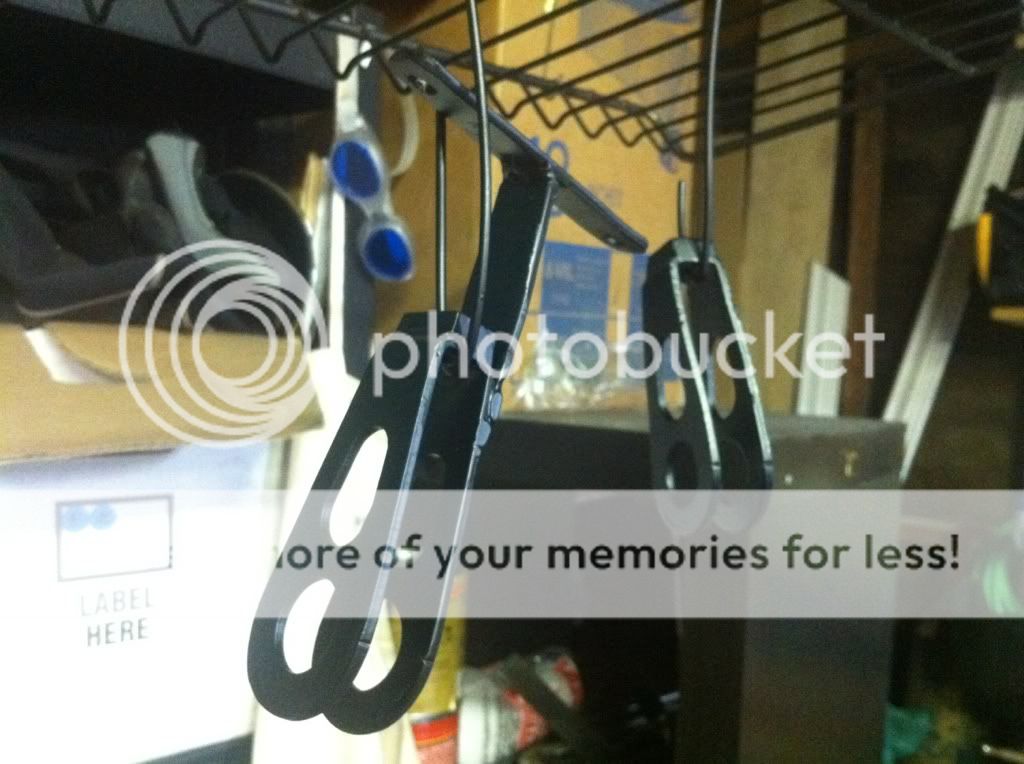
I want to mount my rear-sets here:
but this fucking thing is in the way:
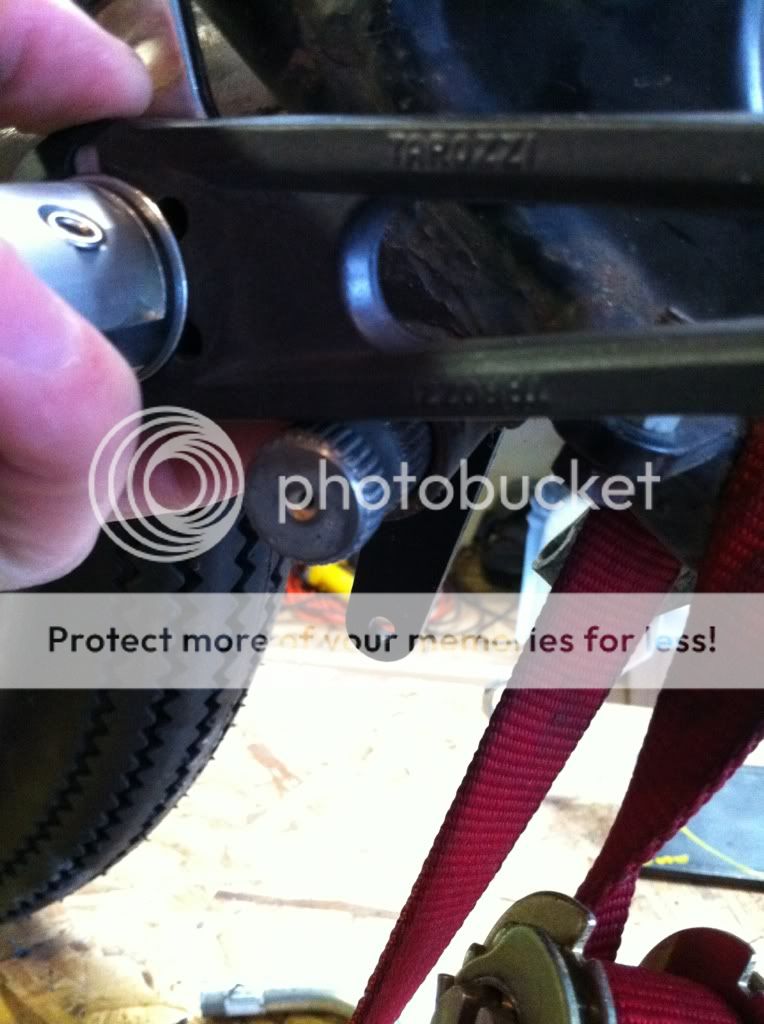
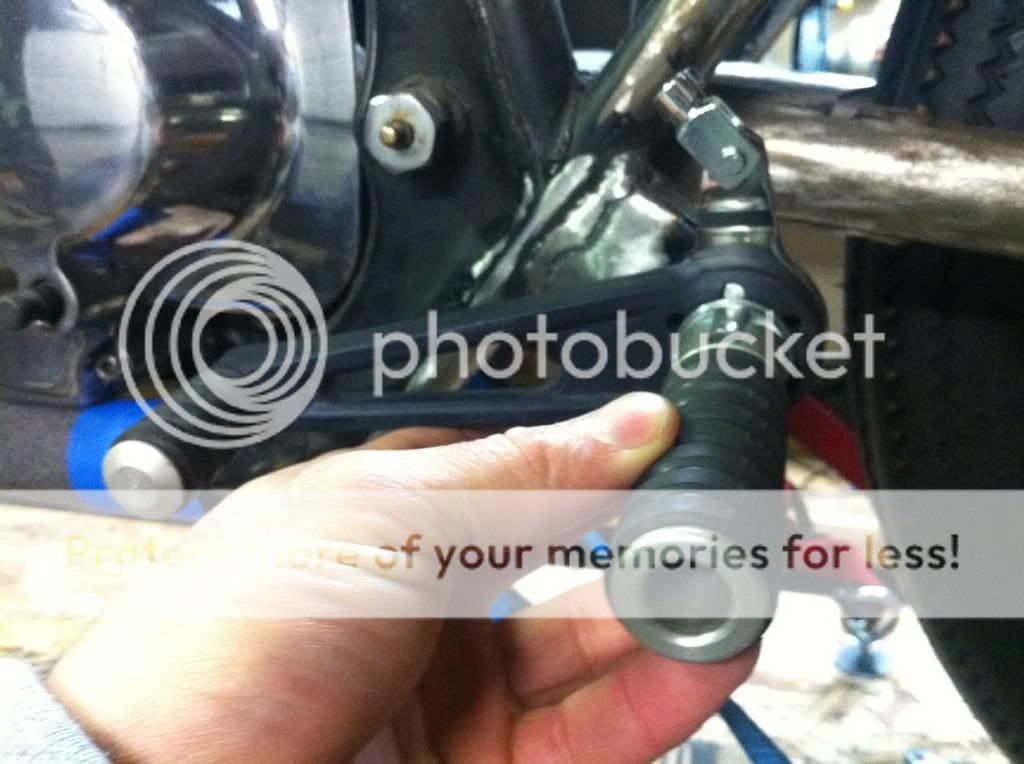
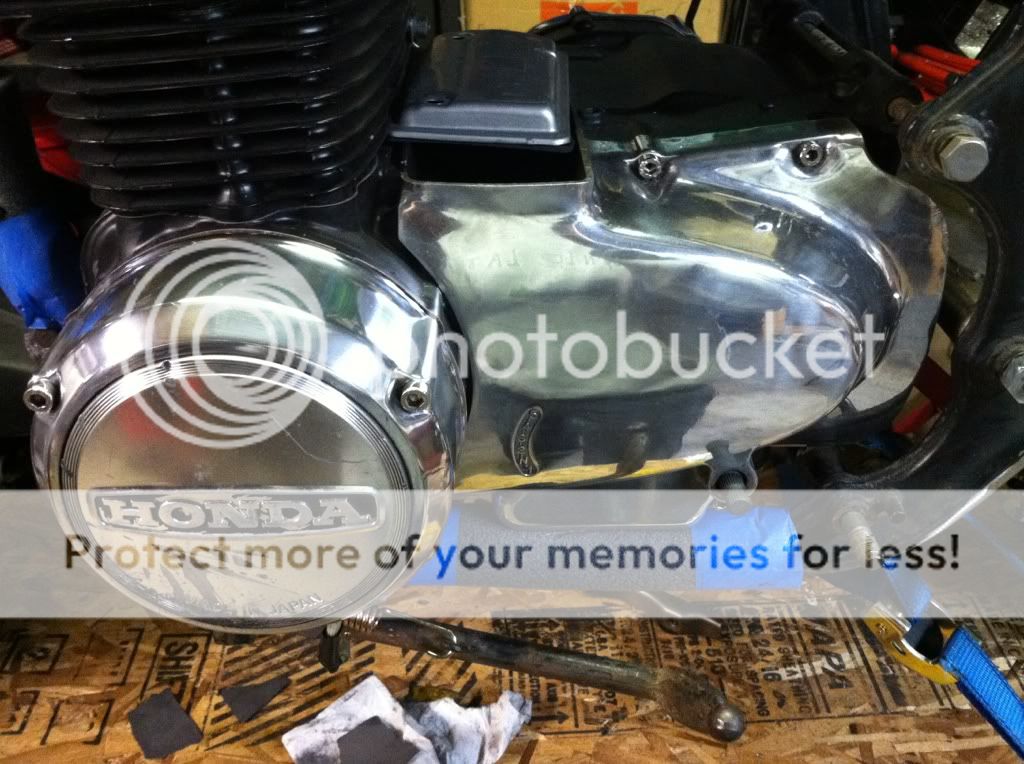
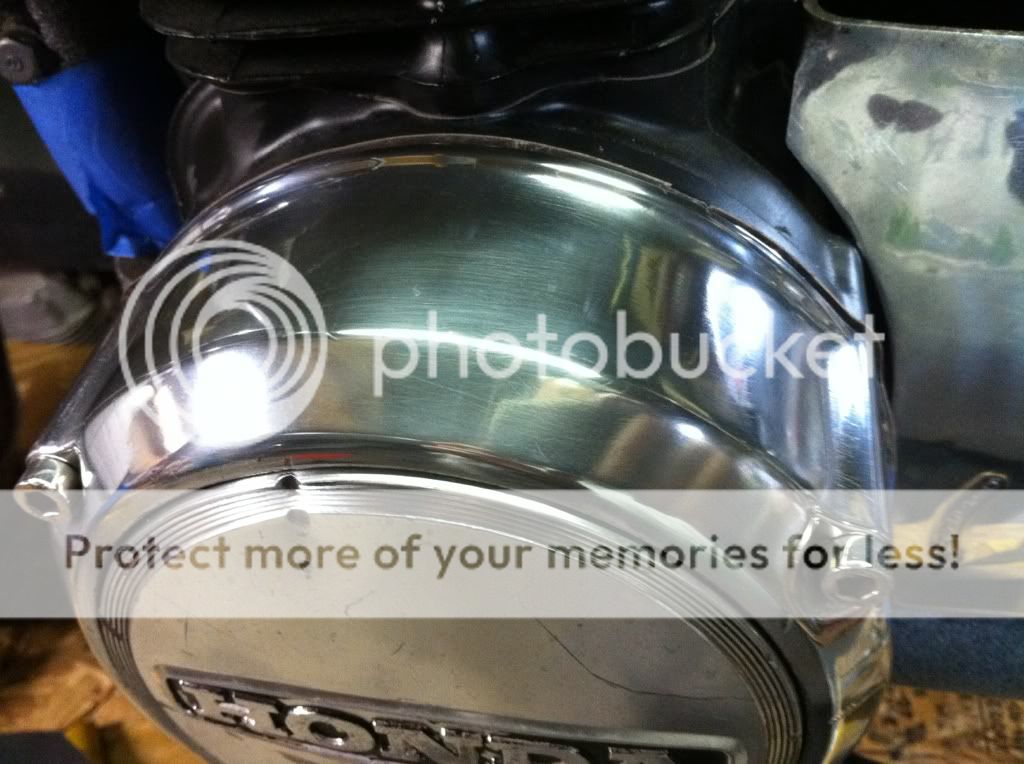
I have been scouring pictures and I dont think I need the brake pivot shaft. I would just connect the clevis part of the rear brake rod to the rear-set itself and keep all other connections as normal.
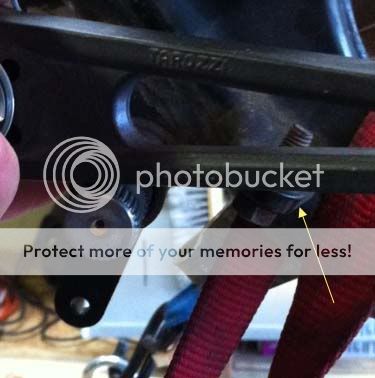
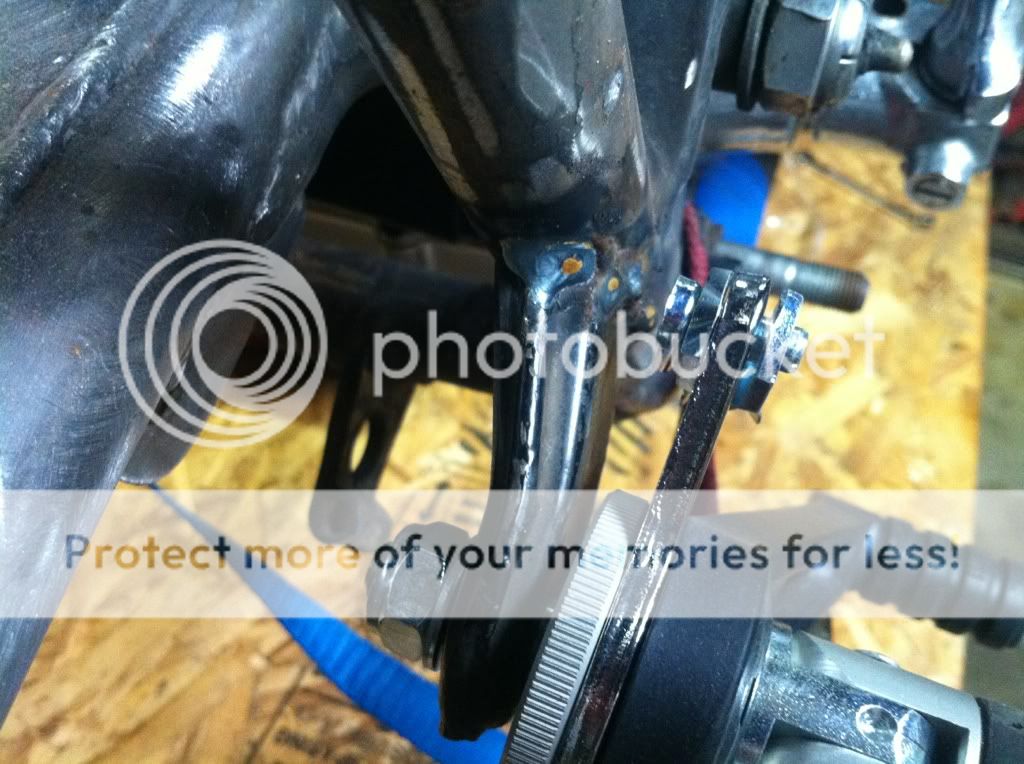
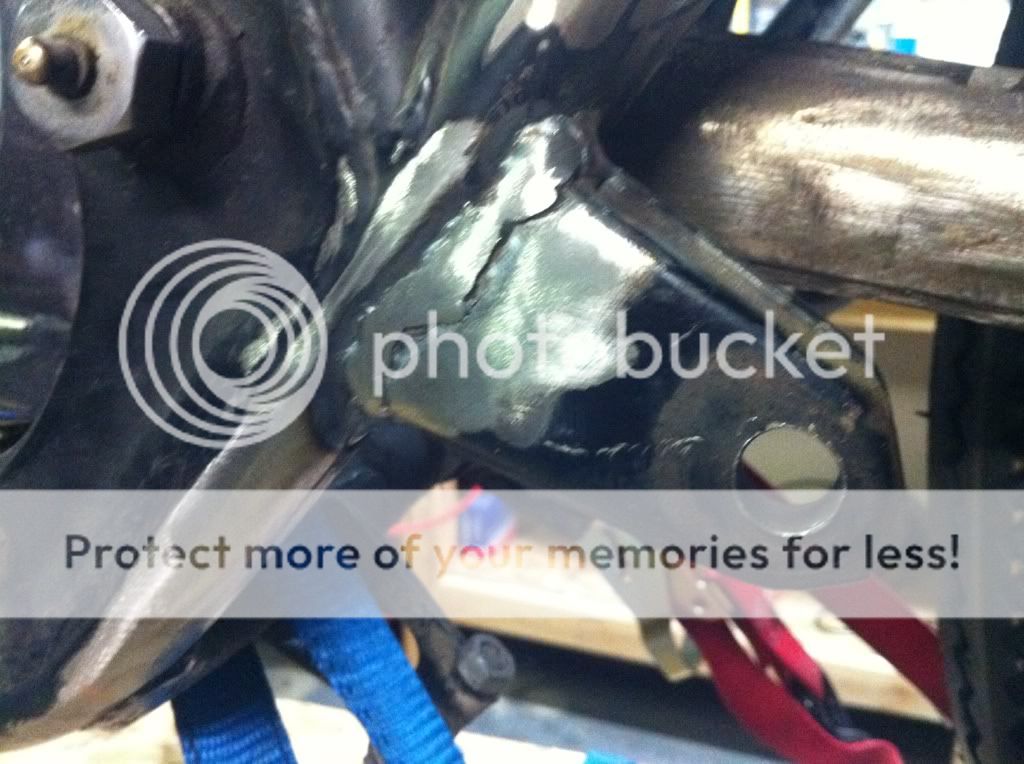
Also, I cant find a use for this tab other than stopping the brake pedal from going up too high. Anyone ever eliminate it?
Re: The Poor Boy - A Tale Of A CB550 - Pics of New Seat
GoingsMoto said:
Looking good man, may I ask why you used woven fiberglass then a mat cloth? how many layers did you use?
It looks like you went back over it with woven fabric after the mat.
Thanks, Man. To me, working with woven at first is easier when trying to get the shape to harden and then I go back with matt to build it up. Matt is not as malleable at first and I can see myself getting anxious thinking of hardening resin. Im not sure if that's "Proper" but it's what I have been doing. Also, I used 4 layers, two matt and two woven.
Re: The Poor Boy - A Tale Of A CB550 - Pics of New Seat
I don't think there is a "Proper" way when doing wet lay up, the outer layers are the most important layers. Meaning that if you did mat-woven-woven-mat it would be weaker. If you had a scale the you could weigh the fabric then mix the same amount of resin giving you a 50-50 resin to fabric ratio. But this might not be the best thing, one thing with composites is that thicker is stiffer.
The Poor Boy - A Tale Of A CB550 - Pics of New Seat
Thanks for the info, goings. The structure seems to have a decent amount of flex to it and I don't anticipate it to flex too much being that it's molded to the frame.
Thanks, Rick. I appreciate it.
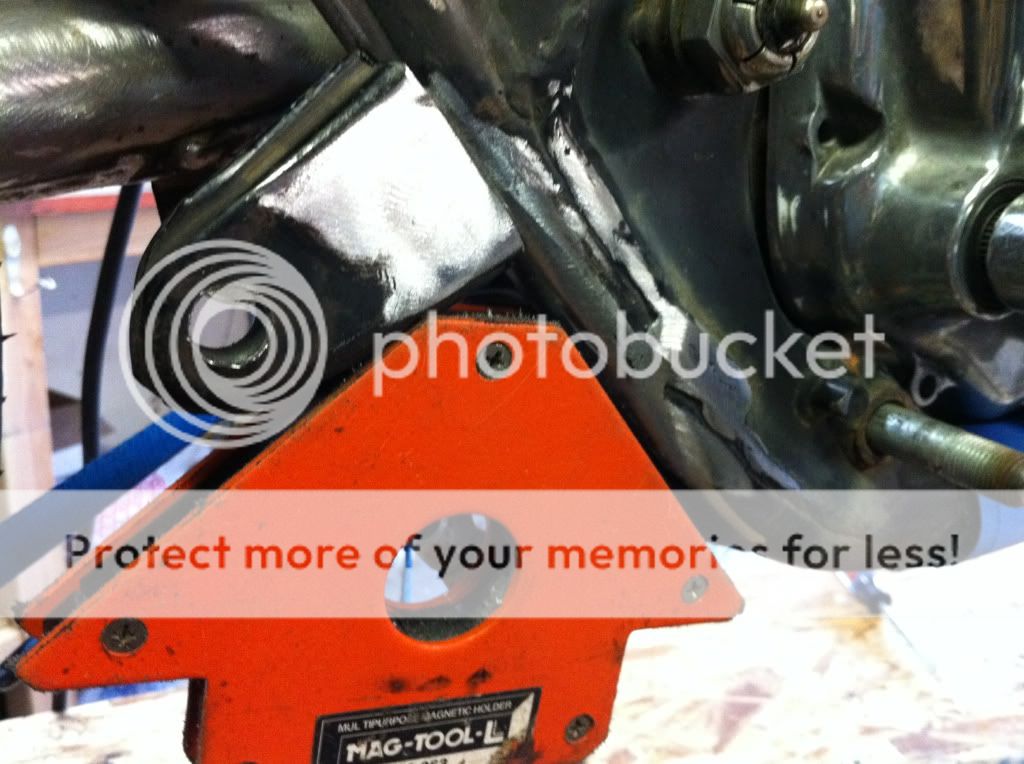
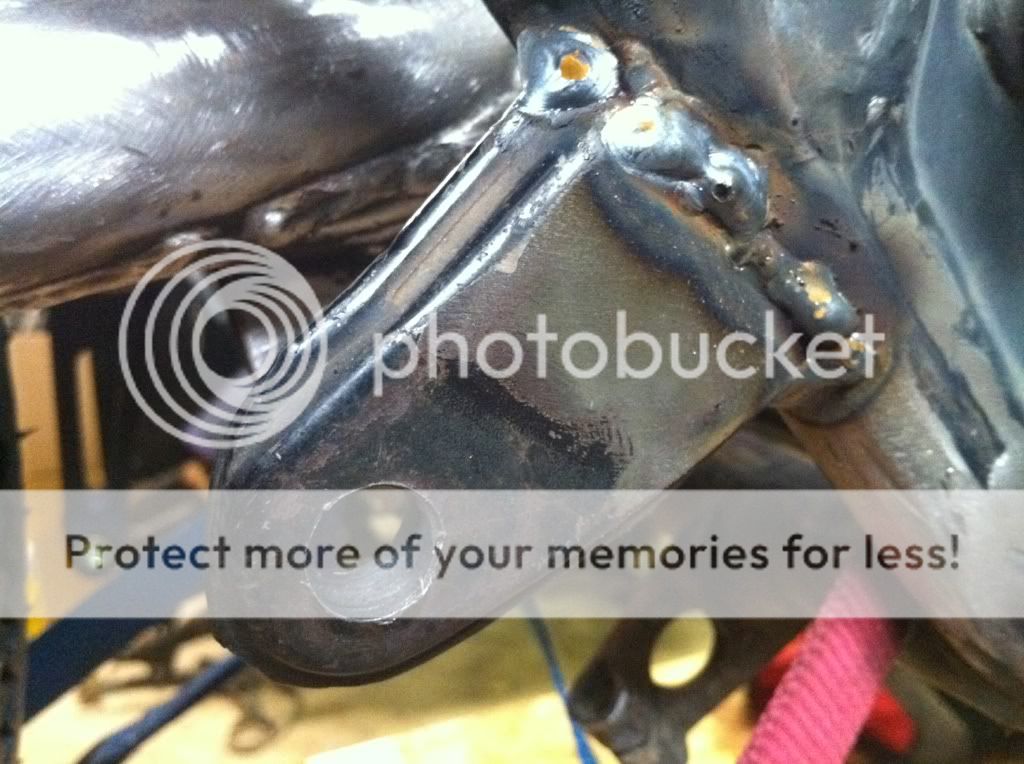
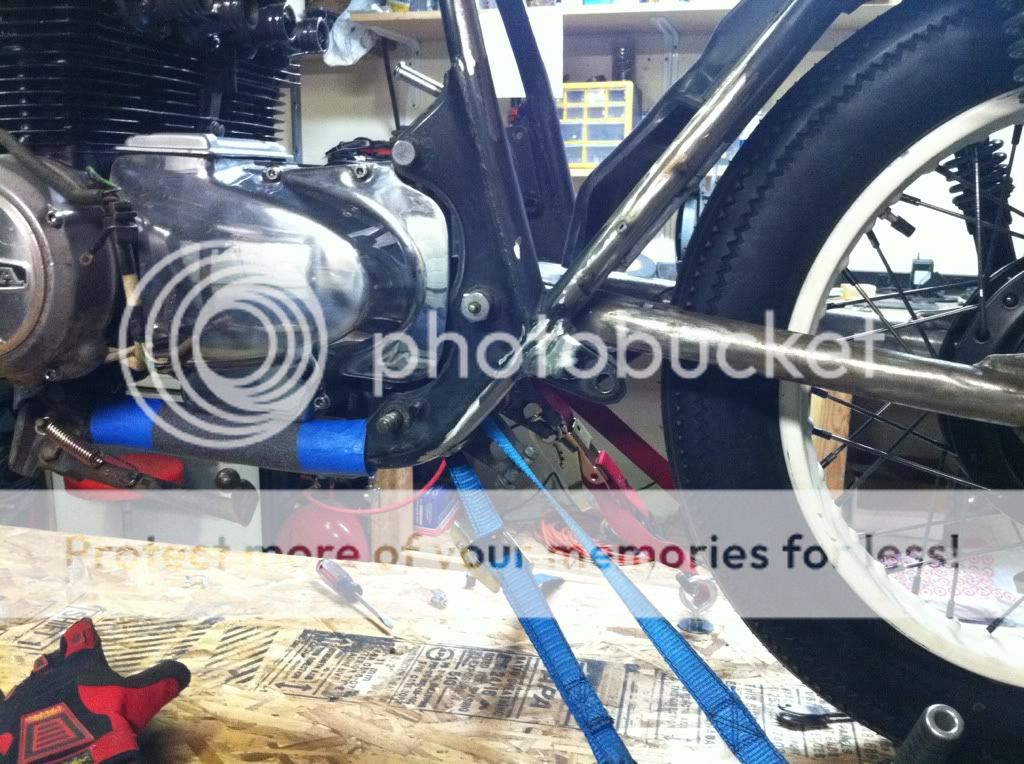
I ended up hacking off those tabs and welded the very end of the passenger peg mount to the frame. It looks like it is going to work.
I didnt get a chance to take a pic of the finished product as I had to leave to watch my fiancé play soccer. I'll get more when I get home.
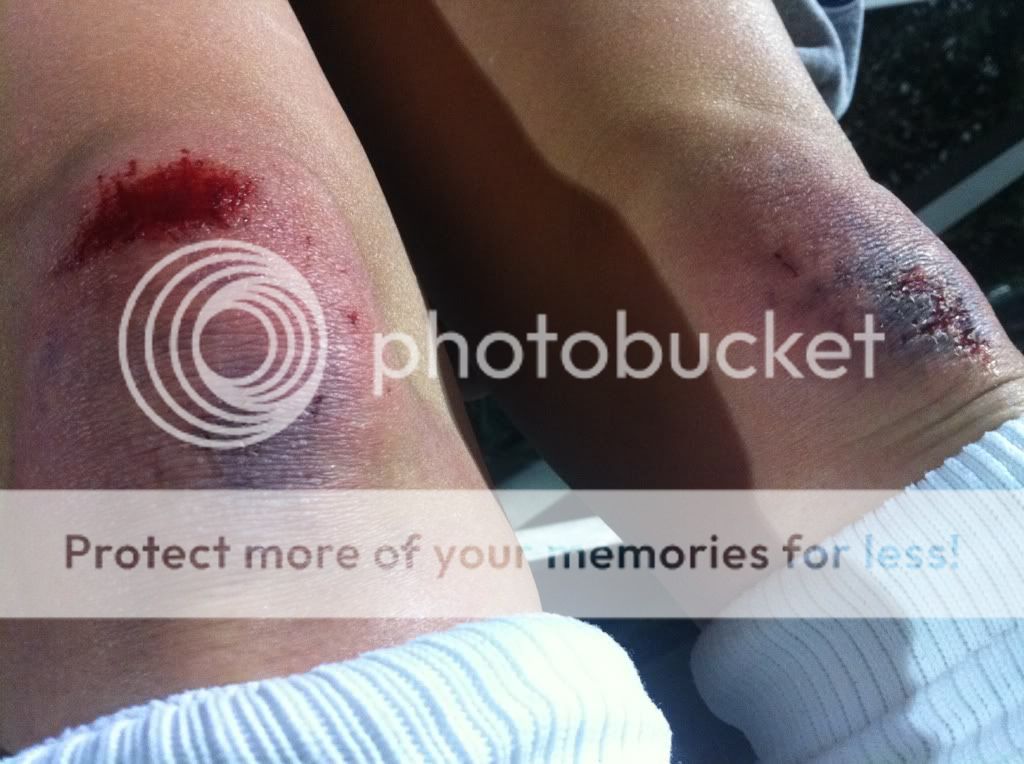
Here's what happened to a tough ass girl ten min in to her first game in four years.
She got back up and started rocking people. That's why she'll be my wife.
Re: The Poor Boy - A Tale Of A CB550 - Pics of New Seat
Oh and remember if you apply more layers one cured. Sand or and adopt the fabric within 24 hours. This makes the fibers excited and allows the fiber and resin to make a molecular bond. Haha that sucks turf burn sucks, welcome back to indoor.
Re: The Poor Boy - A Tale Of A CB550 - Pics of New Seat
He He He... it wasn't indoor actually, but it was turf. Rich kids high school in Santa Monica has a "Fitness Facility" that rivals the Olympic training ground!
Re: The Poor Boy - A Tale Of A CB550 - Pics of New Seat
Hey man, did you check to see if your kick start clears those rear sets? I have the same set up on my 550 and I have clearance issues with my kick start.
-Max
This site uses cookies to help personalise content, tailor your experience and to keep you logged in if you register.
By continuing to use this site, you are consenting to our use of cookies.