Pattheswede
First Timer in Cafe Racer Build
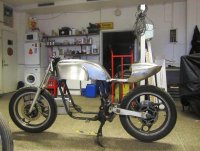
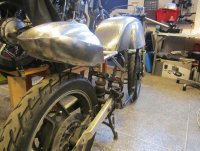
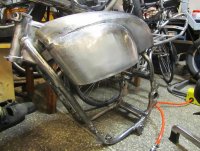
Ringo said:Oh wow. Love seeing the evolution of your tins. Nice work! And kudos for really building that stuff yourself!
Tnx a lot!
// Z
Ringo said:Oh wow. Love seeing the evolution of your tins. Nice work! And kudos for really building that stuff yourself!
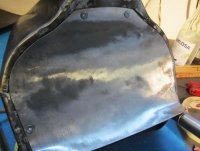
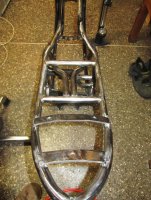
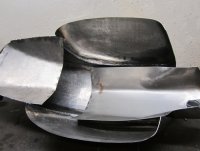
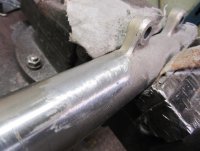
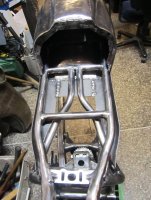
 Took me almost an hour to do. But now it's clean, grinded and almost ready for paint,nice!
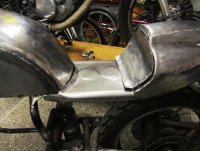
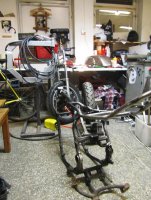
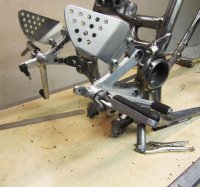
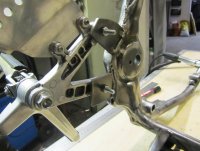
Mr.B said:are you going to use the stock footpegs?
if not, can I buy the springs?
if you are, wanna buy a set of new black pegs?
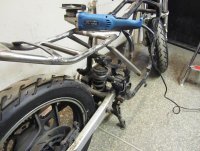
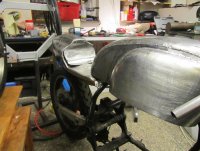
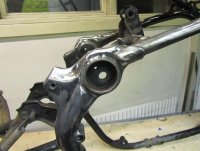
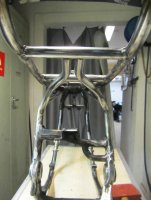
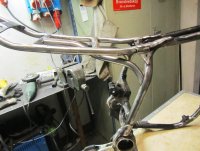
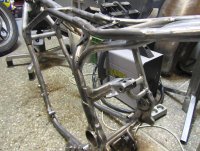
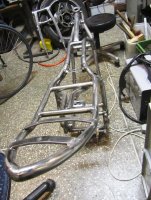
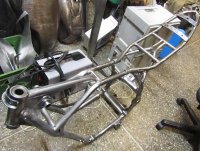
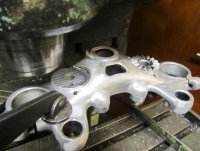
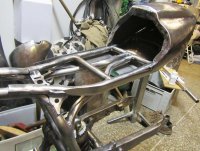
MoToBoX-VintageSpeed said:the frame looks very good.....
, then some time with the featherhammer to smoothen the tanksides..