72 CB750: Dolores... 5 years later, I'm back to work!

Re: Alex's 72 CB750... Handlin' My Bidness

Juggs look really good! +1 on the foil idea. Don't mean to hijact your thread but I've gotta say to Joe, welcome back. Man I thought You'd look different or something, but you look the same ;D
Now on to this killer build!
 
Re: Alex's 72 CB750... Handlin' My Bidness

Thanks for the nice words Joe and troybilt! WB Joe!
Yesterday (Friday) Twisted_Wheelz had the day off, and that motherfucker is the man! While I was at work all day yesterday, he was in my garage working on my bike! He took some parts to a local chopper shop that's owned by a friend of ours and got them media blasted for free! He also taped and painted the swingarm assembly, the brake rotor, and the fork lowers! After that he pulled all of the tape off of the chassis. Then I got home from work and we went to town on fabricating the new seat. I'm very excited about this seat, it came together way easier than the last one! We used a piece of 1/16th aluminum scrap that I found, the outboard cowl, a side grinder with a cutting wheel, a big hammer, and four pop rivets to build what we've got so far. We got it together and mocked up on the frame, then we made a tiny mistake... We drilled holes for my twin taillight setup without thinking about it. As it turns out just a single taillight setup looks much better on this cowl. We're going to fiberglass the circles back in and cut a hole for a single light. We've still got some fiberglass and bracing to do on this seat, but so far it has come together quickly, nicely, and cheaply ;D
Here are a bunch of pics of what got done yesterday:
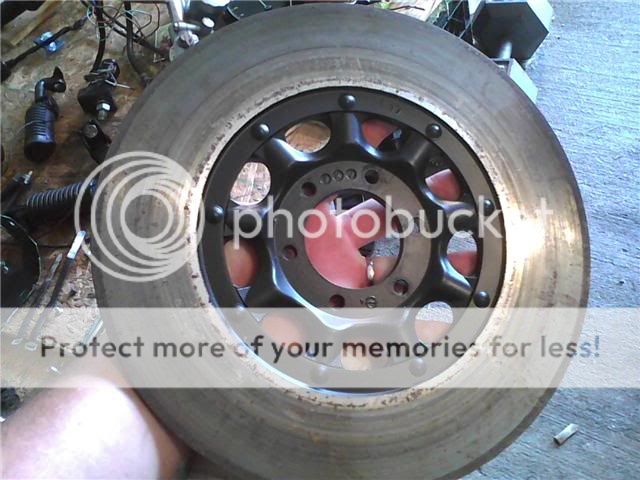
The painted rotor:
Brakerotor.jpg

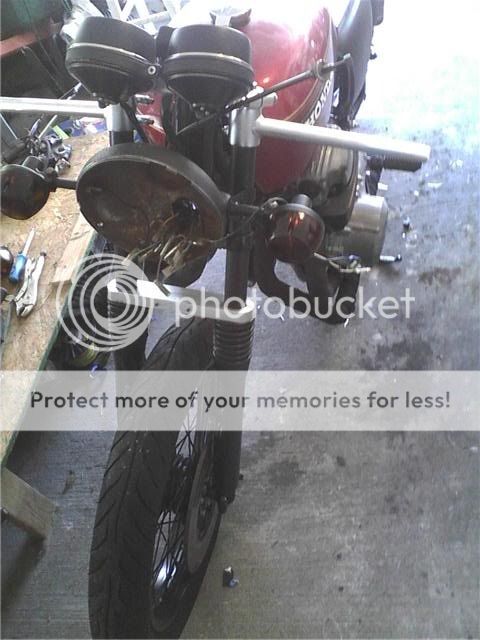
The taped and painted fork lowers:
forklowers.jpg

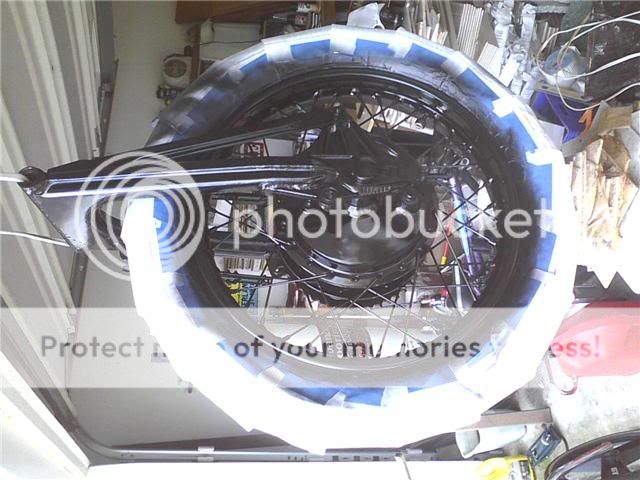
The taped and painted swingarm assembly (it rained this morning, so there's water on it):
swingarm.jpg

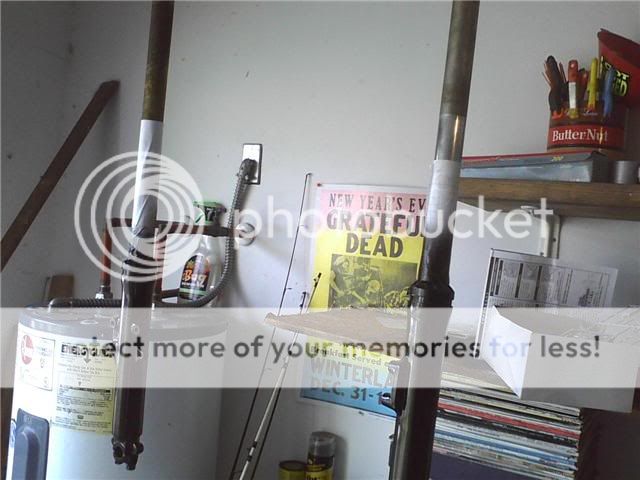
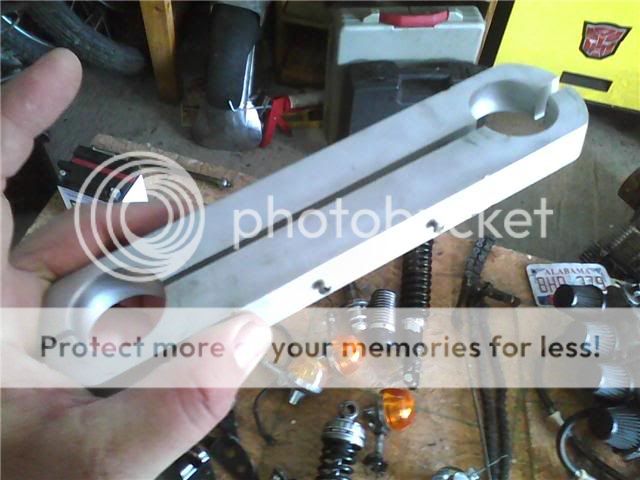
My fork brace. One of the parts that got blasted for free! Big ups to Billy at Gulf Coast Choppers for letting us use his blast cabinet and Twisted_Wheelz for being a bad mofo:
forkbrace.jpg

Now for the seat. I'm going to start a thread over in the tanks and seats section when this gets finished.
Here's the outboard motor cowl that I found:
outboardcowl.jpg

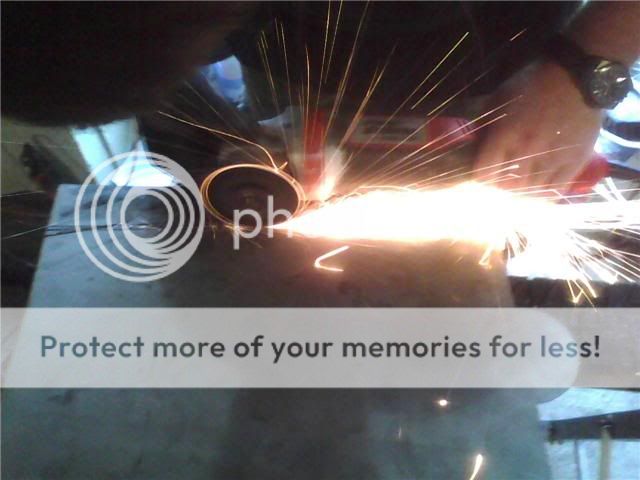
We cut the sheet metal and bent it using angle iron, a vice, and a hammer here's Twisted_Wheels cutting away:
cuttingpan.jpg

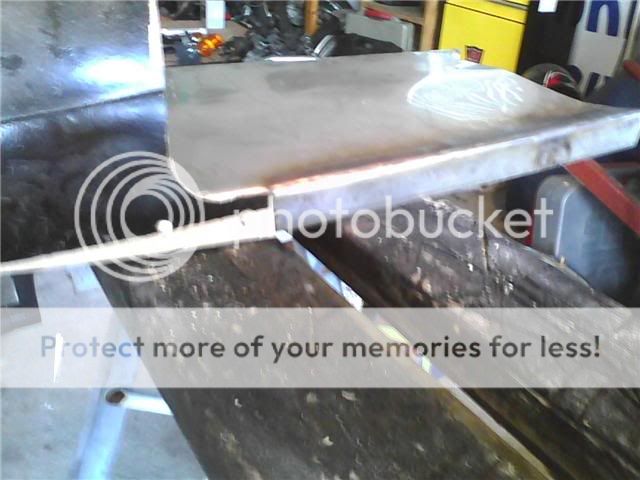
Here is a closeup of how we attatched the cowl to the aluminum pan using pop rivets, this will be reinforced and covered using body filler before the seat is done:
newseatcloseup.jpg

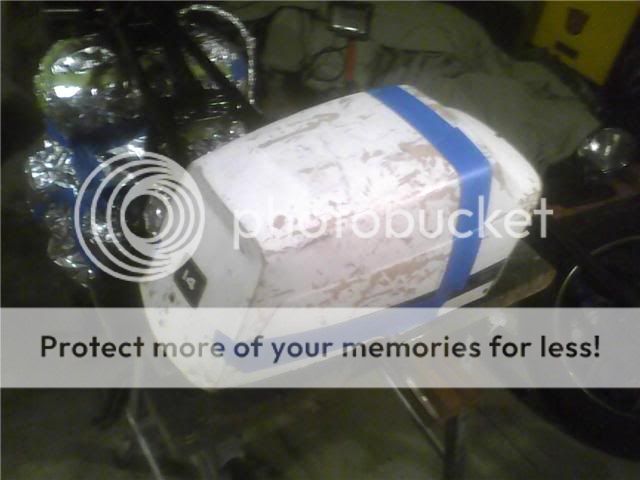
Here's the seat all put together:
Newseat.jpg

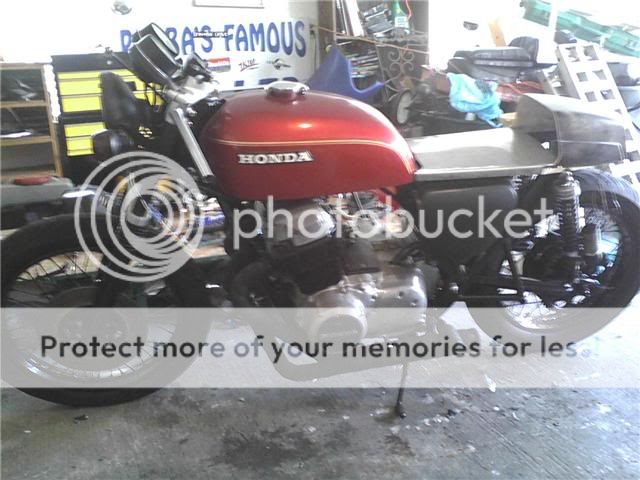
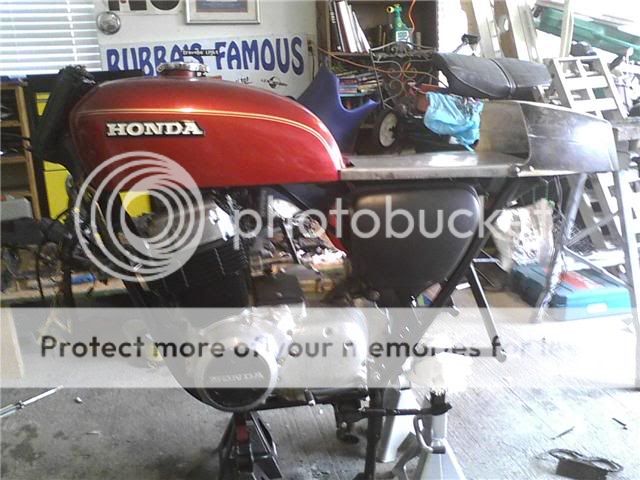
And the mockup with the seat tank and sidecover on to make sure it all flows (it does ;D):
mockup.jpg

Also my clipons came in yesterday, I don't have pics yet because I left them with Twisted_Wheels to run them up to Billy's and get the chrome blasted off of them. The top of my fork tubes were pretty rusted and pitted and after blasting them, we've decided that the only thing we can do at this point is to paint them from where the lower triple clamp attatches to the top. The paint might be the truck bedliner stuff, or some hammered finish. I don't know yet, but it's gotta be a paint with enough texture to cover the pitting. Anyone got any ideas? I've thought of filling the pits with body filler so that I can use a smooth finish paint, but I'm not sure if that's they way to go or not. I've got some small things to paint, and some prep work to do next, then we'll start reassembly! It'll look like a bike again soon! Stay tuned...
 
Re: Alex's 72 CB750... This is coming together nicely!

I used this to coat my whole frame on my Hodaka and love the finish. I also used it on my vintage Pamco boat trailer.
It gives a textured but smoother finish than most bed liner coatings.
http://www.duplicolor.com/products/truckbed.html

Rust-oleum also offers a spray on truck bed coating. It doesn't spray on as easy as the Duplicolor stuff,but it seems to be a little harder and has a rougher finish. Also the Rust-oleum I used has a slight gray hazy look when looking at it from a angle.
http://www.rustoleum.com/CBGProduct.asp?pid=367

The Dulicolor could do this also if there was too much moisture in the air/too late in the evening when coated or when the can was almost empty so careful of how,when and in what conditions you use it in. Make sure the parts are clean,dry,etched/rough sanded,and if outdoors plenty of day light left for it to dry and not draw moisture.
 
Re: Alex's 72 CB750... This is coming together nicely!

Thanks for the tip. I've already got a few cans of some bedliner laying around, so if I go that way, I'll just use them. I like the rough textured look, I just worry about what it will look like on the fork tubes :-\
 
Re: Alex's 72 CB750... This is coming together nicely!

Deviant1 said:
Thanks for the tip. I've already got a few cans of some bedliner laying around, so if I go that way, I'll just use them. I like the rough textured look, I just worry about what it will look like on the fork tubes :-\

If it looks anything like my Hodaka frame it will look great! I can't say enough on how much I love the look of the Duplicolor Black spray on stuff. Plus all I have to do is wash it with mild soap and warm water and it's done,no waxing!
 
Re: Alex's 72 CB750... This is coming together nicely!

Just picked up a fiberglass kit from West Marine. I get to learn how to do fiberglass! I'm actually very excited about this. I've been wanting to play with this stuff for a while. I'm hoping to turn out a trully bad ass seat from this!
 
Re: Alex's 72 CB750... This is coming together nicely!

fiberglass is a bit of a pain in the ass to work with, but it's fun imo
 
Re: Alex's 72 CB750... This is coming together nicely!

Props on "seeing" a seat in that outboard. It looks perfect with that tank.
 
Re: Alex's 72 CB750... This is coming together nicely!

Thanks diesel. I was worried before I got it on that it wouldn't work with the shape of the tank, but I'm glad to be wrong! I "saw" the seat, but I gotta give big ups to Twisted_Wheelz for seeing how to make it happen practically.
 
Re: Alex's 72 CB750... This is coming together nicely!

The lines of that seat and tank work really well together. Looking closer I think you should consider doing a battery relocation on this one and open up that frame. The side covers look a bit clunky and there is plenty of room under that seat for a battery. Just my 2 cents.
 
Re: Alex's 72 CB750... This is coming together nicely!

I go back and forth on that one man. I'd also want to get a new oil bag though, so that whole thing might have to wait until after I get this thing back together. I'm on a deadline right now of having pics ready by sept. 1(probably not going to make it) and the bike dialed in and ready by sept. 20. for a local thing. It'll have to rock the sidecovers for now though. Just not enough time and/or money right now.
 
Re: Alex's 72 CB750... This is coming together nicely!

That seat cowl looks real nice.
 
Re: Alex's 72 CB750... This is coming together nicely!

diesel450 said:
The lines of that seat and tank work really well together. Looking closer I think you should consider doing a battery relocation on this one and open up that frame. The side covers look a bit clunky and there is plenty of room under that seat for a battery. Just my 2 cents.

Problem is the oil tnak on the 750 lives there. Would look neat with a Manx style tank in there though....
 
Re: Alex's 72 CB750... This is coming together nicely!

Oh Crap, I forgot about that. :p there's got to be a way because when I visualize that area open that seat/tank combo really pops. Could he do a battery set up similar to Zonda's 450 where there are several spread around the bike and then put an oil tank under the seat bump? I think we're talking "in theory" at this point. The seat bump might look pretty cool with a filler cap on it somewhere.
 
Re: Alex's 72 CB750... This is coming together nicely!

Twisted_Wheelz came over again last night and we began reassembly. My bike has mofuggin wheels again! We put the front end together. The front forks we painted with the bedliner to mask the really bad pitting at the top. We cut the stock fork boots down a good bit and capped them with the sandblasted fork brace. Twisted_Wheels made another trip over to our buddy Billie's for some more sandblasting. He blasted another top triple tree clamp, my clipons, the shifter, the brake lever, another kickstarter, some carb bowls, and other bits. The triple clamp that's blasted has a duller finish than the brushed one, so we used the blasted one. The clipons got a light blasting just to rough up the chrome, and they also look very dull. You are now entering the no bling zone. The turn signals were painted with the bedliner, then the lenses were darkened using VHT. I don't know much about this product but Brandon (Twisted_Wheelz) had used it on the tail lights of his truck and had a bunch left over. It worked out nicely. The new headlight ears also went on. The restored gauges made their way to the top triple clamp. The swingarm and rear wheel went back on. The pipes are back on also. We were working so hard that we didn't take any progress pics, all I have are a few after pics. I don't know what it is, but the bike looks lower and larger than it did before. I know the tail is a bit bigger, so maybe that can account for it. The headlight may get raised a bit as the front looks kind of off. We also fiberglassed a seat pan for upholstry but I'll post pics of all that in the seat section. The glass was fun to work with and I can't wait to go to town on a larger project (fuel tank anyone?). So here are the pics.
Here's a shot of the front end back together. The headlight bucket with all the wires hanging out kind of ruins it, but I haven't wired everything back together yet.
2-1.jpg

Here's a side shot:
3-1.jpg

And another for good measure. This one was taken around ten last night, so it's a bit darker.
4-1.jpg

Up next I'm going to shoot the blasted carb bowls with bedliner and exchange them with the ones currently on there. Then put the carb rack back on. After that, I'll figure out the controlls on the bars. I'm probably going to wire the bars externally and wrap the wires with shrink wrap. Also I've picked out a color for the tins and it's... not black. I'm gonna keep this one under wraps until the debut in show n shine. After blacking out everything I could, I realized that maybe some color would be nice. Twisted wheelz called me from Lowes one day last week to tell me he found a color that I needed to come look at. When I did, I immediately knew that this is the color. It will be extra sweet! More to come soon.
 
Re: Alex's 72 CB750... My Bike Has Wheels Again!!!

You're going to be really unhappy with that tweek-bar on your forks. That's not a brace in the manner that you want. What you need is one that clamps to the tops of your sliders so that they act together.
 
Re: Alex's 72 CB750... My Bike Has Wheels Again!!!

I know man. I'm probably going to drill the rivets out of my stock fender and install the brace. I'm going to play it with a wait and see attitude though, as it will require some readjustment of the aforementioned tube brace and new gators (can't uncut the old ones).
 
Re: Alex's 72 CB750... My Bike Has Wheels Again!!!

Did you change the springs in the forks? That brace will "bottom" out on the seals if you haven't :eek:

Starting to look nice ;)
 
Re: Alex's 72 CB750... My Bike Has Wheels Again!!!

Seems he's running the tweak bar as a topper for the cut-down gaitors. Might just want to wrap a layer or two of innertube around the forklegs under the top of the gaitors and clamp them down with a nice looking stainless hose-type clamp (they do make some that aren't those cheesy screw-type hose clamps). The tweak bar is maybe a bit beefy for the look, and with a proper forkbrace mounted will look even more beefy.

Like the black forktubes - looks good.
 
Back
Top Bottom