Follow along with the video below to see how to install our site as a web app on your home screen.
Note: This feature may not be available in some browsers.
We noticed you are blocking ads. DO THE TON only works with community supporters. Most are active members of the site with small businesses. Please consider disabling your ad blocking tool and checking out the businesses that help keep our site up and free.
Alright it is running on both cylinders now. I had changed the manifold clamp and spark plug and adjusted the carb settings and she sprung to life. I think it is a little rich on idle so I have plenty more tuning to do. Waiting on my throttle cable to arrive and I need to make adaptors to fit the carbs to the "air box" frame.
I also need to fab a bracket to mount the fairing to and shorten the brass part of the speedo hub so my acewell pick up will work.
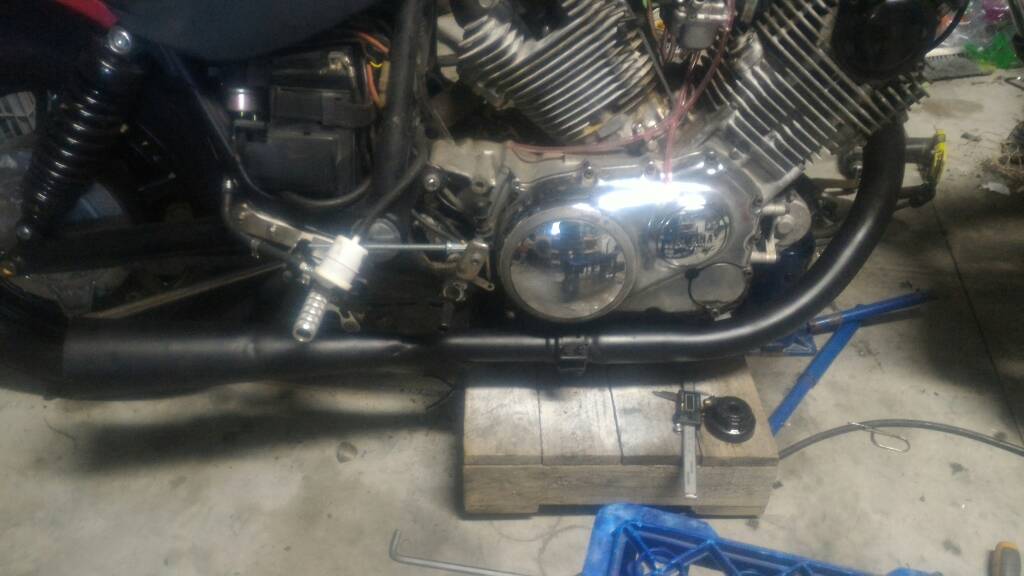
Going to have a go at making a new exhaust that will fit around the Rear sets this afternoon. Just need to get my welder going again.
Did a bit more work. This is an old triumph muffler that is the same as what is on my SR250, just the other side of the pair.
I cut up the first set of pipes I made to make this. The hardest part was cutting the bevel out of the pipe to join both together. It has a few leaks I have been chasing. My old "gasless mig" can poop out some ok welds on the of occasion but most need cleaning up with the flap disk.
This needs a lot more work but I have gone through my flap disk and the shops are closed.
Planning on painting this and the front header flat black.
Just drew up a cad image for a mounting plate for the fairing. Going to get one of the guys at work to cut it from stainless for me and hopefully I can get the thing mounted before the weekend.
I still need to reduce the length of where the speedo drive meets the cable as the new digital pickup is shorter than the original. About half an inch needs to be removed so I was going to give that a go tomorrow.
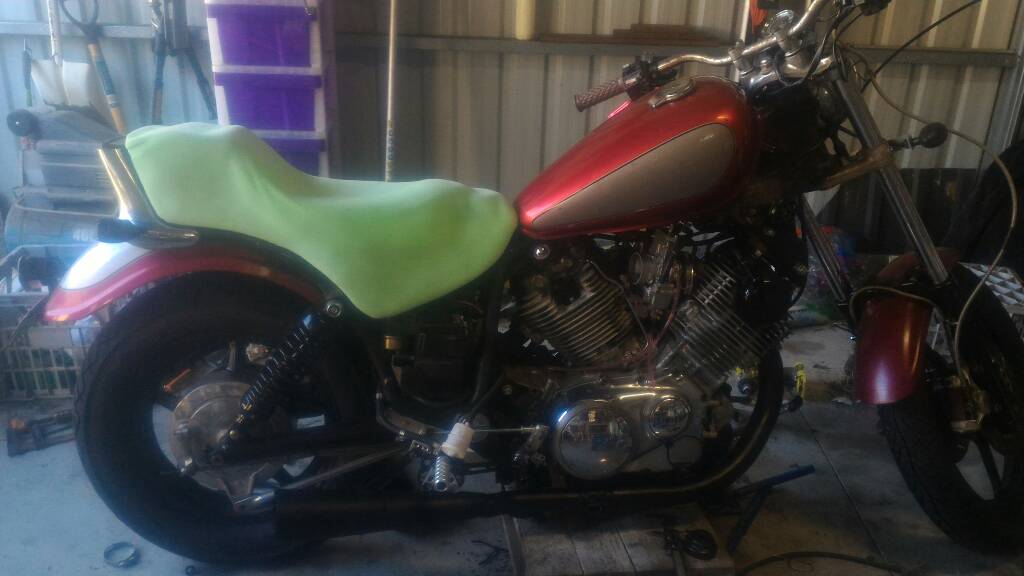
I finished glueing the seat foam. I am not happy with the lump in the front but I am hoping it will be hidden once the cover is made.
Filled a few holes in the exhaust and painted it. Looks good enough until I can have a new system made.
I am still undecided on if I should go for a metallic green or just flat for the bike but I am leaning toward metallic.
Thinking of painting 2 stripes, one smaller, across all the panels. It will be hard to keep them inline but should be a nice accent. Going to go gold for them.
Still waiting on a few parts for the intake before I give it a run. Don't want to suck anything in to my new carbs that shouldn't go there. I need to have the throttle cable shortened as well. New bars are on the way that are a slight bit higher than the current set.
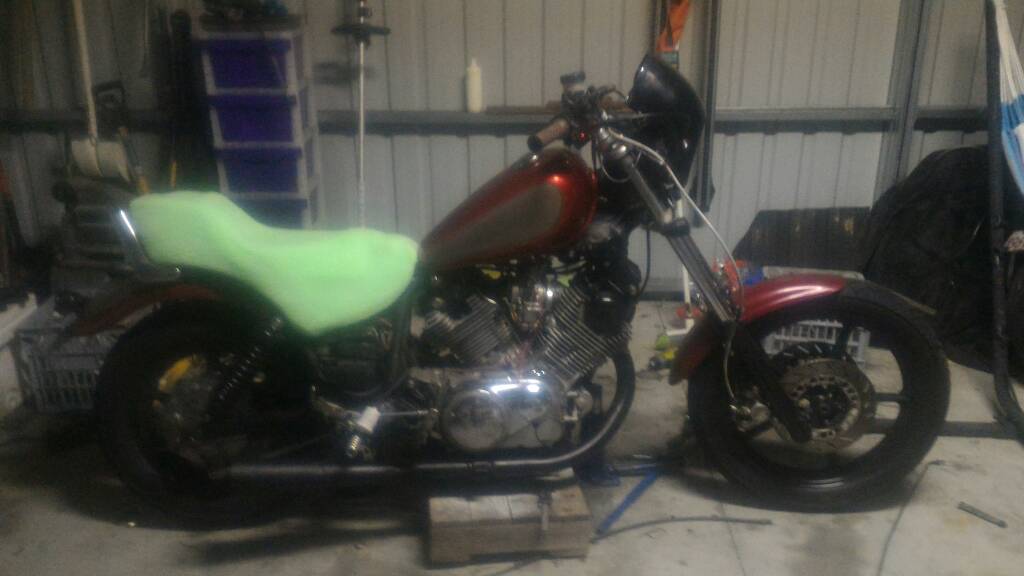
I had forgotten to post a picture with the fairing fitted. It has been slow going the past few weeks. I hope to have it painted soon and am about ready to try and make a seat cover myself.
China is still to provide me with the parts I need for my intake and I need an adaptor made to allow me to use the speedo drive for the acewell. Had to wait for a M12x1 die to come in the mail.
Paint is on the front fender and tank. I followed the directions from the rattle can bling page. Very lumpy finish but the thread calls for a light sand after because of this.
I am going to give the 2k clear a go. Not sure how rattle can 2k will play out. But I am short on cash most of the time and won't fork out for a pro job. So the XV is now an "Unclean Green Thrilling Machine"
I have some gold Yamaha tuning for logos to go either side of the tank and an extra. I was thinking the extra may just go on the rear fender. This green should tie in well with the planned brown seat cover.
One of the boys at work made up the speedo hub adapter I needed and in my excitement I stuck it straight back in without taking a picture. It is just s short piece of brass with a M12x1 thread. Yet to test if the Acewell reads correctly but there have been a few handy speed reader signs put up around my area. Anything over 50 and they swap to "SLOW DOWN" so I should be able to see how accurate it is at least.
I am still waiting on a light for the low fuel indicator and still need to remove and prep the fairing and rear fender but 1 step closer is better than none. I also need to buy some black finter foam to replace the red as that stand out like.. well..
This also applies to the red levers I decided on when this was going to be a different style build. I would like to find a larger master cylinder to suit this bike so new levers and such will be down the road a bit further.
Not much has changed visually over the past week but I have finished up most of the wiring and a few other bits and pieces.
I fitted the new reg/rec to the back of the battery box and ran a ground straight to the negative terminal on the battery. It is hidden away nicely and has plenty of air around it so hopefully it will last for a long time.
The new fuse box is located above the headlight but below the the fairing mount plate. It is a bit of a pain to get to but that was the closest to stock location.
I have a few more things I need to do but plan to be testing the new carbs this weekend.
At some stage I will order a new lever set and front brake line and I need to find a different air filter but for now everything I have is useable, just not suited to the new colour and style of the bike.
Looks good but is running like crap. Way to rich. I am going to open the carbs and reset the needle to the centre position. Sooted up the plugs I had in straight away and then died at the bottom of a hill. The other set of plugs lasted longer as I removed the air filter for another test run.
I am fairly happy with the paint and decal work. It is not the best but for my first time pinstripeing I am happy with it.
I run 17.5s and 160ies on my VM38s with my very open 2in1in2 exhaust, so even though this is nothing to go by, it is definitely within a range of settings that can be considered reasonable.
Alright so even the 17.5 were to rich. I have dropped down to 12.5 and they seem slightly rich when at idle. Have not tested it riding yet.
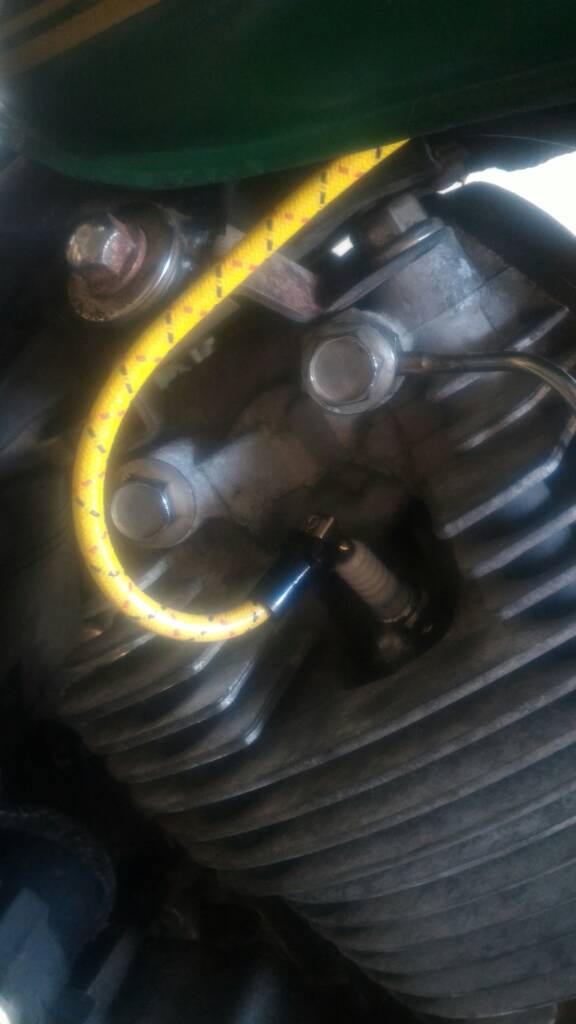
And to throw a spanner in the works I swapped out the coils for an Optima 3ohm 45kv single fire coil.
I mounted the vac sensor behind it and built a new mount for the coil. She idles nice and doesn't stutter at all. Starting to think my coils were part of the problem.
I have swapped to resistor plugs instead of having resistor boots. I don't think this will be an issue but would love to know if it is.
You can't really with home made tools, unless you you could arc-check them (basically run stupid high voltages through the secondary side until it shorts out - this should be somewhere between 15 and 30 KVa) and then do same with the coils heated in an oven to around 50-60 degrees celsius. (This is the proper way to do it.)
Alternatively, you could just measure the primary resistance cold and hot and see if it changes. (notably, i.e. more than 10%) Still this won't show you faulty insulation on the coil-windings, but only burned out windings and such.
This site uses cookies to help personalise content, tailor your experience and to keep you logged in if you register.
By continuing to use this site, you are consenting to our use of cookies.


")


