Re: Project Gretta: The evolution of a confused '74 360
Troy, great info brother. It will be helping lots of people I am sure on their builds. Question, how longdo you let a 2k clear cure before it's okay to wetsand?
Got lots done today guys. I've been at it since 9 a.m. and it was a fruitful day.
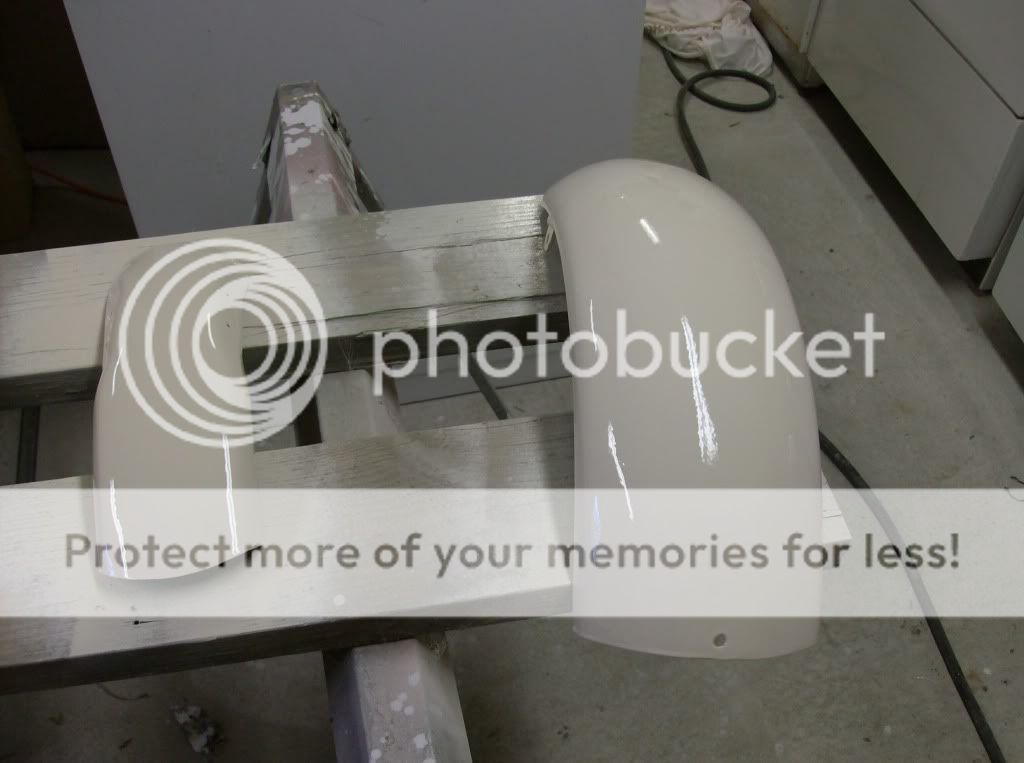
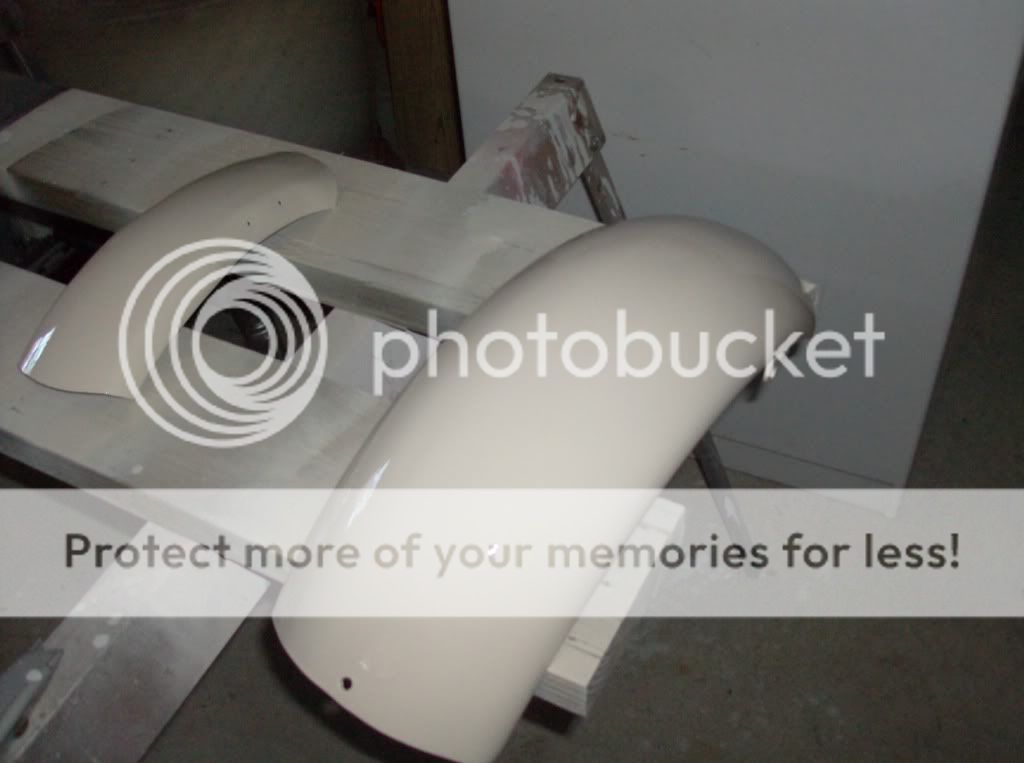
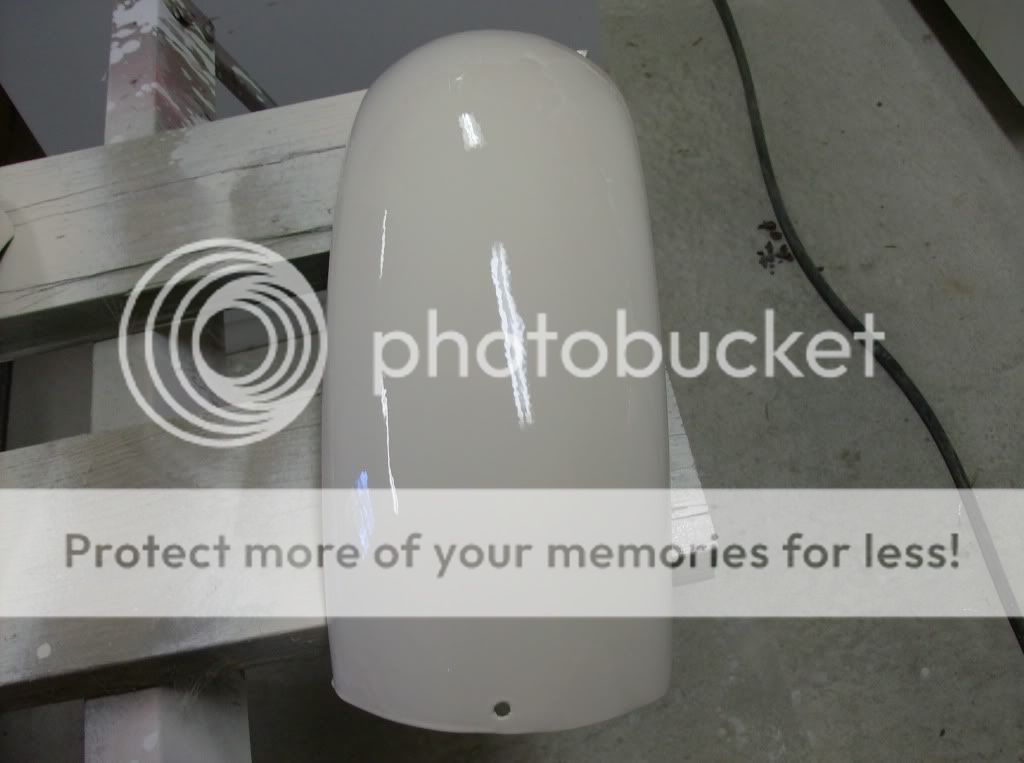
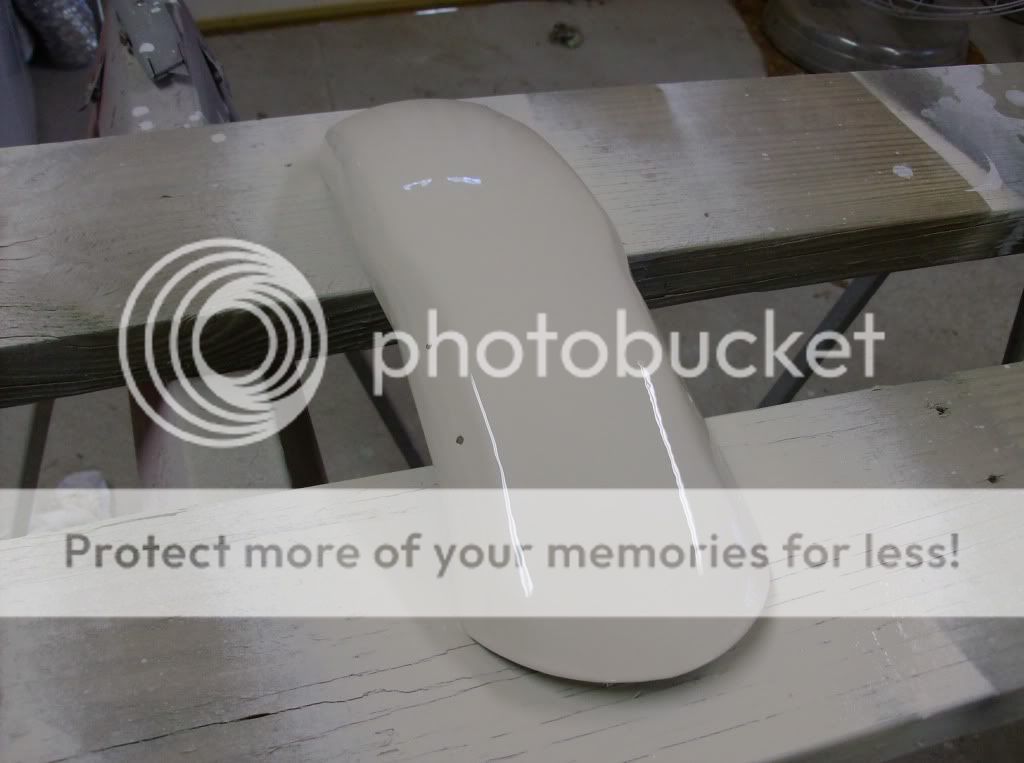
First thing I hit the fenders hardcore and finished body working them in. The fenders you get that are custom have machine/wheel lines in them from construction, so there are all of these little ridges that have to be smoothed out to make it have a glass like finish. Round things are a bit$h to get right when it comes to filler and smoothing, so this took a while. I wire wheeled the front fender down and then sanded with 250grit. Then I primes and body filled it as well (many times with the glaze coat to get this one right). My thoughts were that I would get the fenders painted and striped today so I could clear them with the tank and seat. That was a no go, the paint just took too long to dry. I've been doing 8-9 coats of base on these guys just for durability, so that takes a while to get dry. So stripes tomorrow and then clear on the fenders on Tuesday.
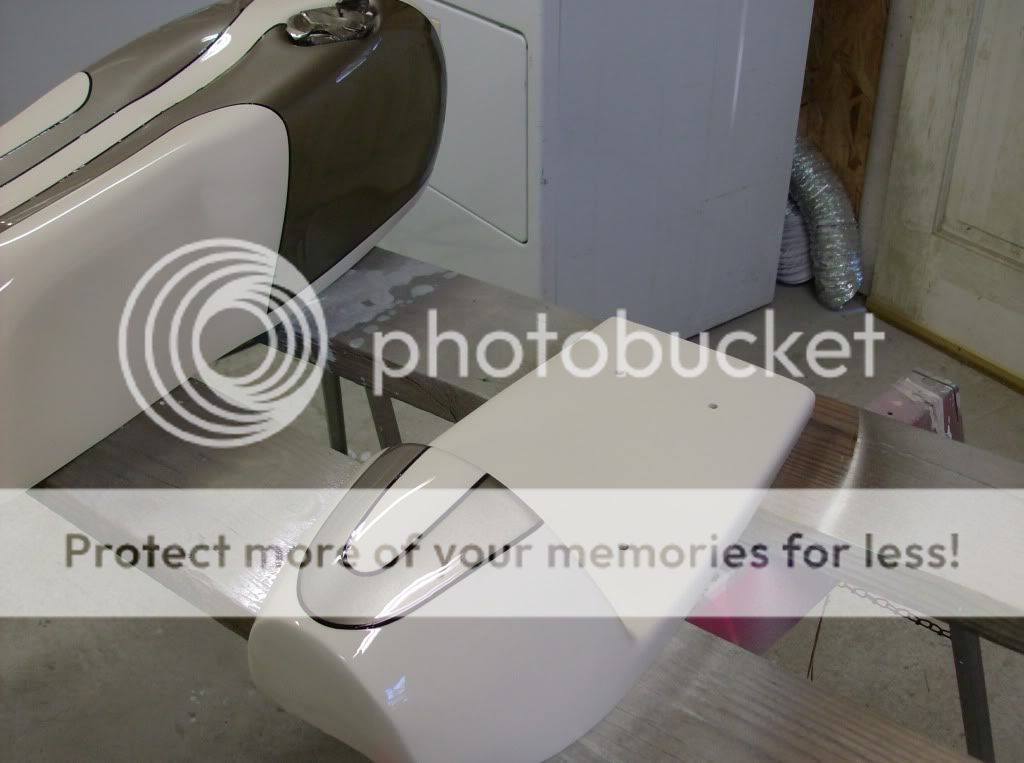
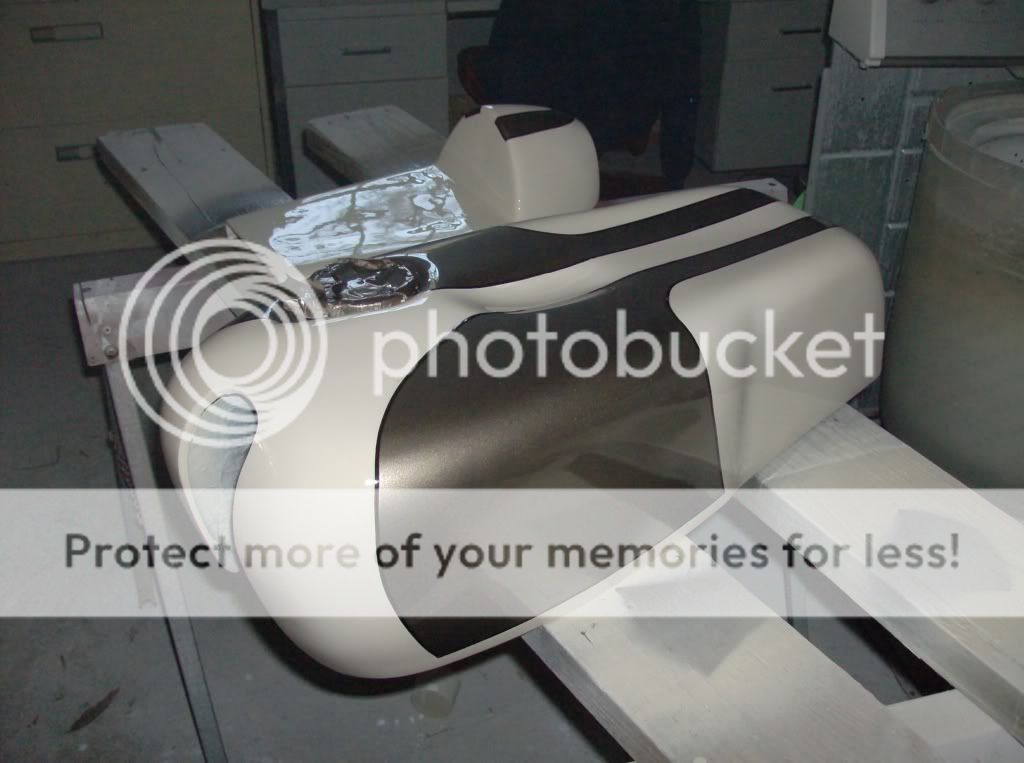
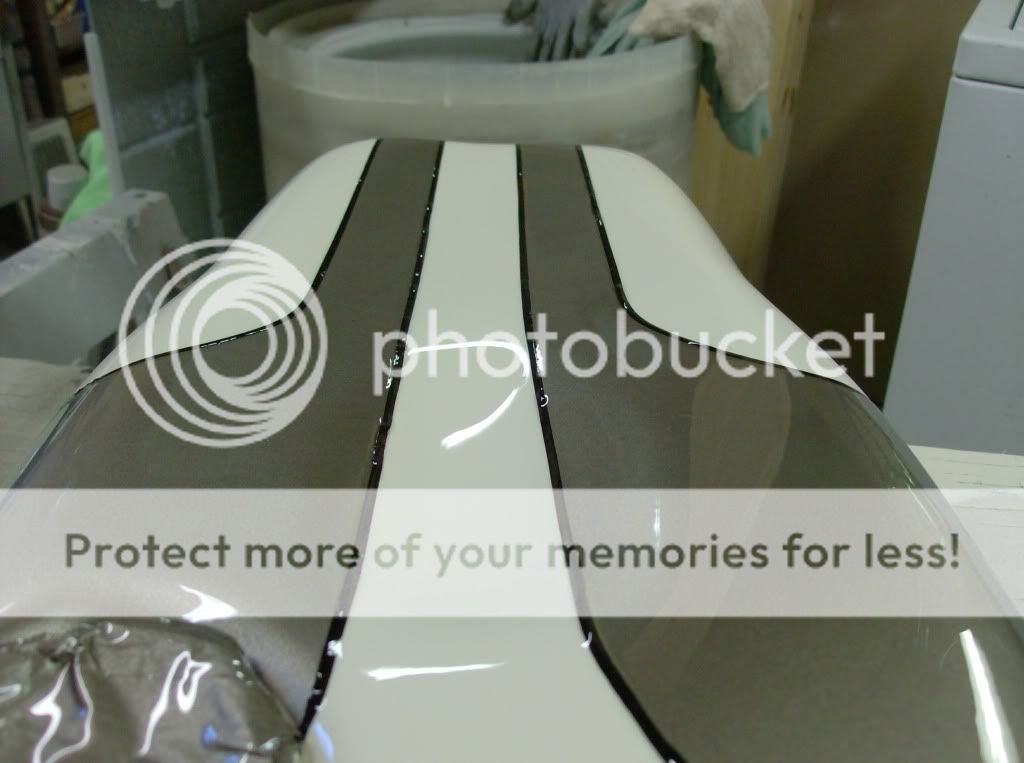
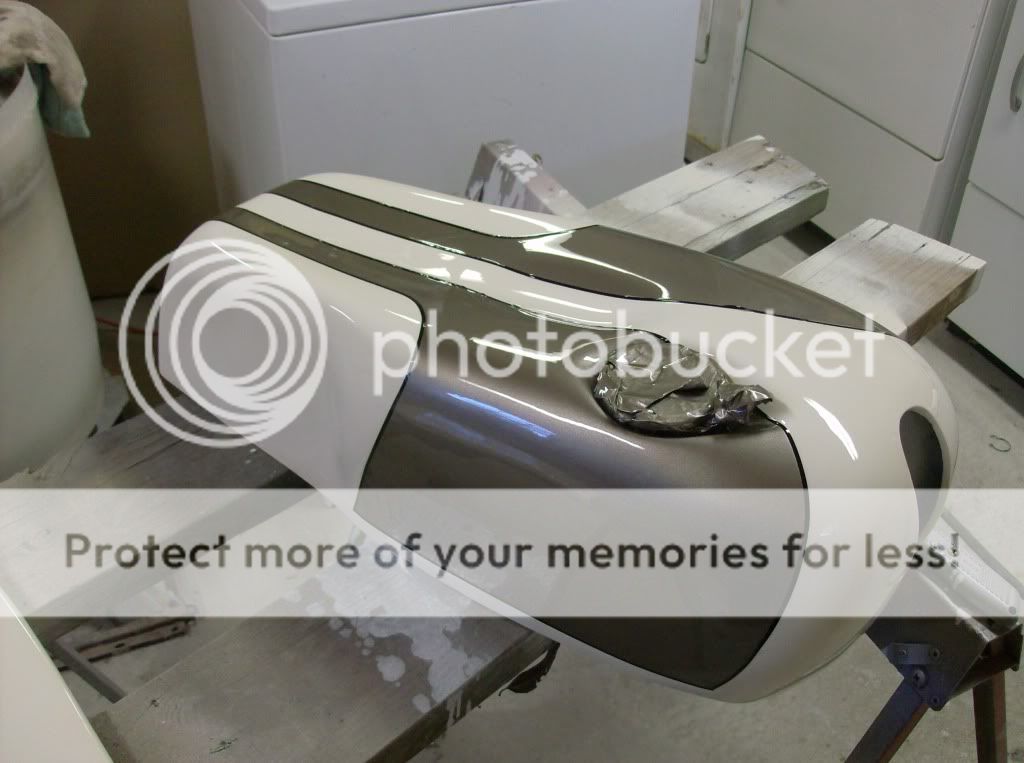
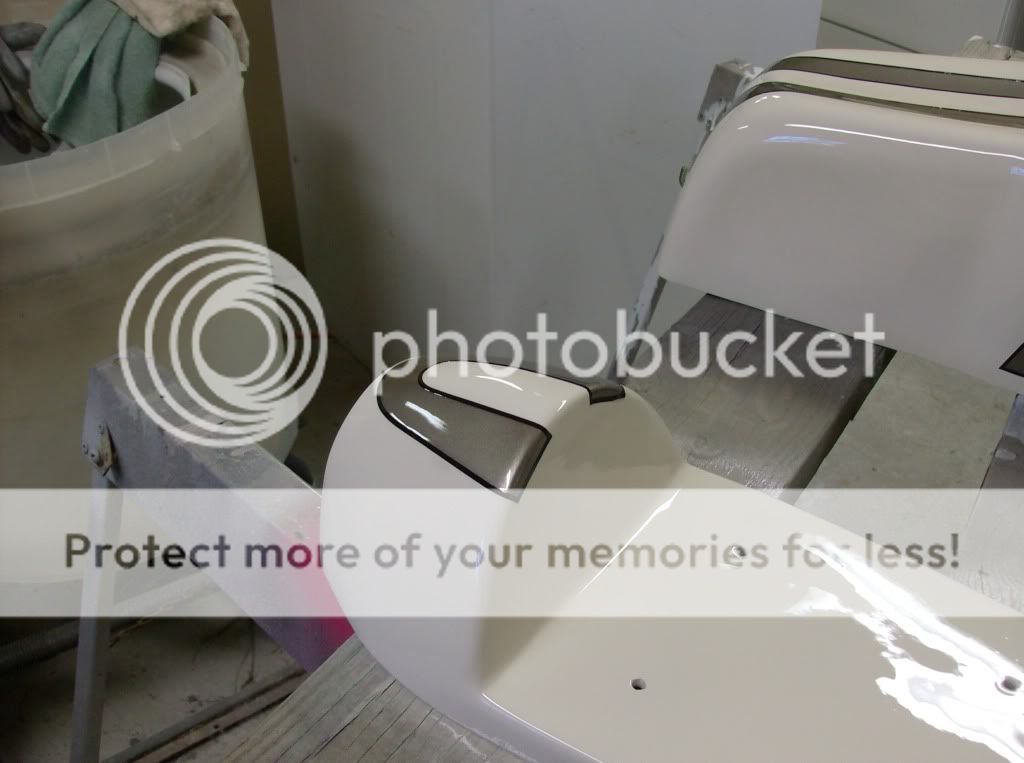
I did however get the clear laid down on the seat and tank and it is some really high quality paint. This stuff is just glass like. I got 2 errors in the paint (hence my inquiry into wet sanding). I got one run, and one air bubble under a pinstripe. It's barely noticeable, but I'm picky. The paint turned out amazing. It's a very well spent dollar on this stuff.
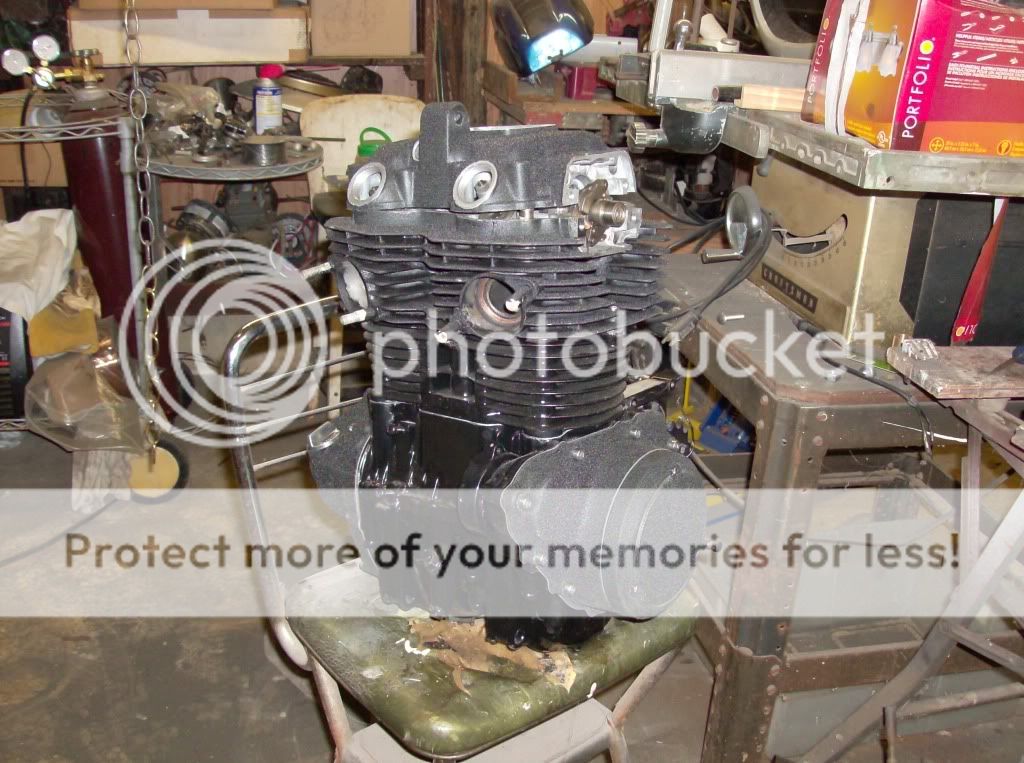
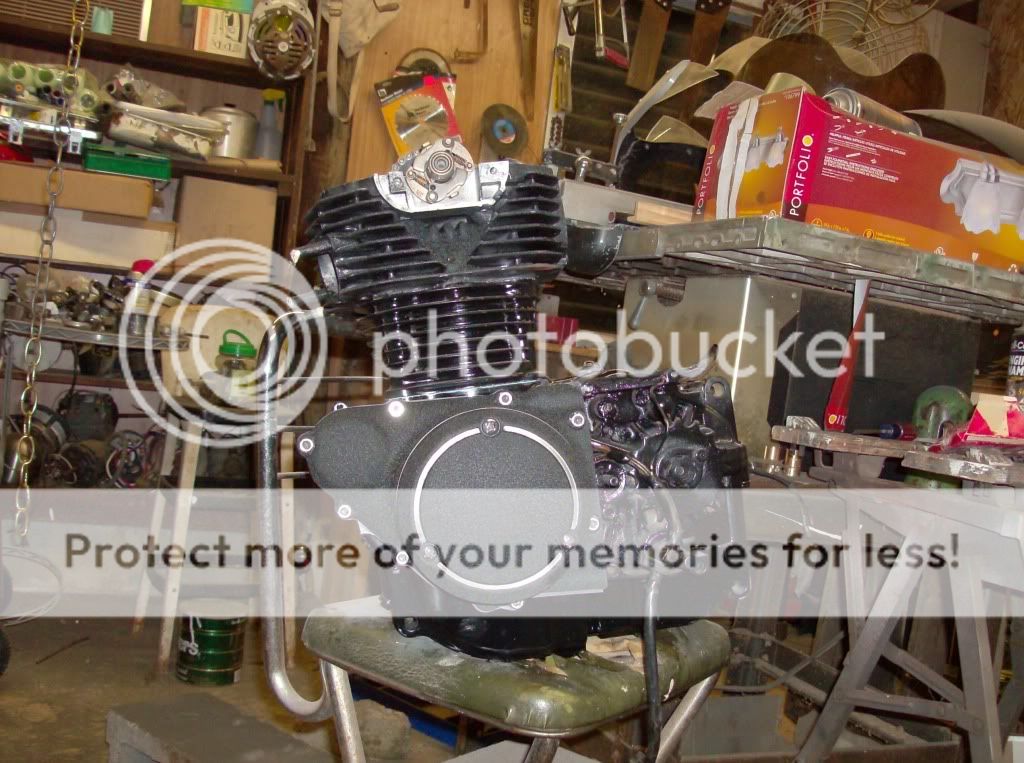
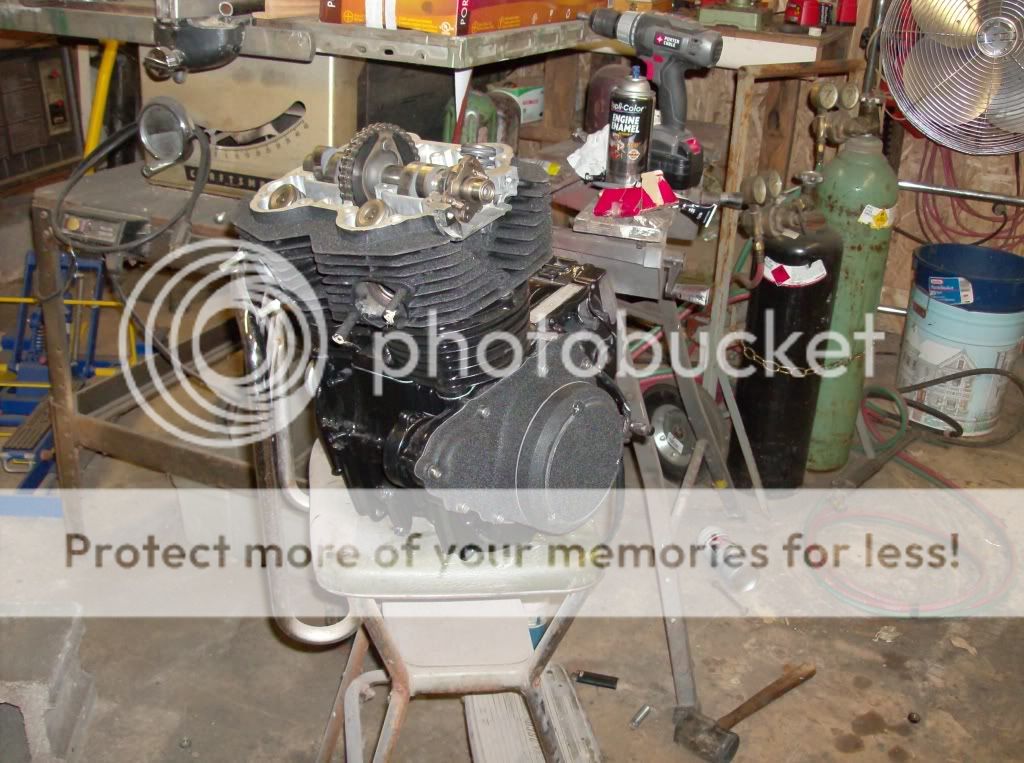
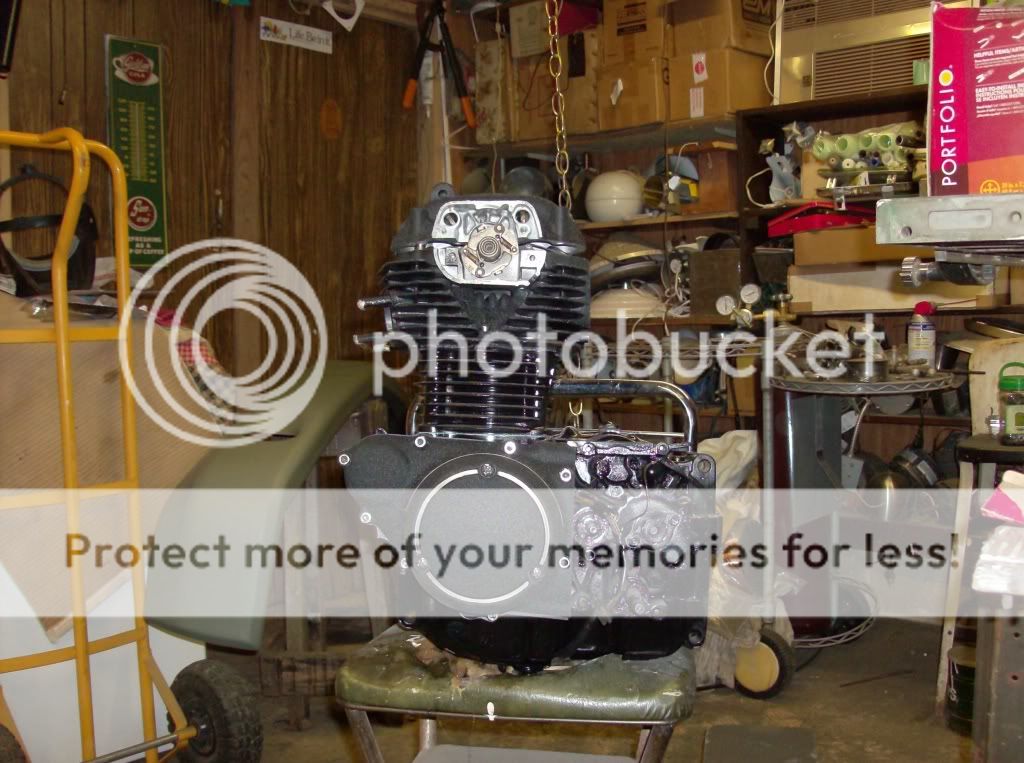
I also got my piston rings in last night, so assemble started on the motor (finally!). Actually all that's left is installing the pints plate and the sprocket cover and it will be completely assembled. I went a little overkill on the gaskets for the jugs and the head, but I don't want a leak. I used a gasket kit off of ebay, and then coated each side of that with RTV. The other gaskets I just used the paper gasket in case I have to pop the covers again. Changing the piston rings wasn't bad at all. The worst part is chasing those piston pin retainer clips when they shoot across the room! I got the cam installed in the right position, and checked compression. There is NO leakdown at all. This motor is TIGHT. it's like a new one! I am stoked. The wrinkle coat paint also looks amazing on the assembled motor with the shiny new SS allen head bolt kit. There are also two complete and great shape slippers in the motor thanks to MarcW. Thanks man!
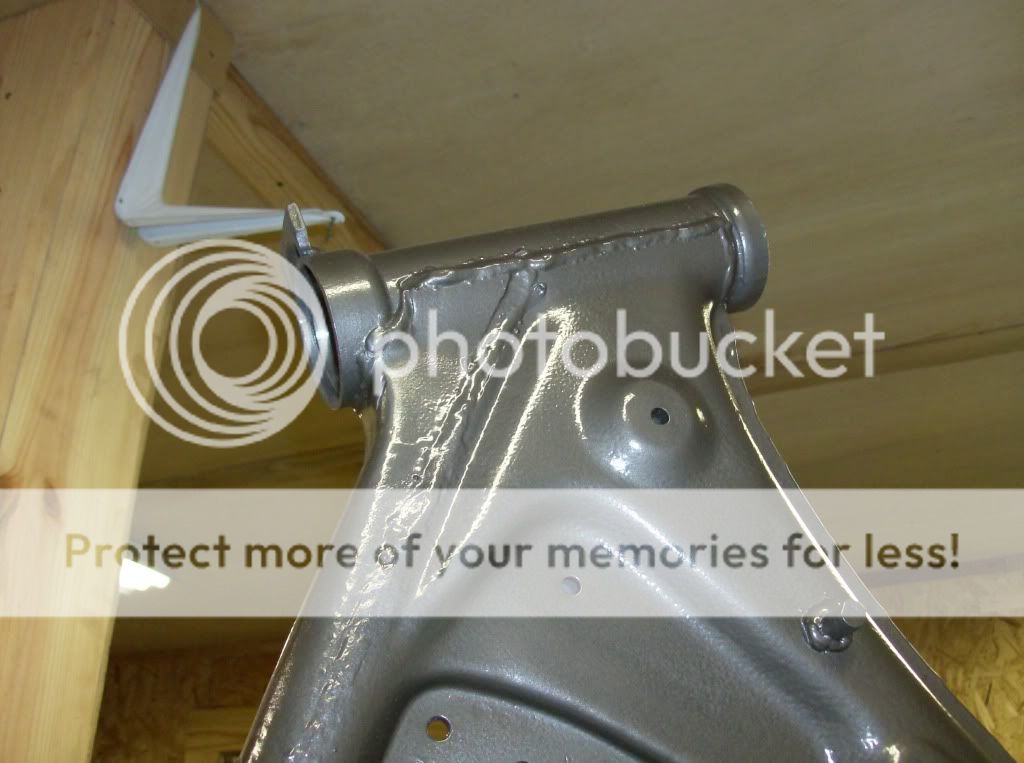
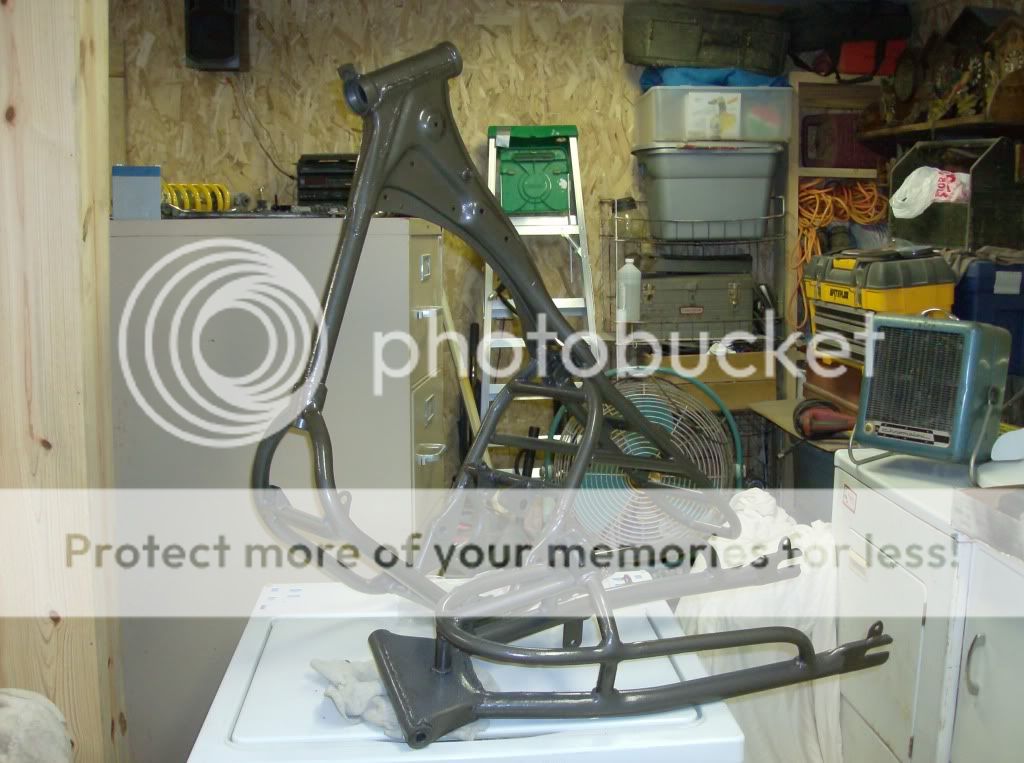
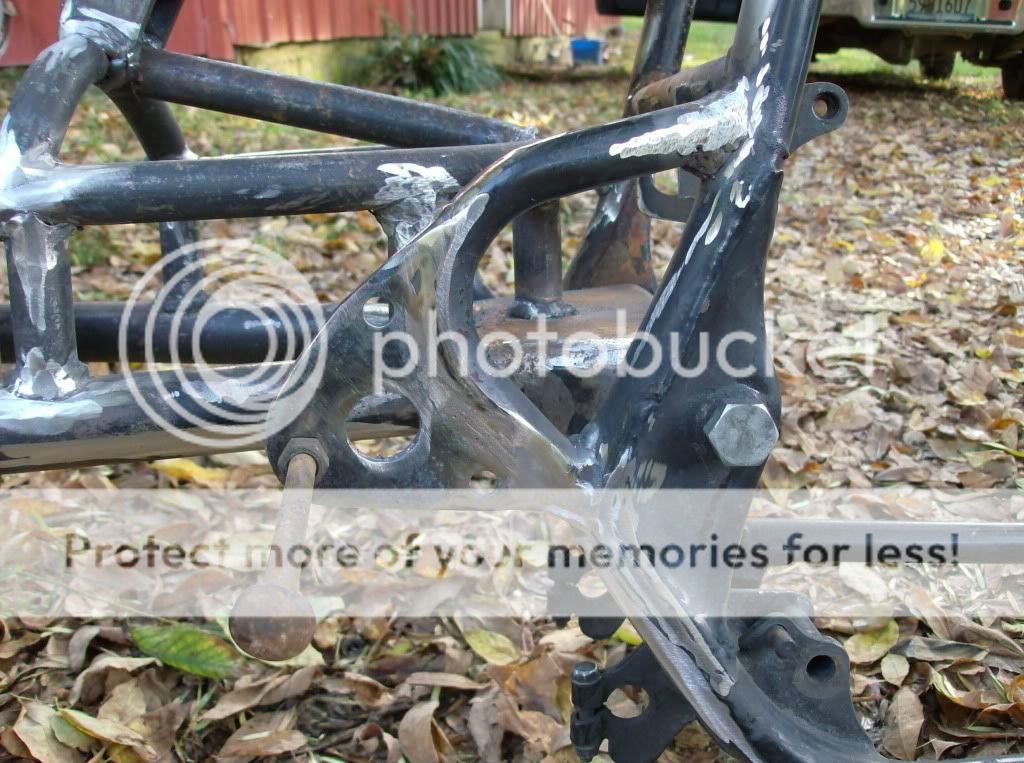
The frame was picked up today as well with a fresh coat of clear powder laid down. It's nice!
So there ya go. A day in the shop condensed! Here's some pics of the day's progress.
The Frame:
The fenders waiting for stripes:
The motor:
The cleared tank/seat. Bling!:
So there ya go guys! Hope you think it looks as good as I do! Lemme know whatcha think!


") .
.