CB200 'project 354

protip: don't eat heavy meals before you decide to do some work on the bike!

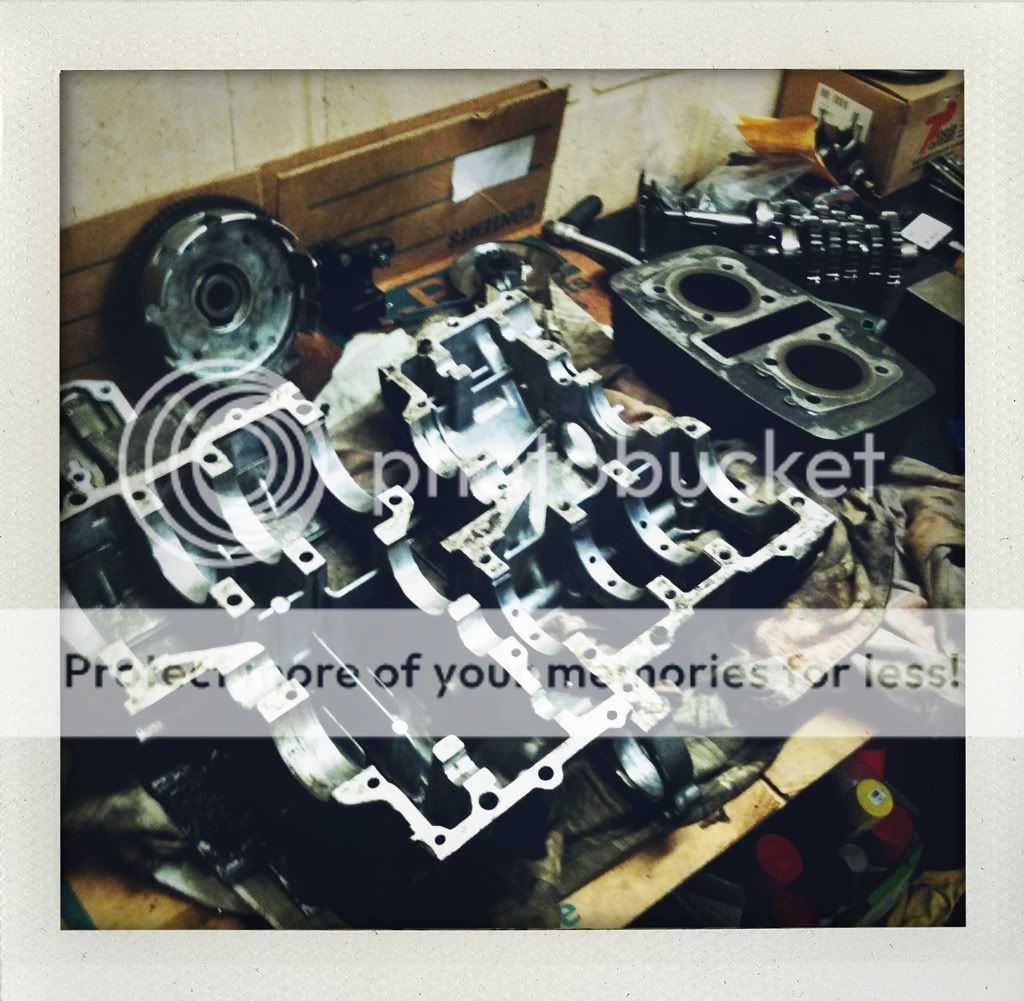
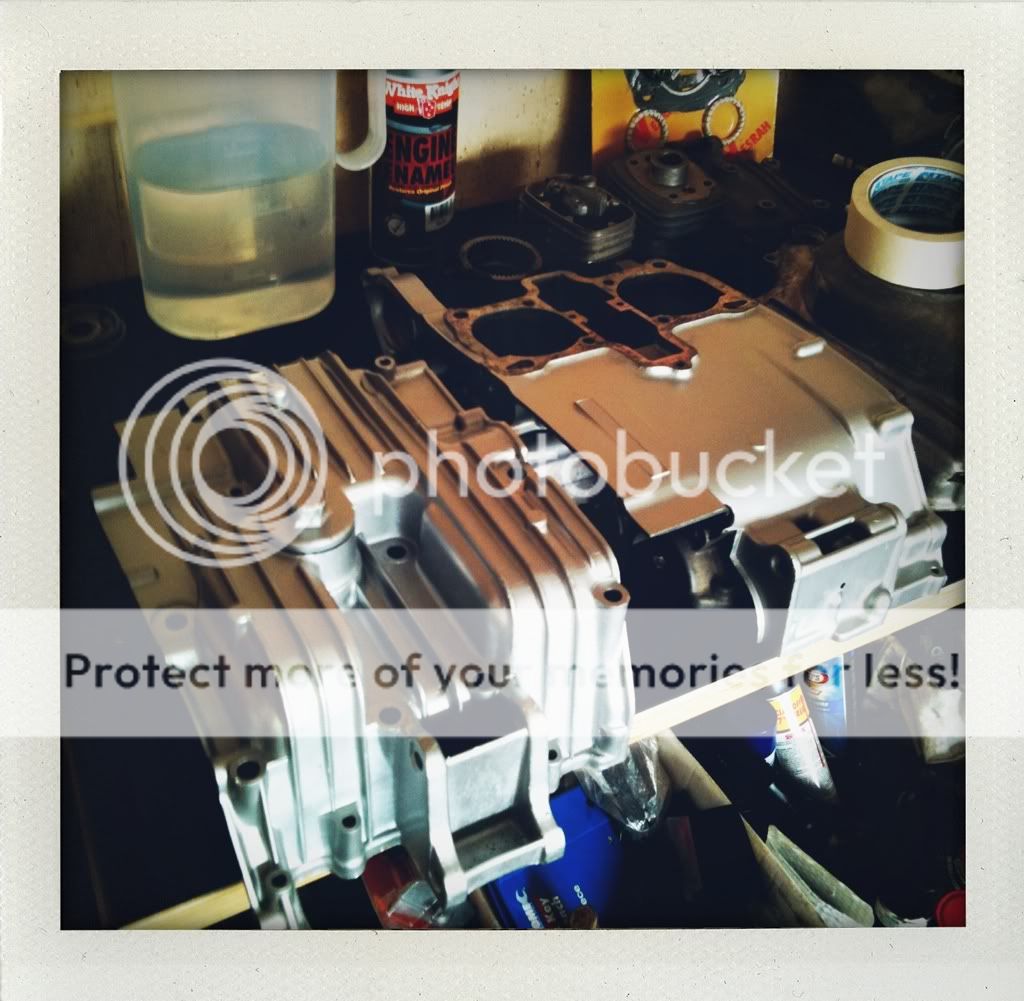
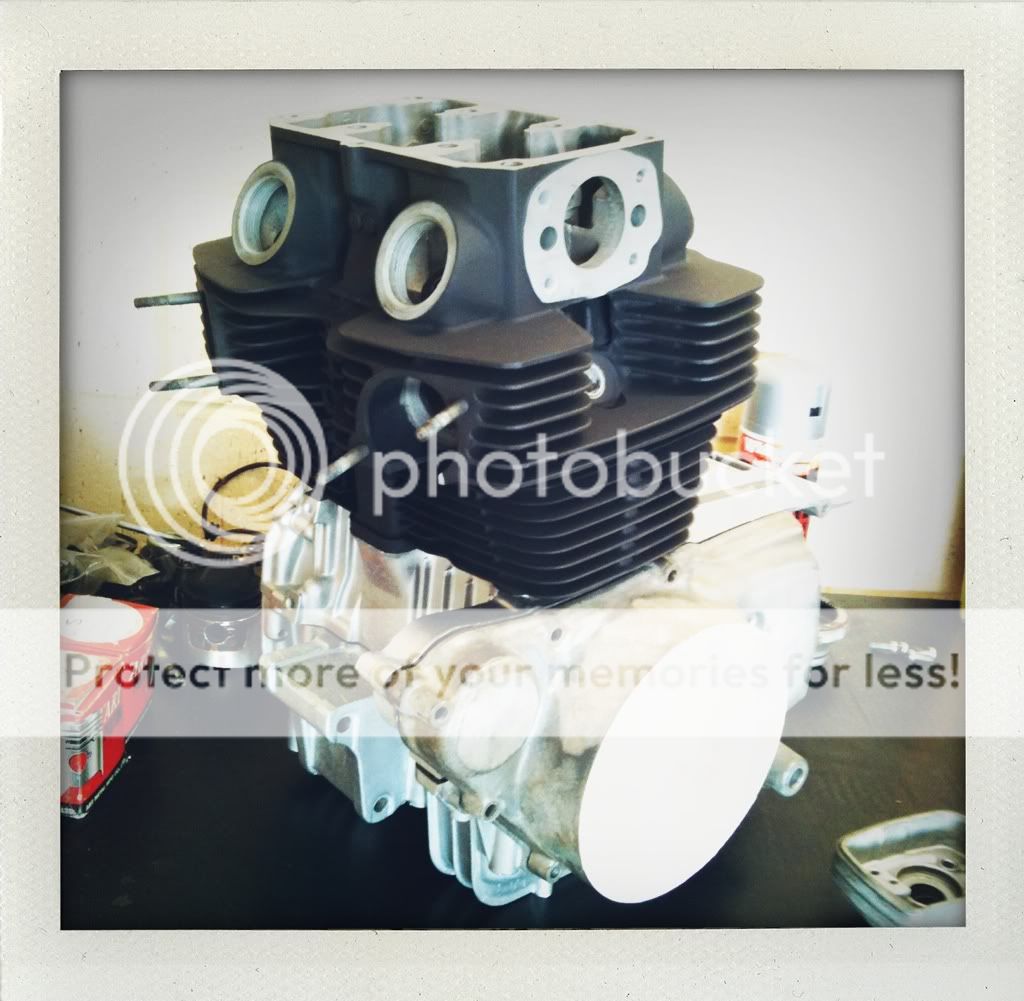
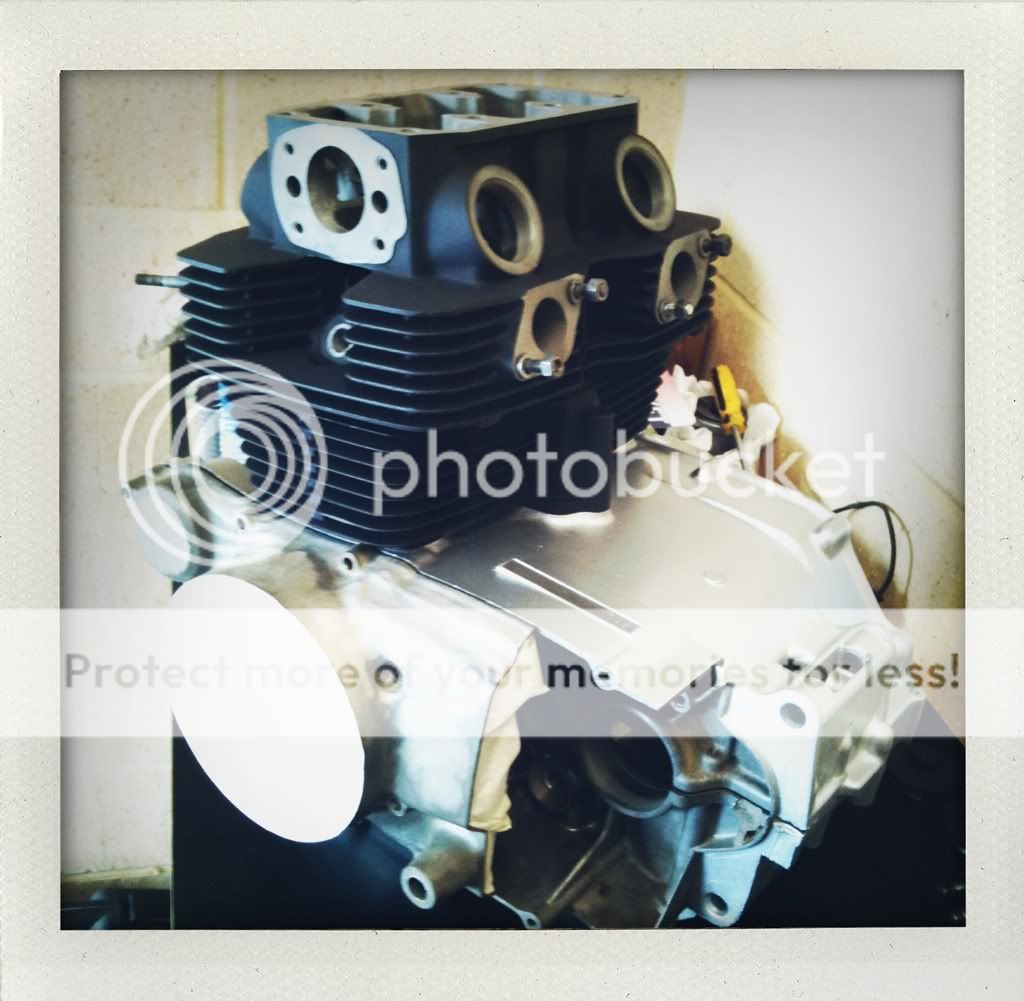
last night we started to dismantle the engine.

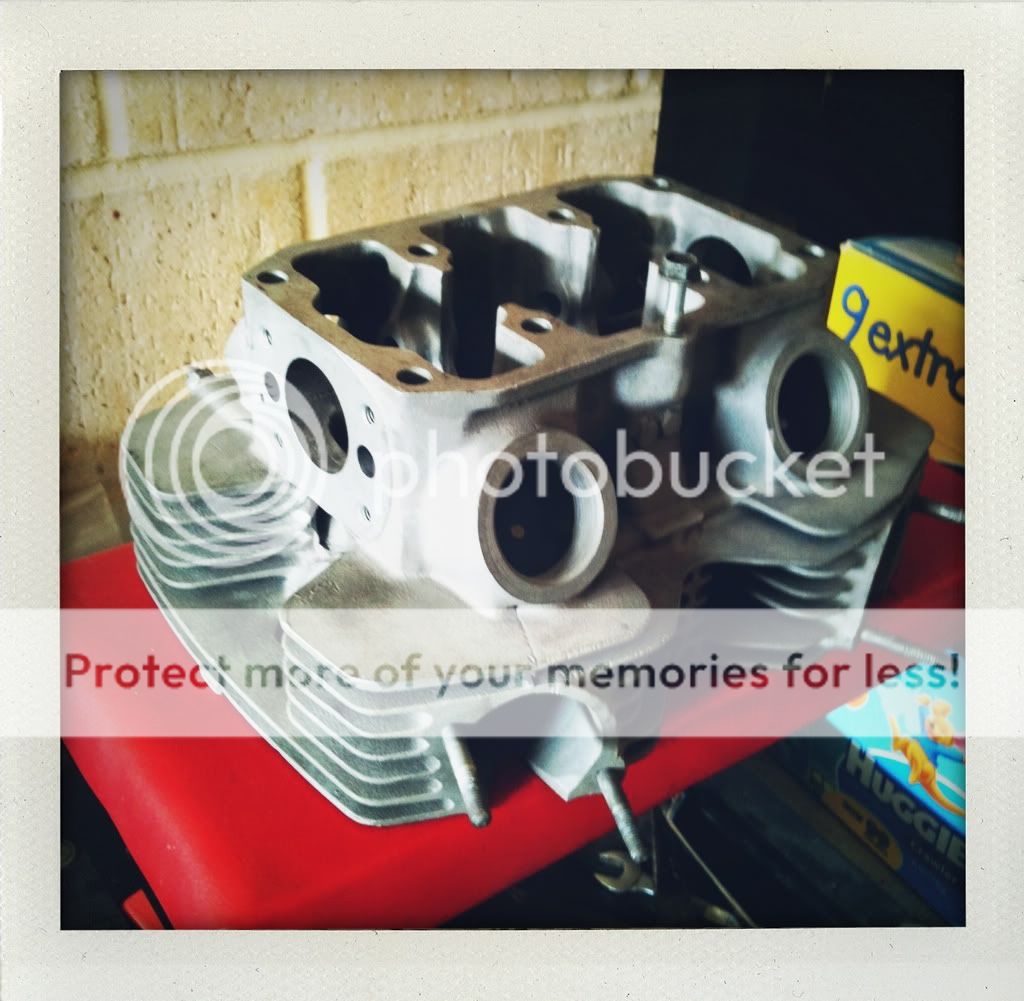
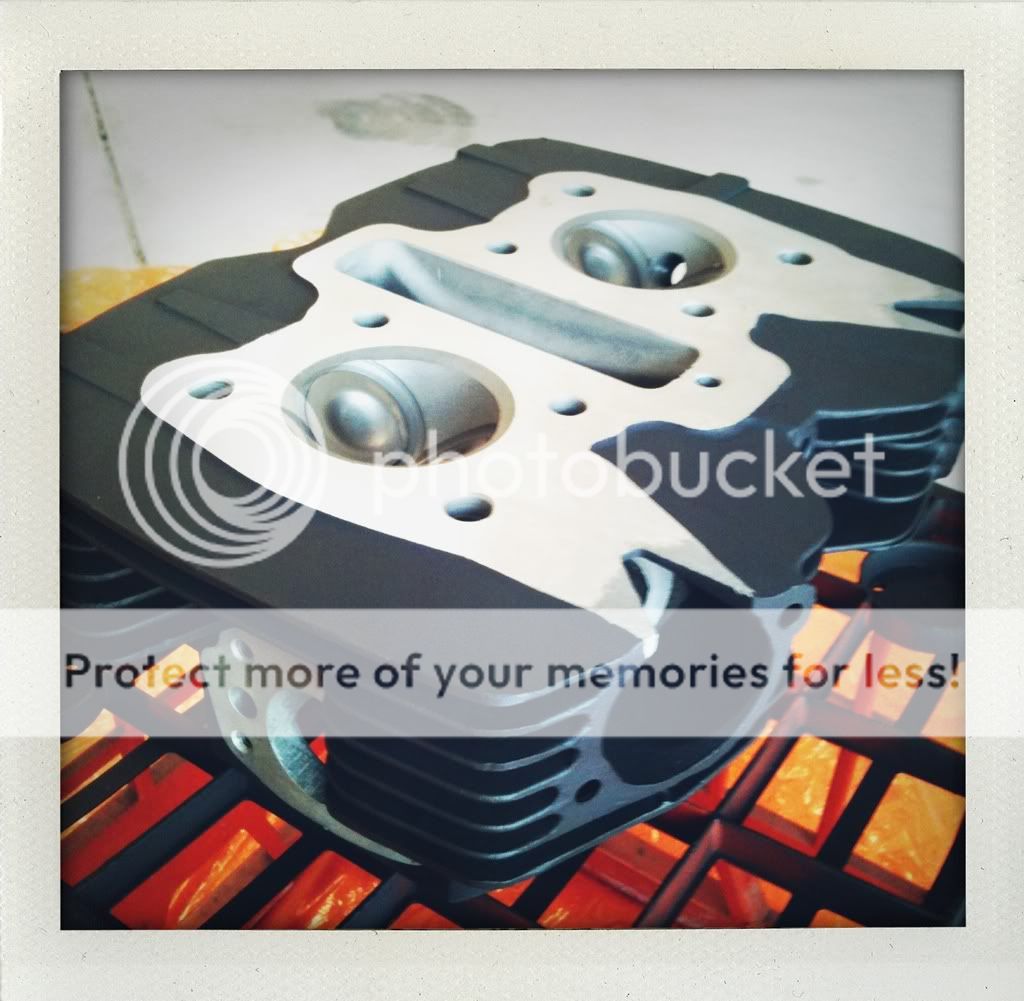
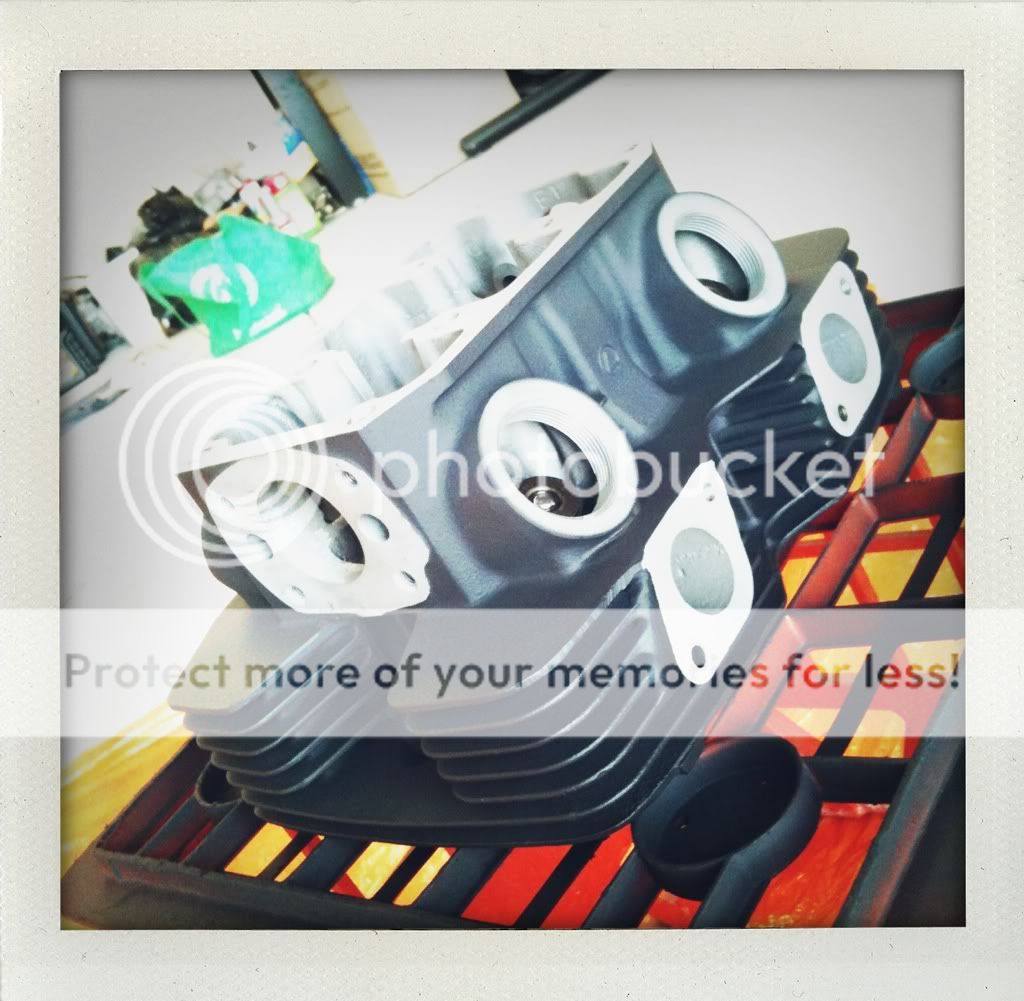
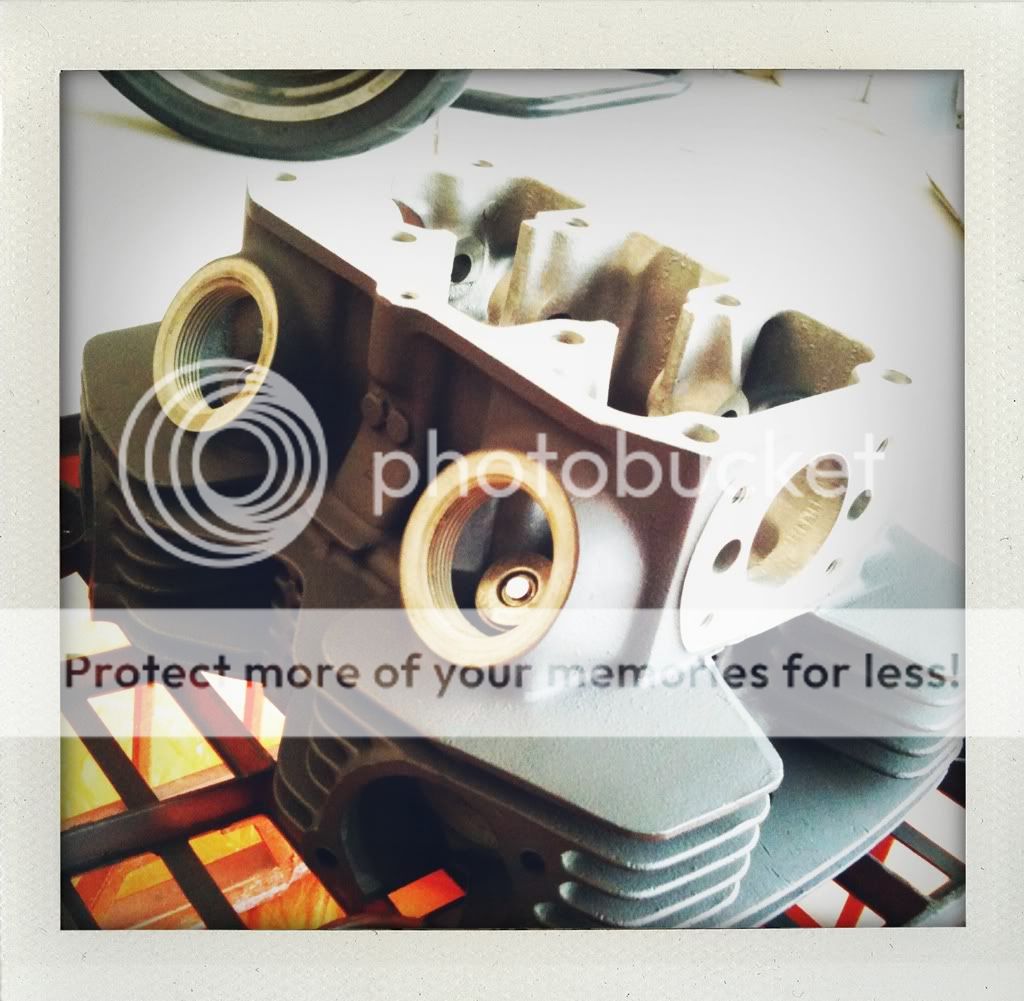
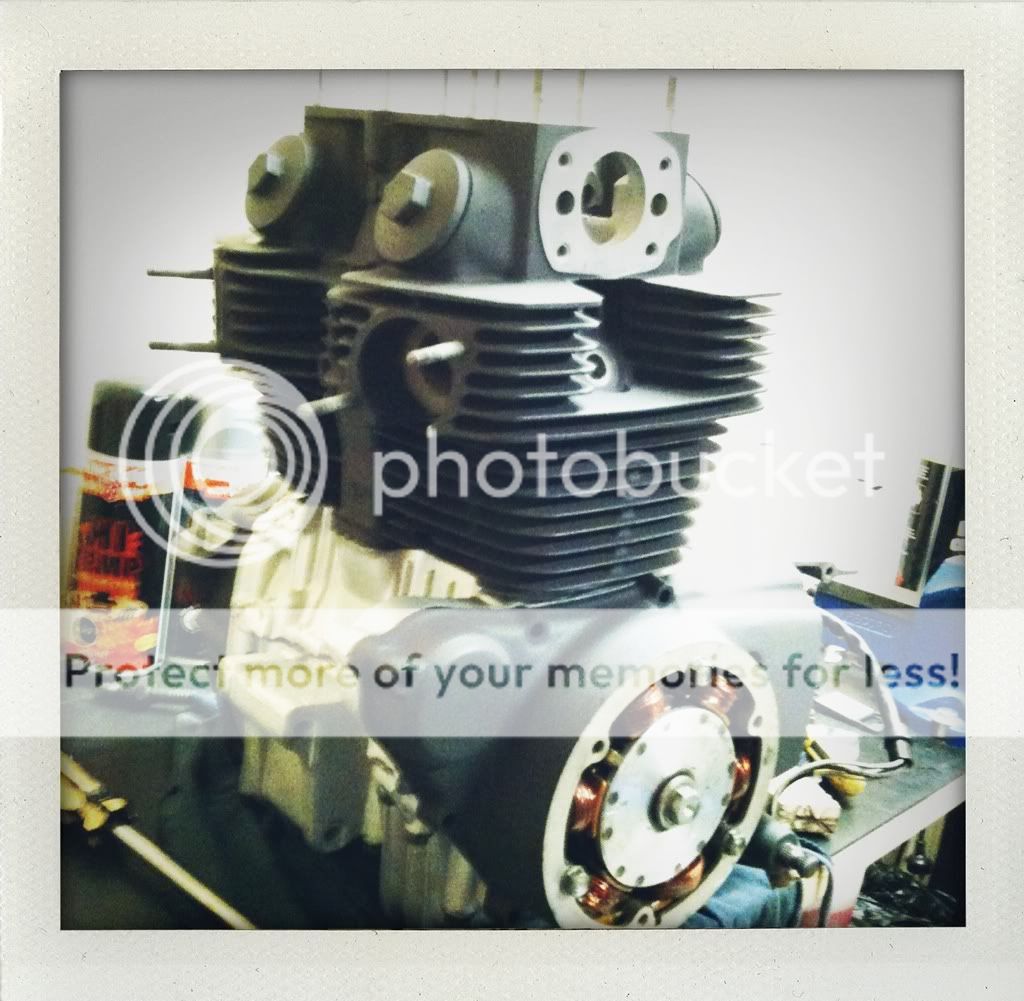
we had already taken the head off from ages ago.

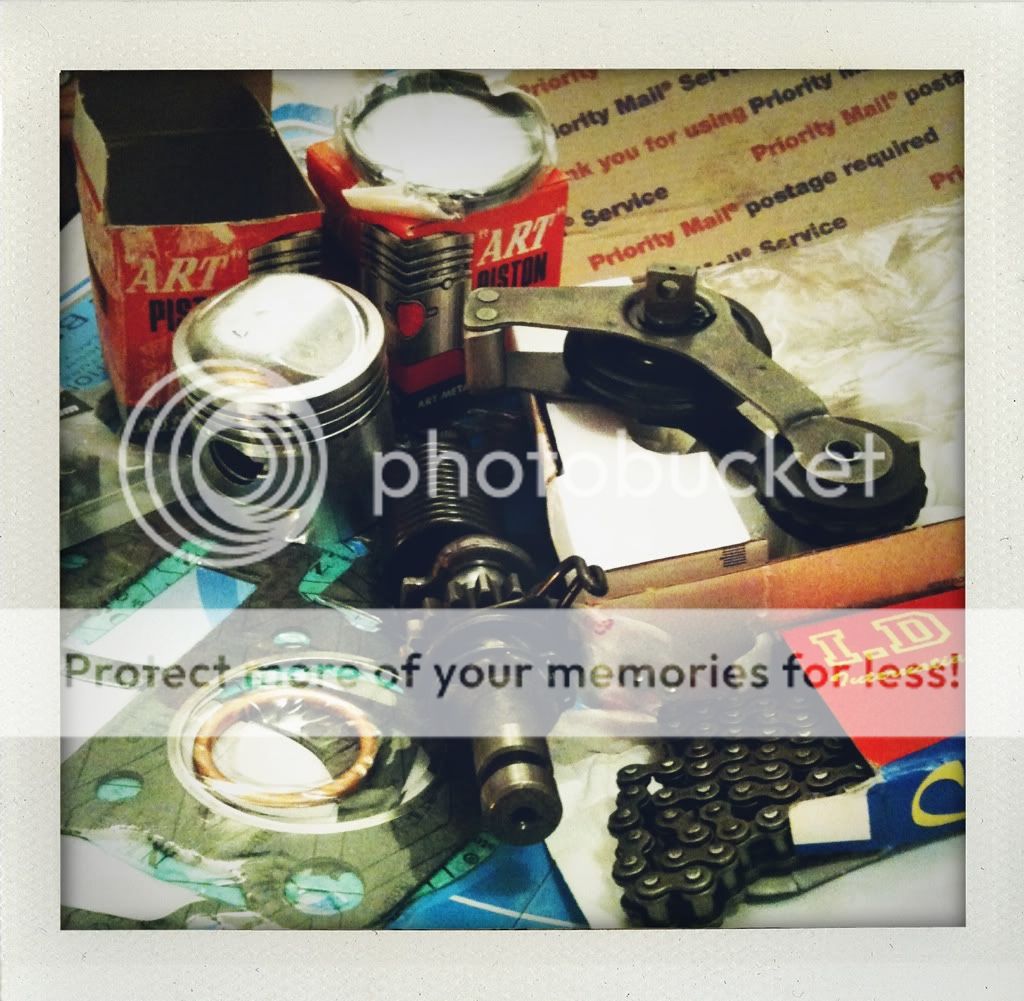
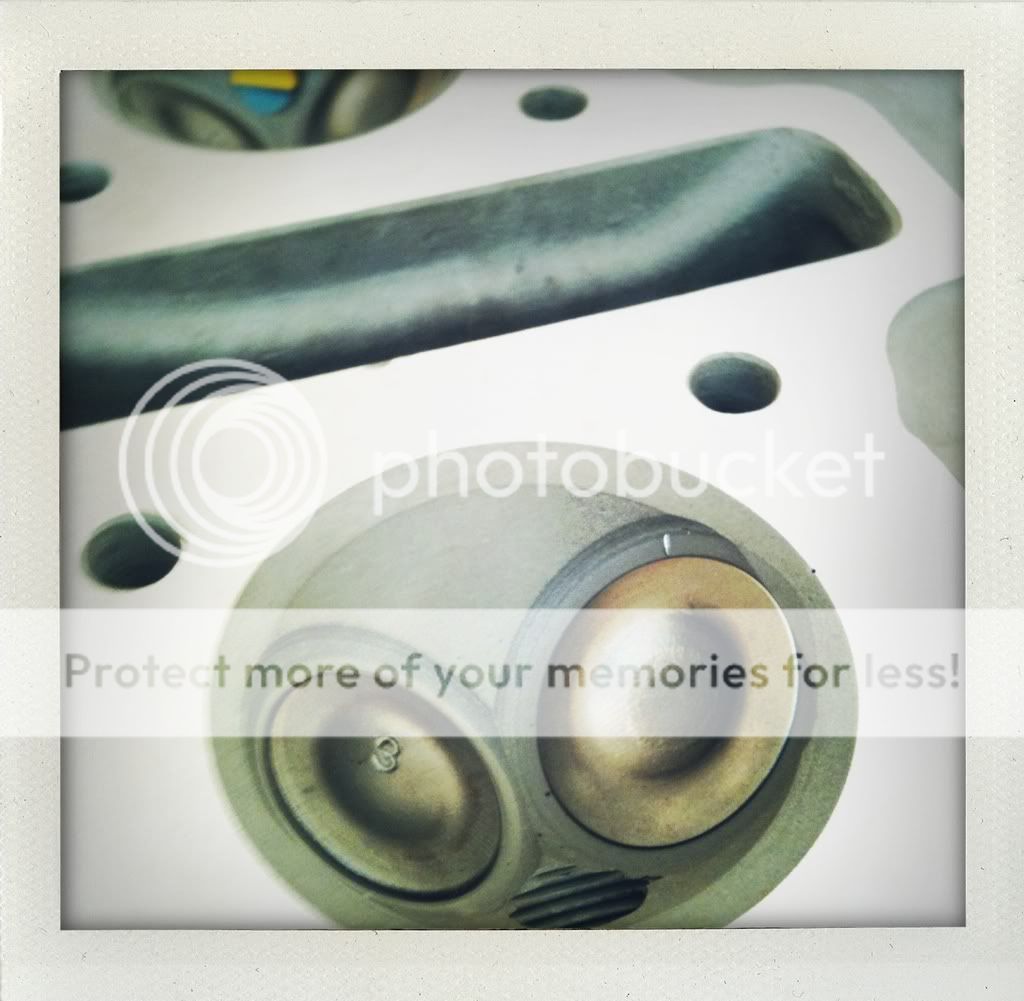
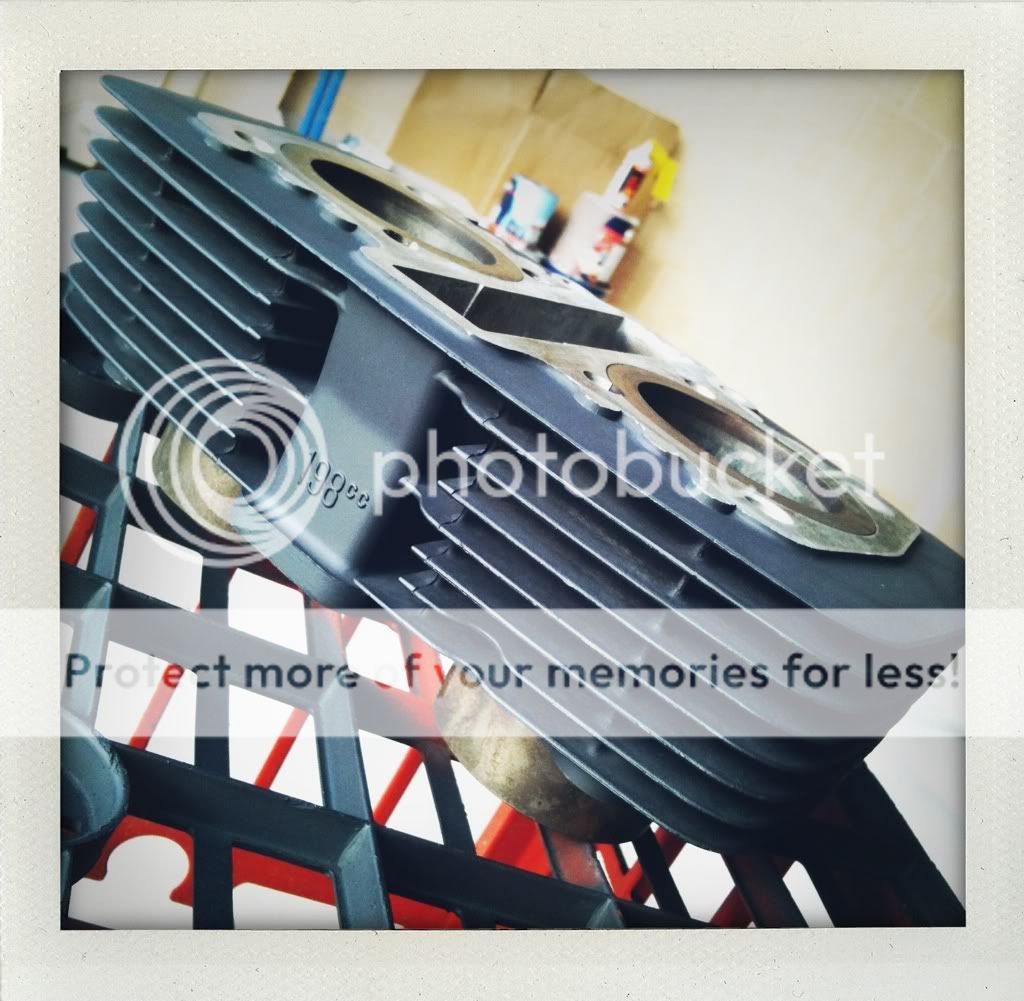
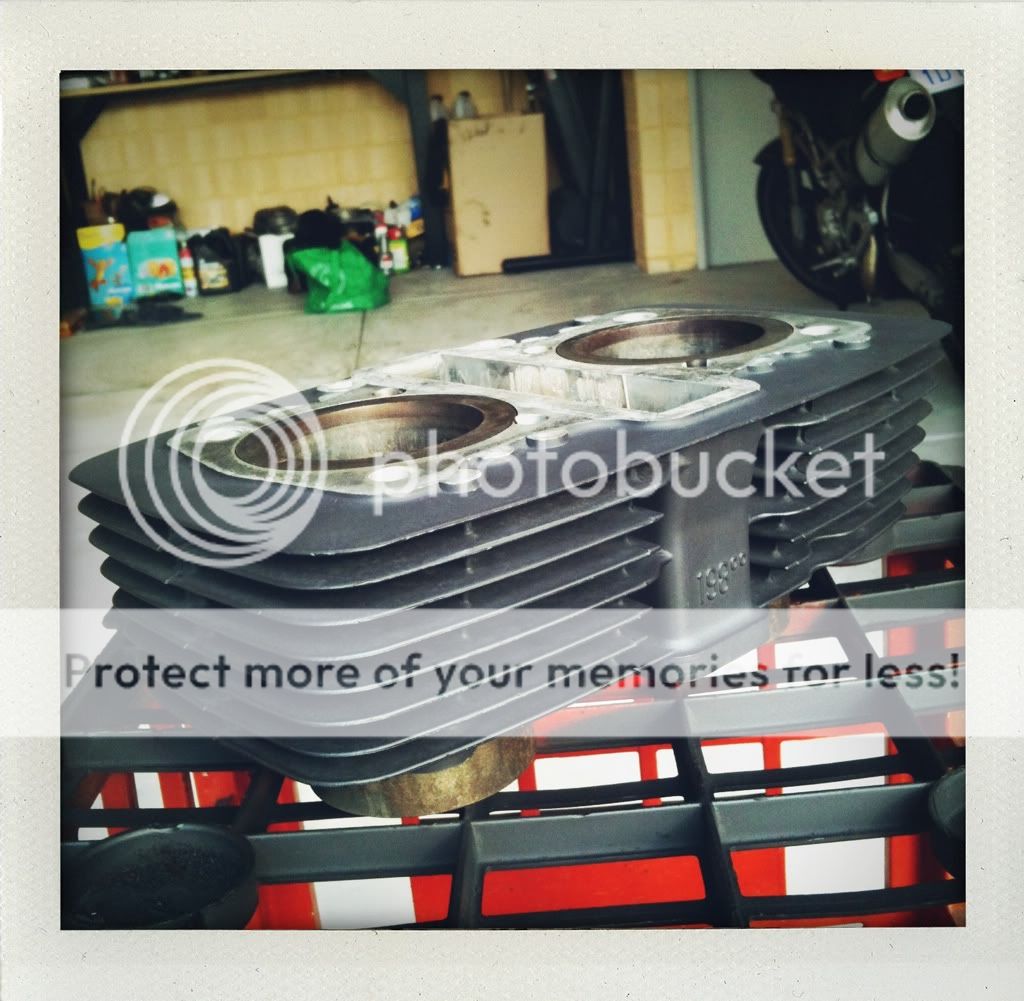
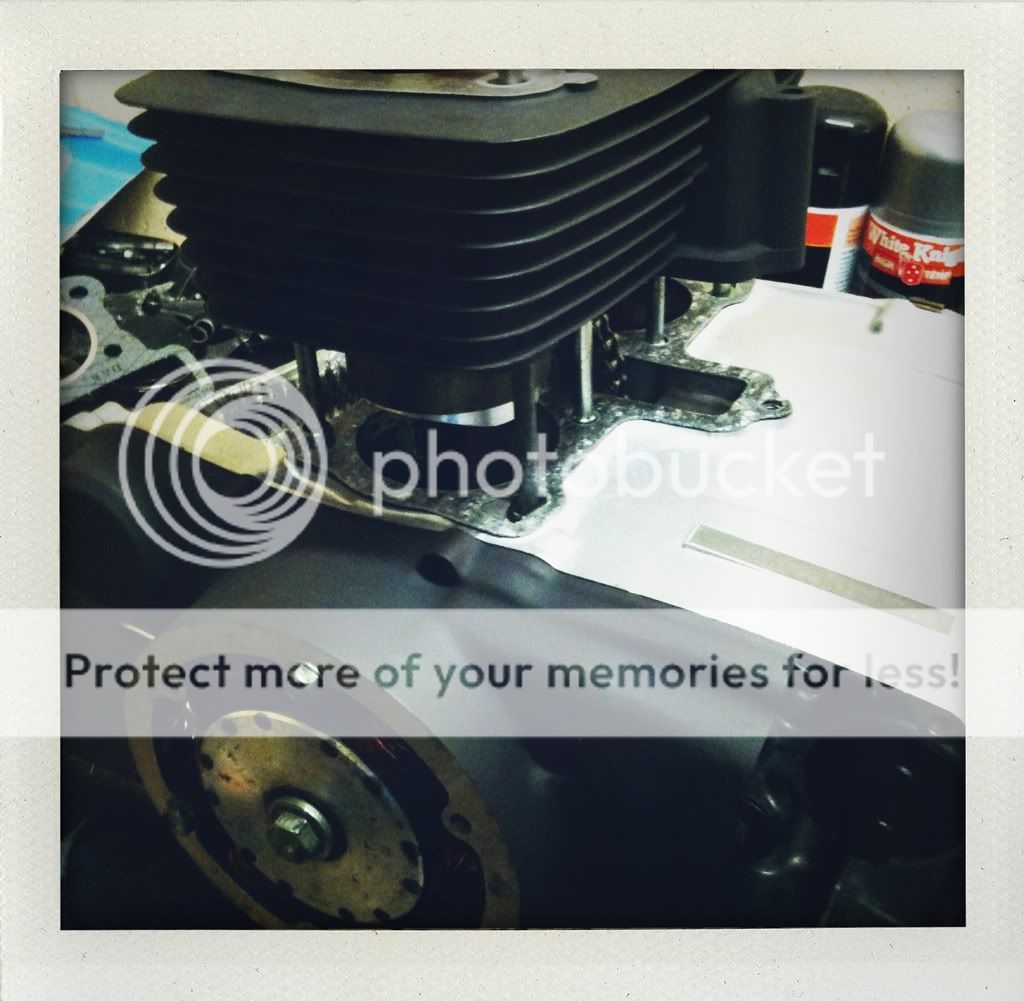
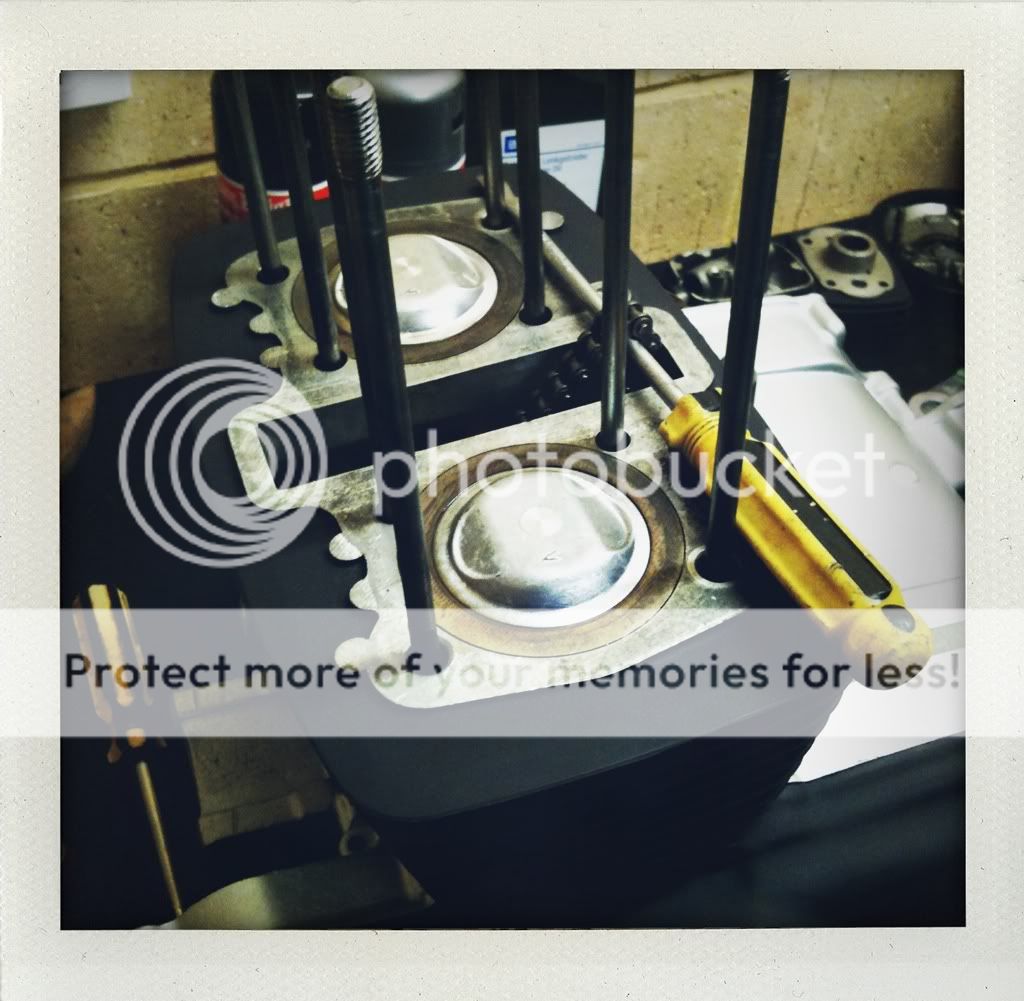
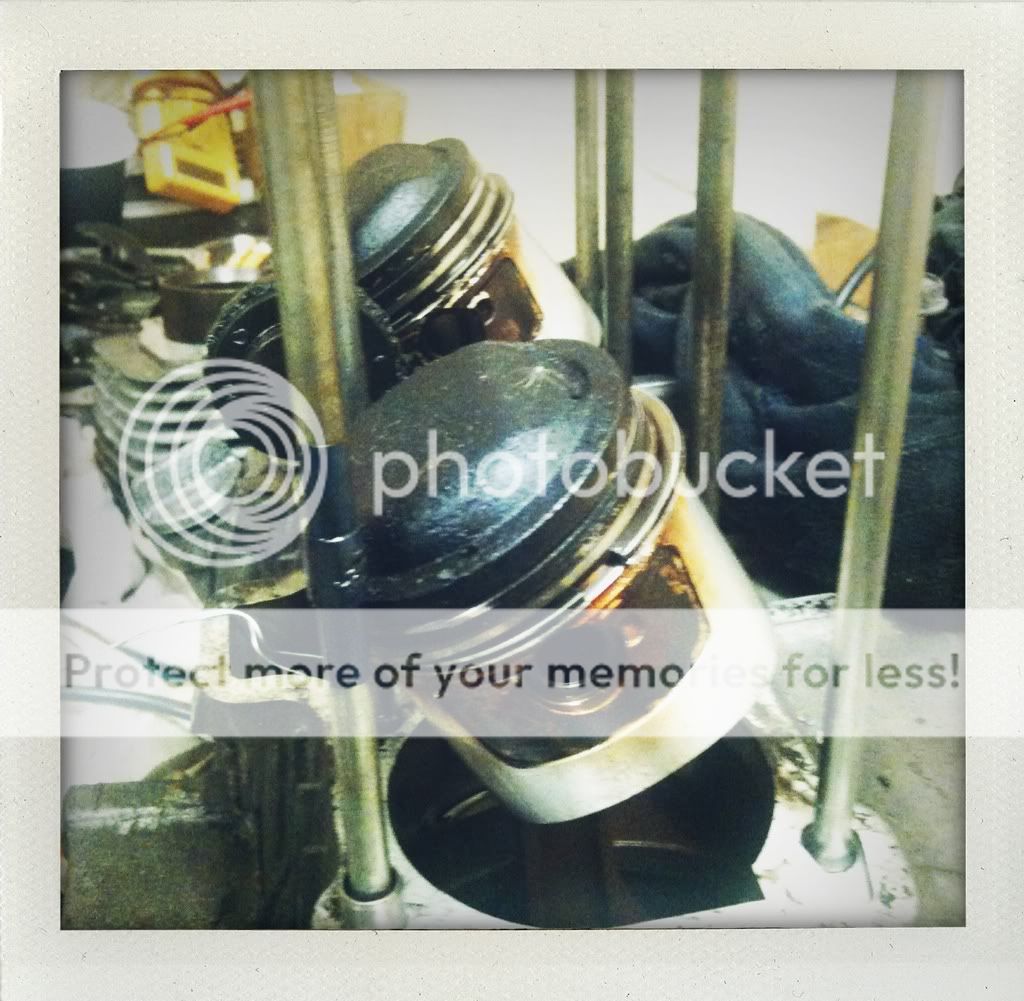
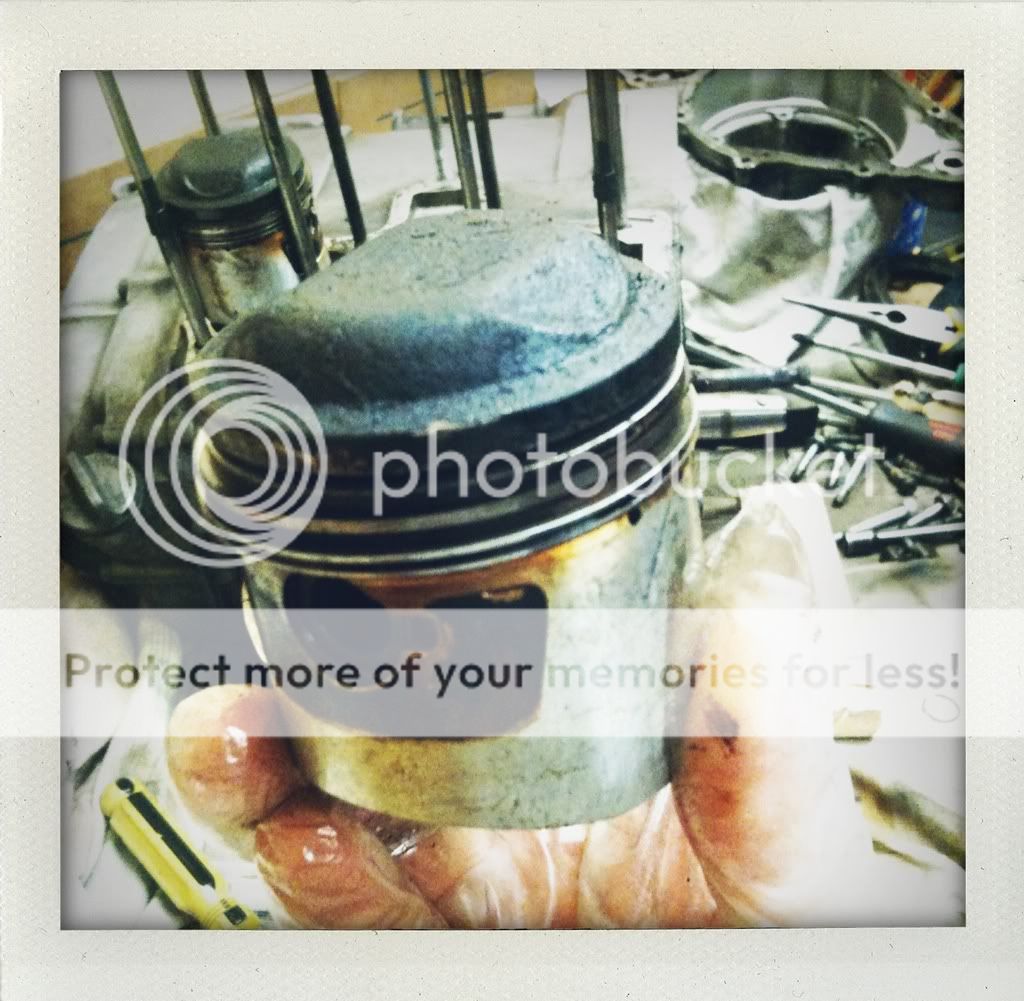
barrles came off....both barrels and the pistons seemed in good shape.

we'll get new pistons anyway. just because we can
smile.png


b161d4ce.jpg


c72e2f38.jpg


02b03841.jpg


0a8e14e2.jpg


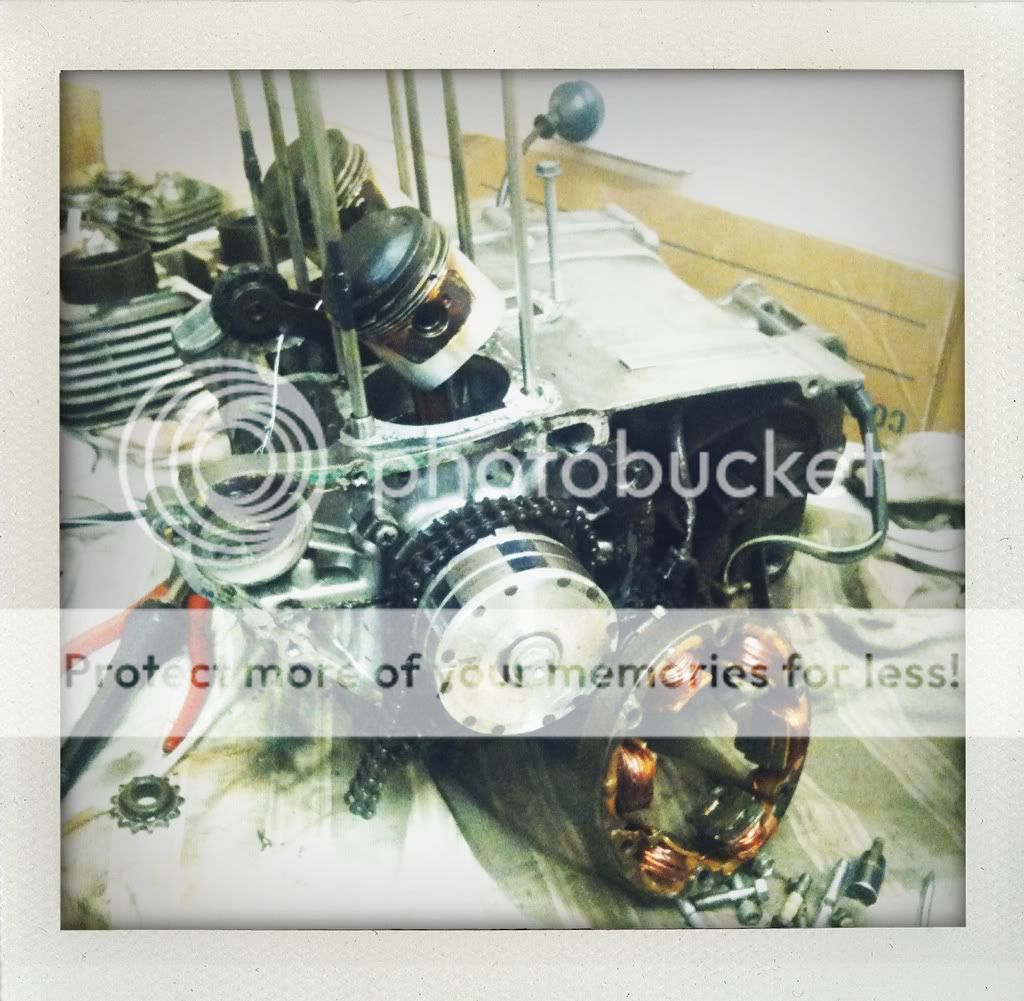
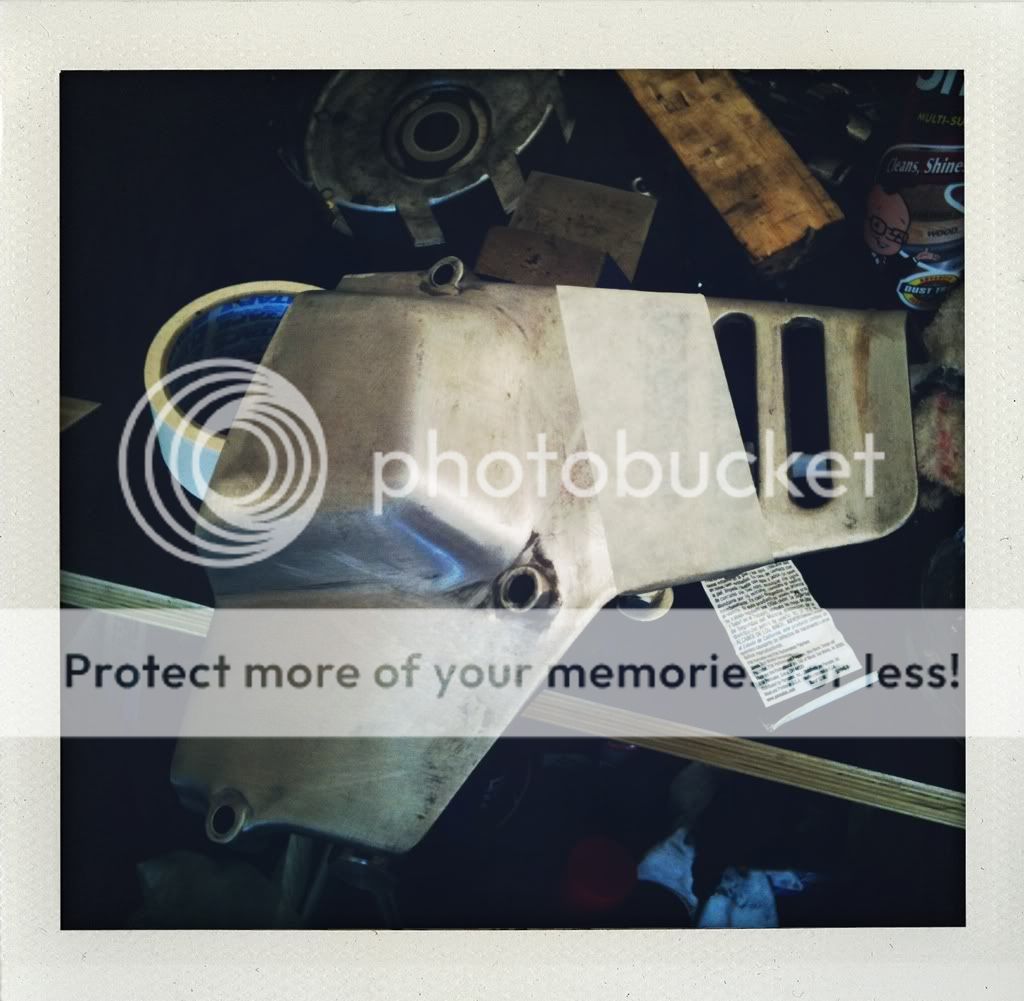
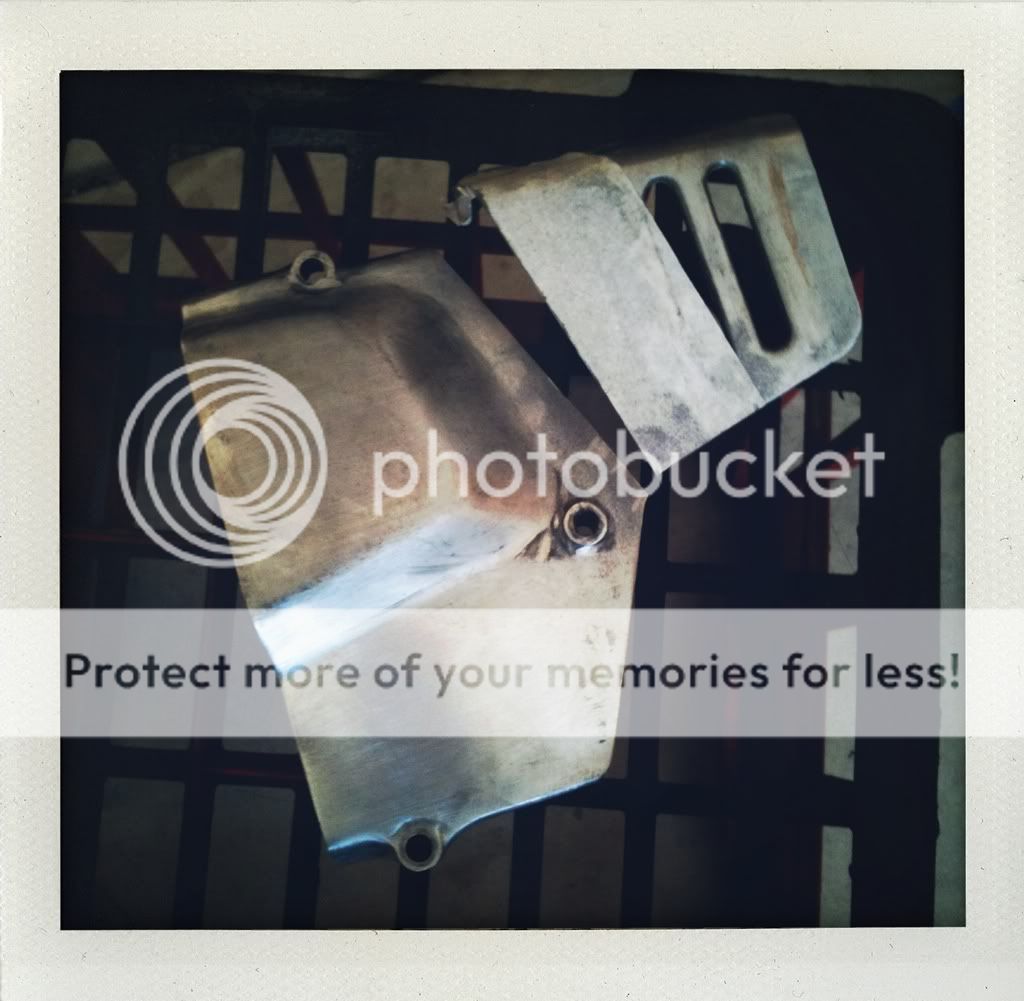
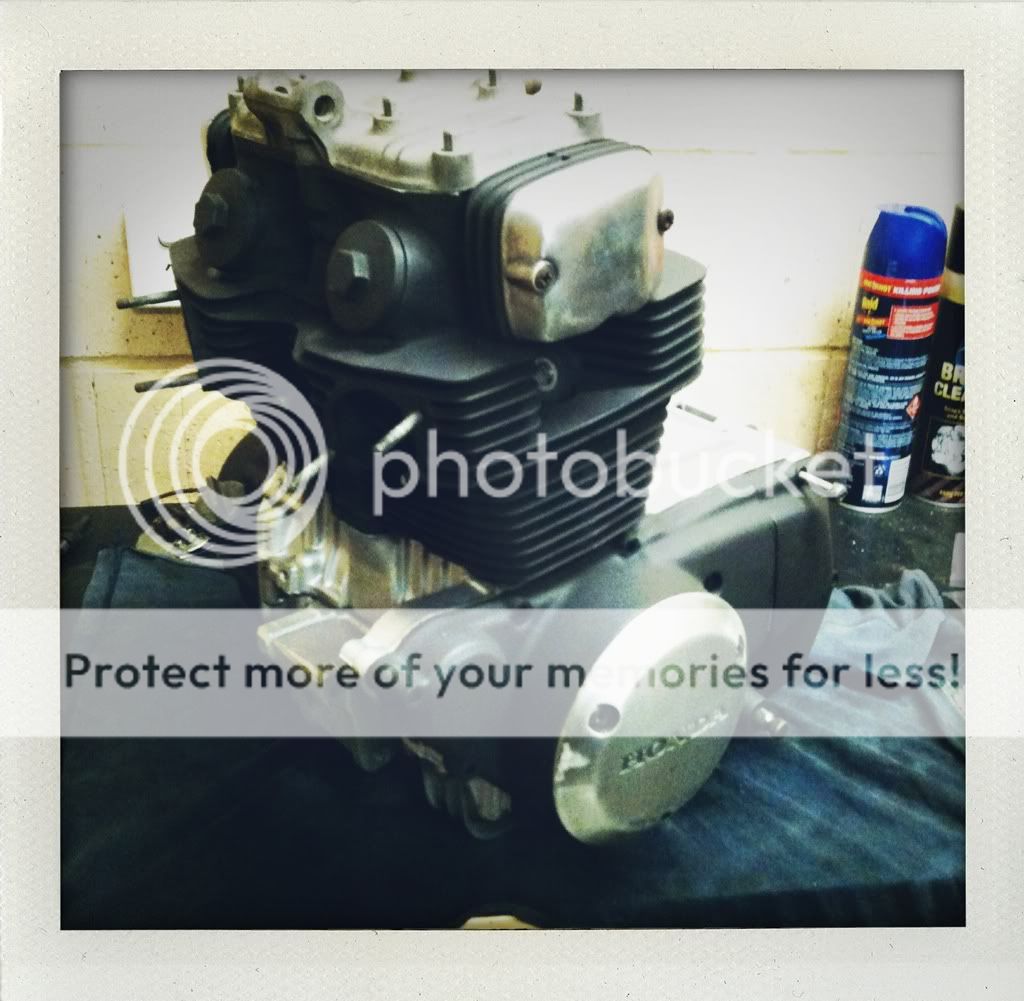
right side cover came off with the stator....another handy trick...to get the rotor magnet off, you can use the rear wheel axle and bolt it in to push the rotor off! genius.

5f4c9fbe.jpg


we've ditched the startor motor, start gears and chain and sprockets. mustve saved a good 1.5kg with that thing gone.

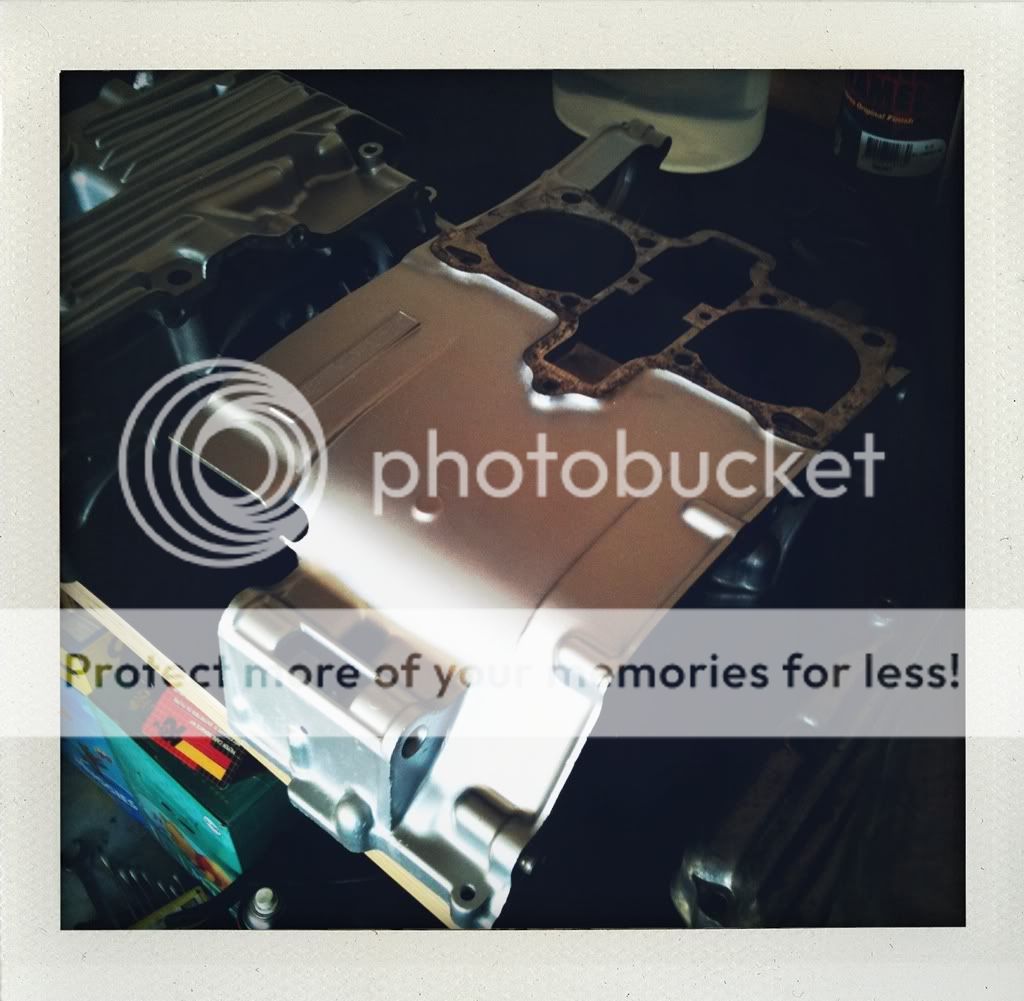
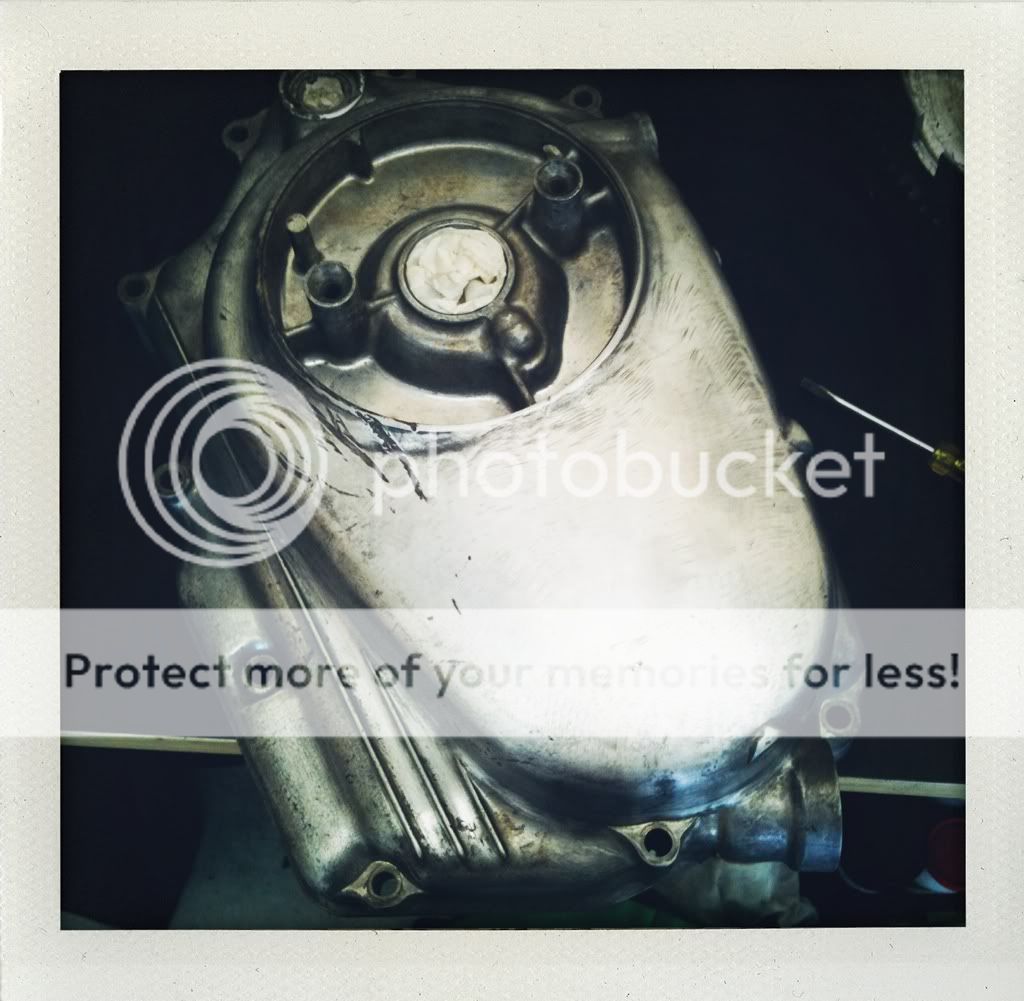
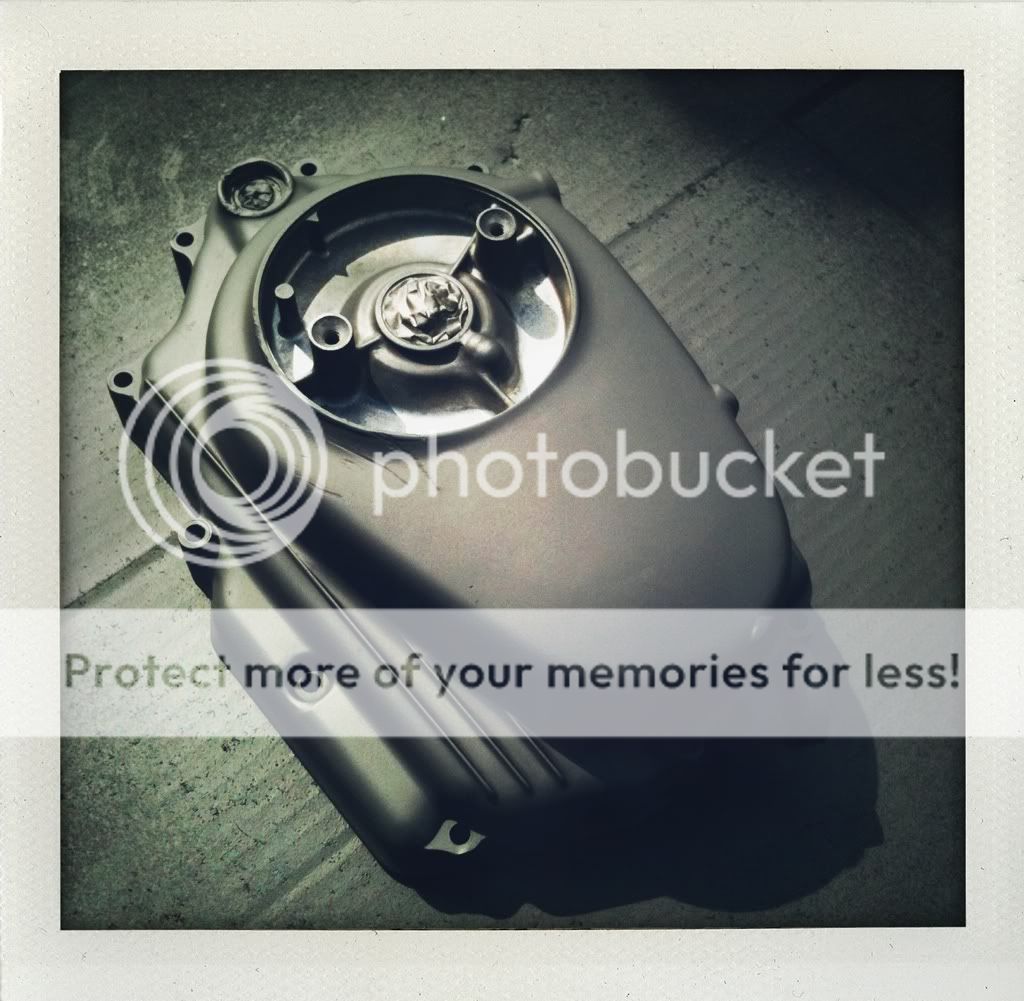
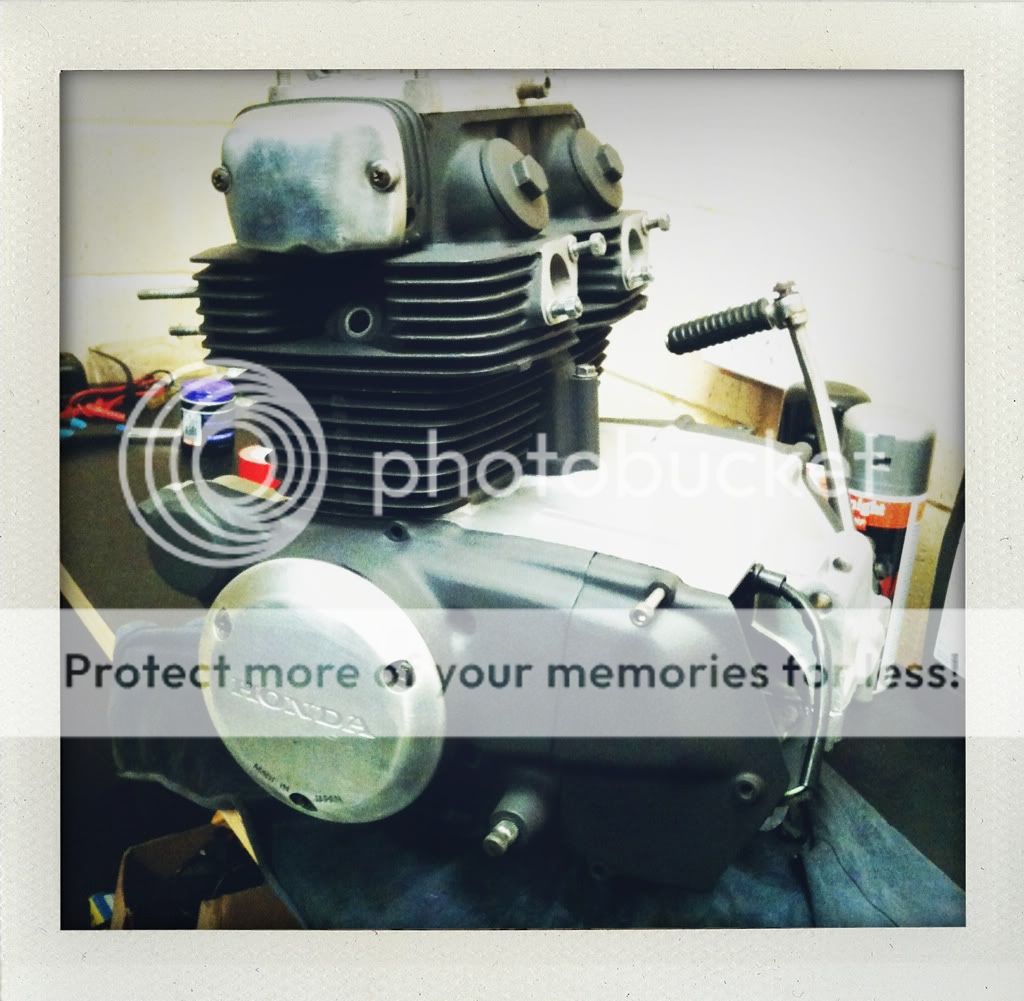
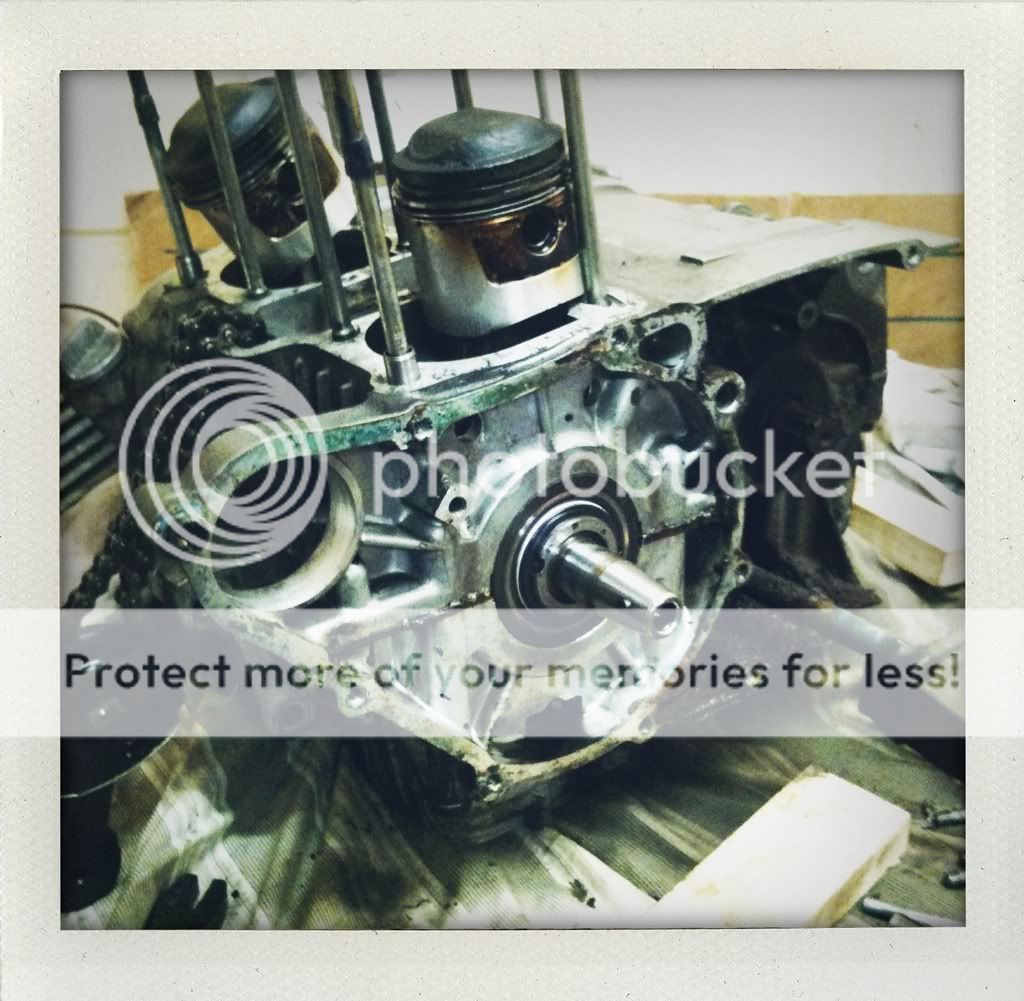
next thing, left side cover off
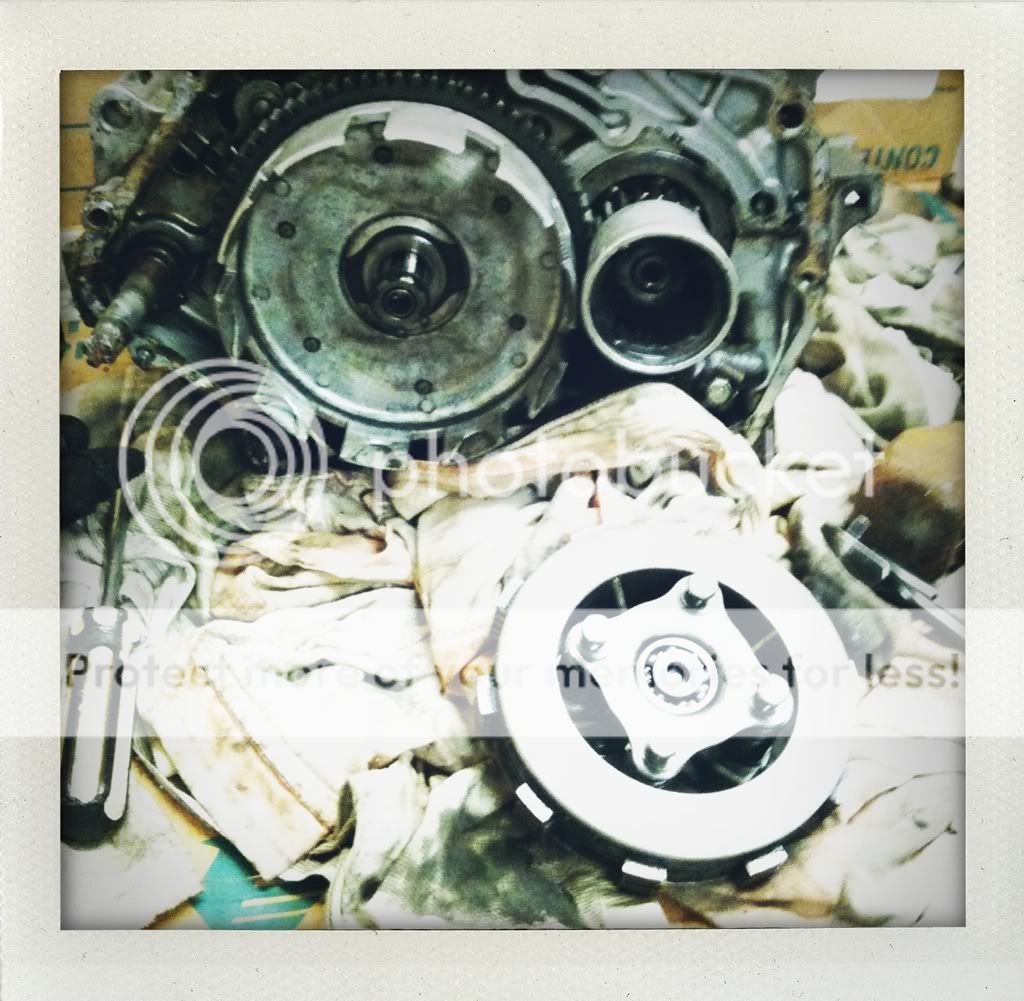
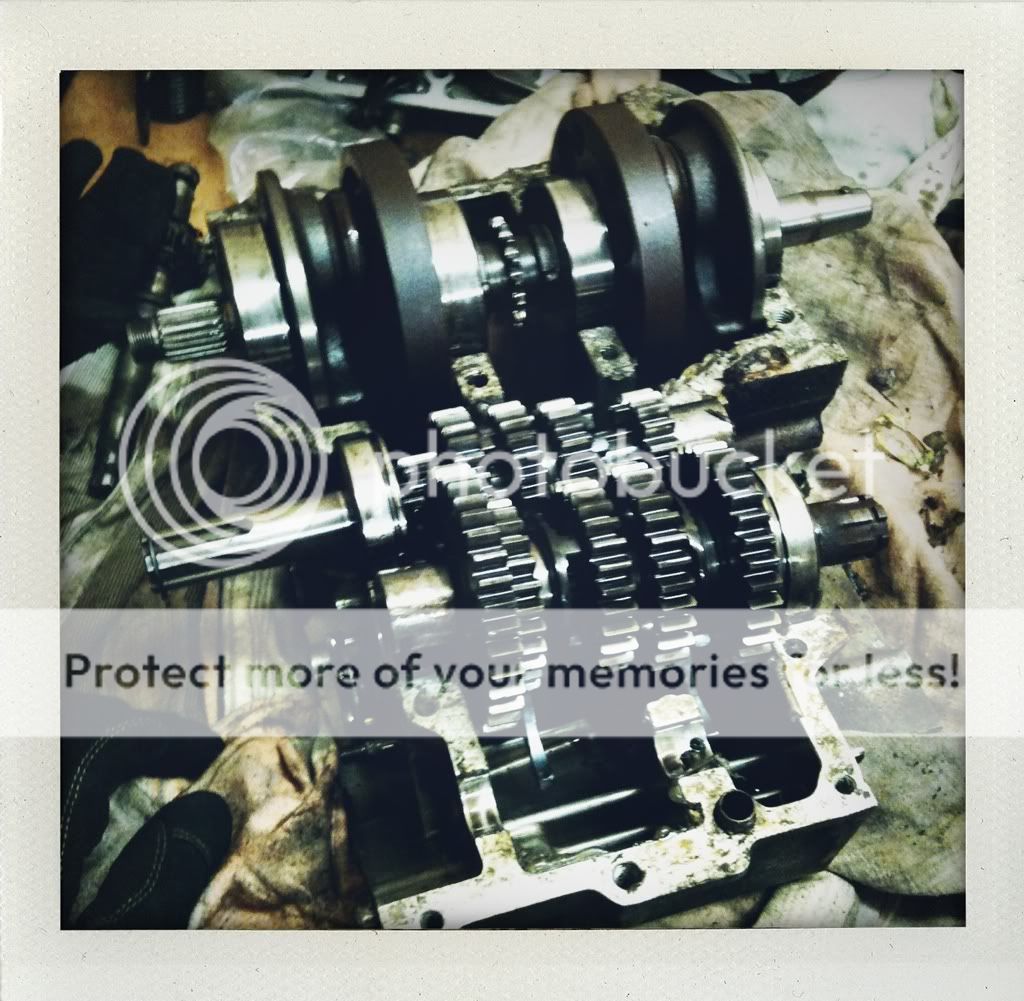
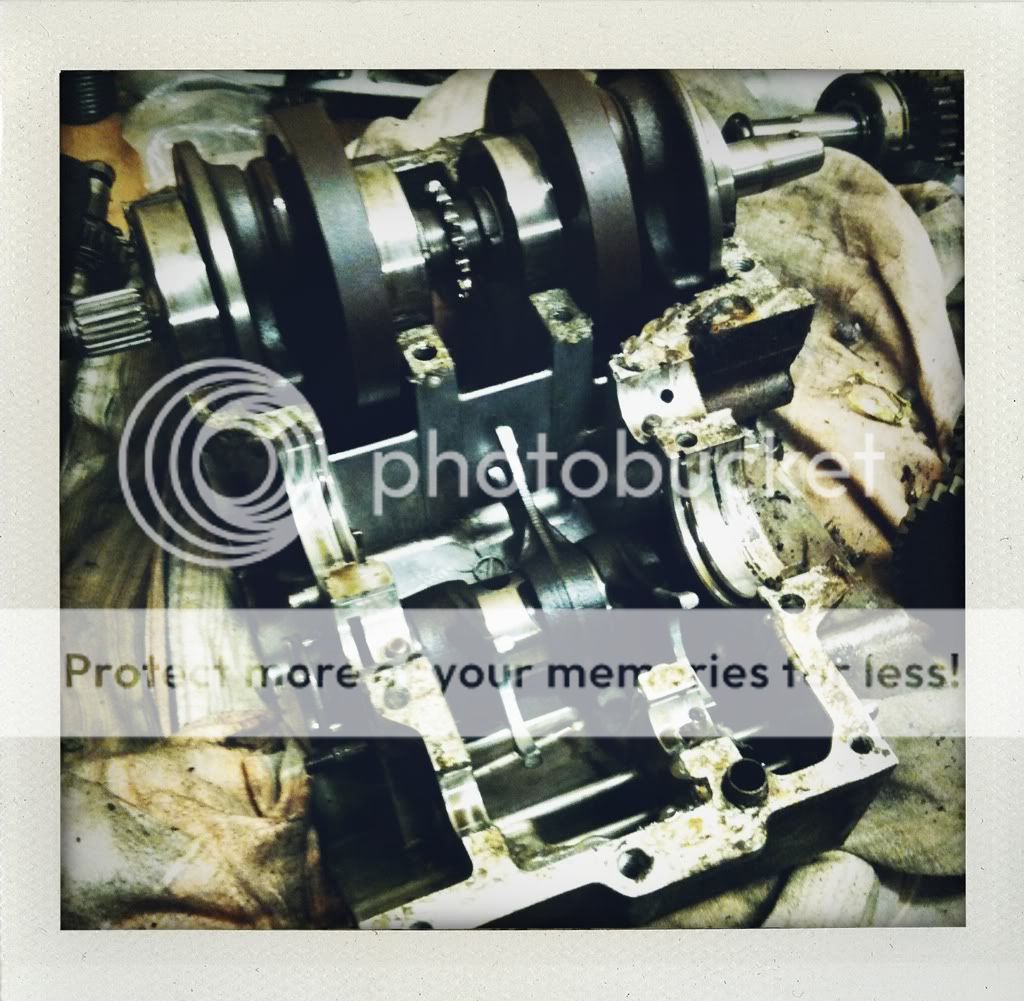
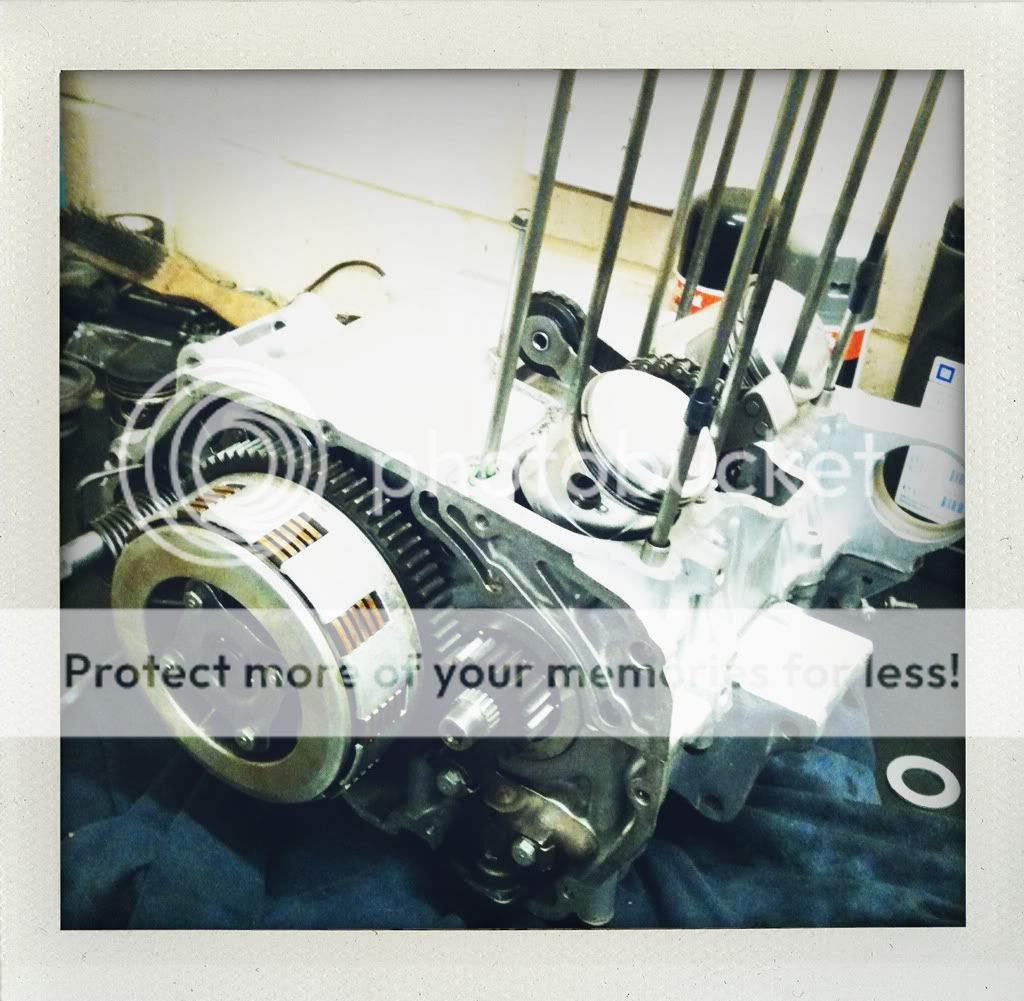
47210c49.jpg


387961a8.jpg


clutch basket out..

and thats as far as we got because we got stuck on the oil filter. need a special castle nut socket to get that out :/

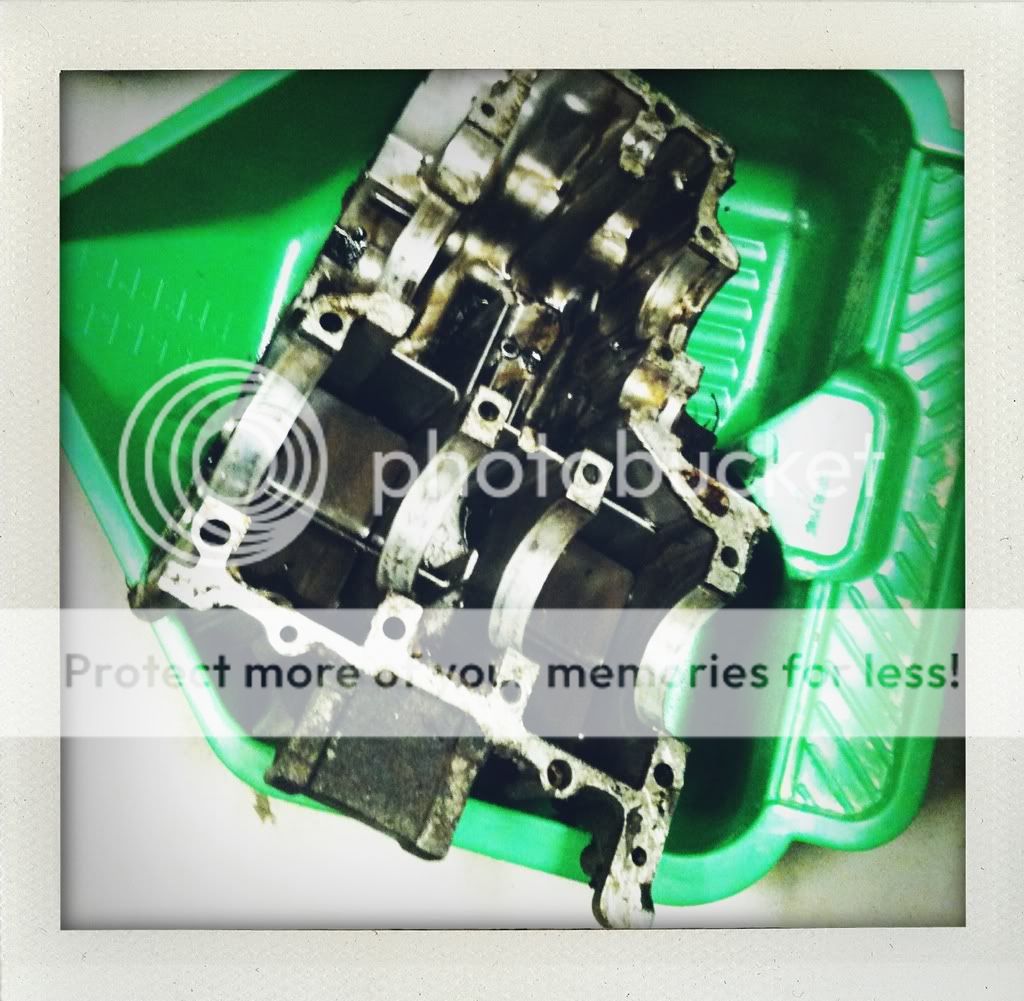
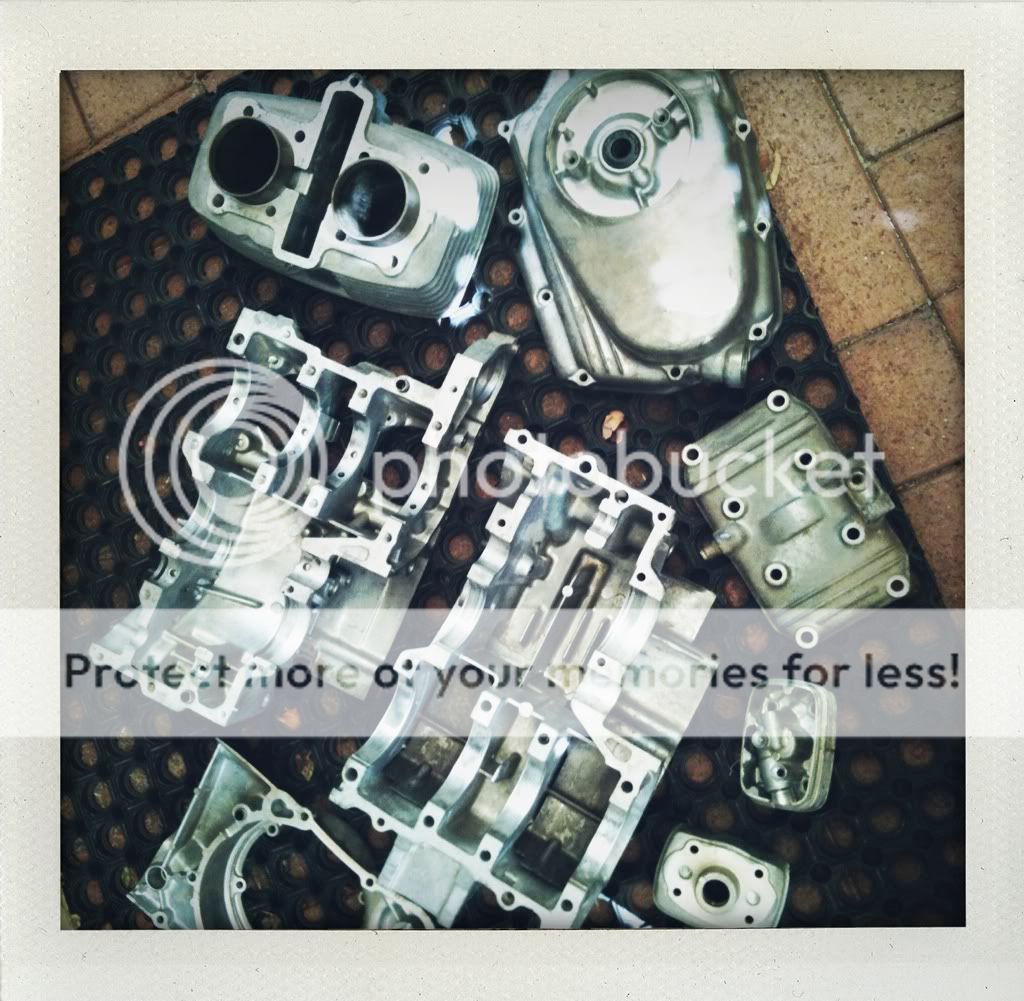
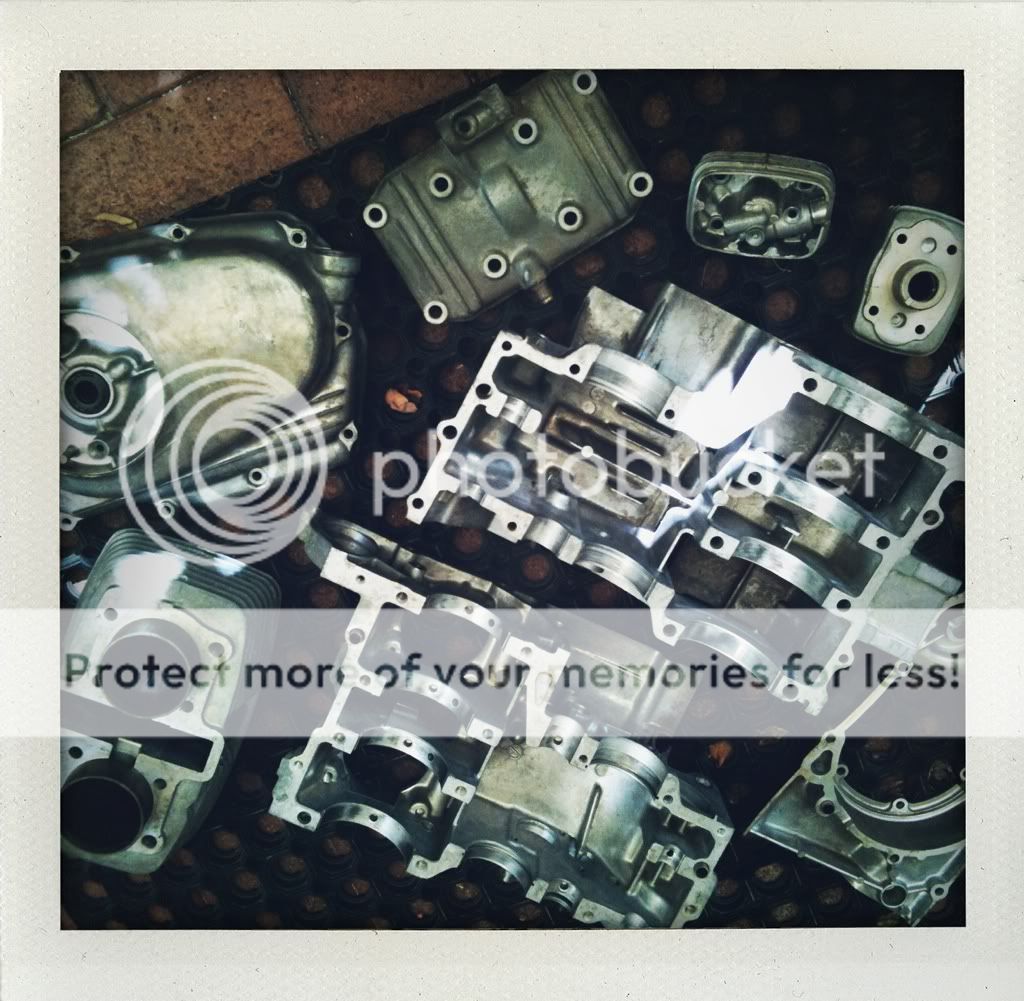
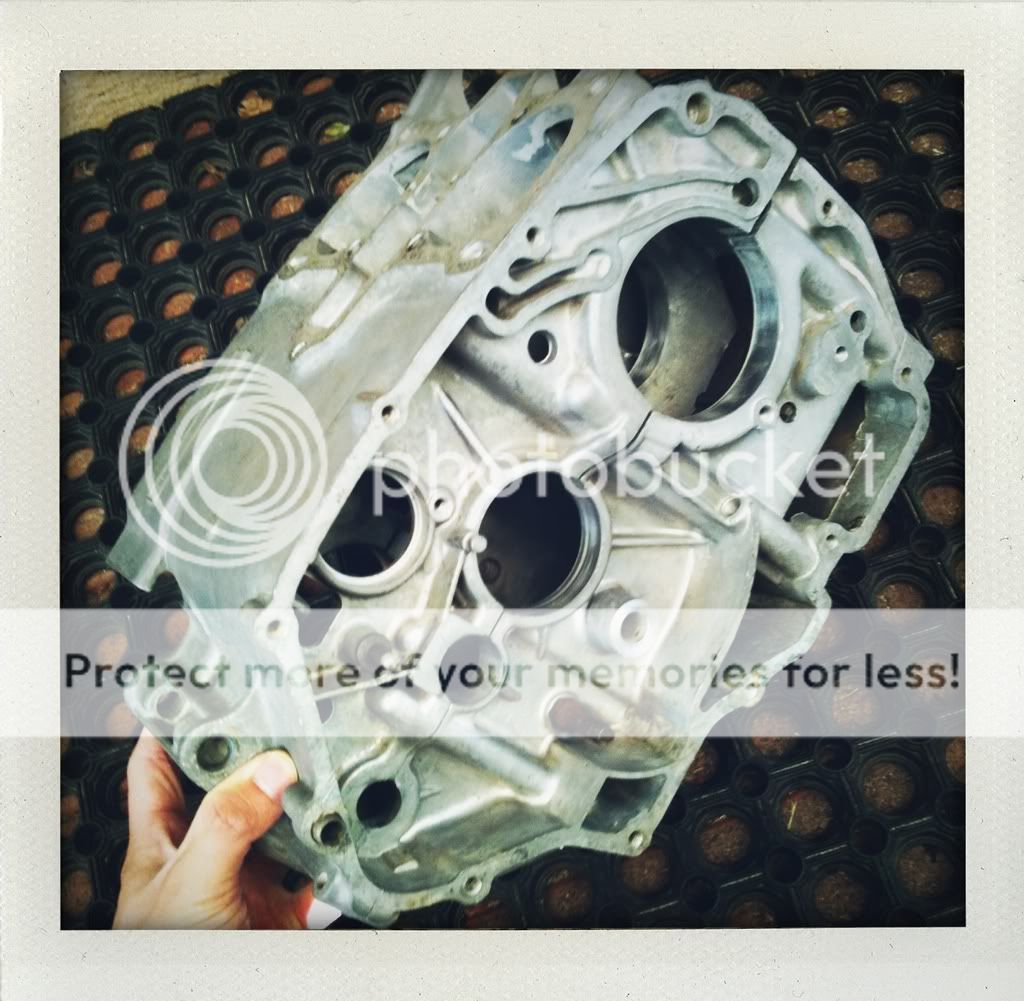
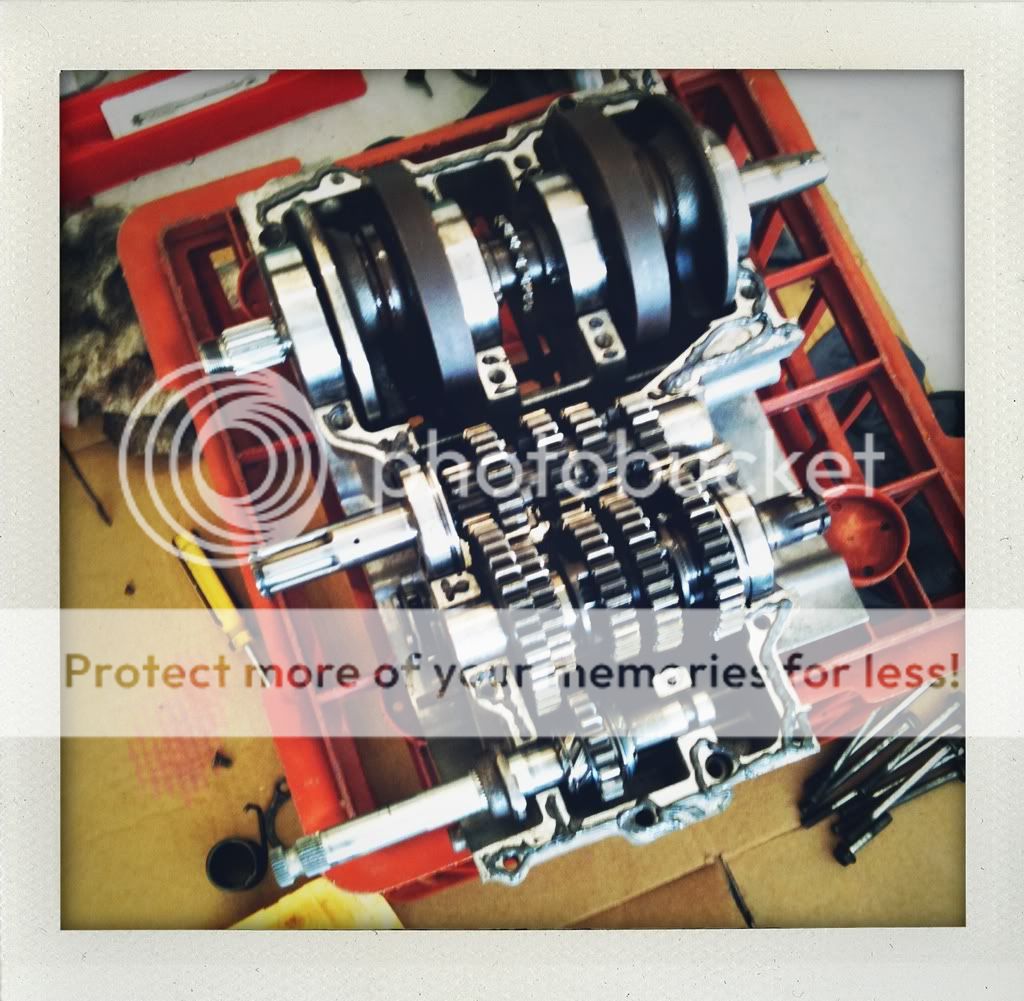
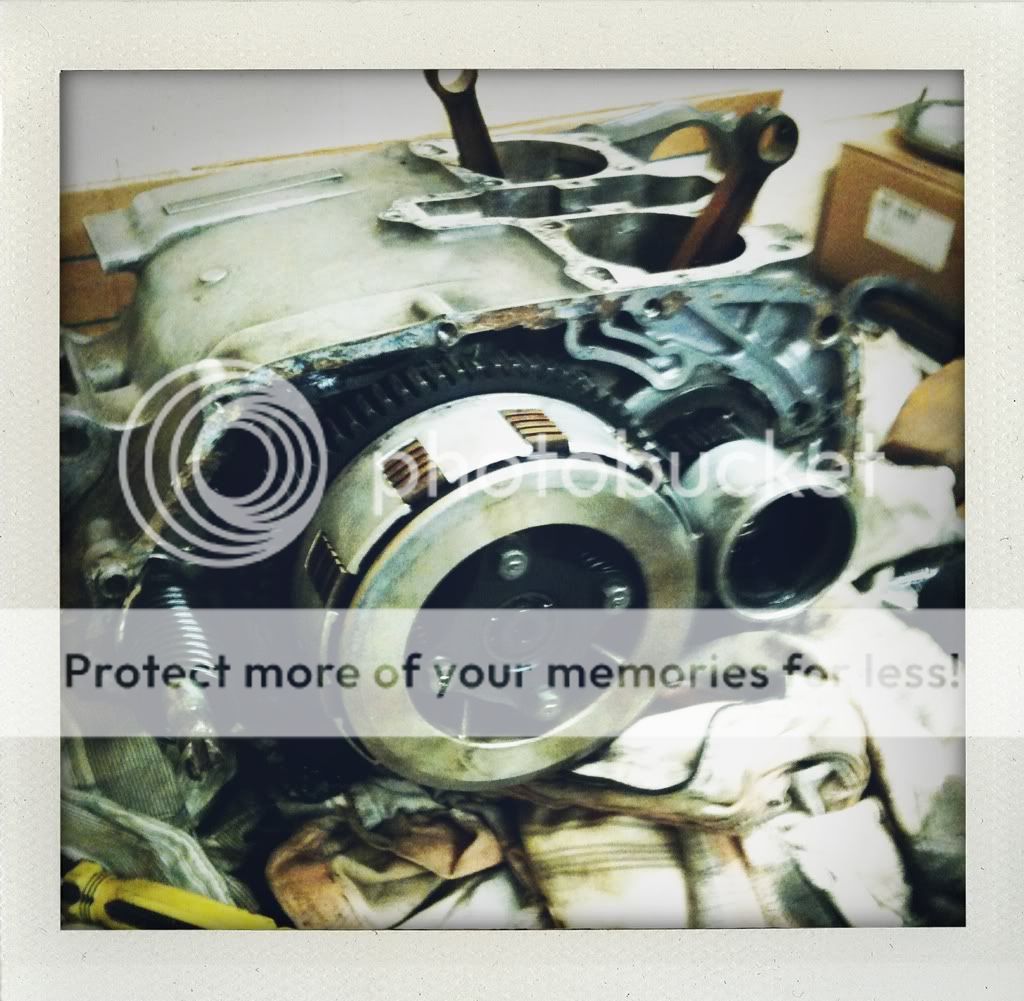
once we sort that out hopefully it'll just be a case of splitting the cases and then we can start cleaning stuff.
 
I've seen people use a dremel and an old socket to make a socket to fit the castle nut, but from what I've seen its still better to use the socket you can buy from motion pro to reinstall it. Got to the same point in my build and decided not to split the cases since I couldn't detect any problems with the bottom end. If I do end up splitting the cases later I'll powdercoat the centercases along with the rest of the motor. Good to see your progress. Keep at it!

Rock and roll,
Shifty
 
I have a pdf of the workshop manual if that's any help? My bottom end looked good so I only got as far as cleaning the filter before putting the top end back on.

This is a great build thread and puts mine to shame. This bike is half the reason I'm looking at mine again. I'm also N.O.R. if you need any assistance/trailer etc.
 
Thanks DSP. we've ordered the tool from motion pro so hopefully when it arrives we can crack on with stripping the engine.

Sup flash! didn't realise it was you from PSB:) i've gotten in touch with my mate druu and he said he'd have a look to see if we have a spare exhaust....or we might get rid of ours if we're gonna go custom. I'll get back to you on that.

Keep up the work on yours! thats three of these little CB's we got goin on in sleepy ol Perth :)
 
after waiting for parts (mainly for a castle nut socket ) to continue, they have arrived!

-full gasket set
-new cam chain
-cam chain tensioner
-kickstart shaft
-castle nut socket
-shiney new pistons

7d0777e6.jpg


engine strip and build to recommence shortly...
 
update time.

tonight we finished taking the engine apart.

split the cases
9bd69a5d.jpg


can't wait to see it all fresh
8a5d73c0.jpg


all internals looked good.
except the guy who last rebuilt it went crazy with the gasket goo as it was everywhere. even looked like it had clogged up the oil pump....
6d1d479d.jpg


finished up by laying out all all parts that we are going to send off to get blasted.
bb2caef8.jpg


after we get those parts back nice and clean the fun really starts.
 
Good work

I have done the same thing, use an old socket and grind out the pieces to make the castle nut socket.
 
Just for future reference, that oil slinger can stay on the crank when you split the cases and pull the crank. An old socket works fine but the Motion Pro tool is much better.

Those pistons were showing serious blow by past the top ring. Are you getting it bored O/S or are the bores perfect and in spec?
 
now that you mention it teaser, you're right...we coulda just left it on!

yeah the old rings had cracked in two and fell off when we pulled the piston out so that might explain it.
the bores are pretty good and within spec i think so we're sticking with standard size..
 
picked up our parts yesterday from the engine shop.

didnt get them blasted. instead they put them in an acid bath.

we're painting most of it anyway so really only needed to get the oil and grease off.

sandblasting will apparently make the surface too pourous and stains very easily if we spill any oil on it...but since we're painting it, made no sense to sandblast it.

now we're just waiting on them to put our head back together and we will start rebuilding next weekend:)


131907fa.jpg


[/size]
56a7577e.jpg


5e2301a9.jpg


207662e6.jpg
[size=1em]
 
Soda blasting or walnut shell blasting would not create a porous finish, but as you said, you are painting anyways so an acid bath is fine.

Just for future reference
 
noted. thanks curtis.

today we picked up our head. that had been blasted and reconditioned.

3ca9634a.jpg


7c56ad99.jpg


got the crank cases masked up

2dc7b039.jpg


84779cd7.jpg


then hit them with some high temp paint.

f3db99c7.jpg


9a472d4b.jpg


945839a2.jpg


barrels and head to be painted black tomorrow.
slowly coming together...
 
today we masked and painted the barrels and head.

bc32caa1.jpg


0c687024.jpg


38140306.jpg


f5b415bc.jpg


4188e53d.jpg


then mocked it up.

b8849086.jpg


83a69bfa.jpg


we used barbeque high temp paint. came up with a flat black...almost dark dark grey.
not what we were expecting but we actually really like the finish and colour.
 
over the weekend we hacked up the old sprocket cover

f0d955b9.jpg


51abcae5.jpg


hit up the side cases with a lick of paint

214bbff5.jpg


ef6c5ef2.jpg


and put the crankcases back together.

f322d7ca.jpg


we got stuck on a washer and a circlip so left it at that. hopefully next weekend we can finish rebuilding the motor!
 
This is the way. Slowly and carefully heading toward a proper build. I can't wait to see it finished.
 
epic build so far guys the bike looks very impressive so far. are you going to spray the tank or leave it as is? i have just been given a cb200 myself and plan on starting very soon but am stumped where to start as so much needs doing but this post is very motivating though.
 
we worked till 2am last night getting most of the engine back together

0b0aac93.jpg

shiny new pistons and clutch back on

444234e2.jpg

barrels on

1a9e4cc5.jpg

everything looks so clean

8f1be191.jpg

head and stator on

47a633ae.jpg

covers on

dbf43f35.jpg


currently waiting on new clutch springs, gaskets for the side cases, and a plug for the starter hole.

hopefully tomorrow we can mount it into the frame and get an overall pic of the bike as it stands. yeeow!
 
Back
Top Bottom